Risen 3 Titan Lords: New Allies
How to unlock the quest: Through conversation with Bones (in any given moment).
Quest giver: Bones
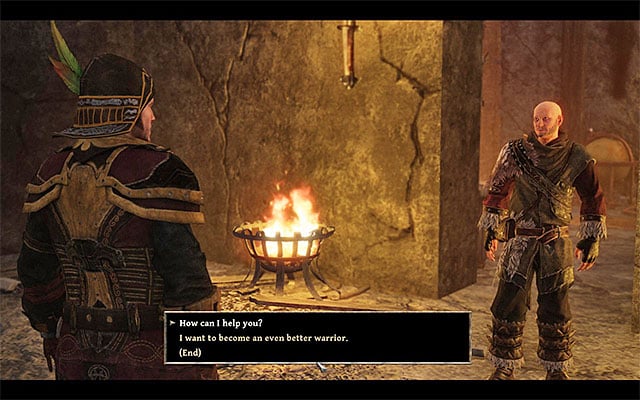
As was previously mentioned in the Crab Coast main quests section, this quest can be unlocked in any given moment of the game, by talking with Bones. The quest is composed of three different parts, and the part associated with the Demon Hunters faction can be done while you are in the Calador Bay. You must meet with the druid Eldric, located in the Demon Hunter's Citadel (point 2 on the map). During the conversation offer your services to the druid. Eldric will ask the Nameless Hero to support the Demon Hunters, who suffered grievous wounds during the encounter with the Shadow Lord.
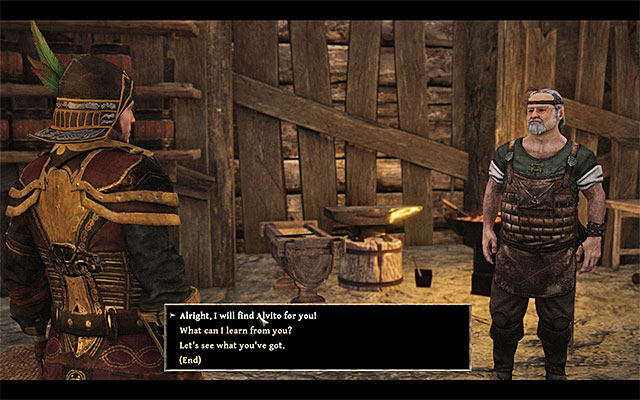
Before you leave the Demon Hunter's Citadel, go inside the room with a smith called Wilson (point 2a on the map). During the conversation, the man will ask the Nameless Hero to find his missing assistant Alvito, suggesting you to start your search from the nearby inn, and to examine the abandoned mine, located to the North from the Citadel.
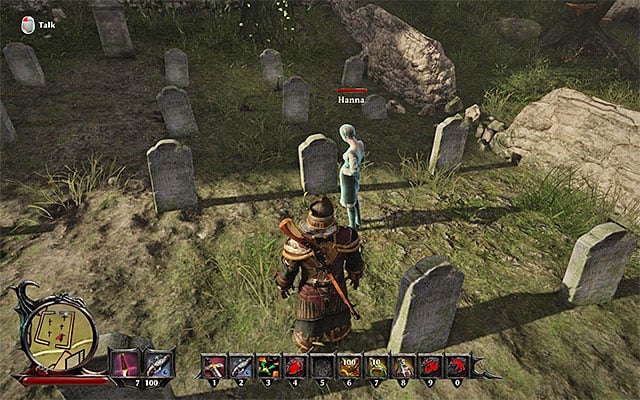
After leaving the Citadel, it's recommended that you set your steps towards a graveyard located to the North. Here you will meet Hanna (point 2b on the map), who is a ghost. It's worth trying to speak with her - you will learn that she can't rest in peace, because her amulet was stolen. You can react to this confession in three different ways:
- You can promise Hanna to retrieve the amulet, by going to collect the item from the nearby inn. This variant was described below.
- Try to persuade Hanna that she doesn't need the amulet. This option will be available to you only if you've developed the Silver Tongue ability to at least 60 points. If you have selected this method, you will be given 100 Glory Points and you will not have to (although you still can do it) search for people responsible to the theft.
- Refuse to help Hanna. This is the worst variant, as Hanna will send a group of three hostile Skeletons on you.
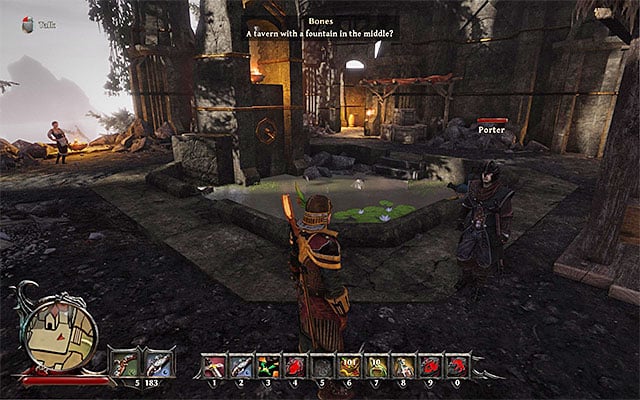
Afterwards, go to the tavern located to the West from the Demon Hunter's Citadel (point 2c on the map). You should be able to notice Porter right before the entrance to the tavern - speak with him about the stolen amulet. Porter will tell you that he gave the amulet to Yvette. The Hunter won't be having any problems with giving Hanna back her amulet, but it's the Nameless Hero who will have to convince Yvette to give the item back.
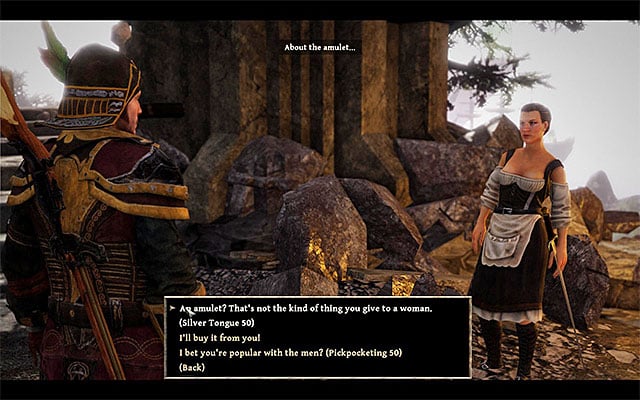
Approach Yvette and start the conversation. It's good to take a positive approach towards Yvette at the very beginning and give her 30 pieces of gold. As for the amulet, you can retrieve it in a three different ways:
- You can convince Yvette that the amulet is not a gift fit for a woman. This option is available to you only if you've developed the Silver Tongue ability to at least 50 points.
- Buy the amulet. It's worth to bargain with Yvette a little, so she lowers the price from 500 to 300 gold pieces.
- Steal the amulet. This option is only available if you've developed your Pickpocketing skill to at least 50 points.
Before you finish your conversation with Yvette, ask her about Alvito, Wilson's assistant. The woman will confirm that Alvito went to the abandoned mine located to the North of the tavern.
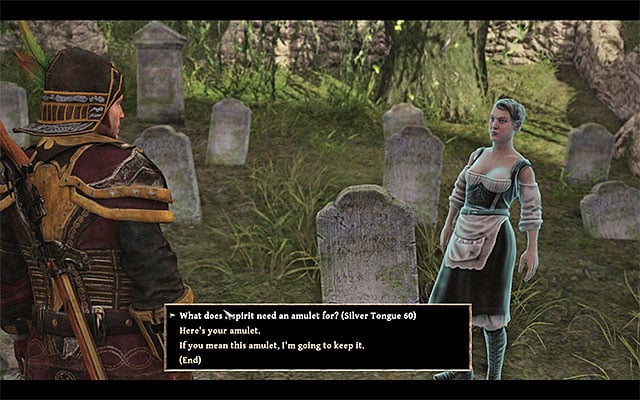
After collecting the amulet (Yvette's Amulet) (100 Glory Points) you can now go back with it to Hanna. You can choose three options mentioned above - you can give the amulet to Hanna (100 Glory Points), persuade her and keep the amulet for yourself (100 Glory Points), or provoke a fight (100 Glory Points for every Skeleton killed). The best method is the second one, obviously, because you will end the quest and you will be able to keep the amulet for yourself (it improves some of the stats associated with magic and alchemy). Regardless of your decision, go back to Porter and inform him about solving the problem. Thanks to that, you will earn 200 Glory Points, as well as 200 pieces of gold (Porter will go back to the Citadel).
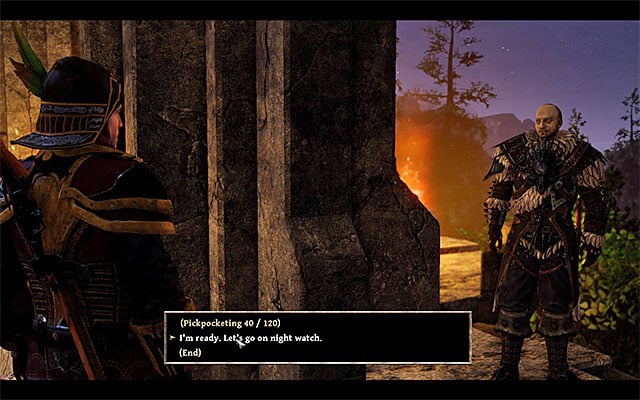
Near the tavern you will stumble upon another Demon Hunter named Mason (point 2d on the map) - agree to his proposition for a joint patrol. To be able to depart on the mission, you must talk to Mason late at night. After the patrol starts, go after Mason and be ready to eliminate a few groups of monsters - they will most certainly consists of Scavengers, Minions and a Shadow Guardian, who you should be extra careful off (attack him when he's fighting your allies). After the patrol end, you will receive 100 pieces of gold and 300 Glory Points (excluding the points you've earned for killing the mobs, obviously). Afterwards Mason will return to the Citadel.
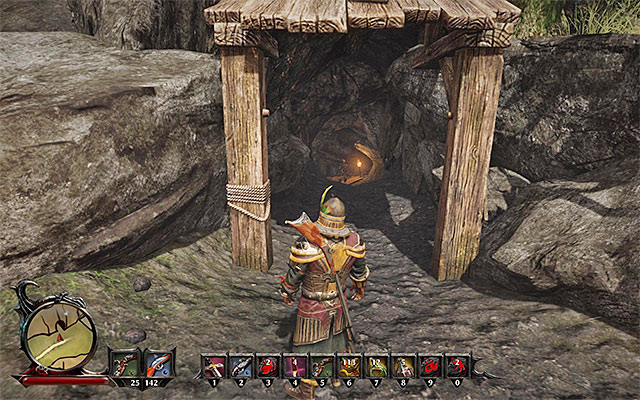
After completing all of the tasks in the tavern and on the graveyard, you should depart to the North. In a close vicinity to the cemetery you will find the entrance to the abandoned mine, which can be seen on the above screenshot (point 2e on the map). Do not rush with going through it, as there are Scavengers and Black Ghouls nearby. You should approach them with caution, especially because they may operate in groups.
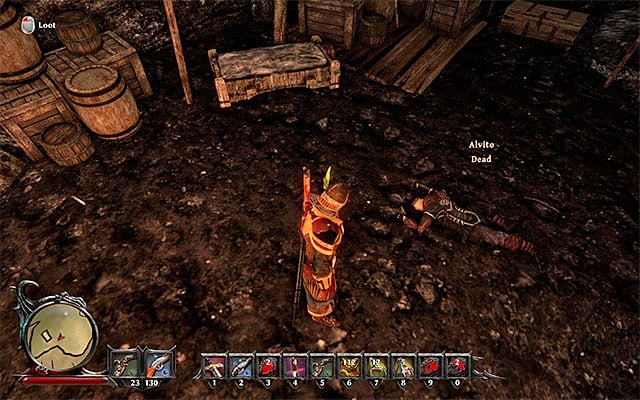
Enter the mines and start eliminating the nearby Skeletons. A lone Skeleton poses no real threat, but don't ever try tackle a number of them at once. After securing the cave, locate the corpse of Alvito - examine them, thanks to which you will earn 100 Glory Points and Alvito's Notes. You can now leave the caverns. Return to Wilson in the Citadel (point 2a on the map) and pass the bad news to the smithy. You will be rewarded with 200 Glory Points and 200 pieces of gold for your efforts.
Note - from this moment onwards, you will be able to collect Iron Ore for Wilson. For each piece of ore you bring him, you will be rewarded with 25 pieces of gold.
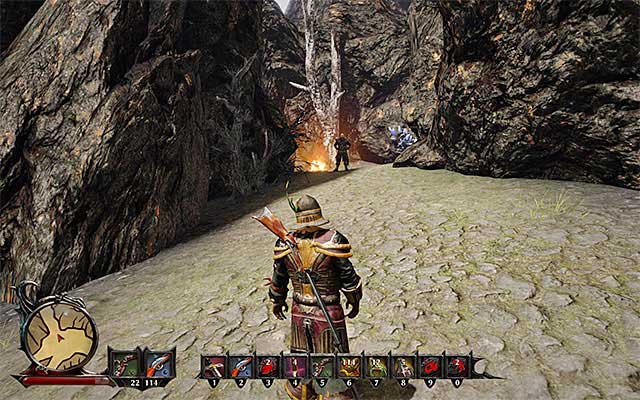
Afterwards, go further into the North. It's recommended to stick to the central part of the map during your journey, as the Western path (the one running near the water) is "protected" a lot harder by the monsters. Look for a Demon Hunter called Cyril along the way (point 2f on the map) - speak with him as soon as you find him. From Cyril you will learn about the fallen soldiers and asked to get to their bodies, to retrieve their personal belongings.
Note - Cyril is a dealer as well. You can now examine his offer - or do so later, when he goes back to the Citadel.
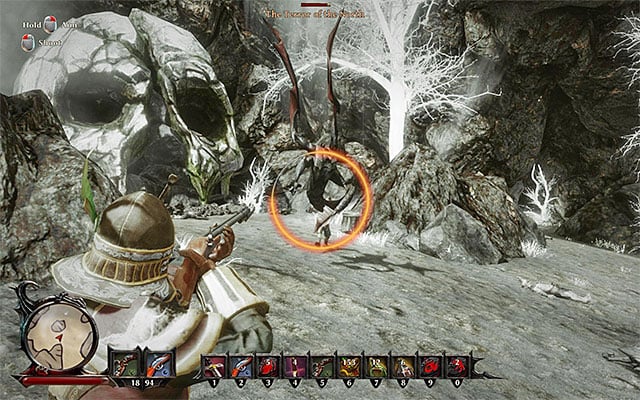
Make sure that you're well prepared to the upcoming battles and go towards an elevation to the North (point 2g on the map). Eliminate a few Black Ghouls and Minions along the way, and, after reaching the elevation, get rid of the Skeletons. If you try to examine the bodies of the fallen Demon Hunters, a mini boss called Terror of the North will appear. Try to be mobile and on the move at all times during combat - the creature is very mobile. Use the best weapons or magical attacks, because the foe is extremely durable. After defeating the Terror of the North, you will get rewarded with a rather skimpy 100 Glory Points.
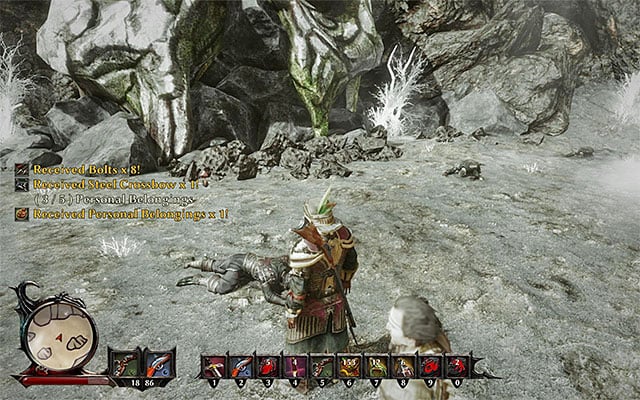
Only after you've secured the whole hill try to approach the corpses and examine them for their Personal Belongings, and other valuable items (a crossbow, for instance). There are 5 bodies to examine and you will receive 100 Glory Points as a reward. You can now go back to Cyril (point 2f on the map) to speak with him. The Demon Hunter will begin a proper burial ceremony - afterwards, you will be given 100 Glory Points, Cyril will go back to Citadel and you will receive yet more 200 Glory Points.
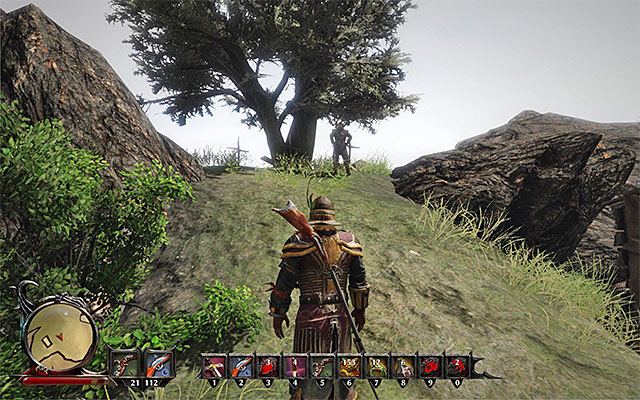
Head yourself in the direction of a small farm, located to the East from the place you've met Cyril. After reaching the place, you will learn that the farm was completely destroyed. Find a Demon Hunter named Fenn nearby (point 2h on the map) and initiate a conversation. From the Hunter you will learn, that Iona survived the attack and you will be asked to find her.
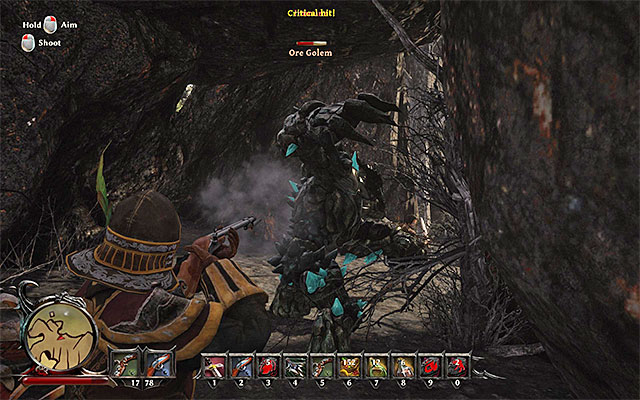
Iona hides to the North of your actual position (point 2i on the map). It's best to get there by a narrow passageway located near the destroyed farm. During your trip your party will stumble upon some smaller enemies, but the biggest threat can be found near a magic circle. Here you will find an Ore Golem. You can try to sneak by and avoid fighting it, but as you will be coming through this area soon, it's best to just eliminate it now. The golem is obviously extremely strong, so just focus on avoid its attacks and try to find a safe moment to throw your own attacks (from a safe range, or when the enemy focuses itself on your ally). Good news is that for defeating the golem you will be rewarded with plenty of experience - 400 Glory Points.
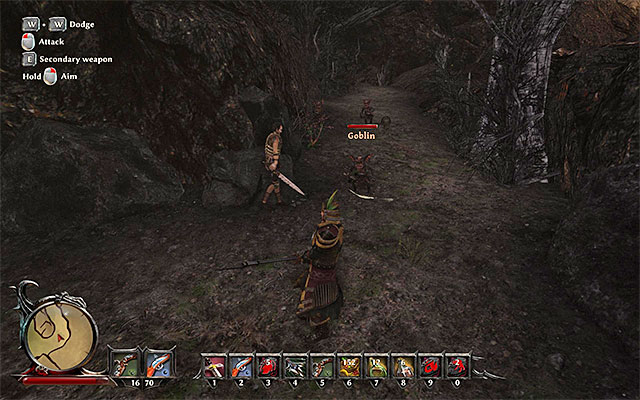
Finish your journey to Iona, by killing a few Goblins located on the path. After a short conversation with Iona, you will all set off in the direction of the tavern (point 2d on the map). You have to move directly to the South, because going off the road will result in Iona refusing to continue going with Nameless Hero. Leading Iona back to the tavern will give you a reward - 100 Glory Points. It's crucial to go to Fenn as well (point 2h on the map) to tell him good news. The Hunter will go back to the Citadel and you will be given 300 Glory Points and 150 gold.
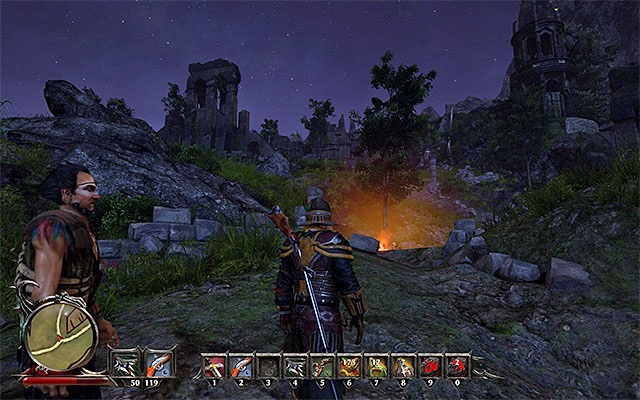
Now it's a good time to examine the ruins of the castle, located in the Western part of the Calador Bay (point 2j on the map). After reaching the encampment (point 2k on the map) you will meet a Demon Hunter named Winter. It's good to speak with and invite him to join you in your mission to murder Shadow Lords, who is hiding in the ruins of the castle.
Note - Winter can die during the trip, so it's good to keep an eye on him and keep him safe, helping him whenever he is surrounded by a bigger group of enemy monsters. Keeping him alive isn't necessary to finish the quest, but you will earn additional rewards if you can do that.
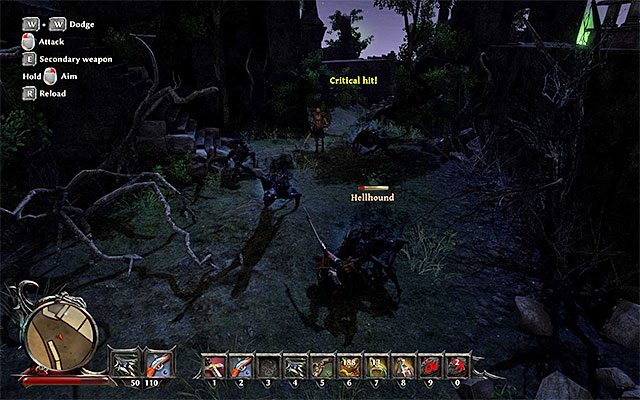
Crossing the castle is very linear, as the place in which the Shadow Lord is hidden can be accessed by a single passageway only. Depending on your preferences, you can either go after Winter all the time, or try to examine the nearby ruins thoroughly. As far as the threats go, you will face Minions, Skeletons, Hellhounds and Black Ghouls in the ruins of the castle. You have fought each of those enemies in the past, so you should have no problems, but watch out for places with larger enemy groups.
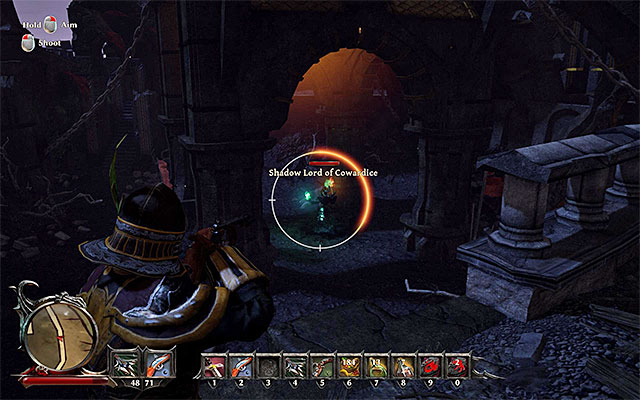
The hideout of Shadow Lord of Cowardice can be found in the Northern part of the castle (point 2l on the map). It's a good idea to prepare properly before the fight with the boss. Patch your character up and heal any wounds sustained in previous battles, and add some medications or healing scrolls to the quickbar. You can also climb up the castle walls (as can be seen on the above screenshot), to take a good firing position for your ranged attacks, but it's not necessary.
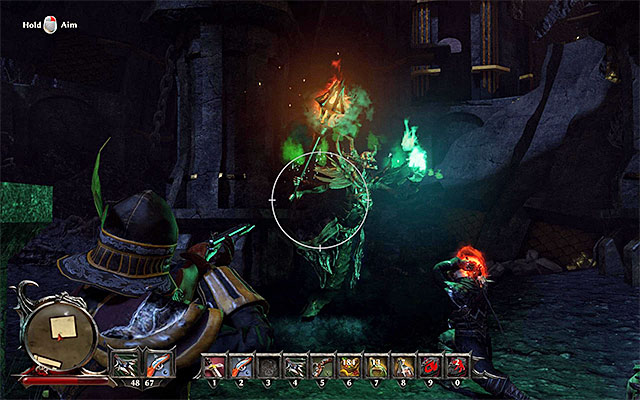
After starting your encounter with the Shadow Lord, it's advised to take out his underlings first. After the boss is the last enemy standing on the battlefield shift your focus onto him. If you prefer melee combat to fight him, focus on dodging his attacks and try to find an opening to attack him with charged attacks. If you, however, like to attack from afar, it's wise to use strong spells and / or muskets, which allow you to keep your safe distance. You will be rewarded with 500 Glory Points for defeating the Shadow Lord.
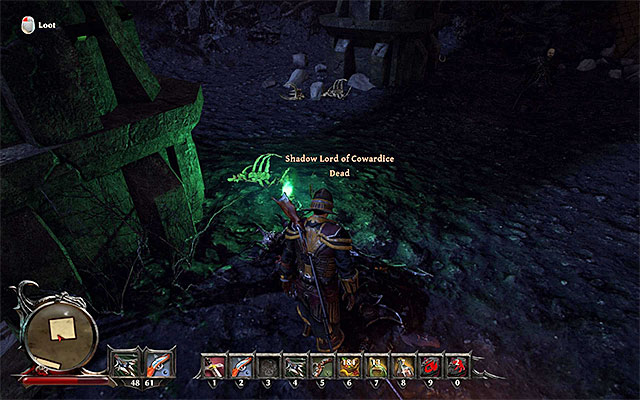
Before you leave the castle ruins, it's a good idea to do something. First things first, speak with Winter (if he wasn't accompanying you during the charge on the castle, get back to the campfire), and you will earn 2 tomes of Ancient Knowledge and 200 Glory Points. Examine the dead body of the Shadow Lord as well, picking up a Shadow Scepter and a Black Heart, which will come in handy during the Crew Quest "Black Magic Experiments".
Note - if Winter died, you will not be getting the extra Glory Points and Tomes of Ancient Knowledge, but nothing else will really change.
Note - in the castle ruins there's a grimoire associated with the main quest of the storyline "The Ancient Knowledge". Go to the description of this quest in this guide to learn more about it.
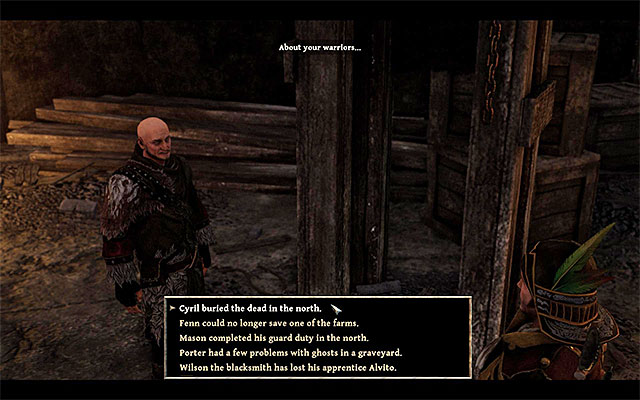
As you have helped all the Hunters, it's a good idea to come back to Eldric located in the Citadel (point 2 on the map) and give a scrupulous report about each and every step you took. For helping each of the Demon Hunters you've met, the druid will reward you with 200 gold and 100 Glory Points, so you will be getting 600 Glory Points and 1200 gold. Besides, you will be given a set of special rewards at the very end.
Attention - you can finish this quest only if you've already met Admiral Alvarez on Antigua, when completing the "Report for Admiral Alvarez" quest. Completing it also means joining one of the three main factions available in the game (demon hunters, natives or guardians) and it is an IRREVERSIBLE decision. After joining the demon hunters, you will unlock a lot of new quests and other attractions connected to this faction (like for example buying rune magic spells), BUT you won't be able to join any other faction. You should consider this decision well and choose the faction that suits your game style best.
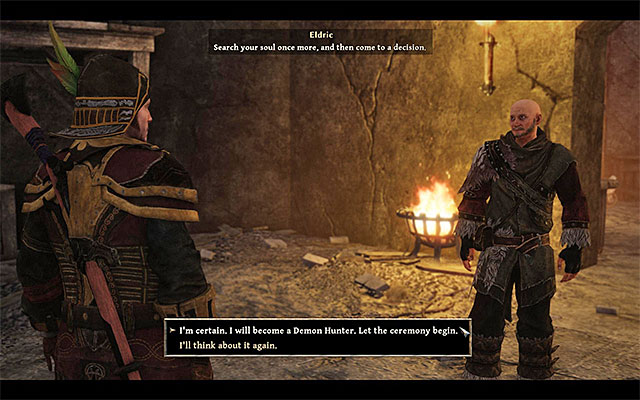
If you want to join the demon hunters and you meet all the requirements (completing the tasks described on this page and meeting Alvarez), you can now talk to druid Eldric and tell him about you wanting to take the initiation process. The Nameless Hero will join the demon hunters faction and will obtain the lowest rank - Scout.
Rewards
- 1000 glory points
- 1000 gold
- 2 x Tome of Ancient Knowledge
- 3000 glory points - only if you decided to join the demon hunters
- Obtaining the Scout rank and new outfit elements - only if you decided to join the demon hunters
- Risen 3: Titan Lords Game Guide
- Risen 3 Titan Lords: Game Guide
- Risen 3 Titan Lords: Main Quests - Calador
- Risen 3 Titan Lords: Map
- Risen 3 Titan Lords: Find Eldric
- Risen 3 Titan Lords: Only Worth Half As Much
- Risen 3 Titan Lords: New Allies
- Risen 3 Titan Lords: The Ancient Knowledge
- Risen 3 Titan Lords: Pirate Alliance
- Risen 3 Titan Lords: The Spirit Ritual
- Risen 3 Titan Lords: Recruit Eldric
- Risen 3 Titan Lords: Recruit Chani
- Risen 3 Titan Lords: Recruit Zacharias
- Risen 3 Titan Lords: A Powerful Spell
- Risen 3 Titan Lords: The Right Place
- Risen 3 Titan Lords: Main Quests - Calador
- Risen 3 Titan Lords: Game Guide
You are not permitted to copy any image, text or info from this page. This site is not associated with and/or endorsed by the developers and the publishers. All logos and images are copyrighted by their respective owners.
Copyright © 2000 - 2026 Webedia Polska SA for gamepressure.com, unofficial game guides, walkthroughs, secrets, game tips, maps & strategies for top games.
