Starfield: Echoes of the Past - walkthrough
Echoes of the Past is a Crimson Fleet quest to visit the prison from the planet Suvorov. The following walkthrough explains how to get to the Castle, how to open and search Kryx's cell, how to defeat the queen of monsters and how to act on Mathis.
Last update:
Echoes of the Past is another mission in the Crimson Fleet faction questline - you need to complete it to continue with the plotline. On this page of our guide, we supply a complete walkthrough for this quest, showing how to unlock access to the Lock prison on planet Suvorov, how to behave during the conversations with Mathis and whether chosen dialogue option have any effect on the course of the quest, how to reach Block D, how to open Kryx's cell and how to examine it properly, how to acquire the evidence from the locker, how to defeat the monster queen and finally how to steal the prison shuttle.
- Initiating the quest and reaching Suvorov
- Meeting Delgado at the entrance to The Lock
- Exploring The Lock
- Finding Jasper Kryx's cell in Block D
- Searching Kryx's cell
- Searching through Carter's locker
- Tunnel through which Kryx escaped
- Securing the hangar
- Returning to The Key
Initiating the quest and reaching Suvorov

- This mission depicts the first expedition of Crimson Fleet which revels around Kryx's Legacy. You first need to join the ranks of the pirates, which was the subject of the previous mission for this faction - Rook Meets King.
- Suvorov, your destination, is a planet in Kryx system, the same where you can find The Key station. Once at the orbit, find the Lockwhich is planetside and land there.
Meeting Delgado at the entrance to The Lock
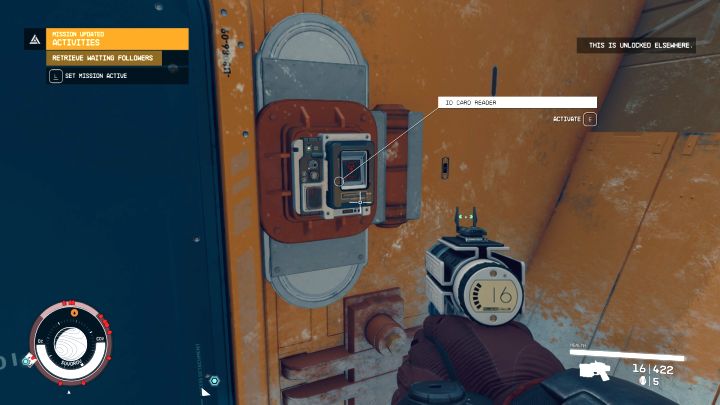
- After successful landing, talk to Delgado in the small encampment near the landing pad. On your way to the new destination, expect some monsters to fight. You don't have to worry about allies, as key quest characters cannot be killed.
- The entrance can be unlocked only once all companions arrive at the location. Check your scanner - red markers may symbolize monsters and places where combat takes place. If your allies are still in combat, help them in securing the area.
- Talk to Delgado at the airlock and express readiness to continue. The leader of the Crimson Fleet will unlock the entrance to The Lock.
Exploring The Lock
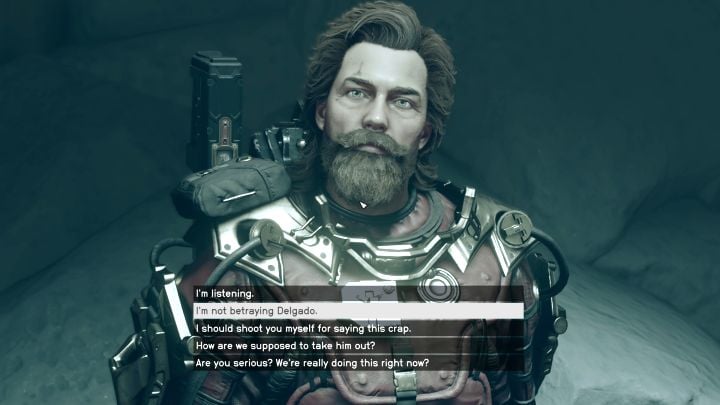
- After entering, you'll begin exploration of a large abandoned prison. You must secure the area, which means defeating all monsters that appear.
- Talk to Delgado and proceed in the direction of the control room. Along the way, you'll be separated from your companions.
- During the exploration of the prison, you'll have to talk to Mathis a few times - during these conversations, he will question Delgado's command and encourage you to betray the leader of pirates for your own benefit. The dialogue choices during conversations with Mathis don't affect the course of the quest. If you shoot down Mathis during the first conversation, he will try several more times to convince you to change your mind.
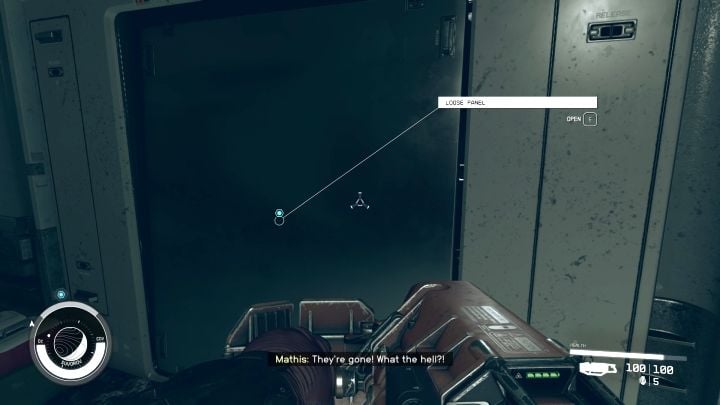
- You'll reach a loosened panel that can be pushed (screenshot above). It will open the way to the room with the intercom.
- Interact with the console and choose Security Controls. One of the options here is overriding the lockdown on the prison.
Finding Jasper Kryx's cell in Block D
- Reach another console that has Power System Controls option on it. Activate this option to restore power to Block D.
- Your new destination is the guard tower in Block D - there are a few different paths leading to it and along the way, you'll encounter more monsters. Additionally, you'll pass numerous locked cells and this is a great opportunity to improve your Security skill (and collect some additional loot).
- You'll reach a new interactive console. Interact with it and choose Prisoner Records - you'll learn that Kryx's cell is marked with D-03-118.
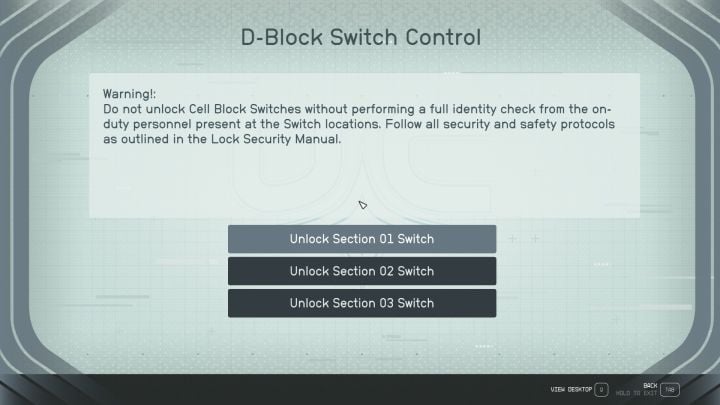
- Remain on the console and choose D-Block Switch Controls tab. Here you can unlock all sections or only section 03.
Searching Kryx's cell
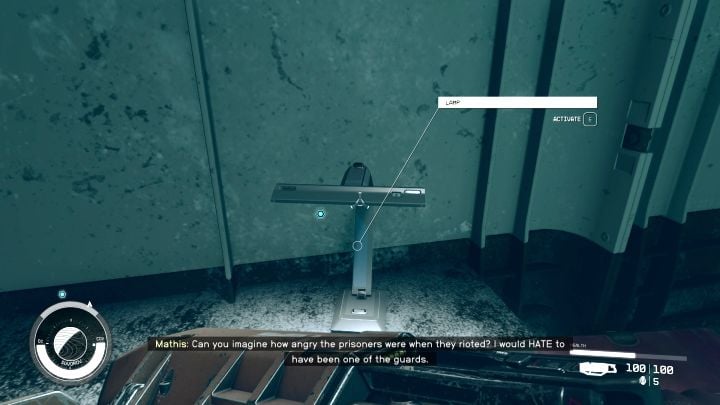
- Follow the blue marker - it leads to an interactive switch that opens all cells from section 03.
- Search for cell D-03-118 (the cell numbers can be found above their entrances). Inside cell D-03-118, examine the lit lamp from the screenshot, and an additional interaction will happen.
- You can follow that up with tearing out the lamp - underneath it, you'll find a message (Best Laid Plans). You can listen to it right away or find it later in the Notes tab. Reading the message will reveal a locker code.
Searching through Carter's locker
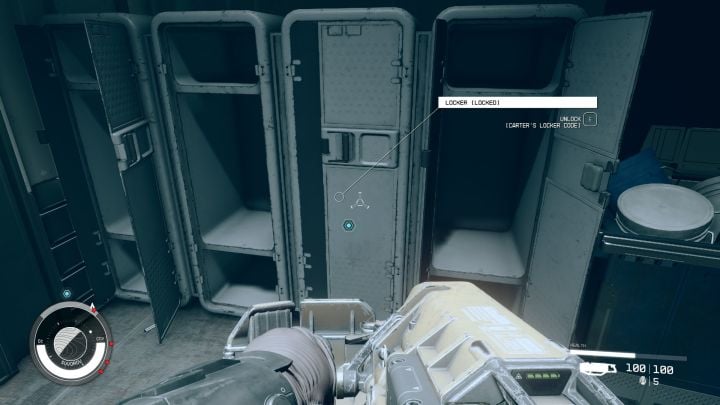
- The blue marker will now take you to Showers, and the sought locker is in that location.
- The locker contains a few items, but the most important of them is the evidence slate - listen to the new recording and another code will be received. The same slate can be used later for a separate quest called Burden of Proof received from Lieutenant Toft.
Tunnel through which Kryx escaped
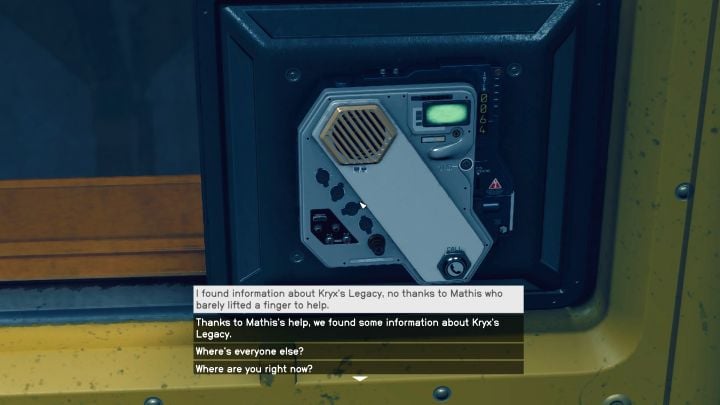
- Follow the marker to reach a console that will unlock the way forward. You will find a new loose panel to push.
- Head towards the hangar and defeat any monsters along the way. Reach the Warden's office and use the intercom again to talk to Delgado.
- During the conversation, you can inform Delgado of Mathis's help or lack thereof - this will influence his fate in the final part of the quest. Once again, you'll need to talk to Mathis and either follow his lead or refuse to help him.
While in the Warden's Office, you can open several chests with unique loot (among others, a helmet, rifle, lots of credits). Fortunately, they are not locked and using digipicks won't be necessary.
Securing the hangar
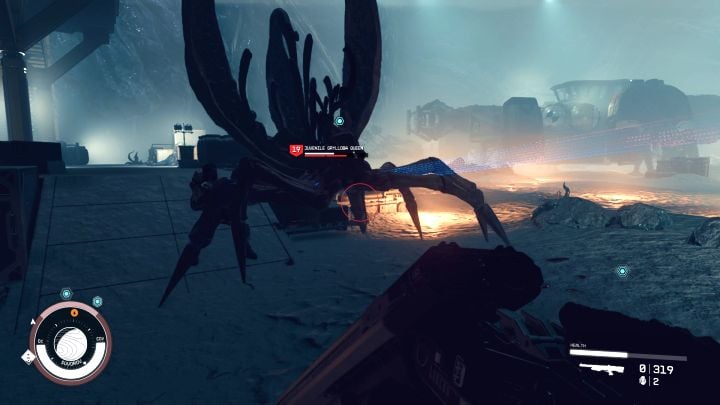
- After reaching the hangar area, a monster queen will appear - this is a larger and more powerful level 19 creature. To get an upper hand during the encounter, consider placing some mines around the battlefield. Also keep the queen at a distance and if necessary, run to the roofs or higher shelves.
- Once the queen is down, enter UC Prison Shuttle. Take a seat in the cockpit. The shuttle will become a part of your fleet of ships. You can stick to this ship for the time being or visit a Ship Services Technician to swap it.
Returning to The Key
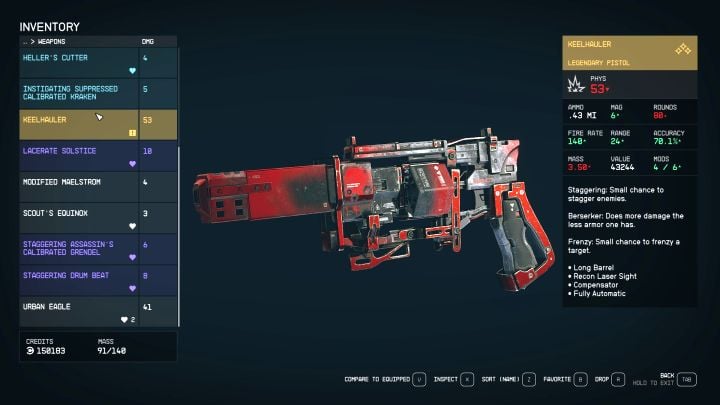
- Fly to The Key and dock there. Go to Delgado and give him the slate obtained in the prison. As a reward, you'll receive Keelhauler, a legendary pistol.
- Depending on the dialogue option you've chosen in Warden's Office, you'll learn of Mathis's fate (either he will remain in the Fleet or be kicked out) - you can additionally support Delgado's decision or oppose it. You can also talk to Mathis himself - he can be found in the local bar. If he was kicked out from the Fleet, expect him to attack you while in space - he will appear along with some backup after one of the next grav jumps.
- Regardless of Mathis's fate, talk to Naeva at the bar. You also need to return to UC Vigilance to submit another report. Your rewards will be XP and 9,600 credits. You'll also unlock a new quest for Crimson Fleet faction - Breaking the Bank.
- Starfield Guide
- Starfield: Game Guide
- Starfield: Walkthrough
- Starfield: Faction - Crimson Fleet
- Starfield: Deep Cover - walkthrough
- Starfield: Rook Meets King - walkthrough
- Starfield: Echoes of the Past - walkthrough
- Starfield: Breaking the Bank - walkthrough
- Starfield: The Best There Is - walkthrough
- Starfield: Absolute Power - walkthrough
- Starfield: Eye of the Storm - walkthrough
- Starfield: Legacy's End - walkthrough
- Starfield: Burden of Proof - walkthrough
- Starfield: Reclaiming the Past - walkthrough
- Starfield: Doctor's Orders - walkthrough
- Starfield: Faction - Crimson Fleet
- Starfield: Walkthrough
- Starfield: Game Guide
You are not permitted to copy any image, text or info from this page. This site is not associated with and/or endorsed by the developers and the publishers. All logos and images are copyrighted by their respective owners.
Copyright © 2000 - 2025 Webedia Polska SA for gamepressure.com, unofficial game guides, walkthroughs, secrets, game tips, maps & strategies for top games.
