Starfield: The Empty Nest - walkthrough
The Empty Nest is another story quest in which you will travel with new companions - Sam Coe and Cora Coe. Our guide to Starfield contains a complete solitaire, which explains how to solve the Coe family case and how to get another Chi artifact.
Last update:
The Empty Nest is a story mission featuring the Coe family - Sam and Cora. Your task will be to solve a Coe family dispute and visit the titular Nest in search of the Chi artifact. This page of our Starfield guide will help you with any problems you may have while completing this mission.
- Conversation with Sam Coe and traveling to Akila
- Visiting Akila
- Dispute in Coe family's estate
- Journeying to the Nest and meeting Shaw
- Fighting Shaw's gang and/or Ashta
- Returning to The Lodge and the conclusion of the task
Conversation with Sam Coe and traveling to Akila
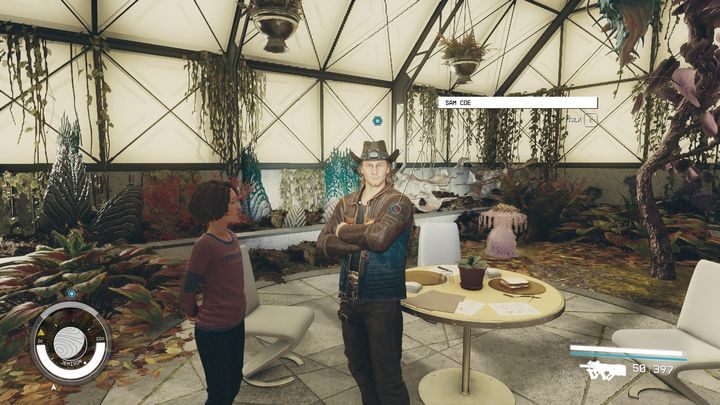
- One of the members of The Lodge on New Atlantis is Sam Coe. Talk to him and Cora to initiate the task.
- After the conversation is concluded, travel to Akila which is located in Cheyenne system.
Visiting Akila
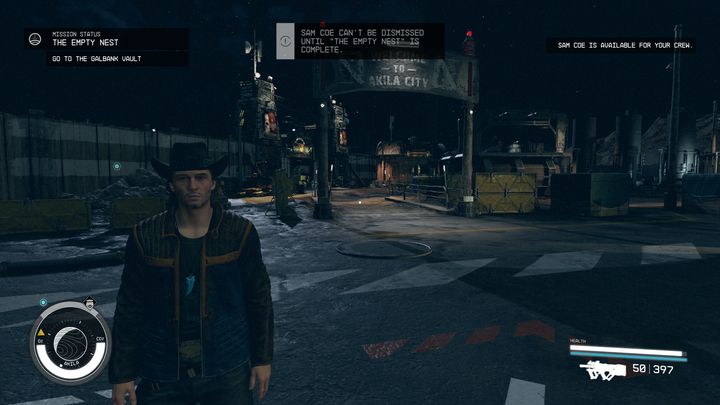
- After landing on Akila, Sam Coe will join you as a companion. Approach the main gate of the city.
- The guards will stop you. They will ask you to speak to an NPC called Marshal Daniel Blake. He is in front of the local Galbank.
To be able to continue with The Empty Nest mission, you need to solve the problem of robbers that attacked the local Galbank, which is the objective of a smaller Job Gone Wrong quest. The quest in question received a complex explanation on a dedicated page of our guide.
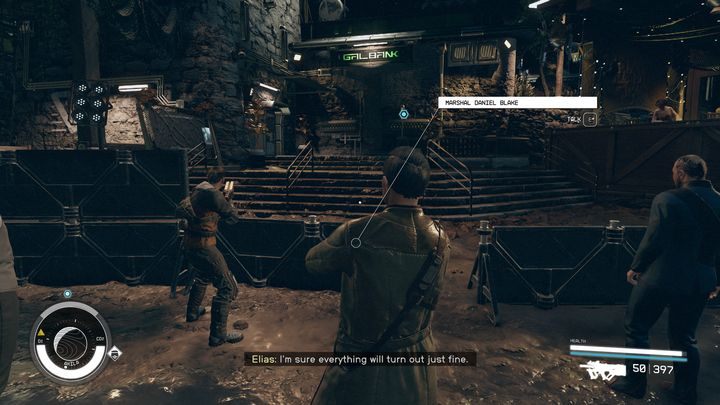
- After completing Job Gone Wrong, you can continue with The Empty Nest. With Galbank free of robbers, you can now enter it and search the cabinets in the basement for the maps.
- Instead of maps, in one of the cabinets you'll find an item - Note for Sam. Pick it up (and optionally, read it). It says that a person named Jacob knew that Sam would one day want to steal his legacy.
- You can ask Sam to explain the Jacob deal, but this is not required. You'll receive a new destination, which is the Coe Estate.
Dispute in Coe family's estate
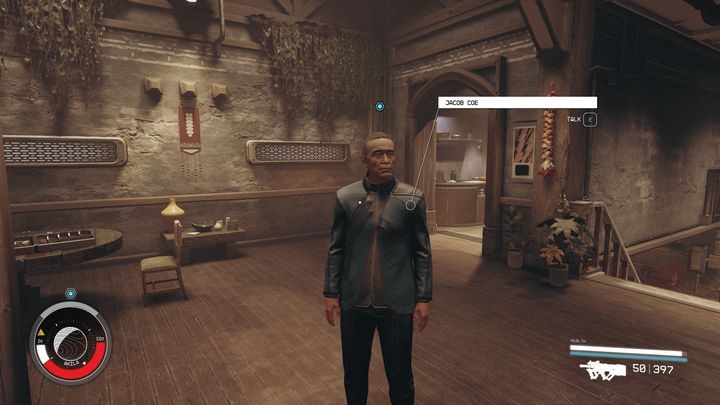
After reaching the marker, an argument between Jacob and Sam will ensue. After both sides calm down for a while, talk to Jacob. Your new task will be to retrieve the maps. You can do this in three different ways:
- Use Persuasion to convince Jacob to give the maps voluntarily. This is the best solution, albeit without developed Persuasion, it may be hard to achieve.
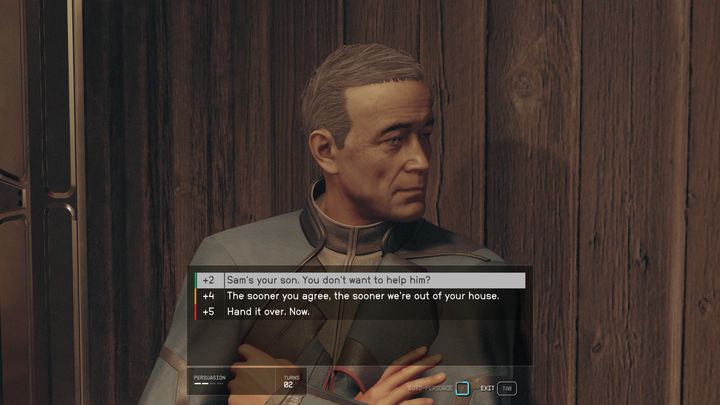
- Let Sam talk to Jacob to distract him. Then you can sneak to the room with the maps and steal them.
- Bring Cora to the Coe family estate . To find her, you need to return to the docking space of your ship, talk to her and bring her to Jacob. Even if this is the lest troublesome way, Sam won't like it. Additionally, Cora will stay at the estate from now on.
Journeying to the Nest and meeting Shaw
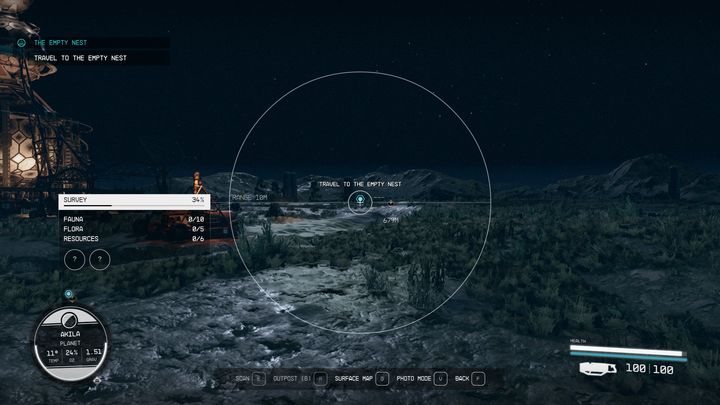
- After acquiring the map, you'll receive a new blue marker leading to The Nest.
- At the location, you'll encounter Shaw's gang which is a few enemies and some turrets. You can engage them in combat or sneak through to the Nest itself. If you have the ability to hack turrets, be sure to use it, as they are the most troublesome during this encounter.
- Inside the Nest there will be more Shaw's men. You can either take care of them directly or sneak past and steal the artifact.
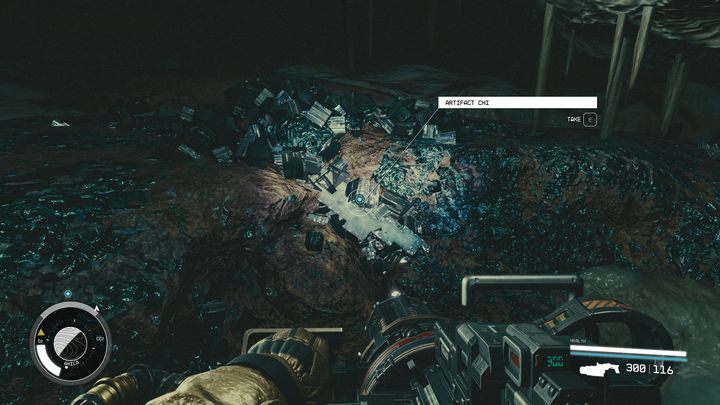
- With the artifact retrieved, go back to the surface. Unexpectedly, Shaw, the leader of the gang that is causing you problems, will appear.
- One of the options here is paying 4,000 credits to avoid bloodshed. You can alternatively use Persuasion to get out of the situation, but if the check is failed, you'll be forced to fight overwhelming enemy forces. Finally, you can proceed straight to combat.
Fighting Shaw's gang and/or Ashta
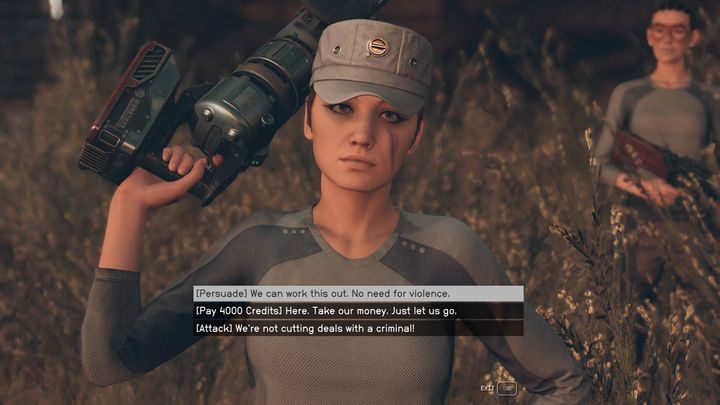
If you managed to bribe the gang or convinced them to stand down, they will help you fight a few Ashta, which are space animals inhabiting this planet.

If you decided to fight Shaw's men, the most problematic here are turrets (unless you've hacked them before) and Shaw herself. Take cover behind chests which are plenty in this location and elminate threats one by one. If you notice some gang members to be close to each other, use grenades or mines.
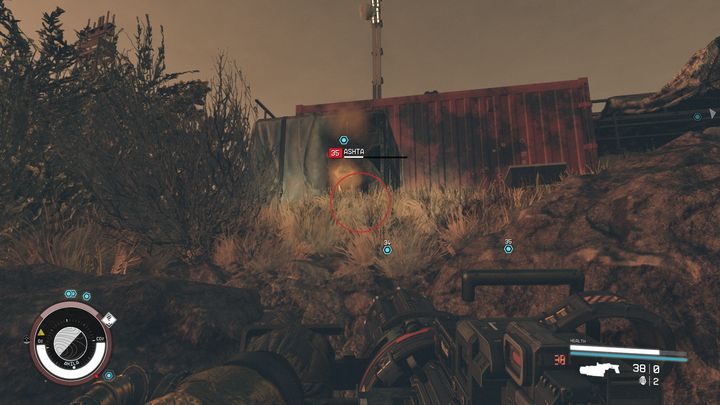
After dealing with the gang, no matter the way you've chosen, you'll be attacked by a few Ashta. Fortunately, fighting them is optional , but if you want to kill these creatures, fighting on high ground is a good idea. You can also use your jetpack to have the upper ground.
Returning to The Lodge and the conclusion of the task

After everything, you need to return to The Lodge in New Atlantis, place the artifact on the table and talk to Sam. You can now decide whether you want him in your team permanently. With the task concluded, you'll receive XP, 11,400 credits, 30x .27 Caliber ammo and a weapon - Scout's Refined Rattler.
- Starfield Guide
- Starfield: Game Guide
- Starfield: Walkthrough
- Starfield: Main missions
- Starfield: One Small Step - walkthrough
- Starfield: The Old Neighborhood - walkthrough
- Starfield: Into The Unknown - walkthrough
- Starfield: The Empty Nest - walkthrough
- Starfield: Job Gone Wrong - walkthrough
- Starfield: All That Money Can Buy - walkthrough
- Starfield: Starborn - walkthrough
- Starfield: Further Into the Unknown - walkthrough
- Starfield: Short Sighted - walkthrough
- Starfield: No Sudden Moves - walkthrough
- Starfield: A High Price to Pay - walkthrough
- Starfield: Unity - walkthrough
- Starfield: In Their Footsteps - walkthrough
- Starfield: Unearthed - walkthrough
- Starfield: Missed Beyond Measure - walkthrough
- Starfield: Final Glimpses - walkthrough
- Starfield: Entangled - walkthrough
- Starfield: Revelation - walkthrough
- Starfield: One Giant Leap - walkthrough
- Starfield: Main missions
- Starfield: Walkthrough
- Starfield: Game Guide
You are not permitted to copy any image, text or info from this page. This site is not associated with and/or endorsed by the developers and the publishers. All logos and images are copyrighted by their respective owners.
Copyright © 2000 - 2025 Webedia Polska SA for gamepressure.com, unofficial game guides, walkthroughs, secrets, game tips, maps & strategies for top games.
