STALKER 2: There and Back Again
There and Back Again is a prologue mission, introducing the story of STALKER 2. On this page of the guide we will tell you how to cross the border of Zona, where to find weapons and supplies, how to obtain coordinates from the Solder and how to use the valuable scanner.
The main character of STALKER 2, Skif, in the opening mission There and Back Again, goes to the Zone to restore the properties of the artifact that destroyed his apartment. On this page of the guide you will learn what elements are worth paying attention to in the game's opening quest. Thanks to our tips, your first visit to the Zone will go as painlessly as possible.
Crossing the Zone's wall
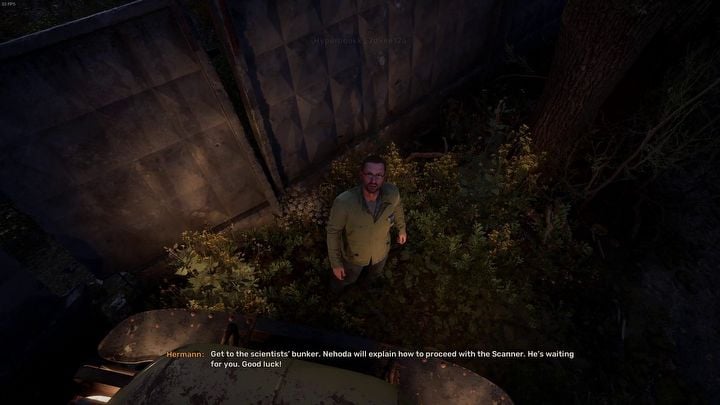
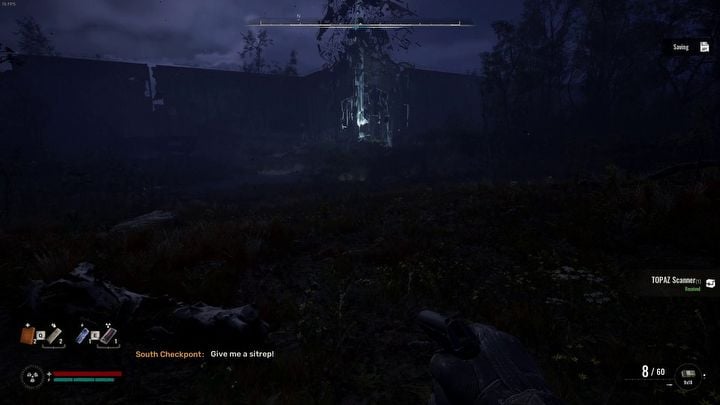
After watching the game's intro, you will be taken directly to the walls marking the boundaries of the Zone. Head straight ahead, to the hole in the barrier to the left of the beam shooting upwards.
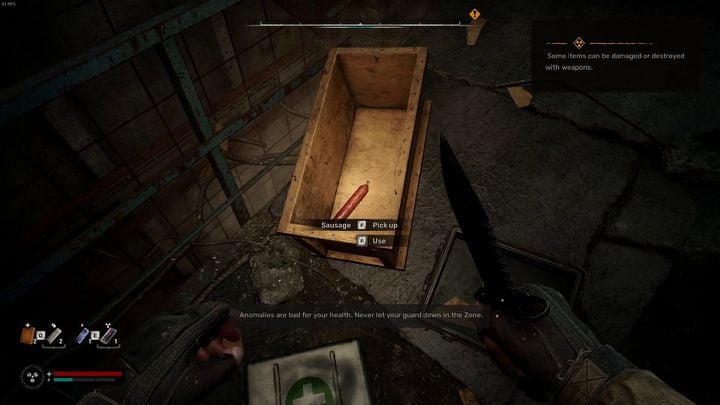
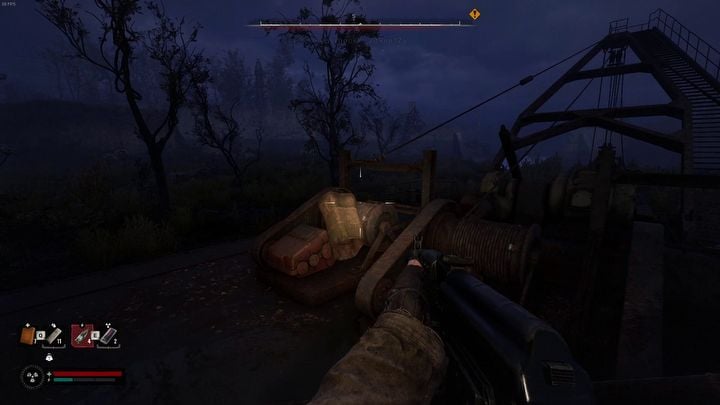
At the metal scaffolding, turn right. At the end of the short path you'll find some basic supplies hidden in crates. You will open boxes and first aid kits by hitting them with a knife, using a melee attack on them (V key on the keyboard) or shooting them. Collect the resources, then move across the scaffolding in the opposite direction.
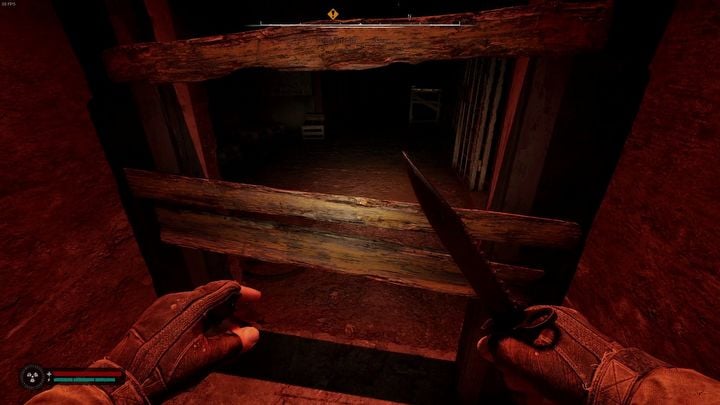
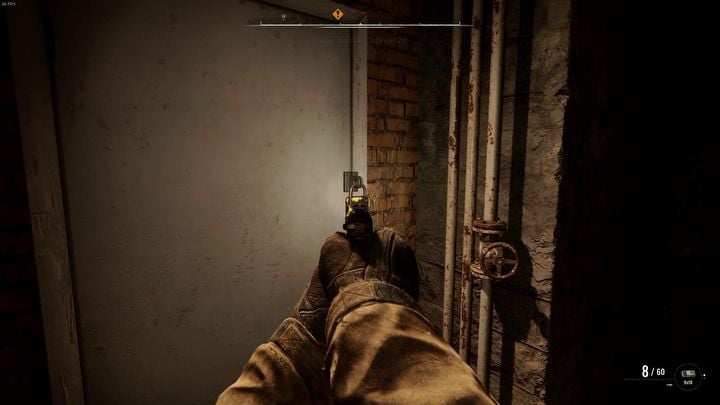
Use the knife to destroy the boards blocking the way (by default assigned to the shortcut 1 key). You can open the door in the next room by shooting the padlock.
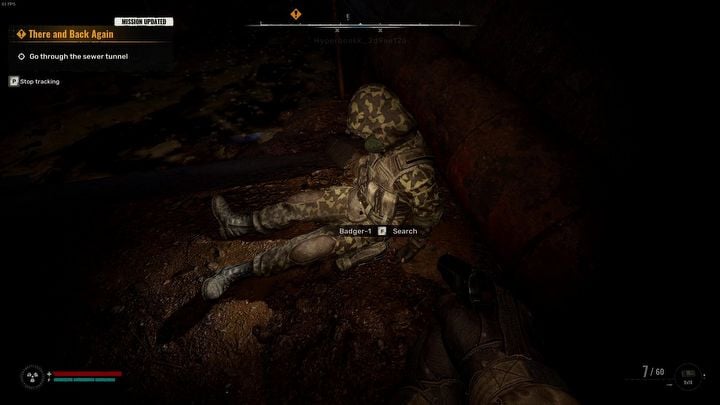
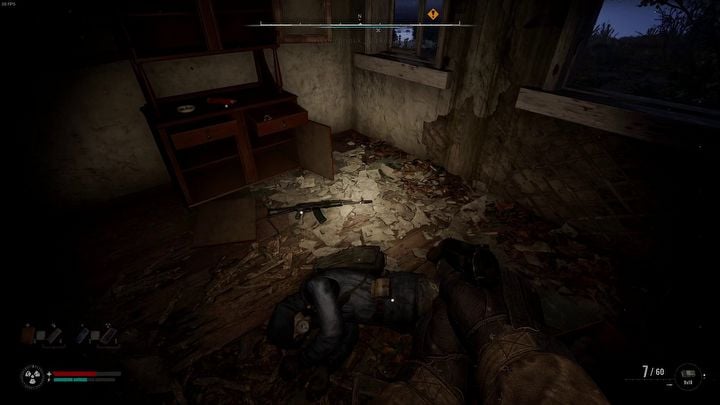
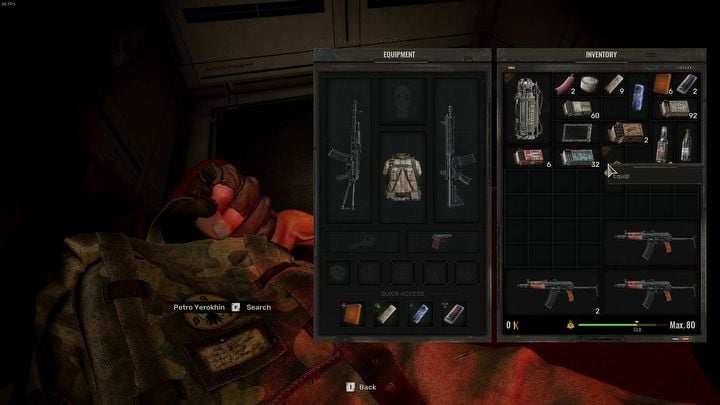
There is a corpse in the room with the electrical anomaly. Search the body and take the rifle. You can check the new weapon on the equipment screen (I key).
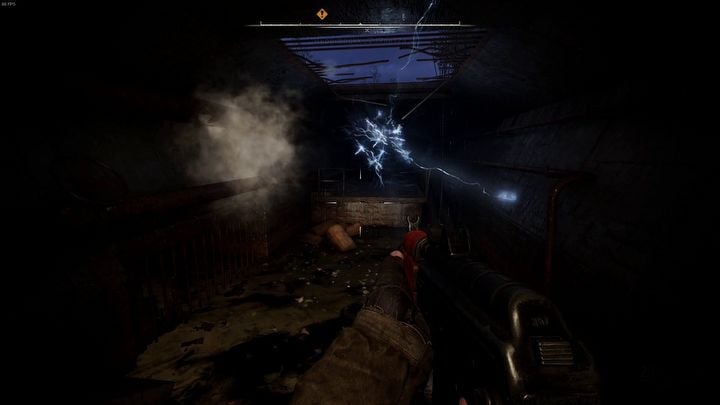
To avoid the electric orb, observe its behavior. The anomaly moves along a strictly defined path, in circles. Run through the dangerous section as soon as it passes you. Run into the pipe, out of range of the dangerous orb.
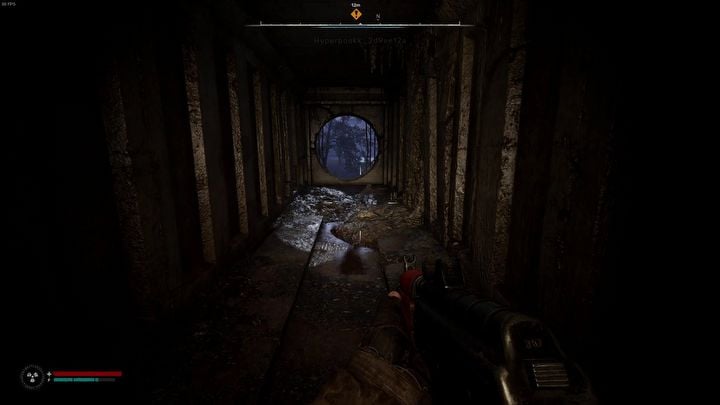
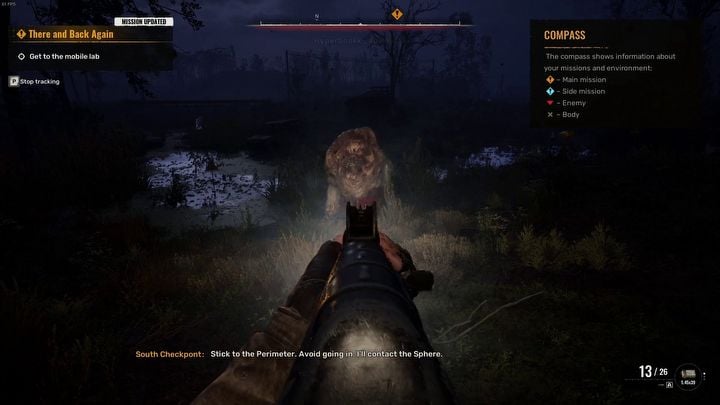
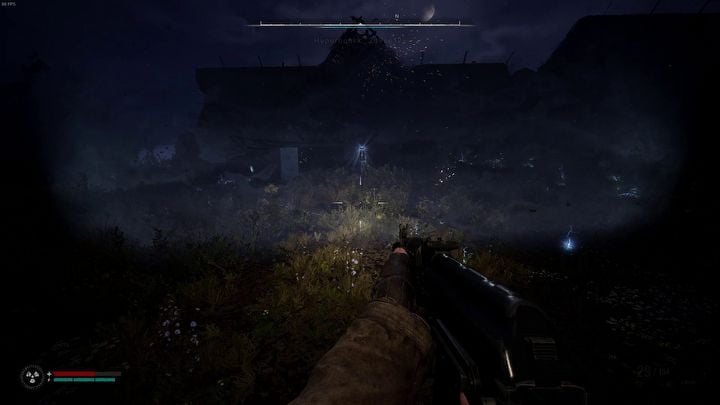
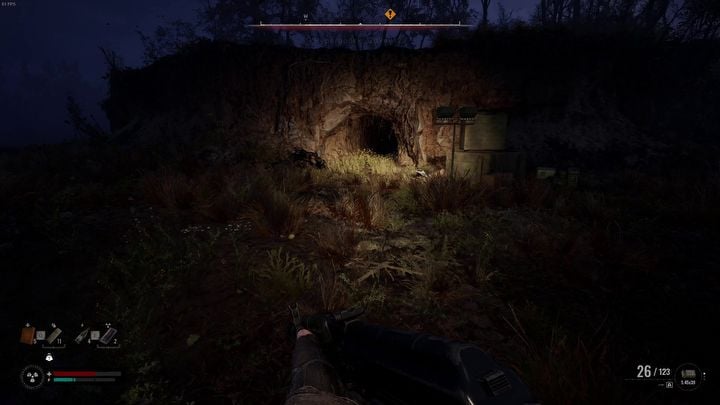
Continue your journey along the canals until you reach the exit. When entering an open area, keep your weapon at the ready. An aggressive, four-legged mutant will jump out at you from the nearby bushes.
Turn on the flashlight by pressing L key.
Continue east, following the mission marker. Visit the surrounding ruins of houses. Inside, you will find a lot of useful supplies and weapons. Then enter the big house by the river.
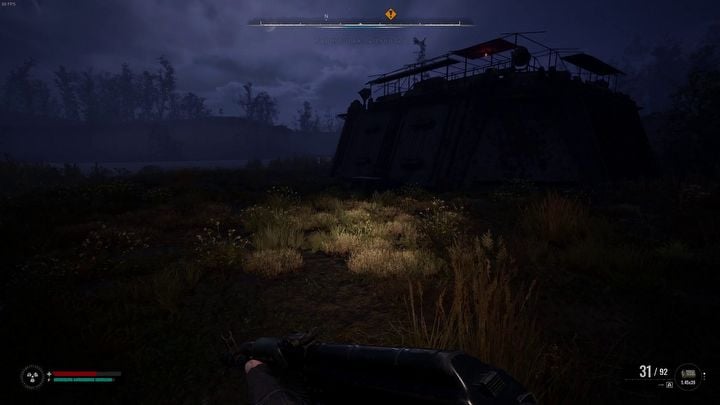
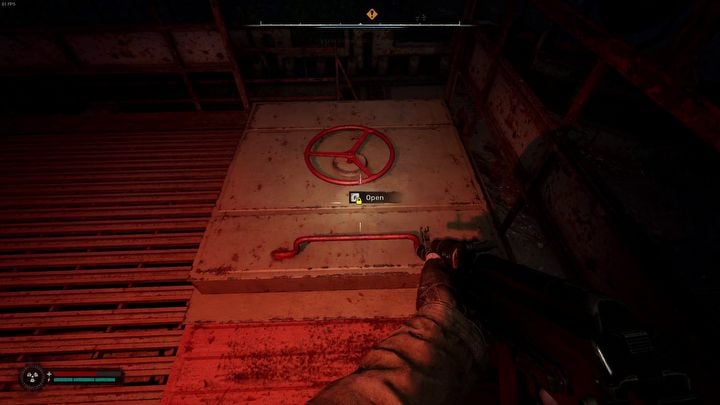
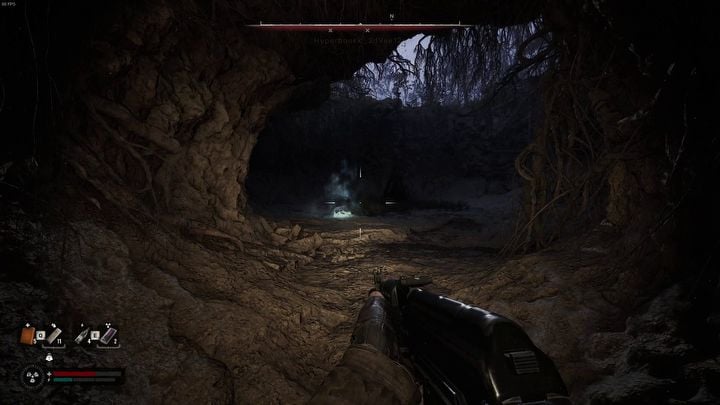
Climb the ladder to the attic, and then jump to the other side of the building. Climb to the top of the nearby bunker. You will get inside through the hatch.
Detector and fight with the mutant
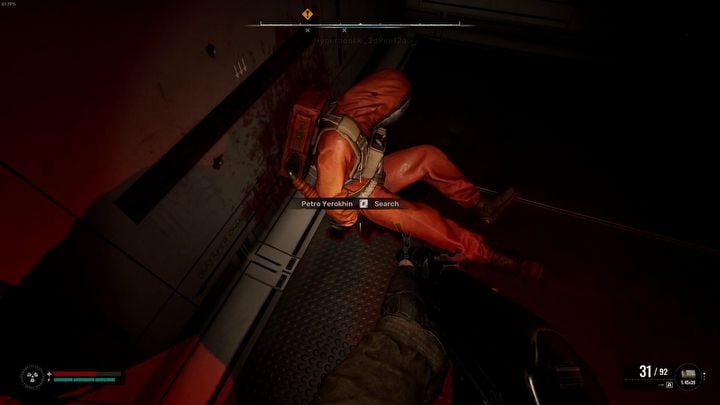
Search the bodies of the scientists. Loot the corpse in the orange jumpsuit to find a special detector that warns about anomalies and locates artifacts. Place the device in the appropriate slot on the equipment screen.
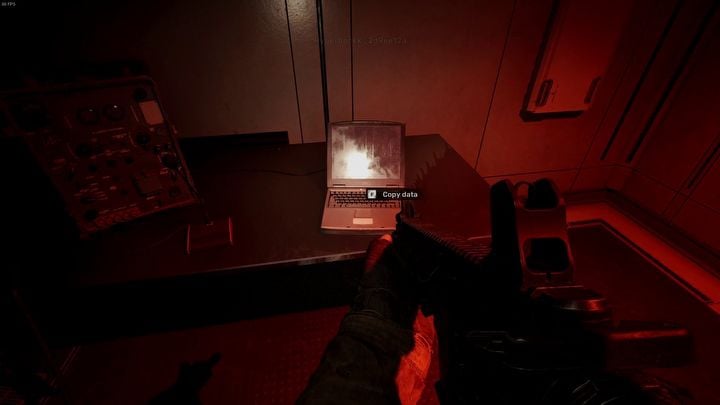
Search Dr. Nehoda's body. Hermann instructs you over the radio to find the deceased man's computer and download the data from it. The room with the laptop is next to the ladder you used to enter the bunker.
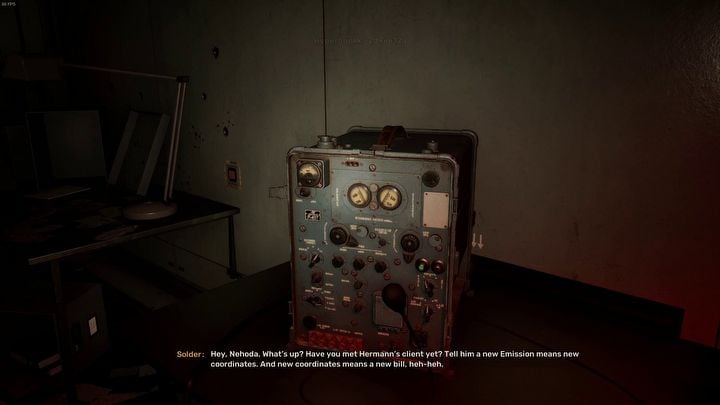
You will be contacted by radio by a man named Solder. He will send you the coordinates where you will take the scanner taken from Hermann.
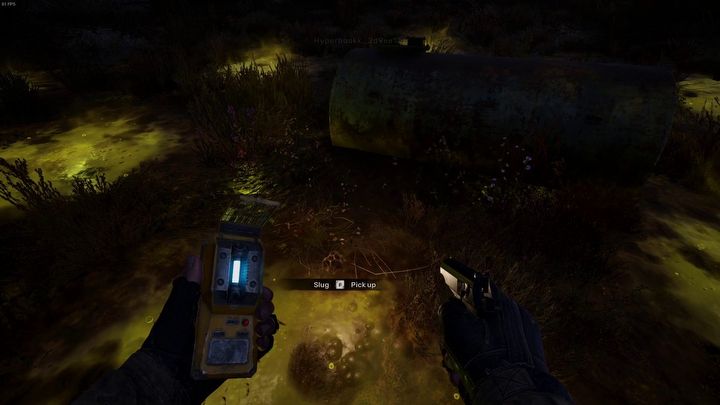
Exit the bunker through the door and take out the artifact detector (accessible from the weapon radial menu by pressing the Q key). Head towards the gas cylinder surrounded by greenish, poisonous anomalies.
Try to step carefully to avoid taking damage from the anomaly. Go to the place where the scanner in your hand will start flashing faster. At one of the puddles you will find the artifact you are looking for.
Prepare your weapons, because a moment later you will be attacked by a teleporting mutant. He becomes invisible after each charge, which significantly complicates the fight. Try to shoot him as much as possible when he reappears. You can also look out for a delicate, transparent glow, which will approach you when the monster is preparing to attack.
Scanning
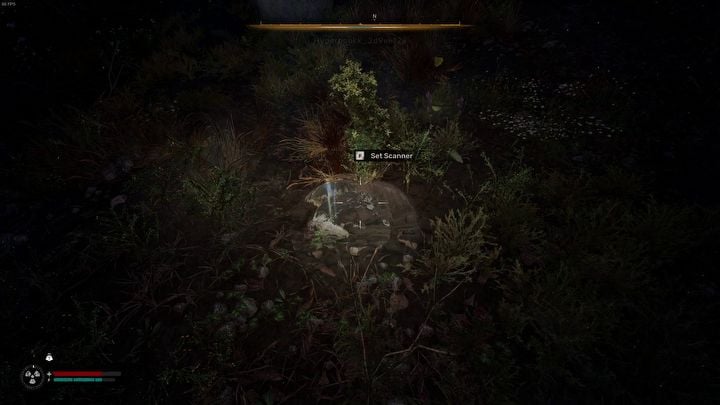
After defeating the mutant, head to the first scanning location (the passage through the hole in the wall is on the right side). Approach the location indicated by the mission marker and press the interaction key. Skif will place the scanner.
Once the machine starts working, quickly move away from it. Scanning the area will leave dangerous anomalies around the device. When you are approaching the scanner, walk very slowly, listening to the sounds of the detector. As the warning beeping becomes more intense, take a step or two to the side and continue to get closer to the device. Collect the scanner and head towards the next scanning location.
On the way you will be attacked by a group of three stalkers. Defeat them.
As you pass by the rusted ruins, do not linger for too long. The area is inhabited by Poltergeist - a dangerous mutant who will start throwing objects at you using telekinesis. These attacks deal significant damage.
Enter the underground tunnel where you'll find another spot to scan. Repeat the previous procedure. When picking up the device, watch out for fiery anomalies.
Head directly towards the next marker. Place the scanner in the middle of a large square. Shortly afterwards, a fairly long cut-scene will play in which Skif will be attacked by mysterious men. Right after it, the first mission of the game will end.
More about the walkthrough:
You are not permitted to copy any image, text or info from this page. This site is not associated with and/or endorsed by the GSC Game World or GSC Game World. All logos and images are copyrighted by their respective owners.
Copyright © 2000 - 2025 Webedia Polska SA for gamepressure.com, unofficial game guides, walkthroughs, secrets, game tips, maps & strategies for top games.
