STALKER 2: Hot on the Trail
Hot on a Trail is a main mission related to the Noontide faction and the Wild Island region. On this page of the walkthrough we will tell you how to get to the base of the former Monolithians, how to gain their sympathy and how to defeat the Controller.
In the Hot on a Trail mission, you will reach the base of former monolith cultists in the Wild Island region. This is a fairly long quest, consisting of many elements and minor objectives. Here, you will learn how to get to the guarded South base, where to look for Strider, and how to defeat the terrifying mutant at the waste processing station.
- A Heavy Burden
- Where to find Strider?
- Show Strider the unusual PDA?
- Visit the professor and a trip to WPS
- WPS and how to fight with the Controller?
- Fight with Hog and returning to the camp
A Heavy Burden
If during one of the previous tasks you showed the unusual PDA to Colonel Korshunov and Dalin, you do not have to perform this mission. The badge received during the conversation with the Ward will allow you to cross the border on the Wild Island. If you didn't tell the Colonel, you must perform the following task in order to proceed. You can read more about the unusual PDA on a separate page of our guide.
You will receive the task A Heavy Burden during your visit to the Sawmill at the end of the mission Back on the Slag Heap. You need to finish it to be able to move towards the Wild Island.
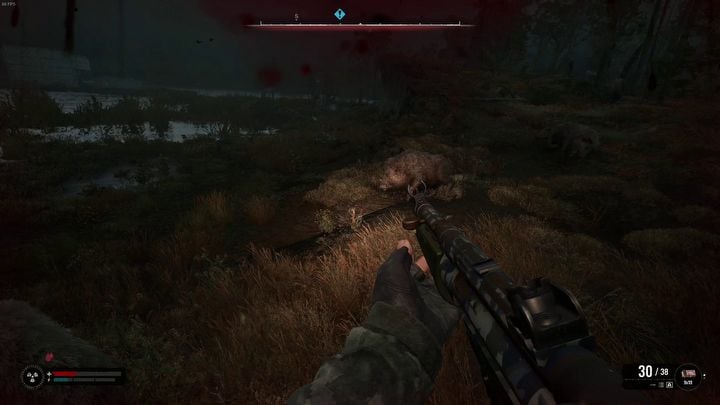
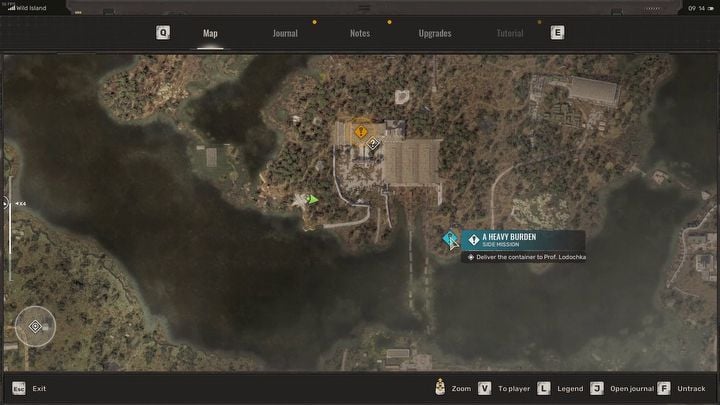
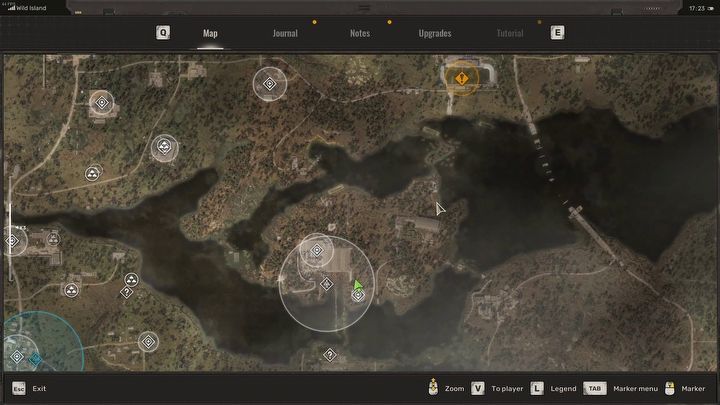
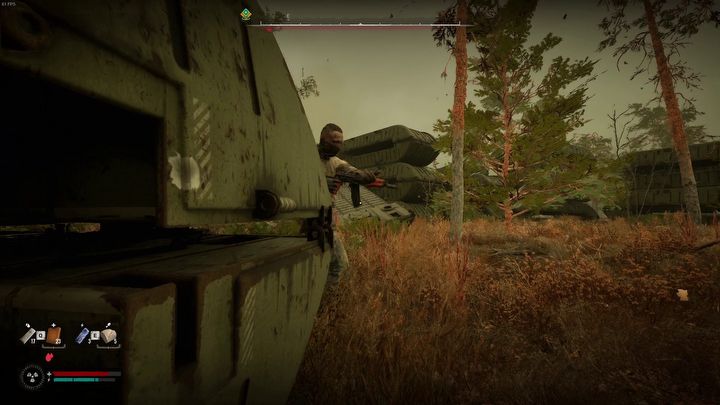
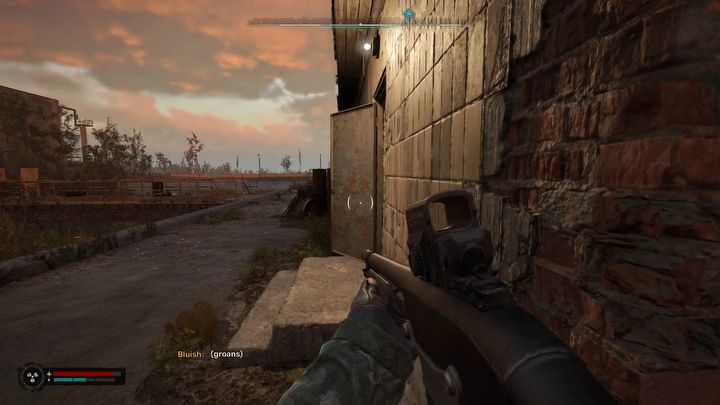
Go to the end of the peninsula, south of the Sawmill. Be careful, because there is a herd of aggressive wild boars in the area.
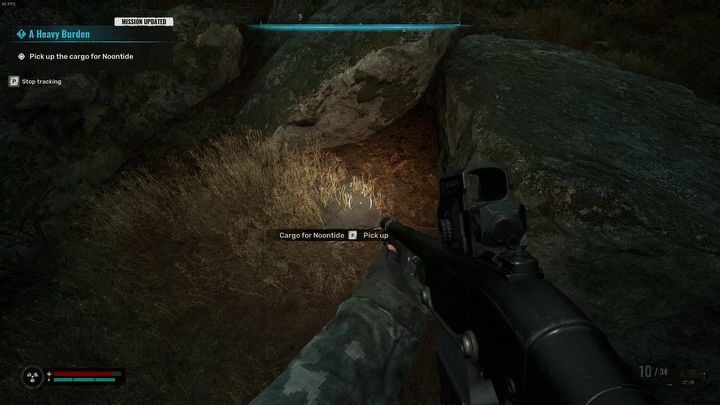
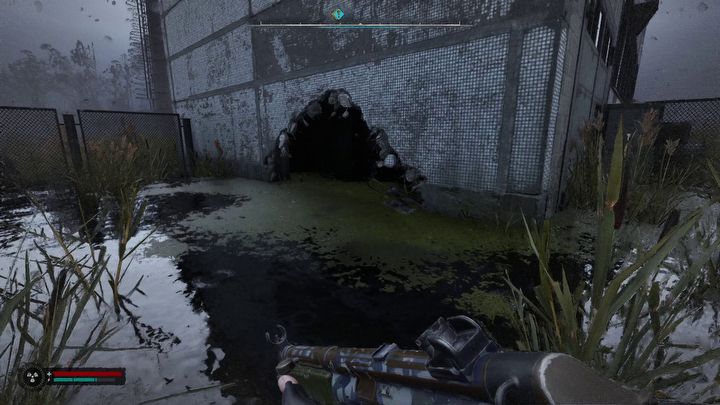
Once you have located the bodies of the delivery men, find the Noontides' shipment they dropped. Go through the narrow corridor leading to the island. Be careful, as there are dangerous mutants roaming around the ruins of the building. Run through their territory as quickly as possible.
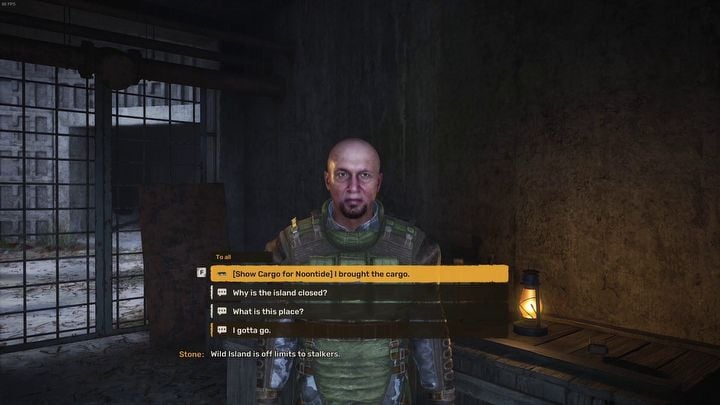
When a guard stops you at the crossing, show him the cargo. He will let you go.
Before you proceed to complete the main part of the Hot on a Trail mission, you should also drop by doctor Lodochka's bunker. Returning the cargo to him will complete A Heavy Burden mission.
Where to find Strider?
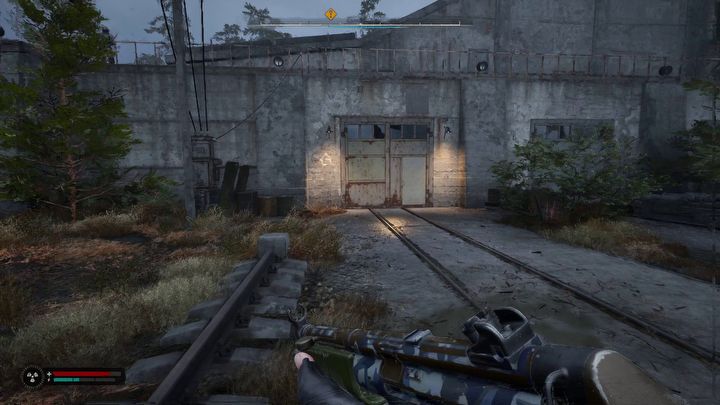
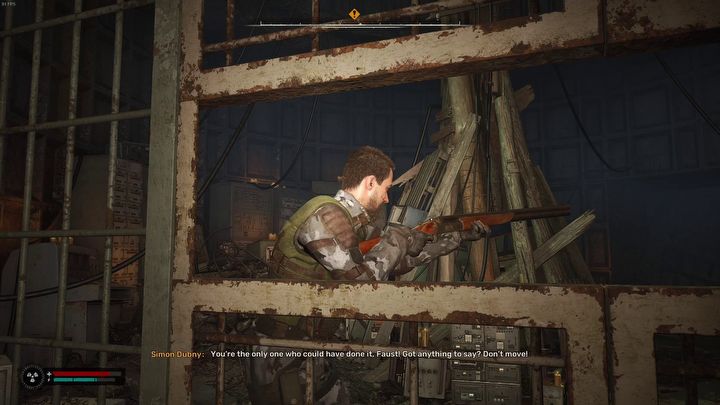
Head to the large concrete building. The orange mission indicator will lead you to Dubny. After a short conversation, the man will reluctantly tell you that Strider is currently staying in a nearby warehouse where the accident occurred.
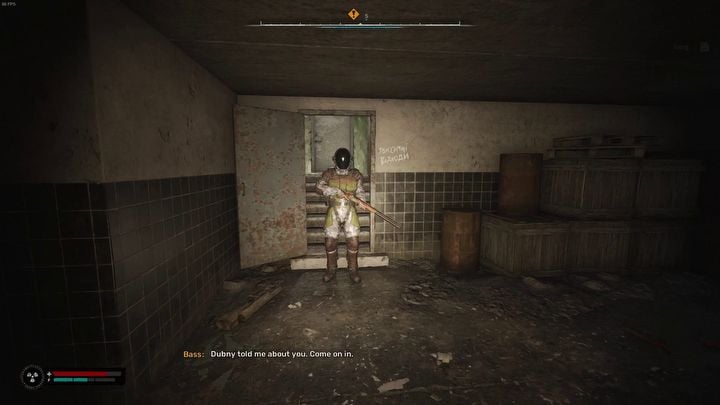
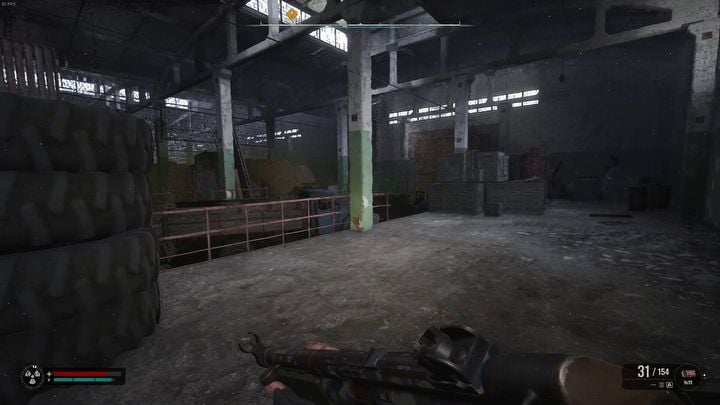
Head to the warehouse. The man standing guard will let you through if you have already spoken with Dubny.
The leader of the Noontide is on the other side of a warehouse filled with dangerous anomalies.
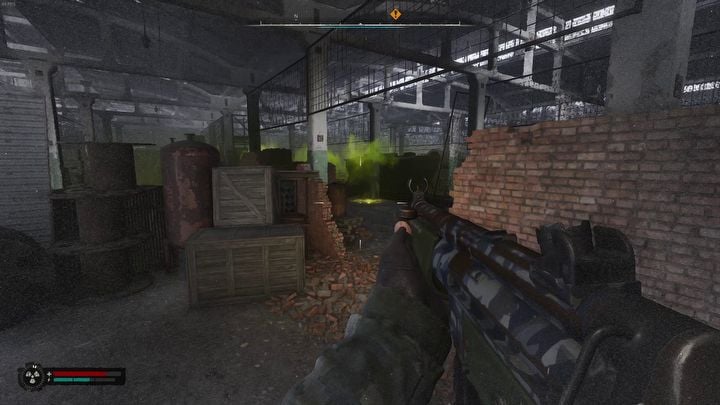
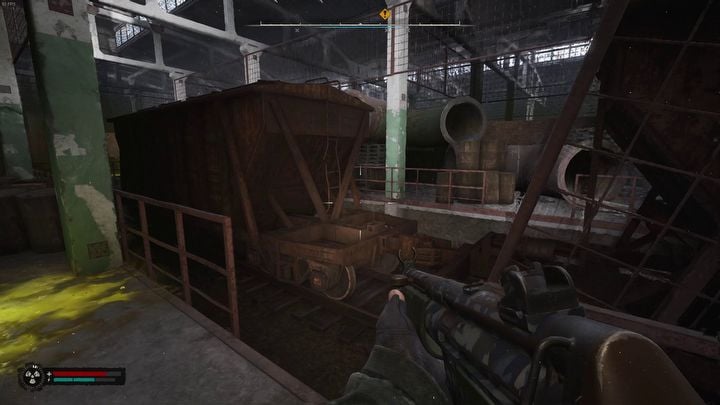
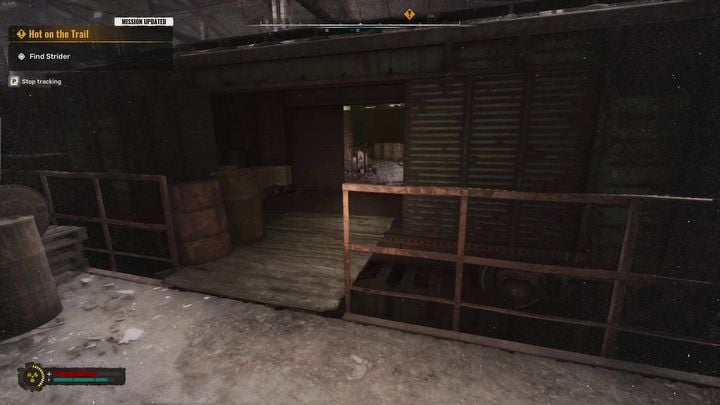
- First, go through the gap in the brick wall. Then between the wagons.
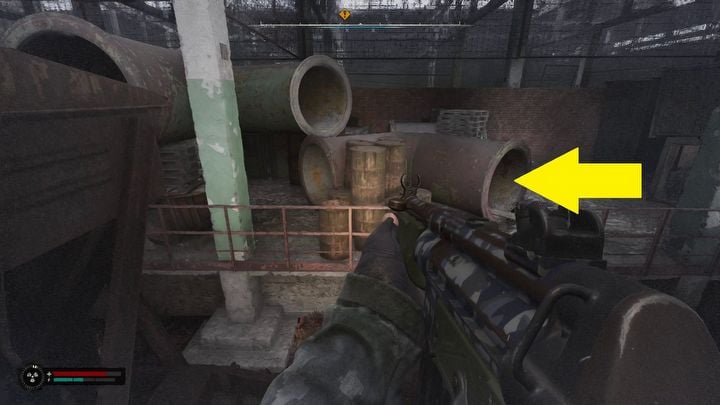
- Go through the pipe leading to the left.
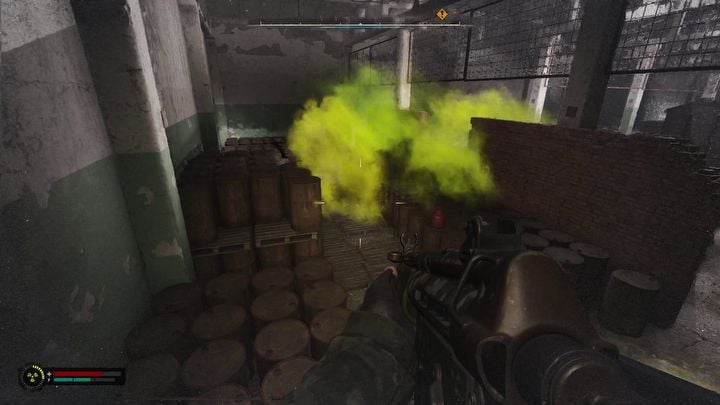
- Head to the opposite wall of the warehouse. Jump over the barrels to avoid the poisonous clouds.
- Finally, go through the wagon. Strider is on one of the platforms.
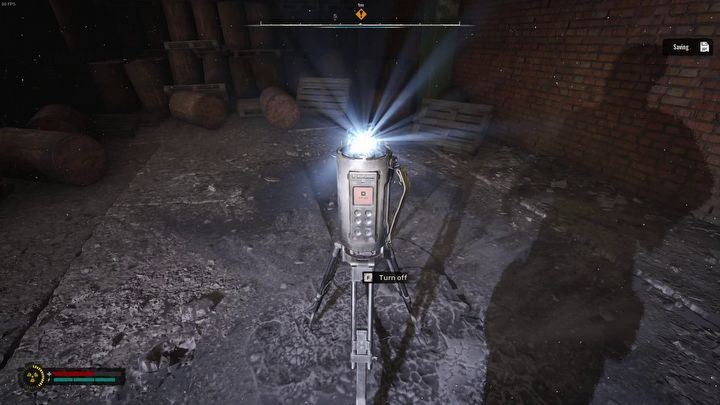
He will ask you to turn off the scanner. When the device turns down, approach it and press the action key.
Show Strider the unusual PDA?
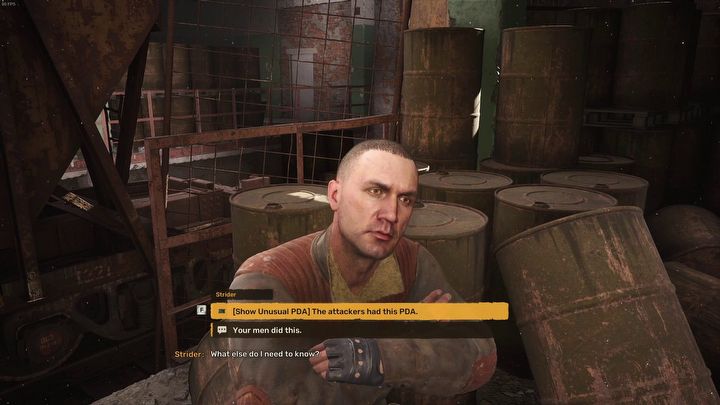
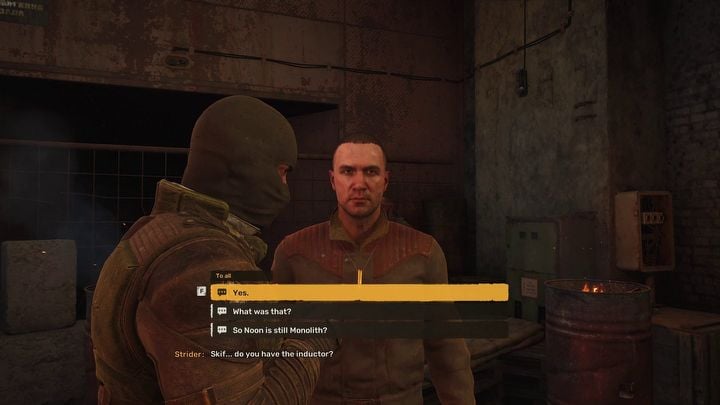
During the conversation with the Noontide leader, you will have to make a choice. The decision to show Strider the PDA is irrelevant though. The man recognizes the old Monolith technology, but admits that his people have not used similar devices in a long time and have left their cult past behind.
To exit the warehouse, go through the wagon again and turn right. You will find there a door that will lead you to the courtyard.
Visit the professor and a trip to WPS
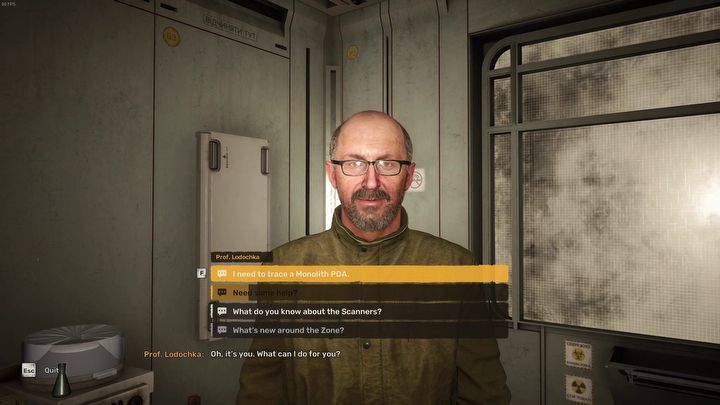
Go to professor Lodochka. He will send you on a mission to recover a special coil from the WPS facility.
During the conversation with the professor, you can also start A Sign of Hope mission. It's quite simple, and by completing it you will receive an upgraded artifact scanner.
The road to WPS leads north-east. On the way you will pass a building filled with zombies. They are hostile towards you, so be ready for a fight.
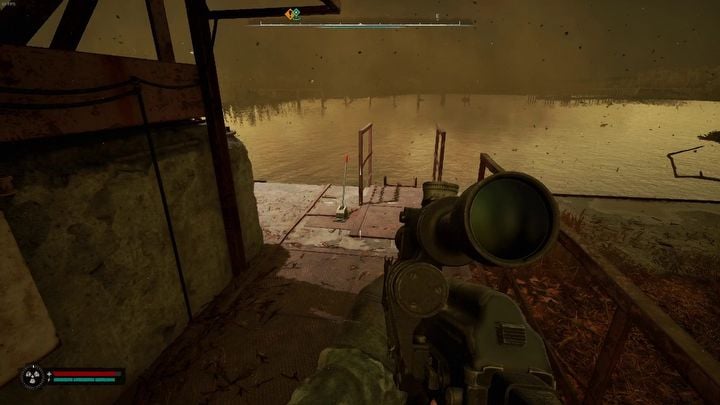
At the cliff, before the narrow passage through the water, you will come across a Noontide outpost. The ladder to the lower floor is on the right side of the cliff.
WPS and how to fight with the Controller?
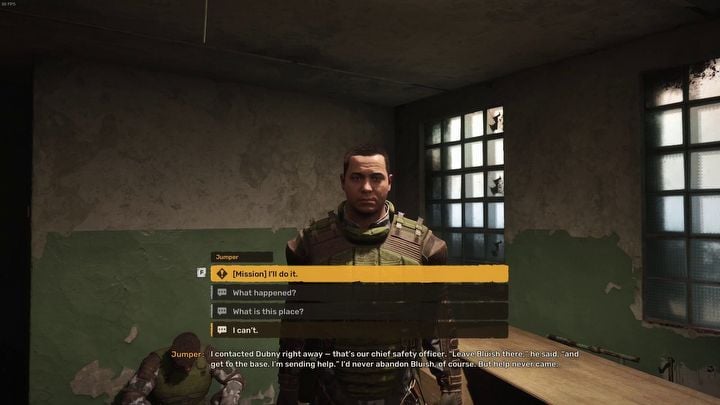
As you approach the waste processing station, a man named Jumper will call you over the radio. Meet him in the small building in front of the WPS halls.
The terrified man will tell you about his encounter with a powerful mutant. Your next task will be to locate the keys to the basement and fight the Controller.
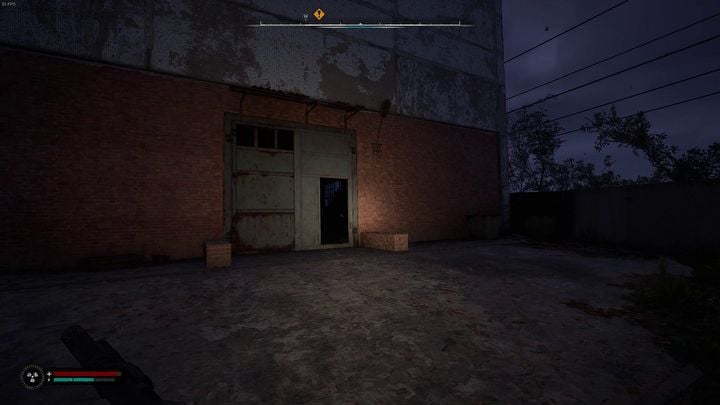
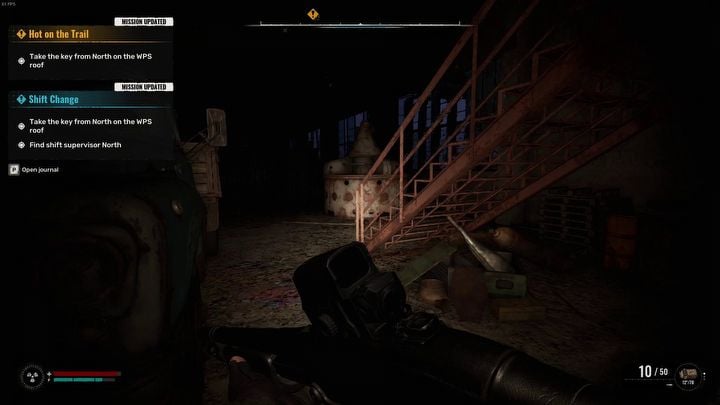
Go to the larger, northern WPS hall. Enter from the east.
On the right side you will find stairs. Go all the way to the top. The entire hall is filled with zombies, so be prepared for a fight.
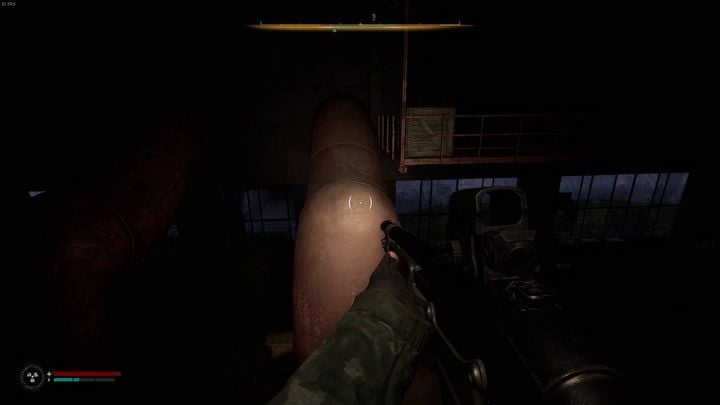
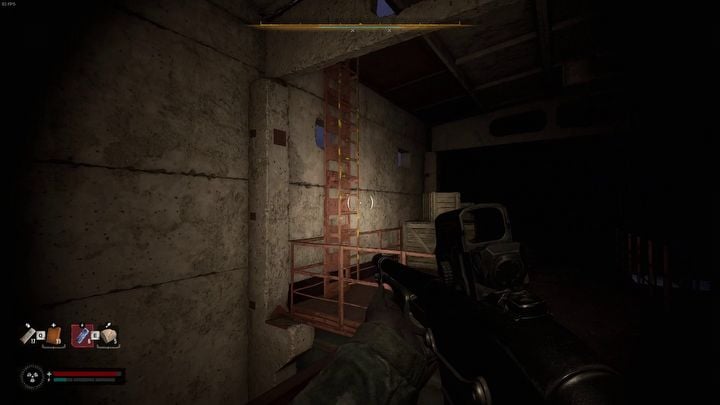
Jump over the railing and cross the pipes to the metal platform on the other side of the building. There you will find a ladder that will lead you to the roof.
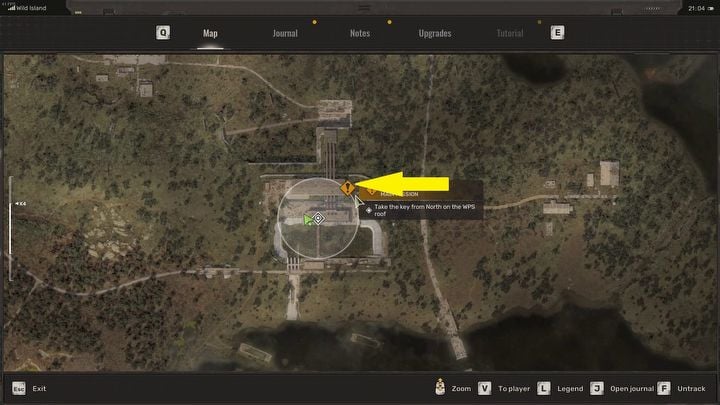
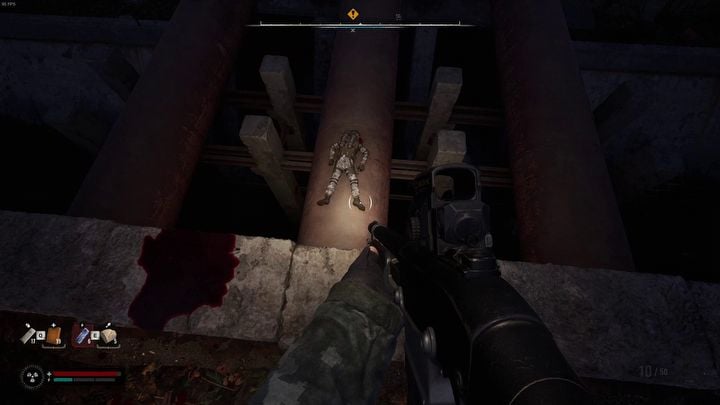
There is a body on the pipes on the right. Jump down and take the keys from the corpse.
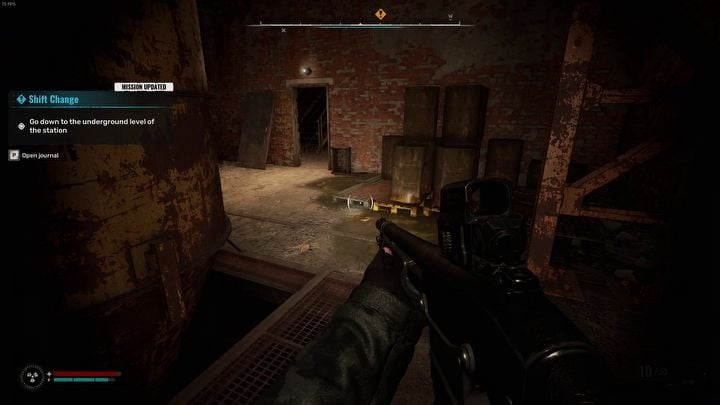
Go to the WPS basements. The entrance is located under one of the halls.
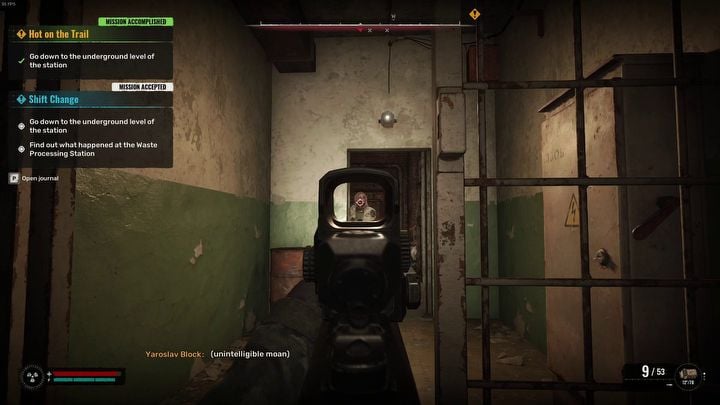
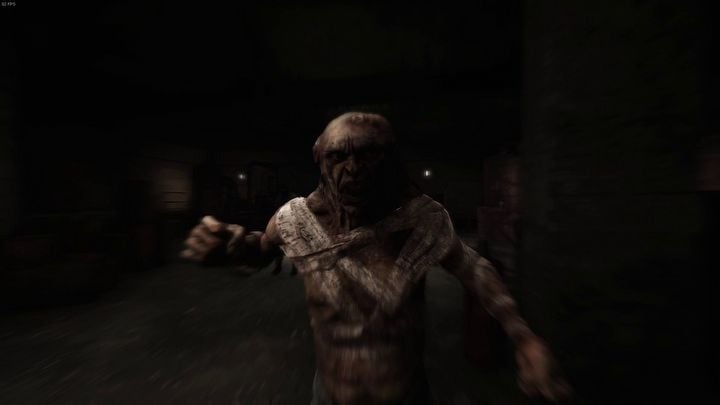
Make your way through the rooms, fighting possessed zombies along the way.
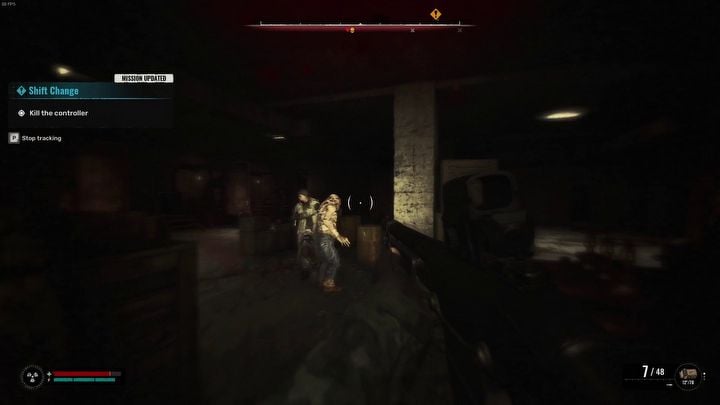
In one of the larger rooms you will finally meet the Controller - a dangerous mutant with psionic powers.
- The Controller's main attack is to pull Skif. The enemy uses this attack more often when you are far away. Therefore, try to maintain a medium distance, which will make it easier for you to aim and cause the Controller to pull the hero less often.
- You will also be attacked by zombies. Try to eliminate them as quickly as possible.
- The Controller summons the ghosts of other mutants. Don't fight them. Focus on the Controller.
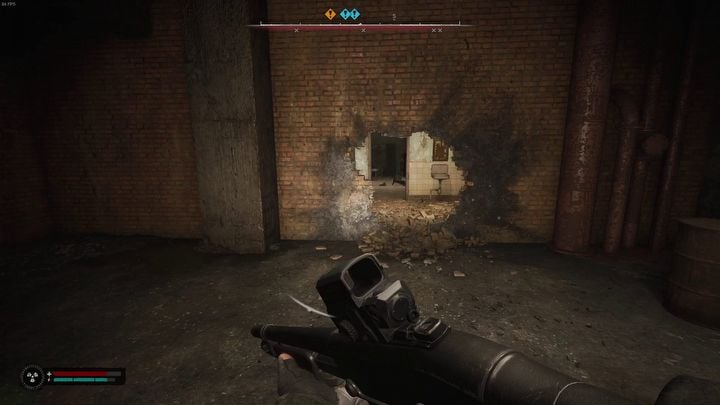
After defeating the boss, go through the broken wall.
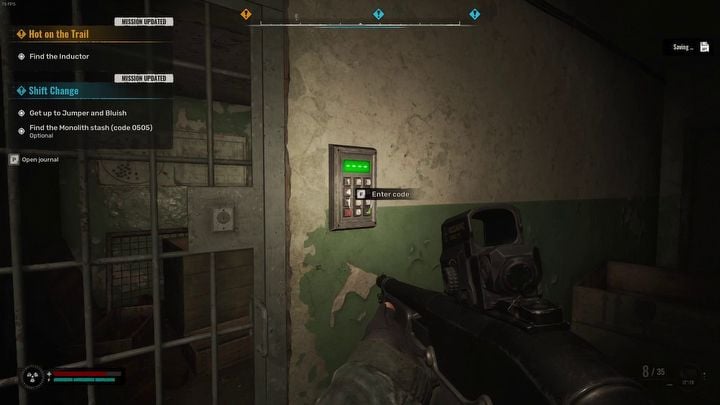
You will reach the Monolith's stash. The code for the door is 0505.
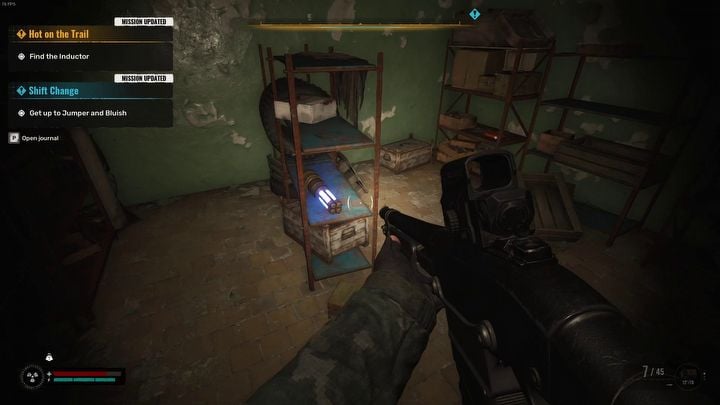
The coil you are looking for is on a shelf in one of the rooms.
Fight with Hog and returning to the camp
After leaving the WPS basement, you will meet Hog and his mercenaries. After a short conversation , they will attack Skif and Jumper. The fight starts immediately, so quickly jump to the side to gain distance.
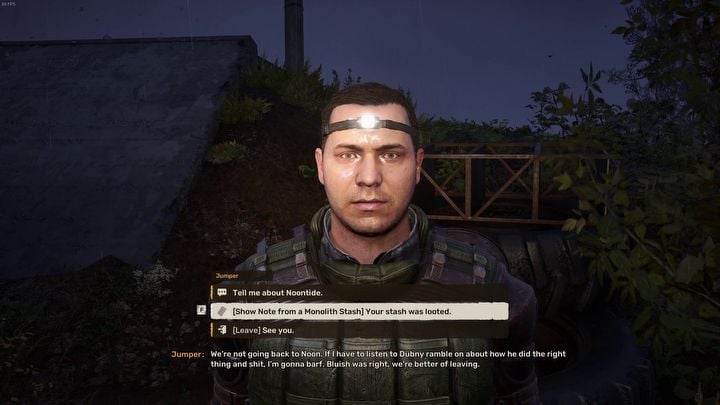
After defeating Hog, talk to Jumper. You may now safely return to the Noontide's camp the same way you came.
In the camp, you will witness a longer narrative sequence. Once you finish talking to Strider, the mission will end.
More about the walkthrough:
- STALKER 2 Guide
- STALKER 2: Game Guide
- STALKER 2: Walkthrough
- STALKER 2: There and Back Again
- STALKER 2: A Tough Awakening
- STALKER 2: Behind Seven Seals
- STALKER 2: A Needle in a Haystack
- STALKER 2: Answers Come at a Price
- STALKER 2: The Price Goes Up
- STALKER 2: Deal with the Devil
- STALKER 2: King of the Hill
- STALKER 2: Back on the Slag Heap
- STALKER 2: Hot on the Trail
- STALKER 2: Chasing Ghosts
- STALKER 2: Dead Frequency
- STALKER 2: In Search of a Guide
- STALKER 2: Ad astra per aspera
- STALKER 2: Extreme Simplicity
- STALKER 2: A Long Overdue Visit
- STALKER 2: The Forge of Progress
- STALKER 2: Wishful Thinking
- STALKER 2: To the Last Drop of Blood
- STALKER 2: Just Like the Good Old Days
- STALKER 2: The Hornet's Nest
- STALKER 2: An Invisible Threat
- STALKER 2: Dawn of a New Day
- STALKER 2: Assault on the Duga
- STALKER 2: A Minor Incident
- STALKER 2: In Search of Past Glory
- STALKER 2: Happiness for Everyone
- STALKER 2: Visions of Truth
- STALKER 2: Dark Times
- STALKER 2: An Act of Mercy
- STALKER 2: Legends of the Zone
- STALKER 2: Subtle Matter
- STALKER 2: Dangerous Liaisons
- STALKER 2: Escape from the Cage
- STALKER 2: The Boundary
- STALKER 2: The Road to the Foundation
- STALKER 2: Down Below
- STALKER 2: The Last Wish
- STALKER 2: Let No One Leave Unsatisfied
- STALKER 2: Walkthrough
- STALKER 2: Game Guide
You are not permitted to copy any image, text or info from this page. This site is not associated with and/or endorsed by the developers and the publishers. All logos and images are copyrighted by their respective owners.
Copyright © 2000 - 2025 Webedia Polska SA for gamepressure.com, unofficial game guides, walkthroughs, secrets, game tips, maps & strategies for top games.
