STALKER 2: The Price Goes Up
In the quest The Price Goes Up in STALKER 2 you will set off in the footsteps of a certain Nestor. On this page of the guide, we'll tell you how to get to the Heap, how to deal with the anomalies in the Diode workshop and how to find Nestor's cache.
In the mission The Price Goes Up, Skif continues his search for Nestor. On this guide page, we will give you tips on how to obtain new information about the leader of the Garbage, how to get help from the technician Diode and how to deal with the dangers lurking for you in the Dig Site.
- How to get to Diode?
- How to find Diode's card?
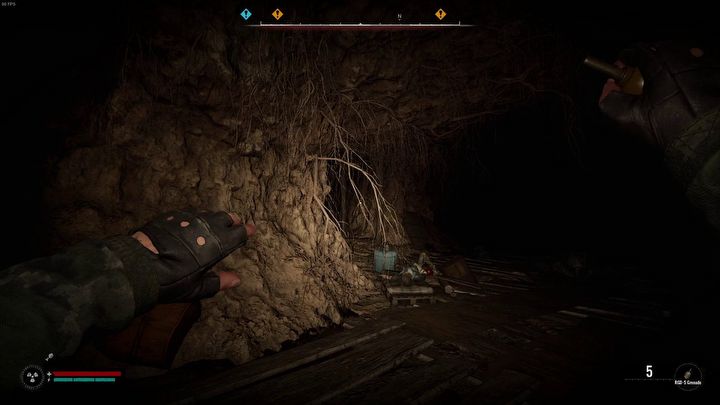
- How to find Nestor's stash?
- Go to the maze or to the Dig Site?
- How to fight Burers?
How to get to Diode?
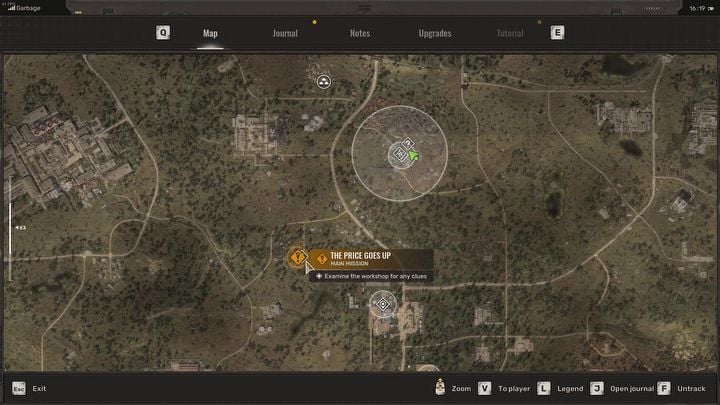
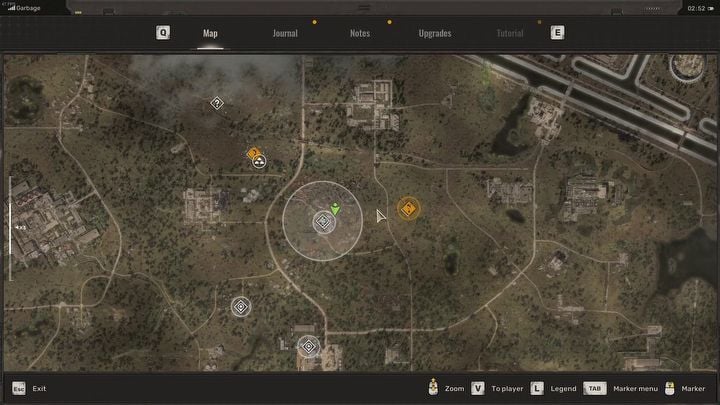
After completing the mission Answers Come at a Price, you will automatically start The Price Goes Up. The marker will direct you to Slug Heap - a small settlement in the central part of the region.
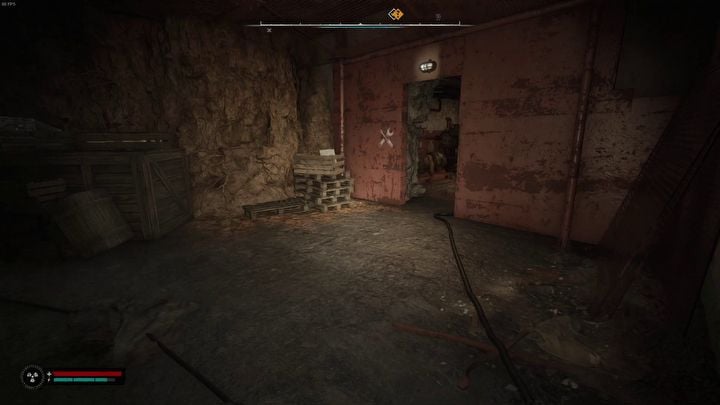
Enter the main building of the settlement. Turn left from the bar, right at the cement mixer, then follow the bundle of cables on the ground. Diode's room is marked with red paint and a key symbol.
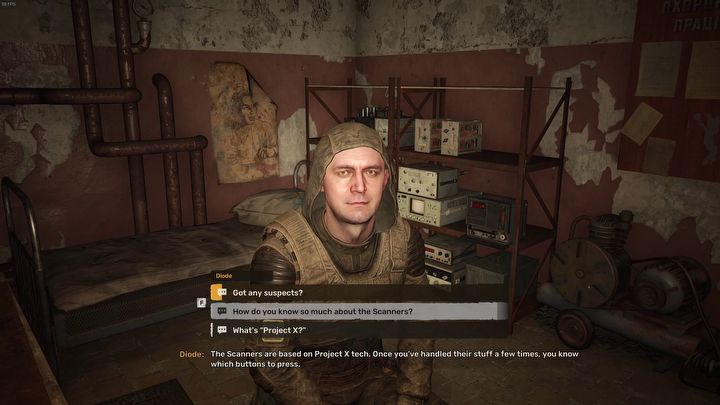
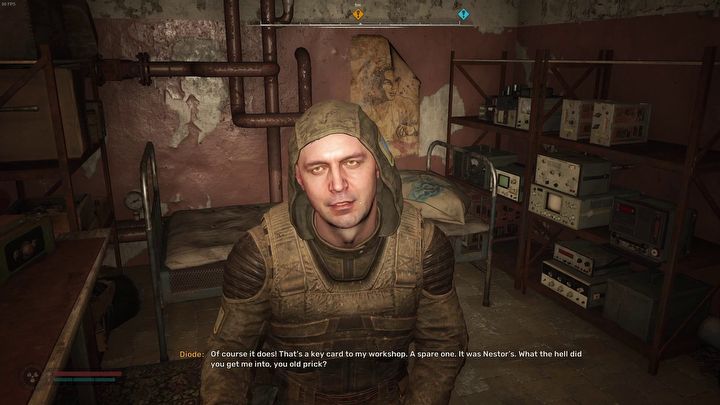
Talk to the technician. Diode will reveal some new facts about Nestor and then send you on a mission to investigate his former workshop that has been overrun by anomalies.
How to find Diode's card?
Diode's workshop is located southwest of Slug Heap. As you approach the building, maintain extra vigilance. There is a very dangerous anomaly in the area.
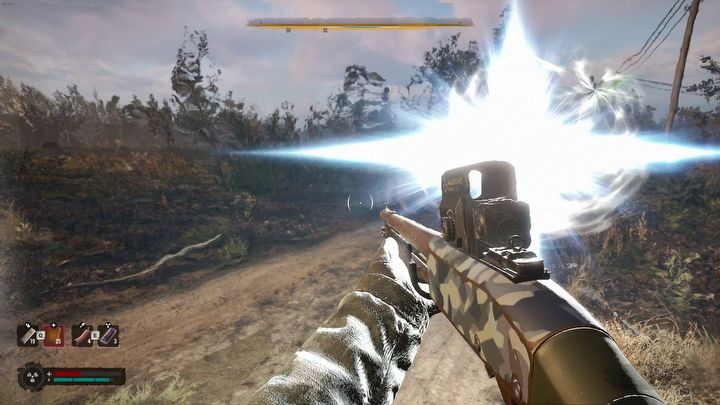
Every now and then, a white halo will appear right in front of Skif, which will explode after a short while, dealing huge damage to the hero. Exploding anomalies will keep appearing until Skif either dies or leaves the dangerous area.
- You can try to escape from the anomalies by quickly looking away and sprinting in the opposite direction.
- However, using bolts is a better option. An accurate throw at an appearing glow will push it away and protect you from the explosion. However, you must react very quickly - a second's delay and the anomaly will explode in your face.
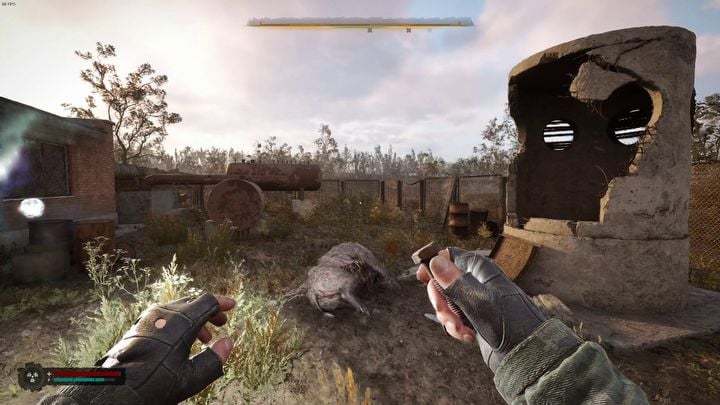
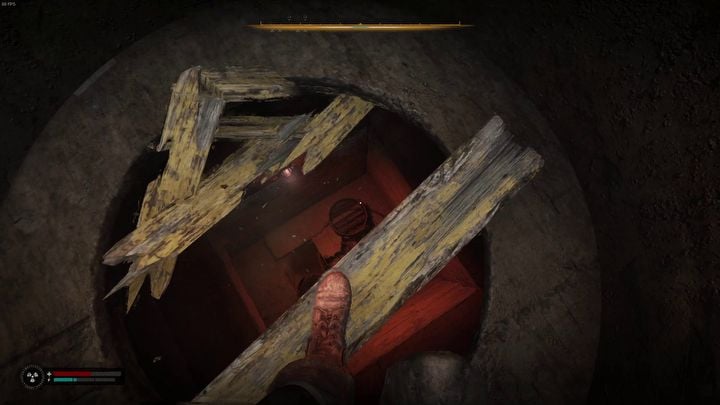
The entrance to Diode's workshop is located in a concrete cylinder, in front of the entrance to the building. Jump there and then destroy the boards under your feet.
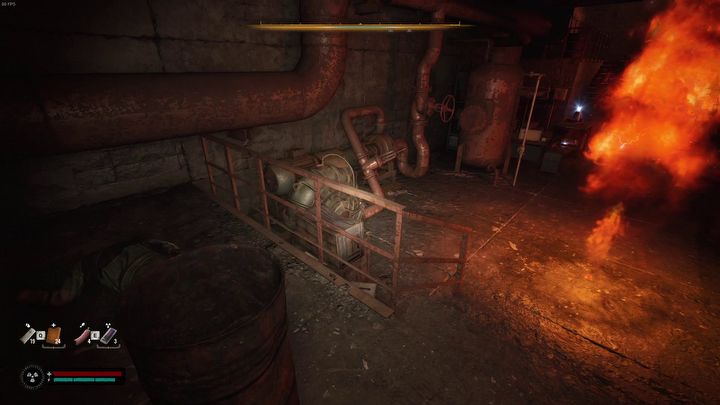
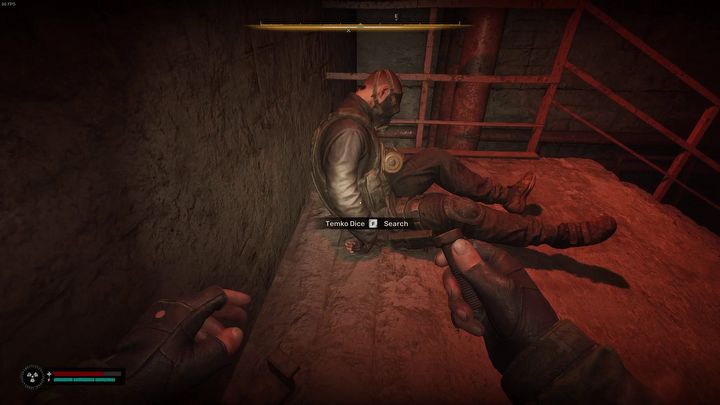
The exploding anomaly will not haunt you in the underground, but others will appear in its place. First and foremost, your task will be to retrieve the card from the corpse at the end of the room.
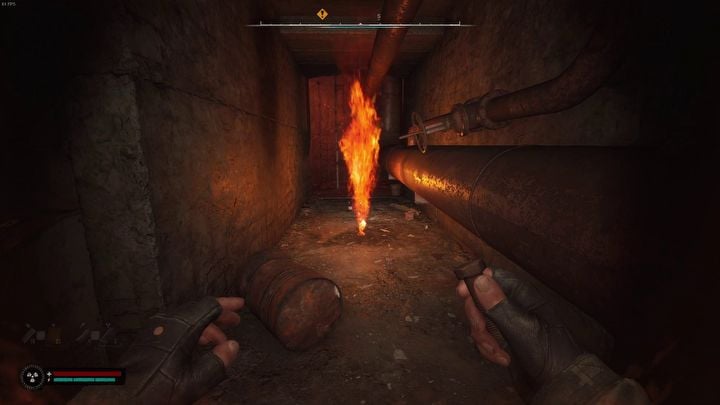
- You can avoid the fire anomaly by jumping over the barriers.
- To avoid the electric anomaly, try to simply run as fast as you can.
After finding the card, head to the opposite side of the room where you will find a ladder. Use the found card to open the door and exit the building.
How to find Nestor's stash?
Return to Diode. After the conversation, he will send you on a mission to search Nestor's nearby stash.
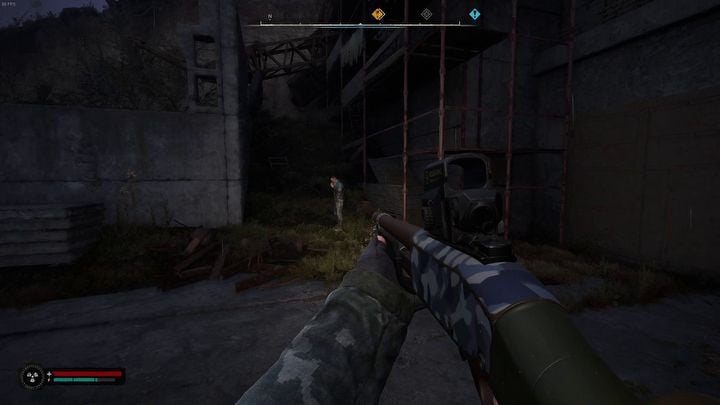
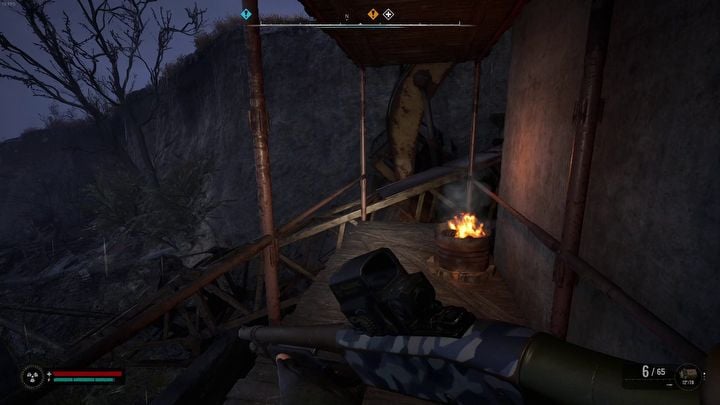
Exit the Slug Heap building and head to the scaffolding (to the left of the main entrance).
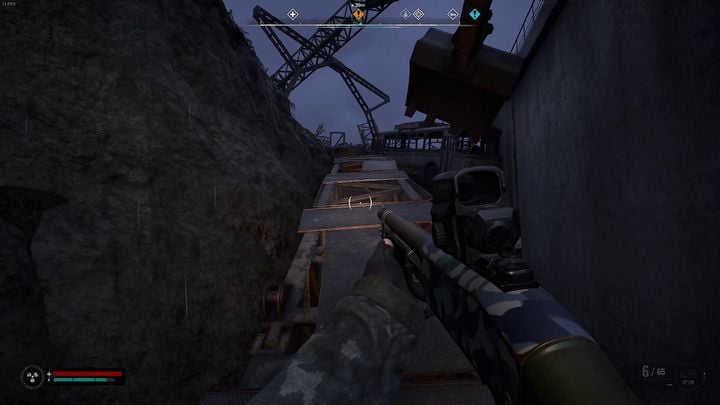
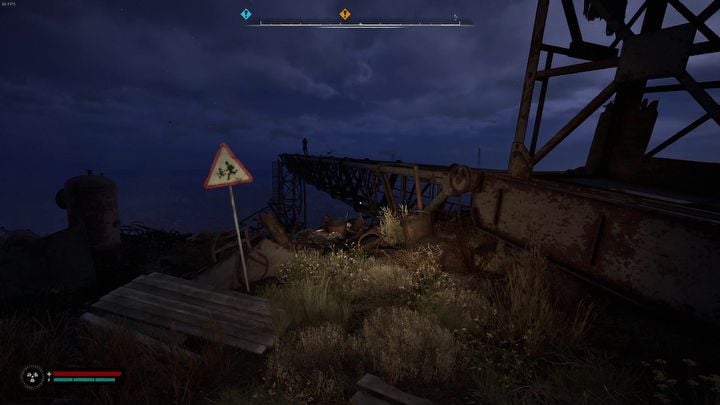
Climb the ladders to the very top, then cross the metal crane to the path above.
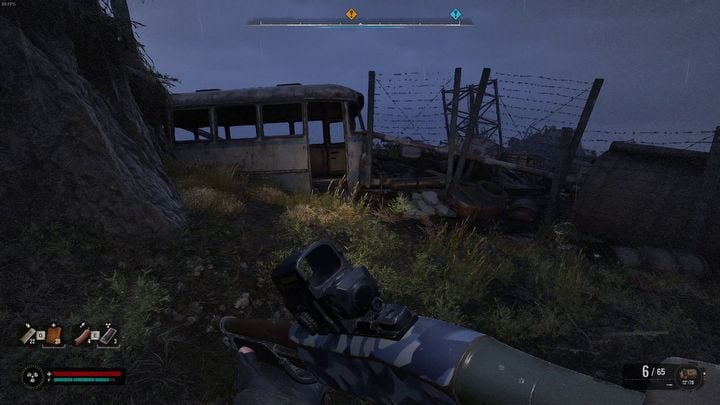
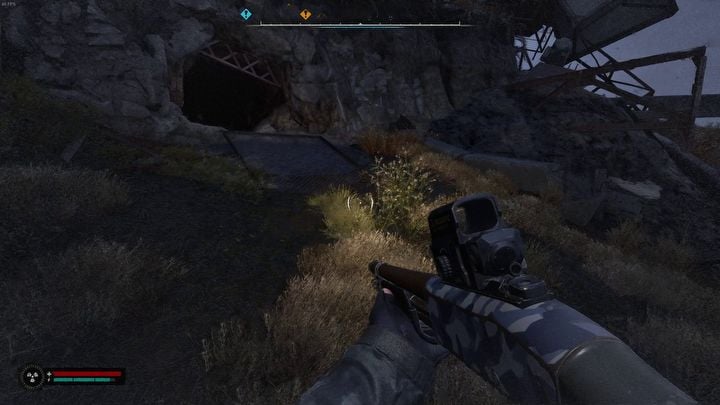
Follow the path leading through the bus wreckage to a narrow cave.
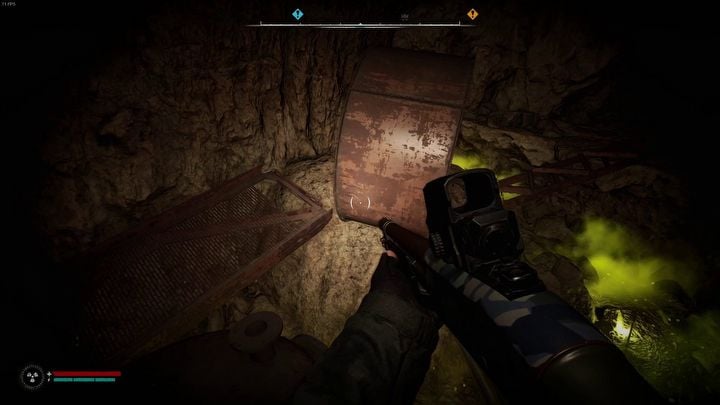
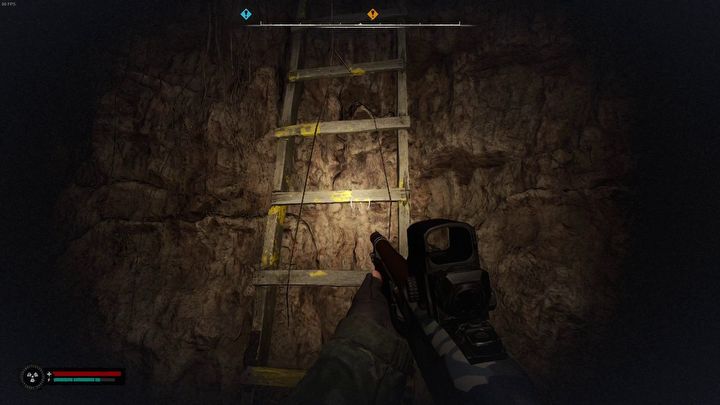
In the cave, move around by crouching. Carefully pass by the poisonous anomalies. Next, jump onto the protruding rock shelves, metal elements and climb up the ladder.
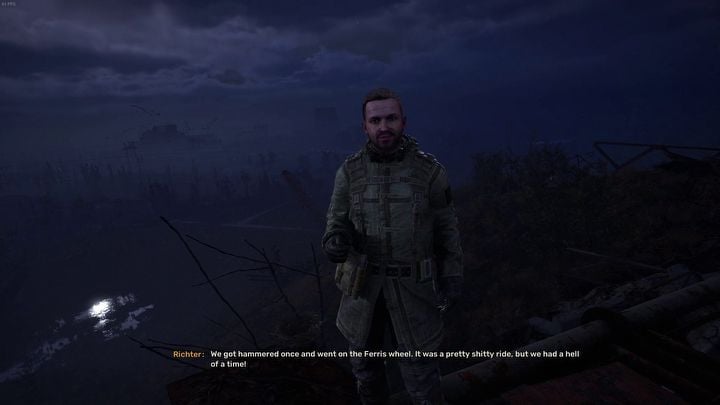
At the top, you will meet Richter admiring the view. After a short cut-scene, the mission marker will be updated. Before you go any further, be sure to collect the loot from Nestor's backpack at the end of the rusty crane.
Go to the maze or to the Dig Site?
The next part of the mission allows you to choose one of two paths:
- You can head east, towards the Dig Site, where you will fight the Burers - psionic mutants.
- An alternative is to go northwest into the maze where you will fight mutated hamsters.
In this walkthrough, we decided to take the path to the Dig Site.
How to fight Burers?
Once you reach the Dig Site, enter the tunnel and prepare to fight the Burers.
- Before start fighting, try to damage them up a bit by throwing grenades into the tunnel.
- The Burers telepathically raise their rifles from the ground and shoot. Position yourselves behind the bend of the tunnel to hide in time.
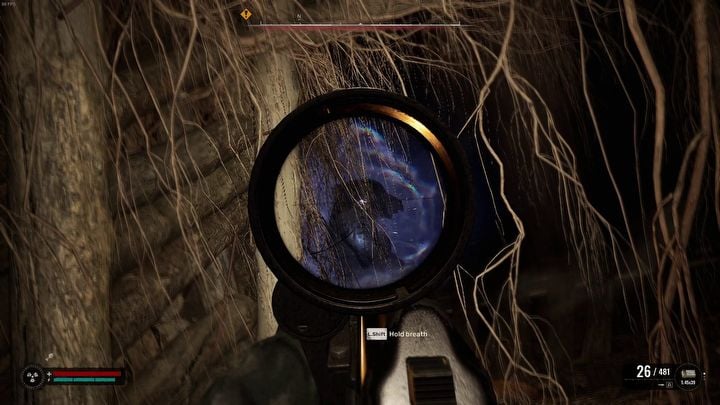
- Mutants will activate a shield in the form of a blue glow from time to time. Don't shoot it - you'll only waste ammunition. Use this moment to reload your weapon. Optionally, you can try attacking them with the knife, but be careful. A Burer can hit quite hard by swinging its hand.
- A Burer can also knock the gun out of your hand. Be prepared for this and pick up your weapon as quickly as possible. It usually lands not far from you.
- In our opinion, the best strategy is to attack carefully from a distance, near a cover you can hide behind.
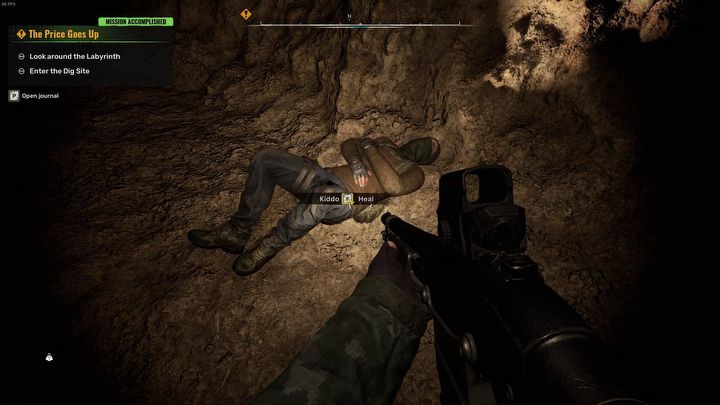
When you manage to defeat the resilient mutants, search the cave. You will find a wounded, young stalker there. Help him. After a short conversation, the The Price Goes Up mission will end.
More about the walkthrough:
You are not permitted to copy any image, text or info from this page. This site is not associated with and/or endorsed by the GSC Game World or GSC Game World. All logos and images are copyrighted by their respective owners.
Copyright © 2000 - 2025 Webedia Polska SA for gamepressure.com, unofficial game guides, walkthroughs, secrets, game tips, maps & strategies for top games.
