Dying Light 2: The Raid - walkthrough
This page of the Dying Light 2 guide contains full walkthrough for the story quest Raid - an important choice on Aitor and Sophie, the first bandit camp.
This page of the Dying Light guide contains a walkthrough of The Raid main quest. You will learn, among others, how the important choice between Aitor and Sophie changes the quest, how to infiltrate and take over the hostile bandit camp and how to defeat the mini-boss Hermann (if you chose Sophie).
- Rewards for completing the quest
- Meet with Sophie
- Meet Aitor
- Join the party
- Spy on the Bandit Camp with binoculars
- Liberate the camp
- Go to the Tango Motel - an important choice
- Option 1 - Go to Aitor
- Option 2 - Go and meet Sophie
Rewards for completing the quest
- XP - combat: 1,500
- XP - parkour: 250
- Inferno - a modification for melee weapons
- Crafting parts - resin, oxidizers
- Unique reward depending on the choice you made during the quest
- The Water Tower quest unlocked
Meet with Sophie

You have to meet Sophie in the Horseshoe district. When you get there, you will find her bodyguard, Hermann. After you try to talk to him, a flashback will start - it is a bit more interactive. Follow the voice to trigger the next parts.
Afterwards, you can talk to Sophie and optionally ask her a few more questions.
Meet Aitor
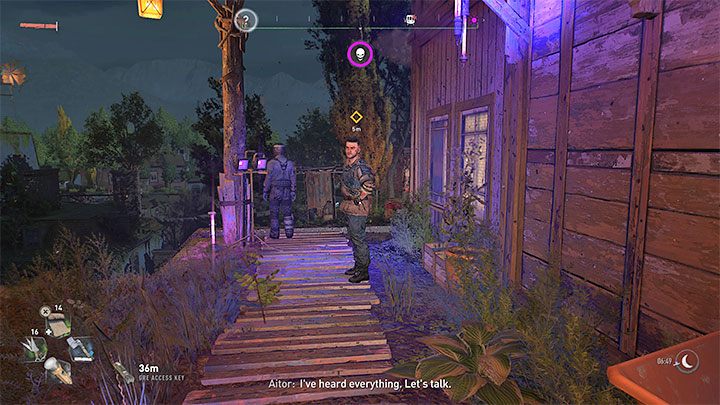
Aitor will speak via the walkie-talkie. Reach the indicated place to meet him. As in the case of Sophie, you can choose the optional white dialog options.
Join the party
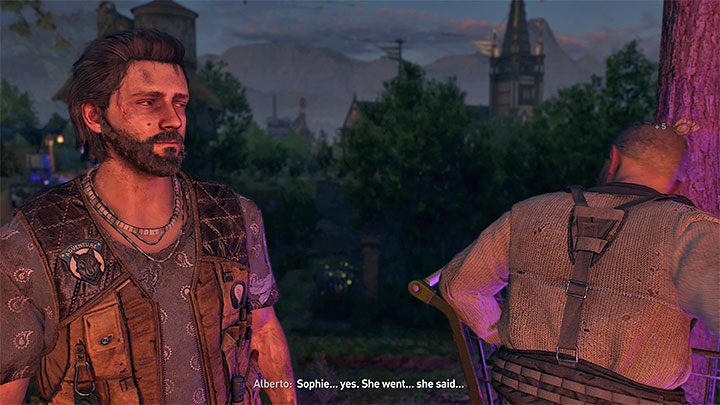
Now you must go back to the previous camp. You won't find Sophie there - ask the Survivors about her whereabouts. You don't need to talk to all characters. You can have longer conversations with Barney, Alberto and Vincenzo.
After Sophie appears, talk to her - you can be more willing or reluctant to talk about Mia.
Spy on the Bandit Camp with binoculars

Join Sophie. You will now go through a tutorial on attacking and taking over a bandit camp. You must always start with scouting - use binoculars for that.
When using the binoculars, you should:
- Locate potential entrances to the bandit camp. In the case of this particular one, there are 3 entrances - one main (not recommended) and two side ones, which we have marked in the picture. You should choose one of them.
- Locate the lieutenant marked with a unique icon and kill him. In the case of larger bandit camps from the later part of the game, you will have to murder the camp leader and one or more lieutenants.
Liberate the camp

Head towards one of the two aforementioned side entrances to the camp. Use the information on the enemy positions you got while scouting, and use the survivor sense to follow their movements.
Sneaking in camps is optional, but recommended. If you are planning on sneaking, there are a few things to keep in mind;
1) Use tall grass to hide from enemies or surprise them.

2) If you plan to kill the bandits, it is best to approach them from behind and perform a takedown or use the bow and aim for their heads. However, make sure that no one sees you.
3) Watch out for enemies marked with a horn icon - if you raise the alarm, they may start alerting the area and call for reinforcements.
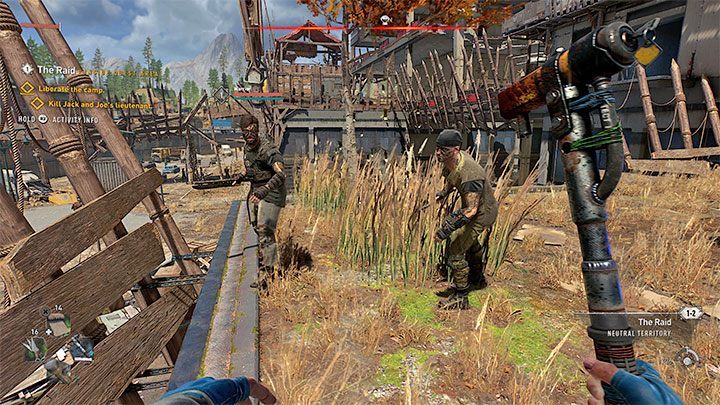
If you lead to a direct fight, you don't have to worry about failing the mission - you will be able to go through the camp. Allies should appear in the camp to help you distract the bandits.
When fighting, try to focus on a single opponent. Also, watch out for those who can attack from a distance (it's best to jump to the sides) and perform strong attacks (jump back).
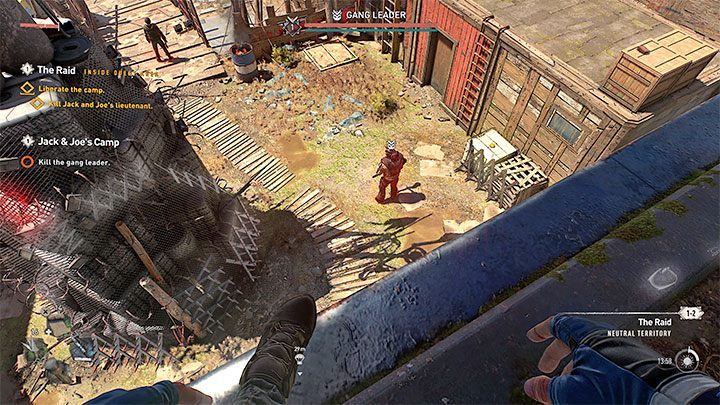
Regardless of how you went the camp, you must reach the area with the lieutenant - he is located near the main bridge leading to this location.
You can attack the lieutenant right away or deal with the nearby enemies first. Try to attack the lieutenant by surprise, e.g. by jumping down on him. After you start the fight, watch out for the lieutenant's strong attacks. Perform quick attacks by running towards him and then immediately move away.
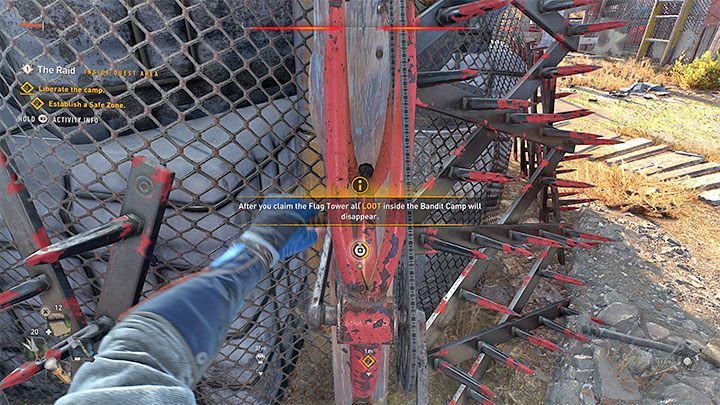
After killing the lieutenant, you should spend some time exploring the bandit camp - all uncollected loot from this location will be lost after the camp is captured. Search the bodies of the enemies and check out the locked room near the place where the lieutenant was staying by default. That room has a lot of useful loot.
To capture the bandit camp, you have to interact with the mast. This location will be taken by Survivors and will become a safe zone. Carl is in one of the rooms in the liberated camp. After freeing him, a short conversation will start.
Go to the Tango Motel - an important choice

The motel is on the eastern end of Horseshoe. When you try to use the front door, a conversation with Hakon will start - you will have to make your first important choice .
Two options will appear on the screen. You have a limited time to choose, but you can pause the game to think about your decision. The further course of the described mission will change depending on your decision.
Option 1 - Go to Aitor
Choosing this dialogue option means that you want to help the Peacekeepers. Of course, this does not mean your chances of remaining on good terms with the Survivors are not lost.

Instead of entering the hotel, you have to go straight to the metro station, to the Peacekeepers base, and report to Aitor.

After a short conversation with Aitor, in which the leader of the Peacekeepers will reveal his plan to you, The Raid mission will end and you will automatically start a new main quest - Water Tower.
It should be noted here that not exploring the hotel during the mission does not mean that you will not be able to go back there and collect the loot. You will be able to do that later in the story.
Option 2 - Go and meet Sophie
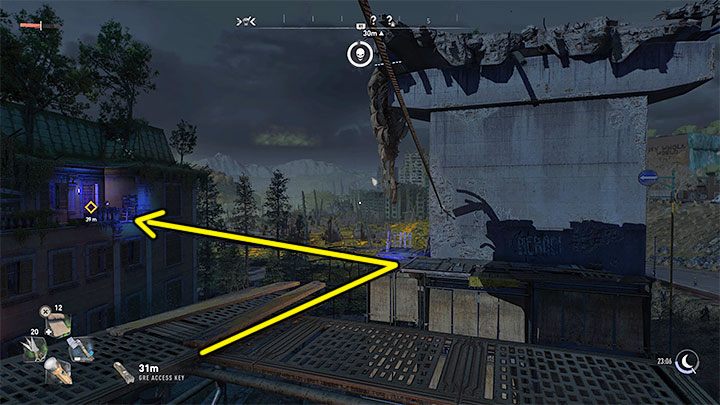
Choosing the right dialogue option means that you want to help the Survivors (this will not ruin your relationship with the Peacekeepers).
Aiden will enter the motel and explore it. Go to the upper floors of the building and reach the outer balconies. You have to cross the drawbridges to reach the passage marked in the picture, with a UV lamp next to it.

After entering the new part of the building, you will find, e.g. a GRE crate with inhibitors. You have to reach a small courtyard and interact with the walkie-talkie lying on the ground next to the corpse of a Peacekeeper.
Barney will appear and order his people to attack you. They shouldn't be difficult, but the limited area may be a problem. Don't get cornered and keep all enemies in sight. Also, pay attention to the spikes in the courtyard - you can push enemies (e.g. using kicks) to impale them on the spikes.
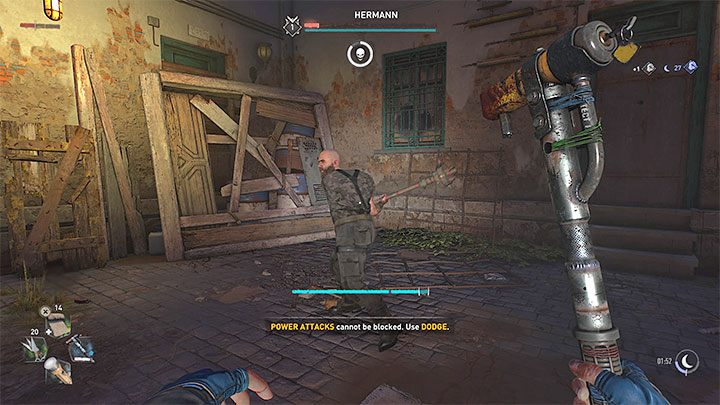
After the fight, be sure to heal yourself and select a good weapon from the inventory. When you try to return inside the building, Hermann will appear - he is a mini-boss (with a lot of health). The fight with Hermann is very similar to all confrontations with "large" opponents equipped with two-handed melee weapons. Here are the most important tips:
- Watch out for Hermann's telegraphed strong attacks. Jump backwards to get out of his reach.
- A spinning attack is also dangerous, as it can easily reach Aiden. Focus on quickly getting away from the boss.
- Look for opportunities for quick single attacks to take advantage of your opponent's slow movement. After attacking once or twice in a row, quickly move away from Hermann so that you don't get hit back.
As a reward for completing the quest, you will get a unique reward - Hermann's Bludgeon.

Once the fight is finished, you have to return to the building. However, the door will be closed. This forces you to find an alternative exit from the courtyard - jump towards the ledges shown in the picture and then jump towards the ladder located far up in the air.
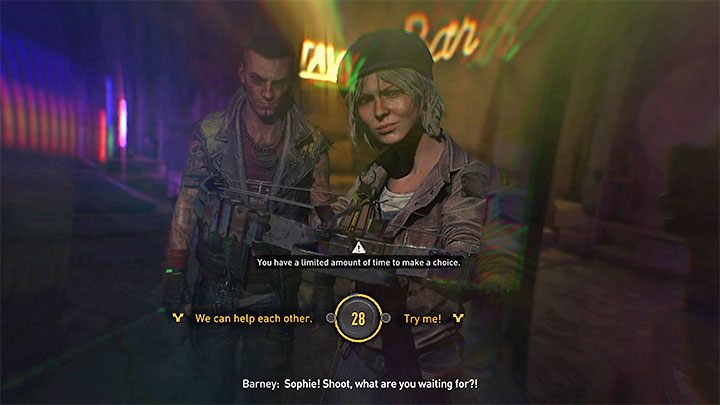
You have to reach the metal gate in one of the corridors of the building that you passed earlier on your way to the courtyard. When you try to open it, Barney and Sophie - you have to make another important choice with a time limit.
- We can help each other: Aiden offers his help and you move to the next dialogue option, where you have the next choice;
- Try me!: this ends the conversation with Sophie. You will have to leave the building and go to Aitor (option 1 of this important choice).

If you agreed to help Sophie, you will move to the next phase of the dialog, where you will again have to choose one of two options:
- I'll help you: Aiden agrees to help Sophie to fulfill her plan and you will advance to the next main mission - Water Tower;
- No way. I won't help you.: Aiden refuses to follow Sophie's plan. This will end the conversation. You have to leave the building and go to Aitor (option 1 of this important choice).
- Dying Light 2 Guide
- Dying Light 2: Walkthrough
- Dying Light 2: Story quest
- Dying Light 2: Pilgrim's Path - walkthrough
- Dying Light 2: Getting Stronger - walkthrough
- Dying Light 2: Markers of Plague - walkthrough
- Dying Light 2: The Only Way Out - walkthrough
- Dying Light 2: Unruly Brother - walkthrough
- Dying Light 2: The Arrival - walkthrough
- Dying Light 2: The Raid - walkthrough
- Dying Light 2: Water Tower - walkthrough
- Dying Light 2: Revolution - walkthrough
- Dying Light 2: Into The Darkness - walkthrough
- Dying Light 2: Let's Waltz! - walkthrough
- Dying Light 2: A Place to Call Home - walkthrough
- Dying Light 2: Orders - walkthrough
- Dying Light 2: Observatory - walkthrough
- Dying Light 2: Welcome On Board- walkthrough
- Dying Light 2: The Lost Light - walkthrough
- Dying Light 2: Cathedral - walkthrough
- Dying Light 2: Broadcast - walkthrough
- Dying Light 2: The Shoe - walkthrough
- Dying Light 2: Nightrunners - walkthrough
- Dying Light 2: Empire - walkthrough
- Dying Light 2: Veronika - walkthrough
- Dying Light 2: The Breakthrough - walkthrough
- Dying Light 2: Assassination - walkthrough
- Dying Light 2: Now or Never - walkthrough
- Dying Light 2: X-13 - walkthrough
- Dying Light 2: Story quest
- Dying Light 2: Walkthrough
You are not permitted to copy any image, text or info from this page. This site is not associated with and/or endorsed by the developers and the publishers. All logos and images are copyrighted by their respective owners.
Copyright © 2000 - 2025 Webedia Polska SA for gamepressure.com, unofficial game guides, walkthroughs, secrets, game tips, maps & strategies for top games.
