Dying Light 2: Into The Darkness - walkthrough
This page of the Dying Light 2 guide contains a walkthrough of the Into the Darkness story quest - important choices (Anderson, Hakon).
On this page of the Dying Light 2 guide, you can find a walkthrough for Into The Darkness story quest. Thanks to our walkthrough, you'll see what important decisions appear during the mission.
- Rewards for completing the quest
- Enter the Tunnel
- Follow Hakon
- Turn on the ventilation system
- Turn on backup power
- Run to Hakon! .
- Keep going with Hakon
- Survive until Hakon returns
- Reach the barrier
- Survive the infected's attack
- Get back to Anderson
- Set off the explosives
- Get outside
- Defeat Barney
- Exit the building - important decision
- Option 1 - Help Anderson
- Option 2 - Get to Hakon's hideout
- Important decision - leave Hakon or help him
Rewards for completing the quest
- XP - combat: 3000
- XP - parkour: 1000
- melee weapon (Bad Gal Weapon)
- Let's Waltz! story quest unlocked
- Snipers' Alley side quest unlocked
Enter the Tunnel

The entrance to the tunnel is on the lowest floor of the subway . Go to the gate and talk to the guard who will let you inside.
Follow Hakon

During a short walk through the subway tunnel, you will have the opportunity to listen to the conversation between Aiden and Hakon.
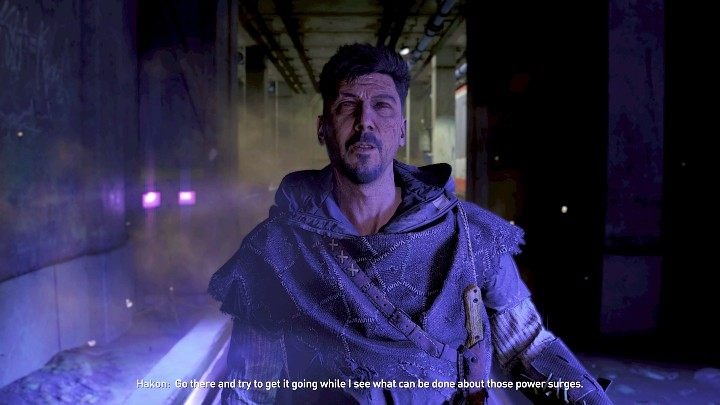
At some point, the power will run out, making chemicals spill in the tunnel. Talk to Hakon to proceed to the next stage of this quest .
Turn on the ventilation system
Go through the marked door to the next part of this location. This area is hazardous, as there are poisonous fumes that will severely limit Aiden's immunity.
Make sure to have a supply of blue mushrooms or inhalers before embarking further.
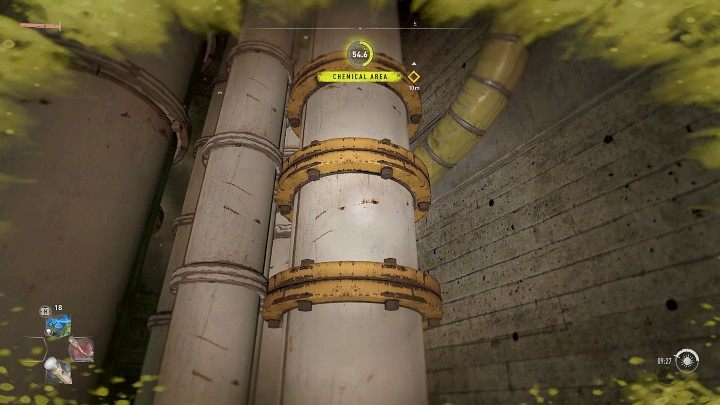
Follow the road all the time until you reach a room with vertical pipes. Grab the yellow edge and climb to reach the upper level of the tunnel .
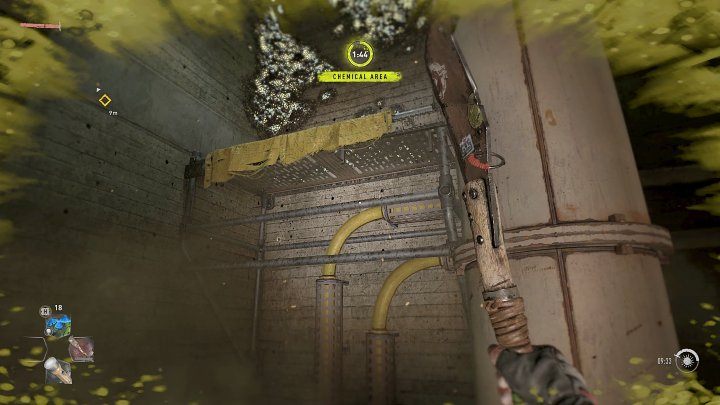
Now jump onto the metal structure on the right and from there jump to the room with the switchboard.

Interact with the control panel . Unfortunately, you will not be able to restore the main power, leaving you with with the goal of turning on the backup power.
Turn on backup power

Get to the very bottom of the tunnel and then go straight ahead towards the yellow mission marker .

Open the locked door with the GRE key and interact with the control panel .
Run to Hakon! .
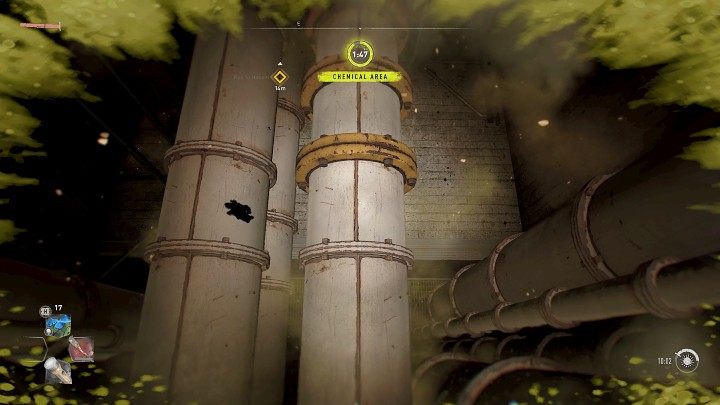
Keep running forward and head towards the objective marker. Once you reach the vertical pipes, look up, jump up and grab the yellow ledges to reach the upper floor of the tunnel .

When you get to the rapidly rotating fan, look up and jump onto the metal structure , then grab one of the bars and jump to the upper floor of the tunnel.
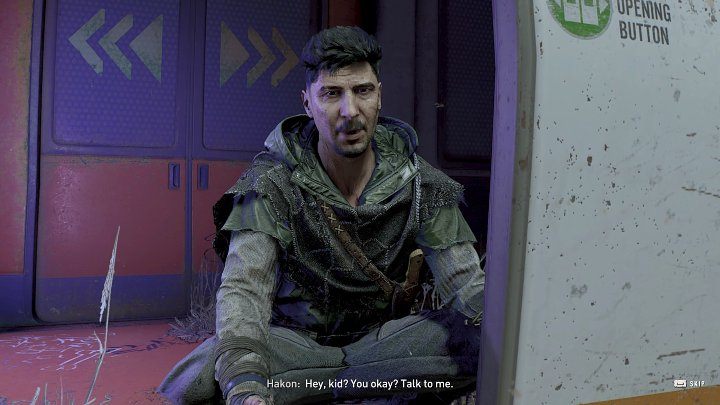
Keep running forward (you can ignore the zombies), until you finally reach the place where Hakon is waiting for you. Talk to the man to proceed to the next stage of this mission .
Keep going with Hakon
Continue through the subway tunnels until the Hakon finally stops in a large open area of the subway station .
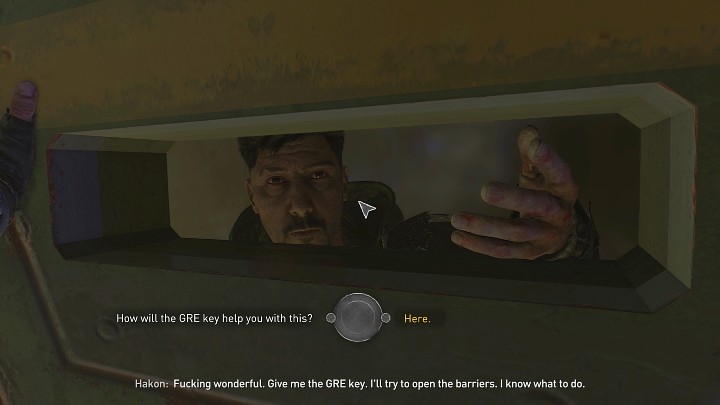
Talk to Hakon and he'll tell you a bit about the graffiti he's currently looking at. Suddenly, the iron door at the station will start to close - Hakon will manage to get through it but Aiden will stay on the other side. Hakon will ask you for the GRE key - no matter which dialogue option you choose, the result will be the same - the man receives the key.
Survive until Hakon returns
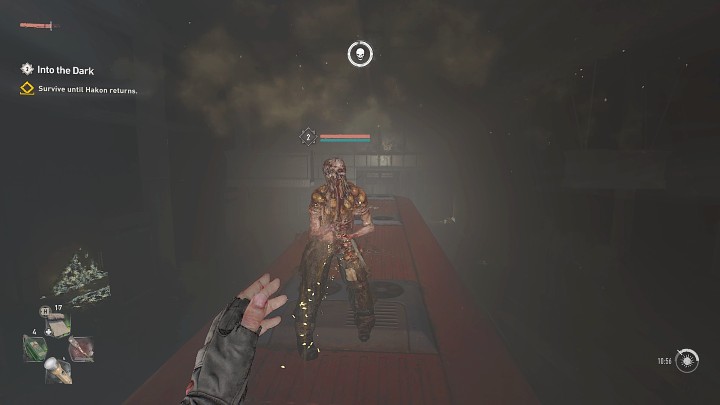
Watch out, are there are zombies incoming. Focus on acid-spitting enemies first so that they don't interfere later on.
Reach the barrier
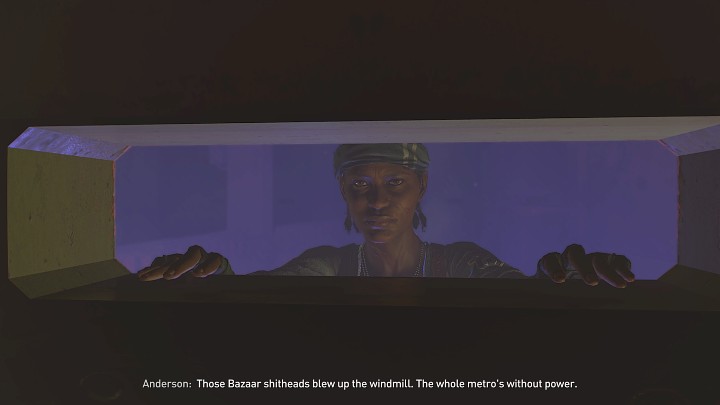
After a few minutes, Anderson will summon you on the walkie-talkie. Go to the barrier which is marked with a yellow mission marker . Anderson will say that he is currently working to get you out of this trap, but you have to wait a bit.
Survive the infected's attack
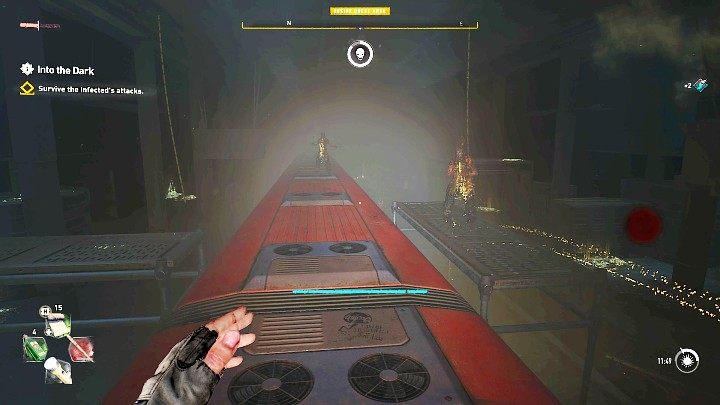
Once again, start the fight with eliminating acid-spitting enemies first so that they don't interfere later on. There is also a stronger opponent (Goliath) at the station, but you can avoid him by keeping to the roof of the train.
Get back to Anderson
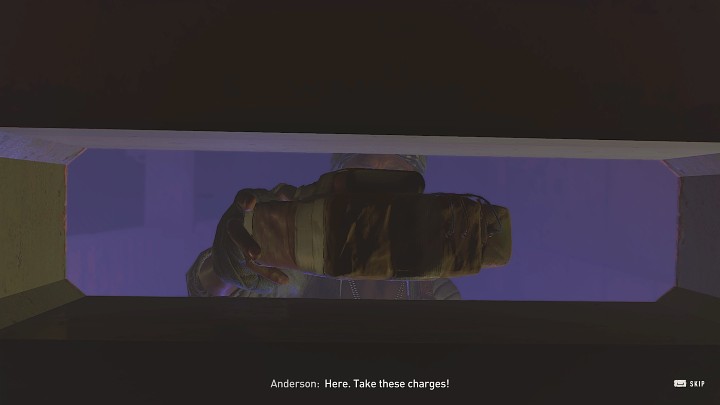
As soon as Anderson summons you on the walkie-talkie again, immediately go to the barrier. You'll receive an explosive .
Set off the explosives
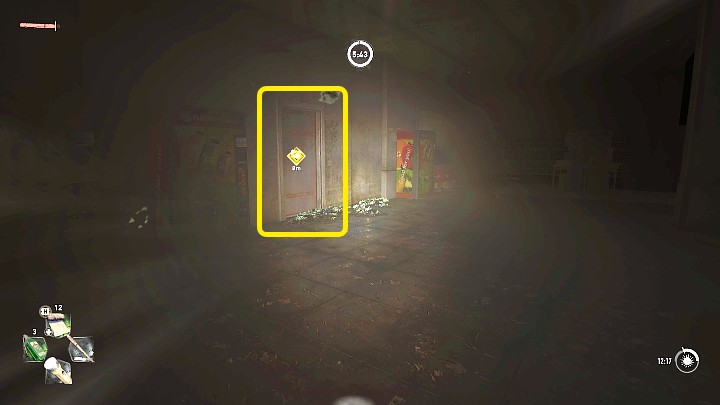
Approach the door and set up the explosives that Anderson gave you. Remember to step back to a safe distance .
Zombie attacks interfere with the action, so make sure there are no enemies in the vicinity.
Get outside
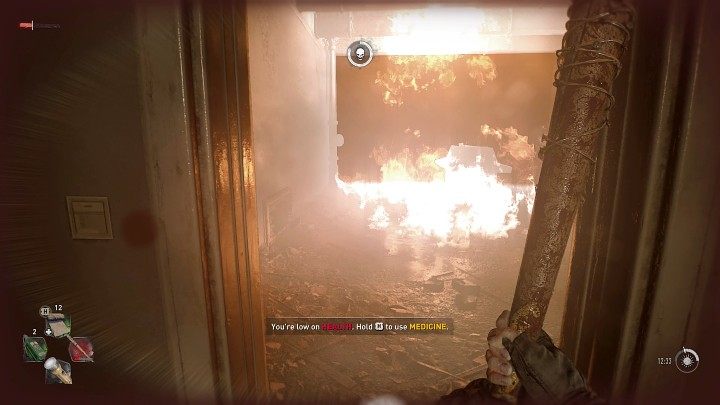
After blowing up the door, run straight ahead. While escaping, try to avoid fire in order not to receive additional damage.

You will finally reach the ladder. Before you go outside, heal yourself, because you are about to fight a boss .
Defeat Barney
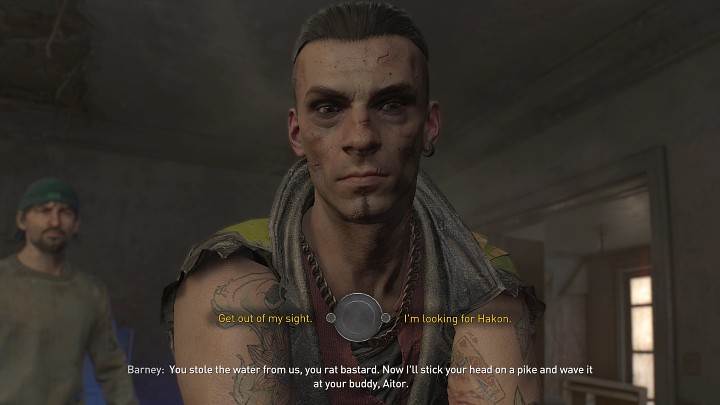
During the conversation with Barney, it doesn't matter which dialogue option you choose, because the man and his friends will attack Aiden anyway. This fight cannot be avoided .

First of all, it is a good idea to start with getting rid of two regular enemies. Barney fights exactly the same as in the Water Tower mission, so you should know the drill After parrying a regular attack, return with 2-3 quick blows and back away again.
Exit the building - important decision

Once you go outside, Aiden will contact Anderson via the walkie-talkie. The woman is stuck in the elevator in the tunnel and it is impossible to get out of there alone. At this point, you will have to make a decision that will affect the rest of this quest.
- Choice 1 - I'll Help You: Aiden agrees to help Anderson, which involves completing an additional objective in this mission;
- Choice 2 - Thanks for the help: Aiden will leave Anderson to fend for herself, and you'll proceed straight to the next objective - reaching Hakon's hideout.
Option 1 - Help Anderson
Go to the area marked on the world map. Your first task will be to contain the situation on the square - you have to get rid of all the enemies, otherwise you won't be able to interact with the generators . Among a large group of regular zombies, there will be two Goliaths.

While fighting, you can make use of gas barrels placed in two areas around the square - on the right (screenshot above) and one on the other side of the elevator. Lure the opponents to their vicinity and use a Molotov to set fire to the barrels to cause a large explosion.
Watch out! Turning on the generators will make more opponents appear on the square.
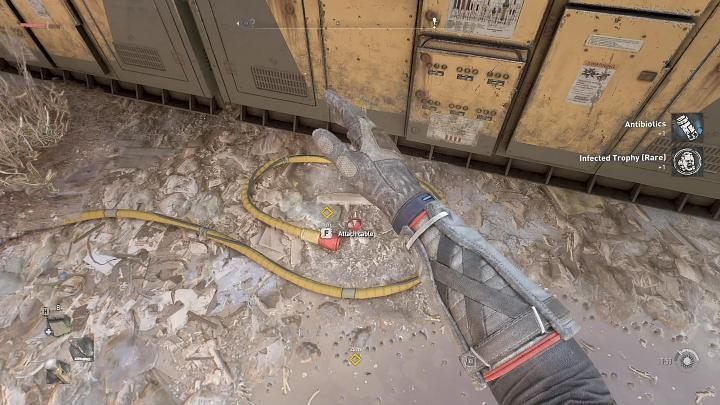
The first generator is on the square, right next to the elevator - approach it and interact with the cable lying on the ground.

The second generator is behind a high fence . You can get there through the metal scaffolding.
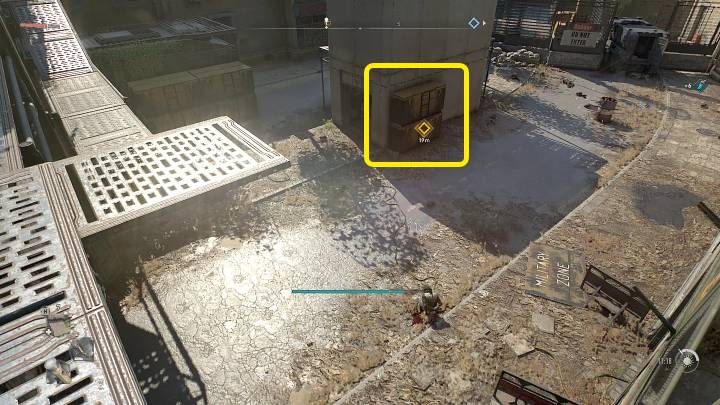
The third generator is also on the square, next to the elevator , in the place shown in the picture above.

Once all the generators are up and running, start the elevator . Anderson will emerge from inside, but unfortunately she has already changed.
Option 2 - Get to Hakon's hideout
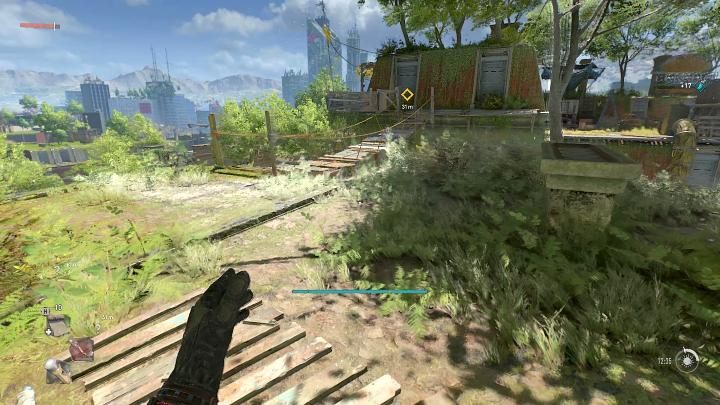
If you do not decide to help Anderson, you'll avoid a battle with zombies and won't have to be complete an optional mission objective.
Hakon's hideout is on the rooftop in Quarry End .
Important decision - leave Hakon or help him

After reaching Hakon's hideout, you will witness a short cutscene in which Hakon will be hit by an arrow.At this point, you will have to make another important decision :
- Leave Hakon to die - you'll move straight to the next story quest, Let's Waltz! .
- Help Hakon: you'll activate a side quest (Snipers' Alley)
- Dying Light 2 Guide
- Dying Light 2: Walkthrough
- Dying Light 2: Story quest
- Dying Light 2: Pilgrim's Path - walkthrough
- Dying Light 2: Getting Stronger - walkthrough
- Dying Light 2: Markers of Plague - walkthrough
- Dying Light 2: The Only Way Out - walkthrough
- Dying Light 2: Unruly Brother - walkthrough
- Dying Light 2: The Arrival - walkthrough
- Dying Light 2: The Raid - walkthrough
- Dying Light 2: Water Tower - walkthrough
- Dying Light 2: Revolution - walkthrough
- Dying Light 2: Into The Darkness - walkthrough
- Dying Light 2: Let's Waltz! - walkthrough
- Dying Light 2: A Place to Call Home - walkthrough
- Dying Light 2: Orders - walkthrough
- Dying Light 2: Observatory - walkthrough
- Dying Light 2: Welcome On Board- walkthrough
- Dying Light 2: The Lost Light - walkthrough
- Dying Light 2: Cathedral - walkthrough
- Dying Light 2: Broadcast - walkthrough
- Dying Light 2: The Shoe - walkthrough
- Dying Light 2: Nightrunners - walkthrough
- Dying Light 2: Empire - walkthrough
- Dying Light 2: Veronika - walkthrough
- Dying Light 2: The Breakthrough - walkthrough
- Dying Light 2: Assassination - walkthrough
- Dying Light 2: Now or Never - walkthrough
- Dying Light 2: X-13 - walkthrough
- Dying Light 2: Story quest
- Dying Light 2: Walkthrough
You are not permitted to copy any image, text or info from this page. This site is not associated with and/or endorsed by the developers and the publishers. All logos and images are copyrighted by their respective owners.
Copyright © 2000 - 2025 Webedia Polska SA for gamepressure.com, unofficial game guides, walkthroughs, secrets, game tips, maps & strategies for top games.
