09-12 | ctOS Breach
#9
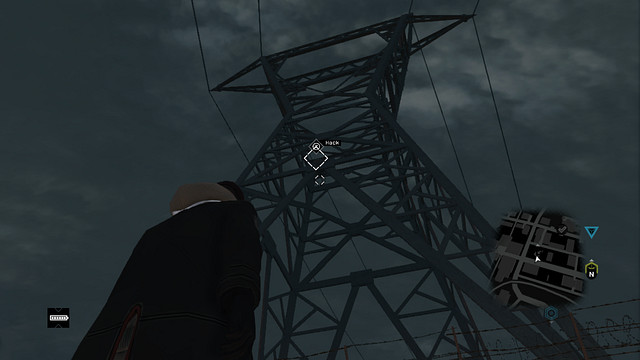
The ninth mission starts after you hack into the antenna attached to the overhead line support tower.
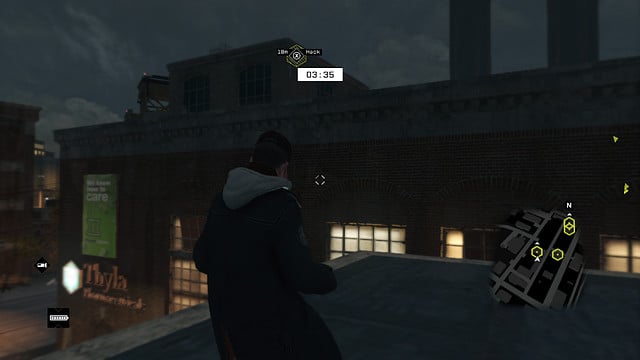
To hack into the second antenna, use the elevator in front of the building that neighbors the actual one from the South. Climb onto the rooftop and approach the edge to see the hacking marker.
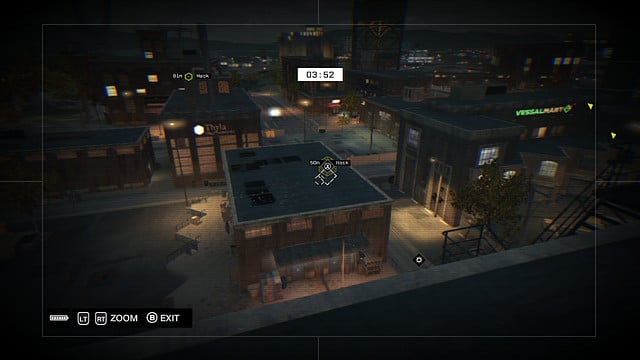
You can see the next antenna on the building, in front of the parking lot. You need to use the elevator to the South-East of the neighboring building, from which you will gain access to the camera on that building. It is the only one that you can view the roof with the antenna from.
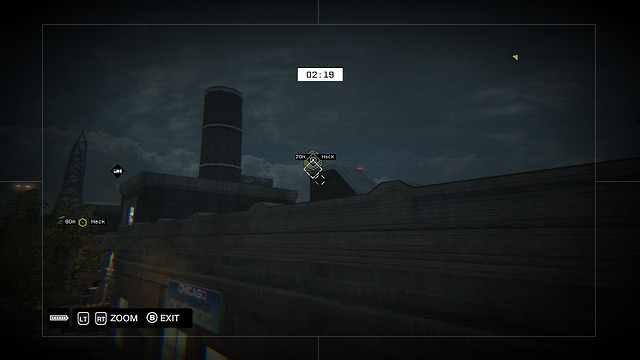
There are several cameras that you can view the device from. One of them is attached to the corner of the actual and the neighboring building.
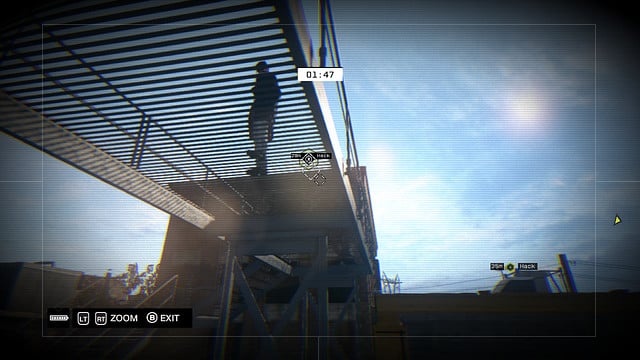
On the last building in the row, the tallest one, there is the last device. There only is one camera that you can use to hack into it - it is under the metal stairs to the West of the building.
#10
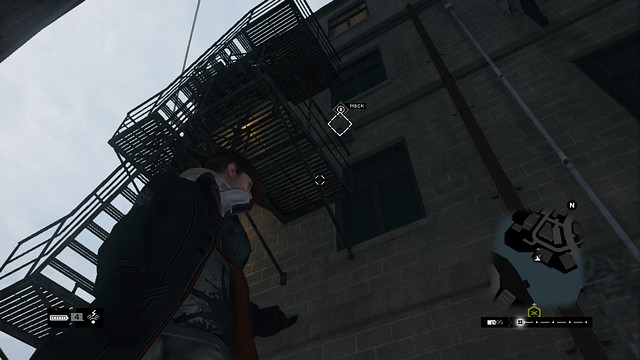
The first antenna is at the stairs, on the river-side.
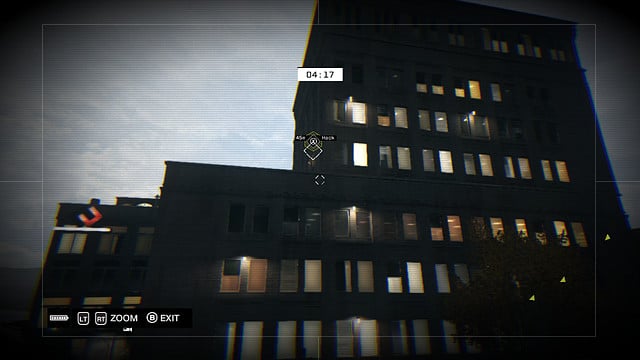
The access to the second relay can be obtained via the camera across the street.
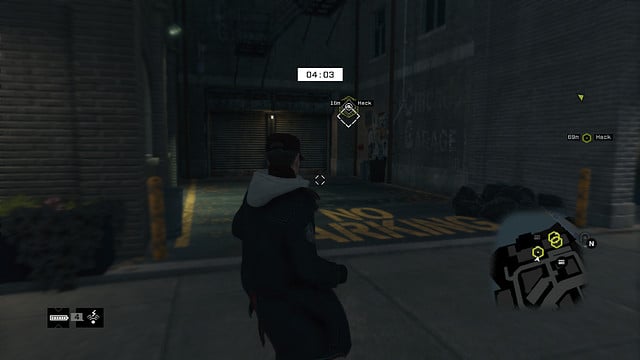
As you walk ahead, in the backstreet, between the buildings, you will see another camera.
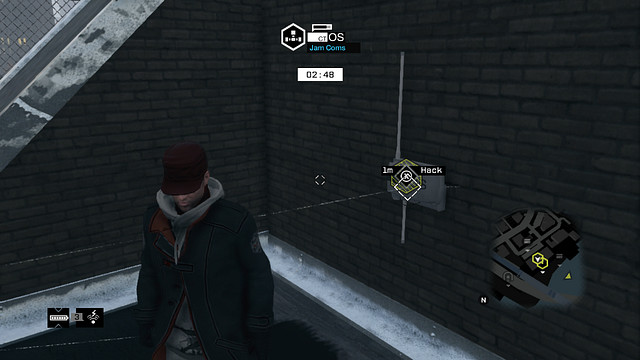
When it comes to the fourth device, there is only path to it - on the elevator on the Western side of the building.
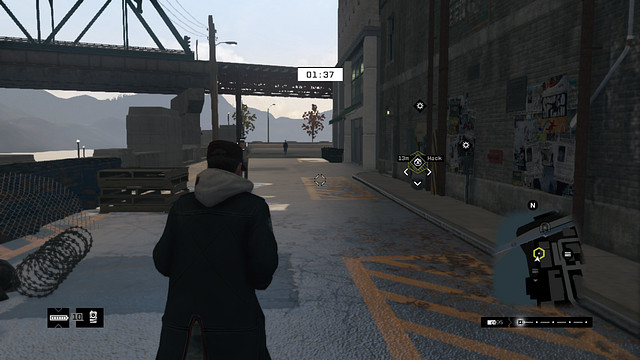
The last device is in the alley between the buildings, on the river side.
#11
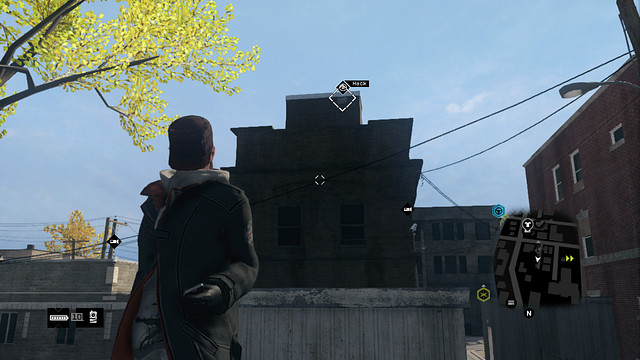
The relay that starts this mission is located on the roof. You can access it from the alley or, if you find it problematic, climb onto the low building next to you. All of the remaining relays can be hacked into via cameras. Move from one side to the other an look the successive opportunities to switch over.
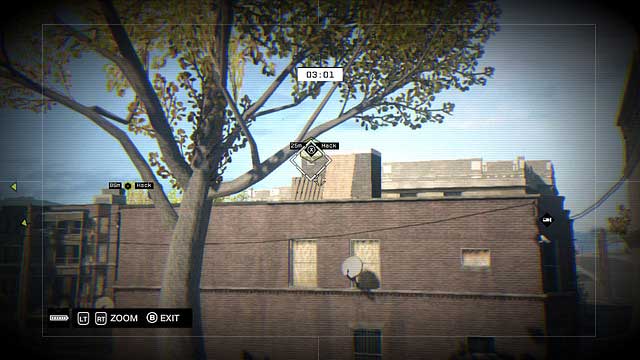
The relay is attached to the roof of the building, available from the camera next to the tree.
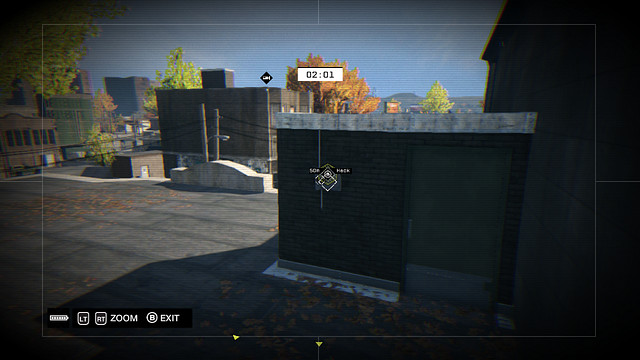
The next camera is hidden behind the roof access. From the camera on the previous building, you need to switch over to the device on the taller wall, net to the camera location.
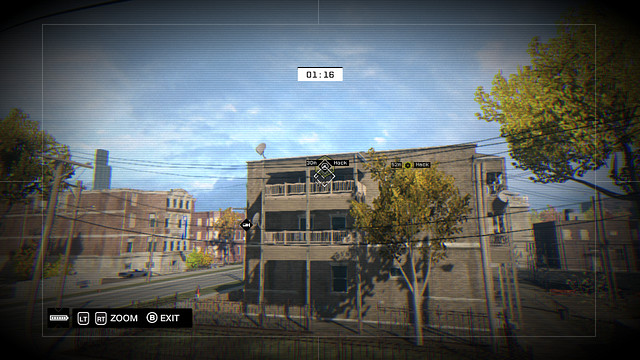
The fourth camera is on the balcony of the light brown building. It can be accessed via the camera on the pole, next to the street.
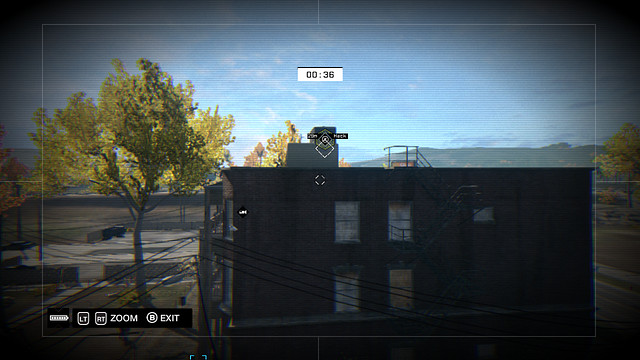
The last camera that can view the relay, is located on the building that neighbors the actual one from the South.
#12
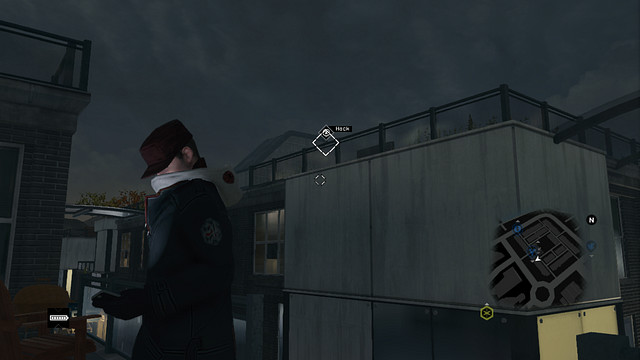
The first antenna is located on a small housing estate, in the Northern part of the Mad Mile. Use the elevator to climb to the upper floor - the device is attached to the barrier of the neighboring building.
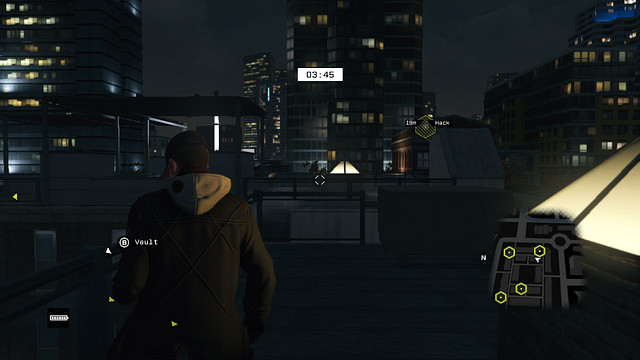
First of all, go Eastwards. The antenna is attached to the neighboring building.
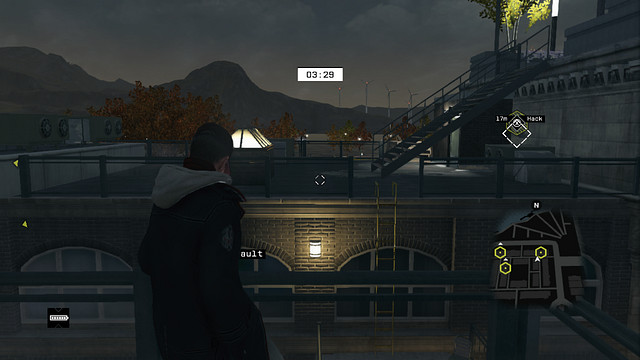
Turn left and run along the rooftop of the second building. At the end, you will have enough range to hack into the antenna.
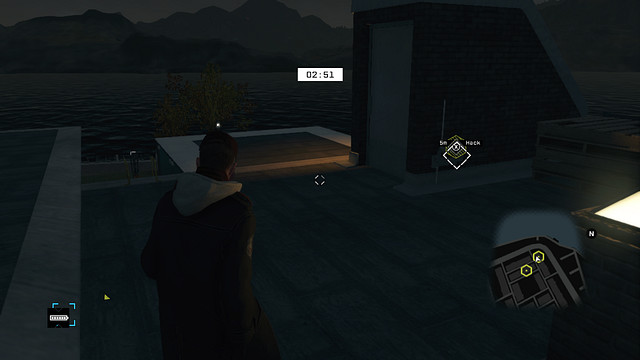
Then jump off the roof and walk onto the row of buildings, across the street. Keep jumping over from one rooftop to another, until you reach the relay.
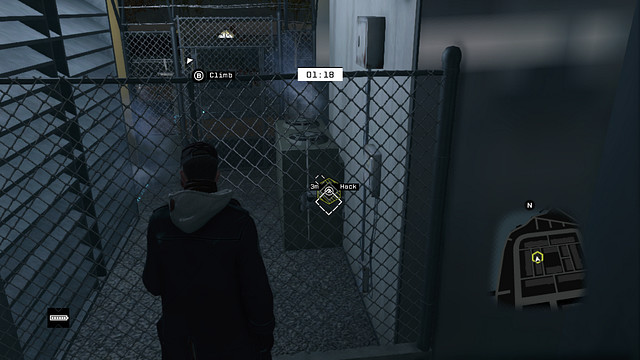
The last device is along your path to the ctOS tower. Hack into the switch box on the building with the mast and walk onto the elevator, while following the path to the South. After you reach the top of the building, go ahead, until you reach the gate - the antenna is behind it.
You are not permitted to copy any image, text or info from this page. This site is not associated with and/or endorsed by the Ubisoft or Ubisoft Studios. All logos and images are copyrighted by their respective owners.
Copyright © 2000 - 2025 Webedia Polska SA for gamepressure.com, unofficial game guides, walkthroughs, secrets, game tips, maps & strategies for top games.
