Cyberpunk 2077: The Heist walkthrough
On this page of our guide for Cyberpunk 2077 you will find a detailed walkthrough for the main mission called The Heist.
V did all the preliminary tasks assigned to him by Dex: he talked to Evelyn Parker, and got the Flathead robot from the Maelstrom gang. It is time to go to a meeting with DeShawn to discuss the following steps.
Mission awards: 1 Street Cred, 1 Attribute Point, 1 Perk Point.
- Head to the Afterlife
- Take part in the briefing
- Follow Jackie
- Scan for an entry point for the Flathead
- Head to Yorinobu's penthouse.
- Go to the balcony door
- Reach the elevator
- Reach the elevator to the garage
- Enter the Delamain
- Head to room 204
Head to the Afterlife
At the All Foods warehouses you will find a fast-travel point where you can immediately move to the Afterlife club without having to ride through the city.

Once you're there, go talk to Jackie, who is waiting for V before going down to the club. After a short talk, follow your friend and wait at the bar to meet Dex.
Take part in the briefing

When the bodyguard comes for you in the bar, go to meet Dex in his private cabin. T-bug will already be there. Put Flathead in the suitcase.
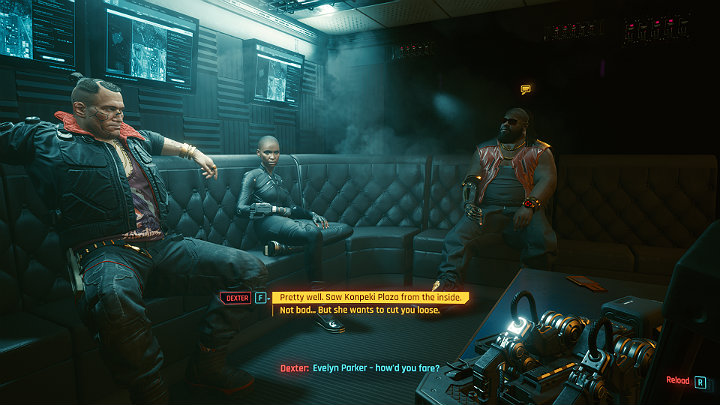
Before you start the briefing, Dex will have one question for V - how did the meeting with Evelyn Parker go.
- Pretty well. Saw Konpeki Plaza from the inside: you are talking about a recording from the inside of Yorinobu Arasaka's apartment that you saw at Lizzie's. If you choose this option, you won't convince Dex. He will ask you again if there is anything more behind it. You can stick to Evelyn's plan (cut Dex from the deal), make the fixer start to worry (There's something strange about her), or tell him the truth (Yes. She says we don't need you);
- Not bad. But She wants to cut you loose: if you say what Evelyn is planning, Dex will later increase your cut to 40% as a thank you. If you do not reveal this information you can try to negotiate, but you will not get more than 35%.

After this brief introduction, take the splinter from Dex and use it to see the details of the job. The task is to be carried out quietly, without attracting attention and without dead bodies. After the presentation you can ask Dex some additional questions. When Jackie asks if you are ready, you can nod or say you need more time. If you want to complete other tasks before taking up the main job, remember to take the suit when leaving the lodge.
Follow Jackie
After a short ride in a luxurious Delamain cab together with Jack, you will reach the entrance to the luxurious Konteki Plaza hotel.
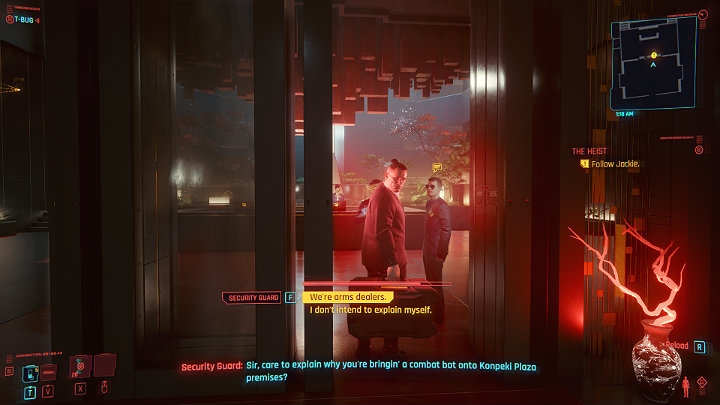
Wait for Jackie to take out the suitcase with Flathead and then go with him to the hotel. When Jackie is stopped by bodyguards, you have to play your part and say you are arms dealers.

Go to the reception counter and talk to the receptionist. The woman droid wants to inform Mr. Taki about your arrival, and this complicates the course of the mission a little. You need to keep the receptionist busy talking, and you can choose between different response options depending on the progression of your character. As Corpo, you can intimidate her, otherwise Jackie will tell a convincing story.
It doesn't matter how the conversation goes, because it only serves to build the right atmosphere.

Get in the elevator with Jackie and go to the rented apartment Lapis Lazuli on 42nd floor. When you cross the threshold of the room, talk to T-Bug. It is time to get to work.
Scan for an entry point for the Flathead

Turn on the scanner and find the entrance to the shaft to let Flathead in. It is located by the window, on the right wall from the entrance, behind a curtain.
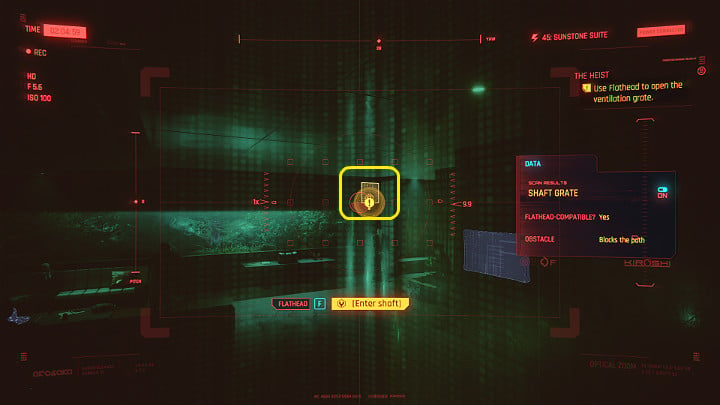
/unfortunately, the robot will get stuck. Take the control chip from Jackie and take control of Flathead. When T-Bug switches you to the hotel camera view you will have to turn on the scanner and guide the robot to the next vent. You will find it on the right side, just under the ceiling. Order the robot to enter the shaft.
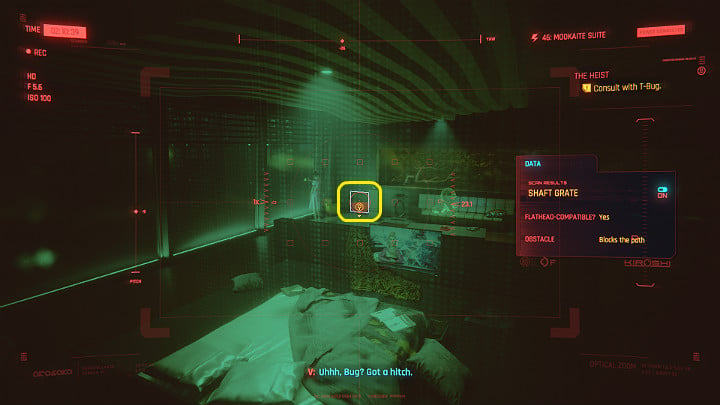
When you switch to the view from the next room, scan the entrance to the ventilation shaft, which is located near the floor, by the window on the left.
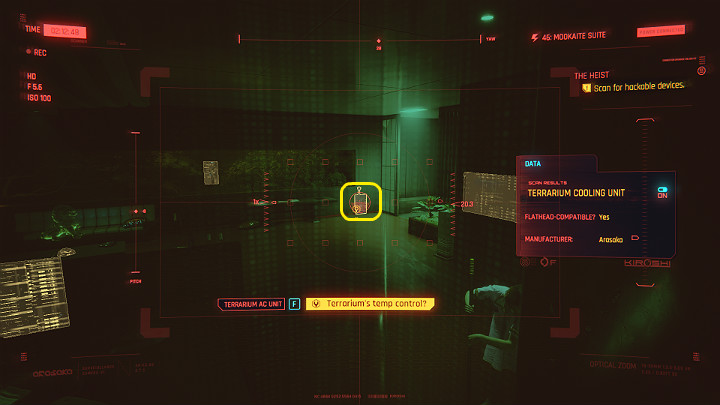
As long as the maid is standing there, Flathead will be unable to squeeze through. Scan the terrarium's temperature controller, which you will find on the right, and then lower the temperature with Flathead.
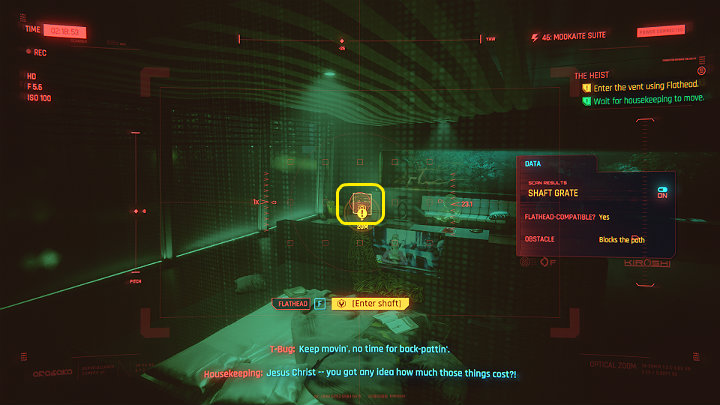
When the maids go to check what is happening to the terrarium, order Flathead to enter the previously scanned ventilation shaft.
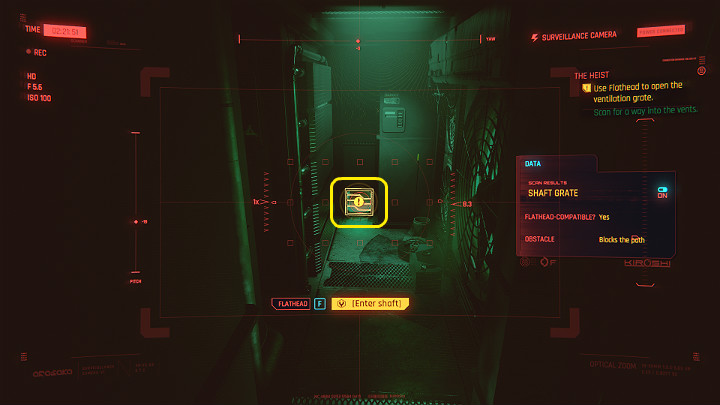
The next section is very simple. Direct Flathead to the ventilation shaft at the end of the corridor to get to the security room.

Now you have to force the lock to get to the resident's room. Unfortunately, the robot cannot handle this task so you have to look for another solution. Turn on the scanner and look for a CCTV network jack. You will find it near the floor, to the left of the door. Connect Flathead to it and then switch to the view from the camera behind the door.

Once you have switched to the view from the netrunner room, scan the ventilation shaft, which is located on the left, in the corner of the room, and then switch to the view from the second camera (security room).

Scan the entrance to the ventilation shaft on the right and order Flathead to go inside. Return to the camera image from netrunner's room.

All that remains is to connect Flathead to netrunner's chair and upload T-Bug's daemon (virus) to neutralize it. Log out of the hotel network.

Now you have to wait until T-Bug does her part of the job. Sit down on the couch to skip some time.
Head to Yorinobu's penthouse.

The penthouse's security measures have been disabled so it is time to return to the game. Go with Jackie to the elevator and to the 100th floor, to Tavernier Suite.

As you know very well, the biochip Evelyn Parker is so keen on is hidden in a safe that has been hidden under the floor of the apartment. To get to it you have to find the control panel that will reveal the safe. You will find it in the cabinet on the left side of Yorinobu's bed.
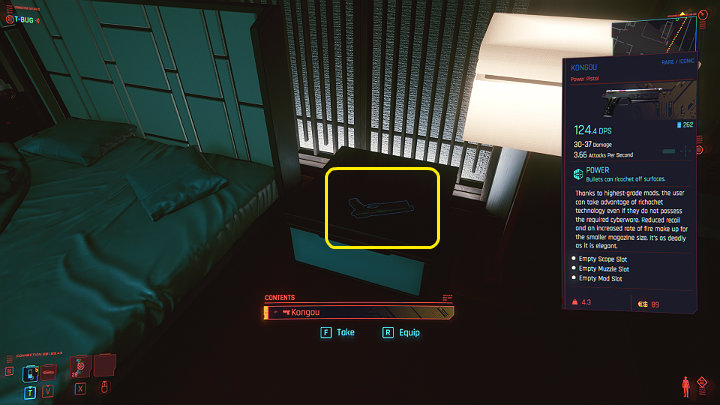
Before you go open the safe, remember to take the gun that Yorinobu Arasaka put on the cupboard on the other side of the bed. It may come in handy later on.

Approach the safe and jack in with a direct link. While T-Bug tries to access the safe, someone will land on the hotel's roof and all the staff of Konteki Plaza will be put on standby.

Yorinobu is returning to his apartment. Let Jackie take the Relic and then hide behind the hologram in a large pillar. The entrance is located by from the windows.
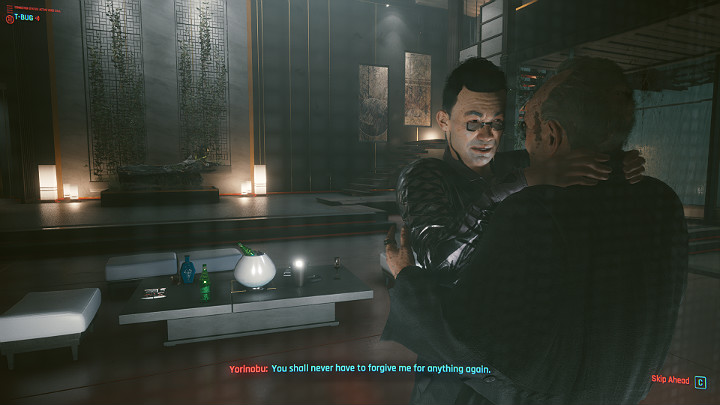
You will witness Yorinobu's meeting with his father, Saburo. The Emperor accuses his son of wanting to sell their greatest achievement to the American services, and he cannot forgive him for such treachery. Yorinobu will kill his father, a red alarm will sound in the hotel, and V and Jackie must leave the building, fast.
Go to the balcony door
After a short while, T-Bug finds a way out of the trap and lets you out through the glass door straight to the balcony. Unfortunately, T-Bug has been traced and communication with her was lost so from now on you are on your own.

Go outside and turn left. Go up the narrow ledge and walk around the corner of the building to try to get to the ladder.

When your presence is detected, you have to jump off the building to save your lives. You will fall into one of the service ducts. Unfortunately, Relic has suffered from the fall and you need to inform your client about this - call Evelyn Parker.

The integrity of the chip is only 86% and is constantly decreasing. There is only one solution - one of you has to connect Relic to their own neurosocket and Jackie volunteers. Now you have to get to the garage and take reach the Delamain cab.
Reach the elevator
If your presence is discovered during the escape, an armed welcoming committee will be waiting for you on the lower floor and you will be unable to act quietly.
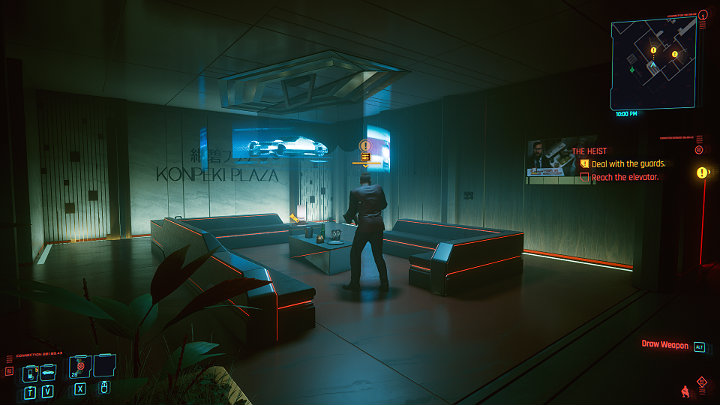
After descending the stairs you will encounter two bodyguards. Take care of one opponent (sneak up behind him and take him down quietly) and Jackie will take care of the other. Before you go any further, make sure you have pick up the weapons and additional mods from the bodies of the defeated guards.
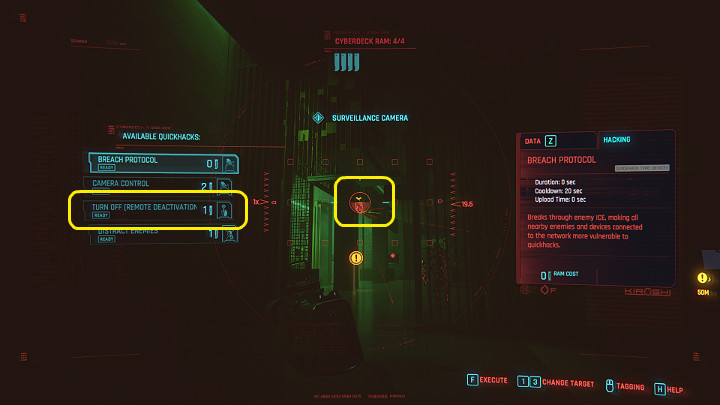
When you get to the next corridor, wait a while until the security guards finish talking. They will split up and one of them will go on a patrol, giving you some time to disable the camera on the left - hack it.

Approach the first bodyguard and eliminate him. Then sneak up to the second bodyguard and finish him off in the same way.

Further down the corridor you will encounter another two guards. First sneak up to the one who is standing closer, grab him from behind, drag him away a bit and then break his neck. The second bodyguard will not know the situation and you will be able to deal with him in the same way. Hide the bodies so they are not found by the other guards.

Two more bodyguards are stationed in the next room. Instead of walking down the corridor, use the passage on the left side and get a chance to surprize several more opponents. They are much more alert than others and actively patrol the area. You can hide behind the flowerbed by the window and avoid or eliminate them - the decision is yours. Remember to hide their bodies.

There are more opponents ahead of you. When one of them goes a bit forward, eliminate the enemy that stands closer to you. You can now eliminate the second target. Go on along the corridor.
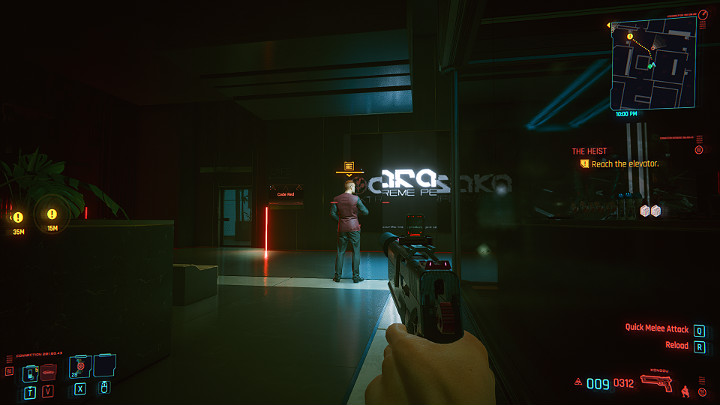
You will reach the next guard. Finish him off quietly and hide the body so it is not found by the other guards.

When the two guards on the left enter the room on your right, you can safely get past them or eliminate them one by one. However, before you start doing anything, hack the camera which is located in the hallway on the left side.

If you have decided on the second option, go to the first bodyguard and drag him out of the room, then break his neck and hide the body. It will be harder to suprise the other opponent so you have to wait for the moment when he turns to the right. When he looks to the left he will notice you even when you stand in the room's entrance. If this happens, just back off and try again.
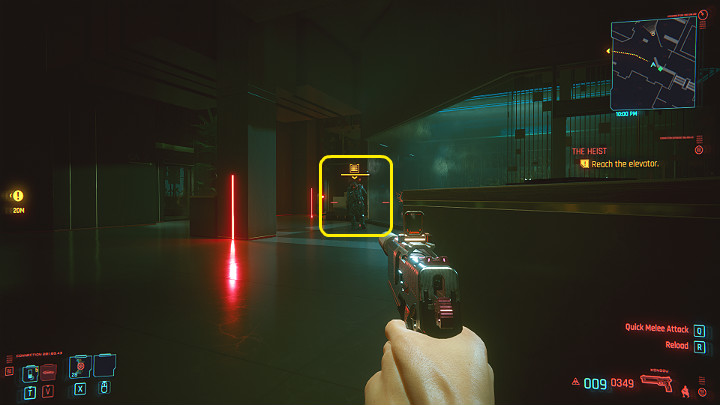
Go forward and turn right to find out that the nearest elevator is locked. Go further down the corridor to the second elevator. This area is patrolled by a single opponent so don't get caught. As soon as he turns around, get behind him, finish him off and hide the body.
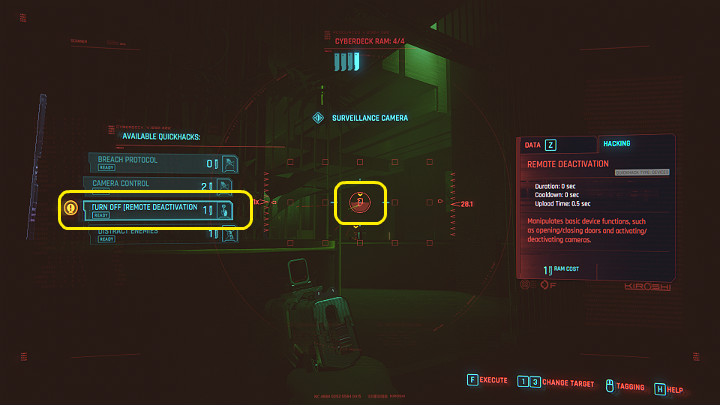
In the next corridor, right next to the elevator, two guards are stationed together with the commander - he is better armored and armed. You can try to lure them out one by one with quickhacking or wait for them to split up to eliminate them quietly. However, before you act, it is worth to disable the camera on the right side.

Now you can sneak up on the first opponent and eliminate him when he is not looking in your direction. You can do the same with subsequent guards. First eliminate the one by the elevator, as he is looking towards his colleague, and then the guard standing in the hallway.

Remember to search the commander, then go with Jackie to the elevator and go down to the lobby. You've cleared that floor of the hotel.
Reach the elevator to the garage
More opponents are waiting in the lobby. If you want, you can eliminate them quietly or start shooting right away (then fire from behind cover to save health a bit as you'll activate defensive turrets). This stage can also be completed without any combat or by keeping victims to a minimum.

As soon as you get out of the elevator it is worth taking care of the camera, which was installed in the first corridor, on the right. Turn it off so that it does not interfere with your further escape.

If you want to act stealthily, mark all targets with the scanner and then eliminate the first guard on the right - just to be sure.
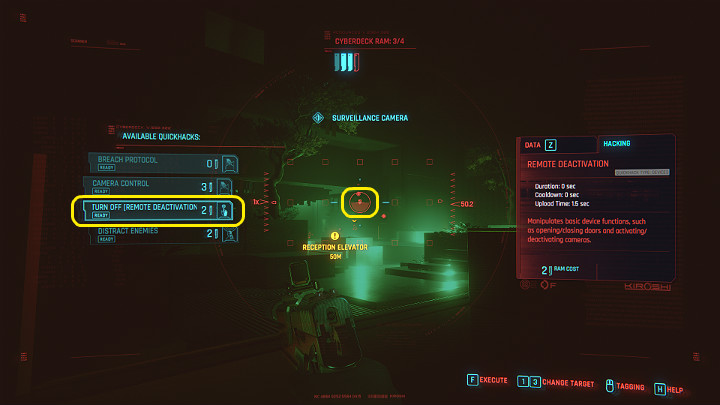
Then patiently get past subsequent guards when they are not looking. The best way is to go along the wall and then left behind the pots and straight to the elevator. To make this task a little easier for yourself remember to hack the cameras - one is located opposite the entrance, in the further part of the corridor, and the other just next to the elevator.
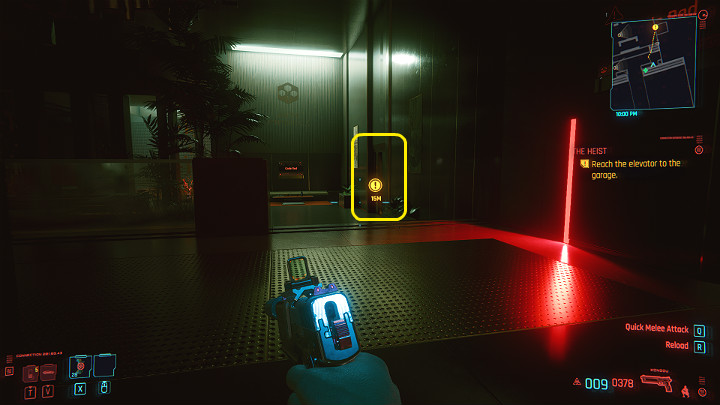
When the guards patrolling the area by the elevator start to go left, this is your chance to get to the elevator without fighting.
Enter the Delamain
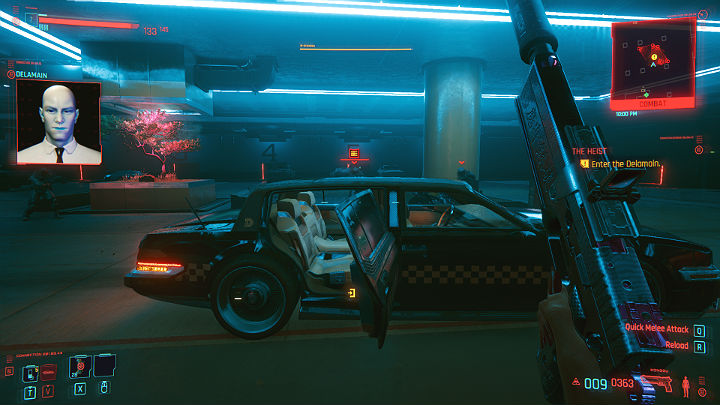
The garage is tightly guarded so you will not get into the vehicle unnoticed. If you want, you can fight or just run out of the elevator and dash straight for the cab to complete this stage of the job.
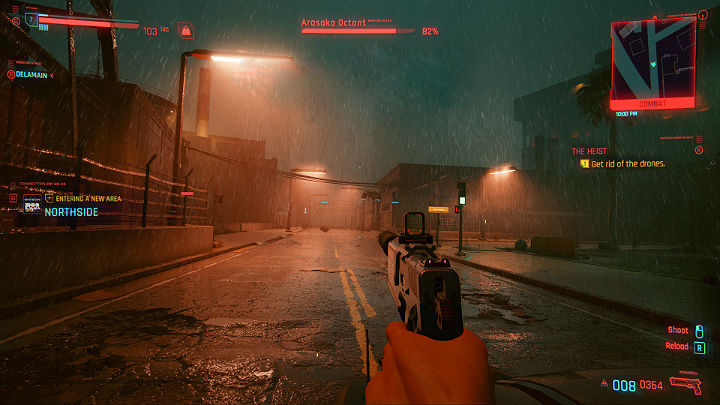
Unfortunately, your problems are not over yet. Enemy forces sent three battle drones after the cab. You can try to shoot them down or hack them (short circuit).

Once you're safe, things will take a really bad turn. Jackie's medical scan reveals that he is in critical condition but you will not be able to do anything to save him. However, you can decide what will happen to the body.
- Nowhere. Wait here for me: you will unlock an additional side job called Heroes.
- Take him home, to his family: you will unlock an additional side job Heroes.
- Take him to Vik Vektor's clinic: you will unlock additional dialogues and scenes related to Jackie in one of the later main quests. You won't be able to get the Heroes side quest but you will receive messages from Jackie's mother and keys to his motorcycle.
Head to room 204

Get out of the cab, enter the No-Tell Motel and go to room 204 to talk to Dex. DeShawn will not be happy with the mission's outcome and proposes to play it out the following way: meet with Evelyn, get the money and then the hell out of Night City. First, however, he tells V to wash the blood off their face.
If you tell him that you have failed to get Relic, he will answer that this is the only good news of today. However, this does not affect the further course the story.

As soon as you get cleaned up and leave the bathroom, you will be attacked by a security guard. Dexter will pull out the gun and shoot V. That's how The Heist ends.
You are not permitted to copy any image, text or info from this page. This site is not associated with and/or endorsed by the developers and the publishers. All logos and images are copyrighted by their respective owners.
Copyright © 2000 - 2025 Webedia Polska SA for gamepressure.com, unofficial game guides, walkthroughs, secrets, game tips, maps & strategies for top games.
