Cyberpunk 2077: Belly of the Beast - walkthrough
On this page of the Cyberpunk 2077 guide you will find a detailed description of the Belly of the Beast mission.
V was admitted to the Aldecaldos family and hit the maglev tunnel construction site together with the Nomads, took over Night Corp's machine and are ready to drill into the Arasaka Tower.
- Join Mitch and Saul
- Start the SERC
- Look around for a maintenance shaft.
- Neutralize the guards to access the terminal
- Reach the security room
- Reach Mikoshi
Join Mitch and Saul

After entering the tunnel you will have some time to talk to Panam. When you are there, leave the Basilisk and join the rest of the Nomads. Mitch will go to help the Aldecaldos and support them in their fight against the enemy, and you will go straight to the Arasaka Tower with Saul and Panam.
Start the SERC

Go with Panam to the control room. Start the machine that will get you to the Arasaka Tower.

Get out of the control room to talk to Saul and Panam. Unfortunately, the clan leader did not receive any message from Mitch, but there is no need to wait - you need to get to the Arasaka building as soon as possible.
Look around for a maintenance shaft.
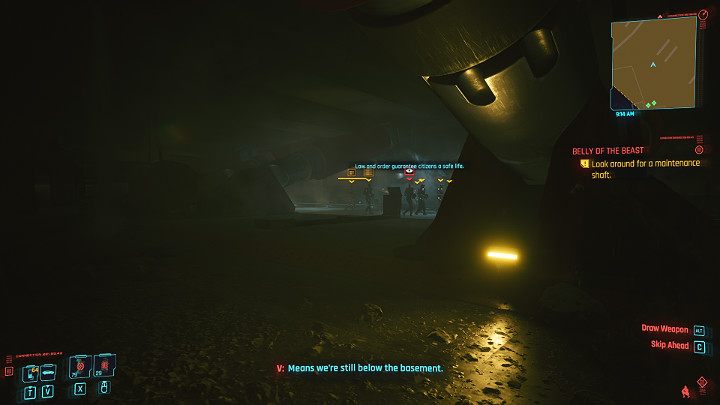
The service hatch is located on the left side of the spacious underground room. To get there unnoticed, just stick to the side wall on the left and move forward while remaining out of sight of the patrolling androids.
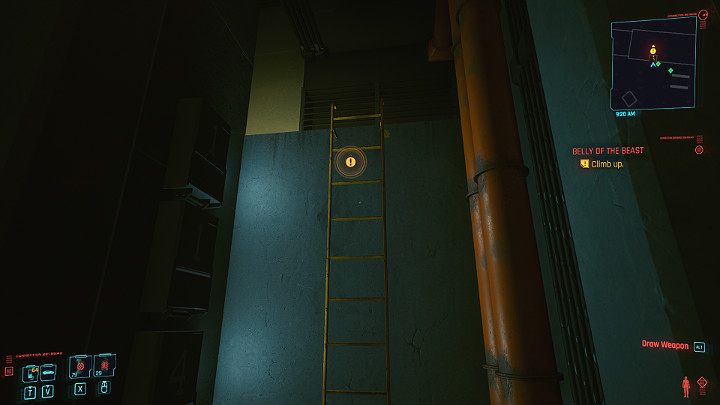
Go up a ladder to the top, then go through a double door and use another ladder to get to the Arasaka Tower through a technical tunnel. In the next room you will find the last ladder - climb up there.
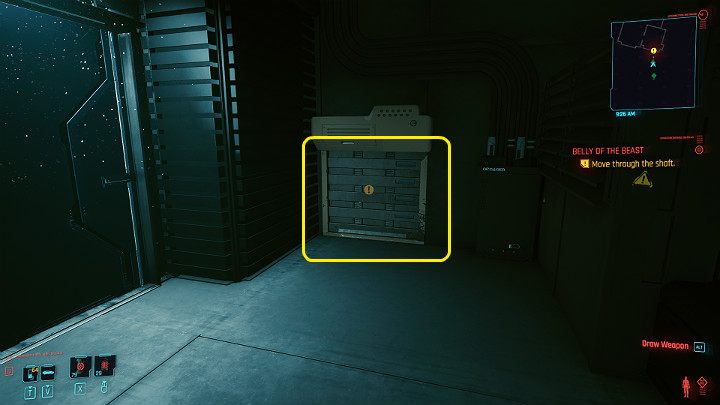
On the right-hand side, you will find the grating of another technical shaft, which will get you to the control room.
Neutralize the guards to access the terminal

Hide behind a box and wait for the guards to finish the conversation. As soon as they split up, get one of them from behind and finish him off, and your comrades will take care of the other opponent.
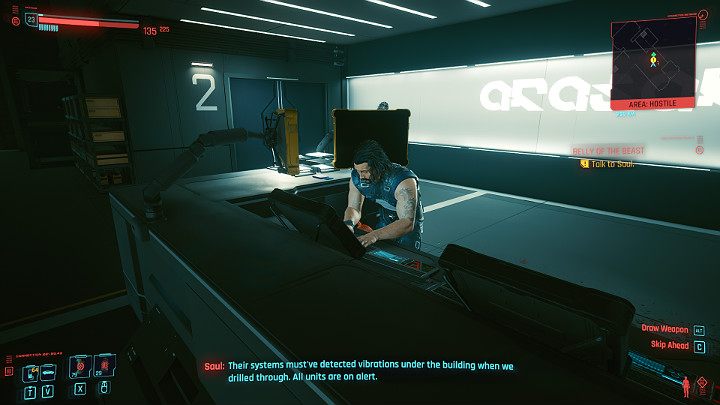
Talk to Saul. The Arasaka system detected the vibrations around the building when you were breaking through and is now on high alert, which means that all exits from the industrial level were cut off.
Reach the security room
You can get to the guard room in many ways. One of the shorter routes leads through the door on the left, but going through there requires a high enough body stat (at least 13 points). In our guide, we will focus on the quickest possible route that all characters can follow, regardless of the attributes you've developed.
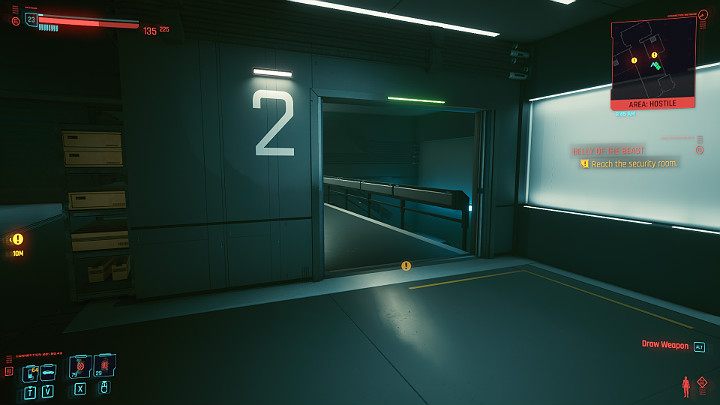
Go through the door leading to the staircase and then descend to the lower floor of the building. Before going any further please note that this area is being patrolled by several opponents.

First of all, you should pay attention to the camera on the left. Using any kind of cover, hack it and turn it off.
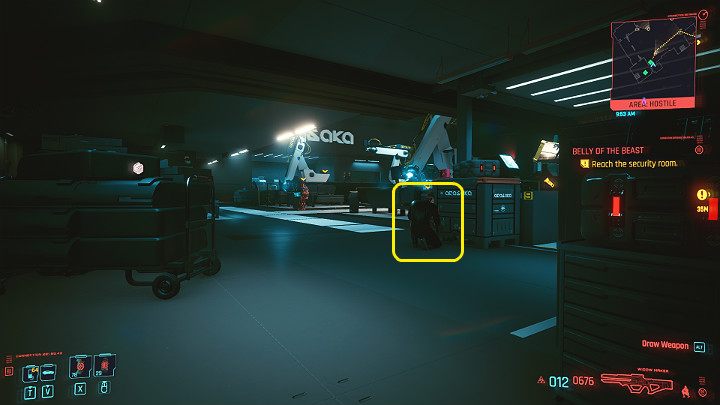
If you don't want to fight, you can completely ignore the first three guards covering this level and slip right into the security office using various objects for cover on the way. Wait a moment in the corner of the room until the guard standing at the desk goes to check the nearby container - then you can safely walk behind his back. If you want to eliminate all the targets, wait for the guards to line up with you and take them out from behind - remember to hide their bodies.
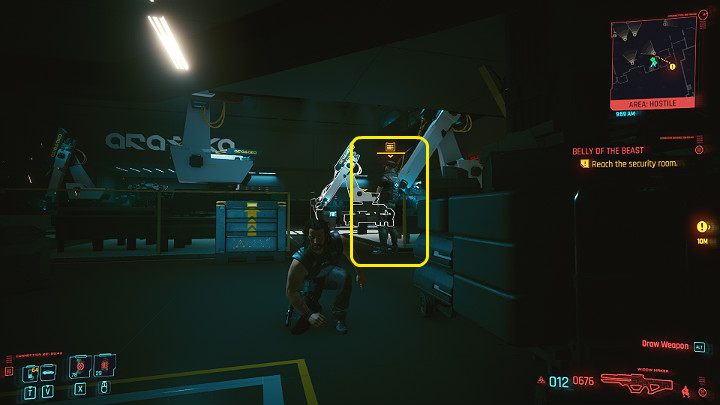
Before entering the office, you will meet another guard. He will not move from his place, but you can move to the right corner of the room and stay out of sight. From here you can either take him out from behind and hide the body in a nearby container or simply walk behind his back to the security room.

The Netrunner in the guard room is busy with his business so he will definitely not pay attention to you. Finish him off quietly and place the shard in the console.
Reach Mikoshi
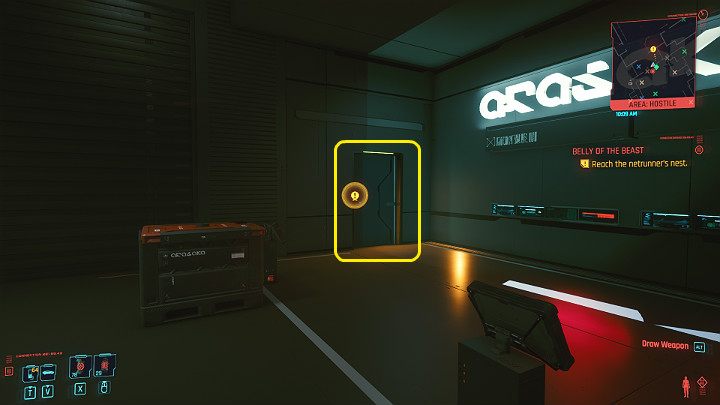
As soon as Alt receives a shard signal, it will immediately kill all remaining Arasaka agents at this level and thus open the way to Mikoshi. Exit the industrial level through the door on the right.
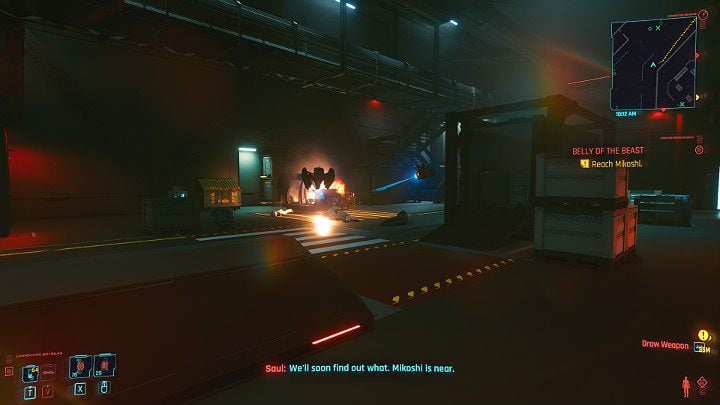
Going further through the building you will notice that Alt has taken control of the drones and mosses and is actively patrolling the area in search of some danger. Go on towards Mikoshi.

As soon as you enter the main corridor leading to Mikoshi, Adam Smasher, one of the main bosses in Cyberpunk 2077, will stand in your way. A detailed description of the battle with boss Adam Smasher and many tips related to the fight can be found on a separate page of our guide, in the chapter Bosses.
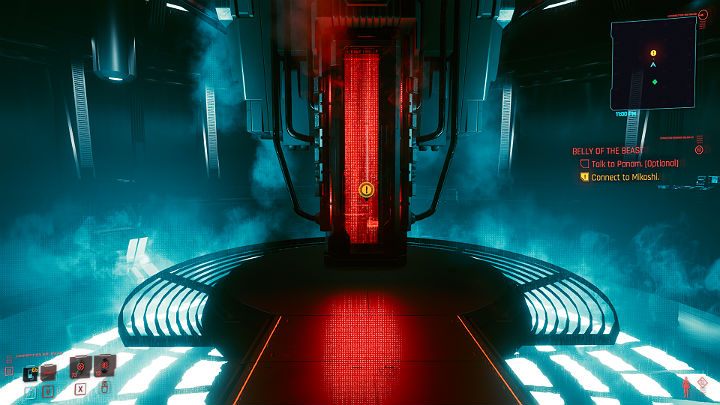
After the fight, approach the access point and connect to Mikoshi. Further events are related to one of the possible endings of Cyberpunk 2077 and it is recommended to play through it yourself.
For more detailed information about all possible endings of Cyberpunk 2077, check out the separate Endings section of this guide.
- Cyberpunk 2077 Guide
- Cyberpunk 2077: Walkthrough
- Cyberpunk 2077: Main missions
- Cyberpunk 2077: Act 3
- Cyberpunk 2077: Nocturne OP55N1 walkthrough
- Cyberpunk 2077: Last Caress walkthrough
- Cyberpunk 2077: Totalimmortal walkthrough
- Cyberpunk 2077: We Gotta Live Together - walkthrough
- Cyberpunk 2077: Forward to Death - walkthrough
- Cyberpunk 2077: Belly of the Beast - walkthrough
- Cyberpunk 2077: For Whom the Bell Tolls - walkthrough
- Cyberpunk 2077: Knockin' on Heaven's Door - walkthrough
- Cyberpunk 2077: Act 3
- Cyberpunk 2077: Main missions
- Cyberpunk 2077: Walkthrough
You are not permitted to copy any image, text or info from this page. This site is not associated with and/or endorsed by the developers and the publishers. All logos and images are copyrighted by their respective owners.
Copyright © 2000 - 2025 Webedia Polska SA for gamepressure.com, unofficial game guides, walkthroughs, secrets, game tips, maps & strategies for top games.
