Cyberpunk 2077: Play It Safe walkthrough
On this page of the Cyberpunk 2077 guide, you will find a detailed walkthrough of the Play It Safe quest.
V managed to get to Arasaka Industrial Park and hack the platform where Hanako will stand during the parade in memory of her father, Saburo. Takemura wants to jump on it to have a talk with Hanako, and V has to take care of the snipers and cover him.
Reward for the quest: XP, Street Cred.
- Talk to Takemura
- Reach the first sniper
- Reach the second sniper
- Reach the third sniper
- Reach the netrunner
- Defeat Oda
- Connect to the Access Point
- Escape the parade grounds
Talk to Takemura

Go to the marketplace in Japantown to talk to Takemura. He made some changes to the data from Wakako and wants to discuss them with you. The surveillance system, to which V had connected, helped Takemura to locate the snipers. There are 3 of them, and they need to be neutralized before any further action can be taken.
Reach the first sniper

Go through the crowd to the front and then turn left. When you cross the bridge, turn right and then take the stairs upwards and go through the double door.

Before you go any further, you have to deal with the explosives - you can shoot at them (and detonate), disarm them (6 points of Technical Ability required), or jump over the laser.
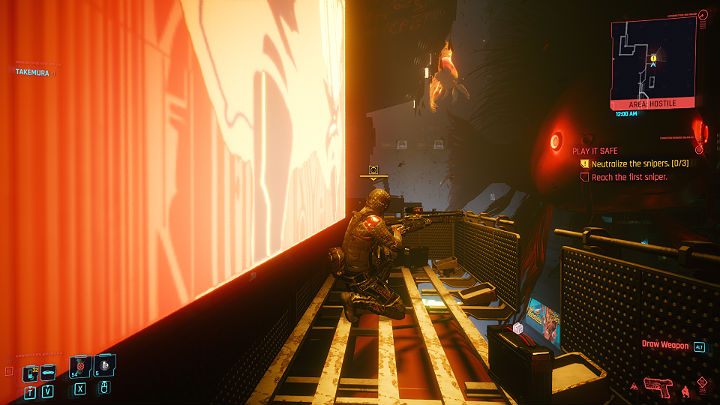
Climb a ladder and then jump on the platform. You will find the sniper on the left side - get behind him and eliminate him.
Reach the second sniper

Get off the platform, step back a bit, jump on the balcony on the right, and then enter the elevator. Take the elevator on the 21th floor - the balcony.
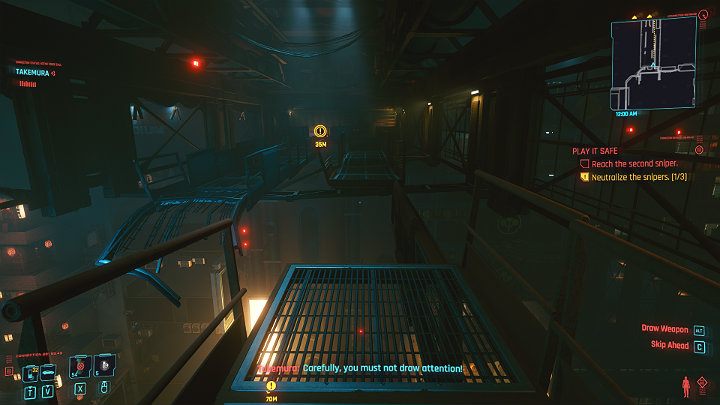
Go right until you get to the ladder - climb higher. Go forward, but be careful because one segment of the floor will collapse when you get in front of it. Take a runway and jump over the precipice, then descend to the lower floor and go through the hatch to the lower level.

Now you have to go down the narrow spiral. Avoid the drones (watch out for the blue light) or hack them. There will be one guard downstairs - go from behind and eliminate him, preferably when he stands by the railing.

Go through the door on the left and neutralize another mine (disarm, detonate) or jump over the laser.
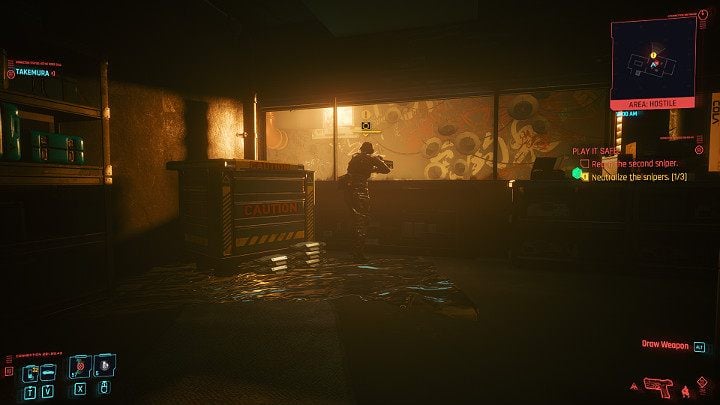
Open the next door, get a second sniper from behind and eliminate him quietly. You don't have to worry about the body.
Reach the third sniper
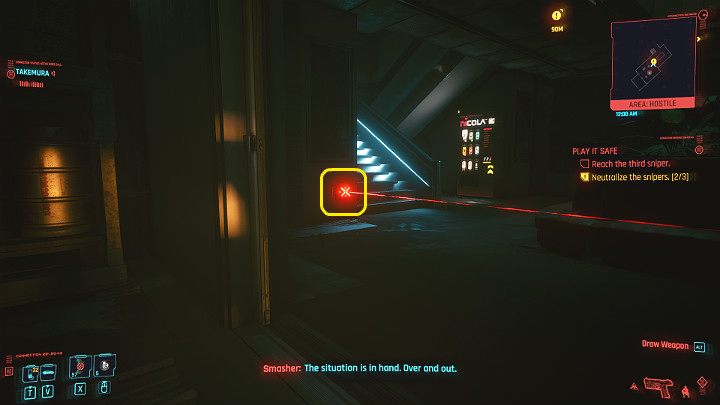
Open the double door and neutralize the mine (or jump over the laser), then go up to the higher floor. Move carefully, because on the right, on the stairs, there is one guard.

Hack an electrical appliance on the other side of the room to lure him to the corner of the room, then get him from behind and eliminate him. Go to the higher floor.
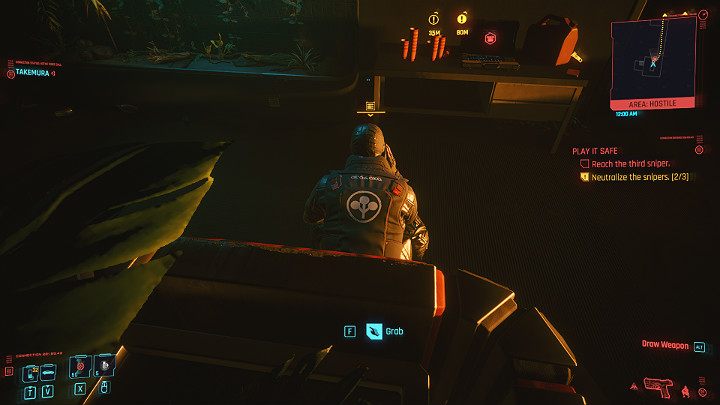
There is another guard on the left, but he is busy talking on the phone. Go to the right side, then jump on the flowerbed and finish the enemy quietly.
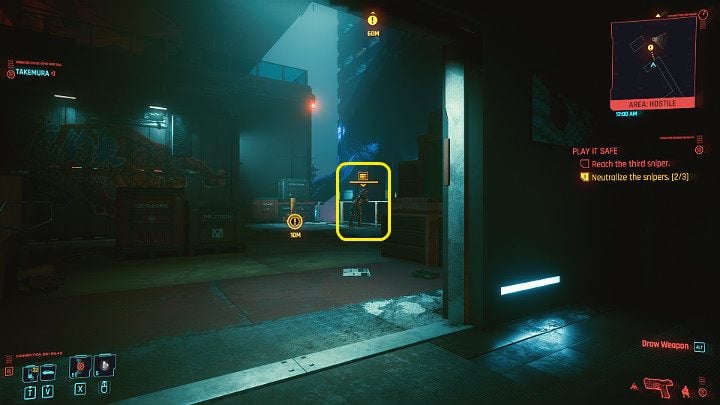
Walk down the corridor on the left and you will exit the building. There are several drones around and one guard - take care of him when he leans against the railing.
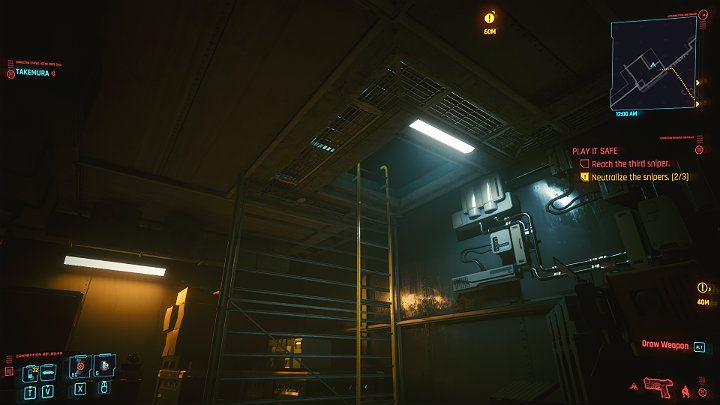
The go through the door on the left side, you will need 5 points of Technical Abilities. However, after eliminating the guard, you will receive an access card, and you will be able to use it. It is a much faster way to the destination, and we will use it in our walkthrough. Go up the ladder and then take the elevator to the 30th floor (foyer).
The alternative way:
The second path is through a footbridge on the right. Go between buildings when no platforms will fly over it. Then climb up the stairs to the higher floor of the building. Jump on the platform, and you'll see two guards in front of you - you can sneak in between them because they are turned in two different directions. Get in the elevator and ride higher. As soon as you get out of the elevator, you will encounter another guard - he will be turned back, so you can pass him or eliminate him. Go forward, then jump on the stairs, and go until you get to the ladder - go higher (watch out for drones!).
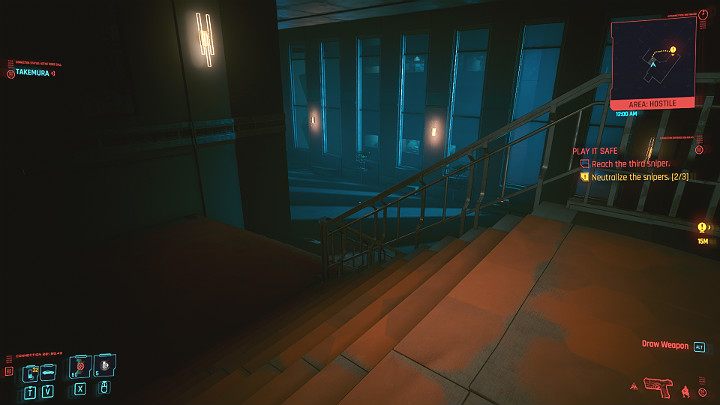
When you get off the elevator, go down the stairs on the left when the drones patrolling the area will not look through the windows. Go through the door on the right side of the stairs. There is another guard there, but you can bypass him.

No matter which path you choose, you will get to the footbridge, patrolled by another sniper - get him from behind and eliminate him or shoot the mine, and the explosion will kill the sniper immediately.
Reach the netrunner
Exit through a double door, bypass or finish the guards, and head to the elevator on the right - take it to the balcony on the 21st floor.
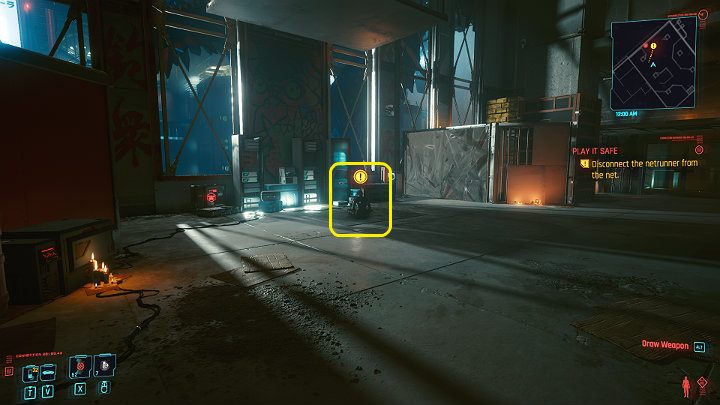
Go through the balcony straight to the netrunner's room. When she appears, cut her off from the net and get ready to fight the boss.
Defeat Oda
Sandayu Oda is an extremely agile opponent who uses deadly mantis blades in combat to deliver fast and deadly cuts. The boss is also able to use SMG, which fires homing missiles. Oda can be defeated with weapons and gadgets or by relying solely on stealth. A detailed instructions on how to do this can be found below.

Oda's strengths | Oda's weaknesses |
|
|
Combat using weapons

Oda uses mantis blades with high precision, so try to keep the right distance to stay out of reach of his weapon. Stepping back, shot as much as you can to lower the boss' health.
After using mantis blades, Oda needs to rest a little bit, and it is the perfect time for a counterattack.

If you haven't damaged Oda's SMG before, hide behind a solid shield when the opponent switches to the long-range weapon. The homing missiles leave a purple trail, so you can see them, but when they hit the target, they can injure you pretty badly.

When an opponent receives damage from an EMP grenade, Oni Mask will turn off for a while (and he will not be able to use homing missiles using SMG). A special blue icon visible above his head informs about his temporary indisposition.
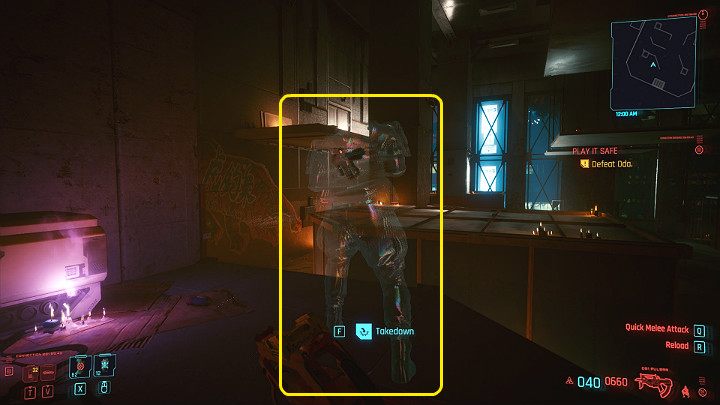
The opponent may also use special camouflage, which makes him almost invisible. Oda uses this trick when he loses sight of you or to regenerate lost health. Turn on the scanner to find his tracks, and reach your opponent to interrupt the regeneration. If you don't react quickly enough, your opponent will heal to full health.
When you are close to your opponent when he uses camouflage, V will be knocked down by the explosion accompanying the activation of this skill, and you will lose control of your character for a while.
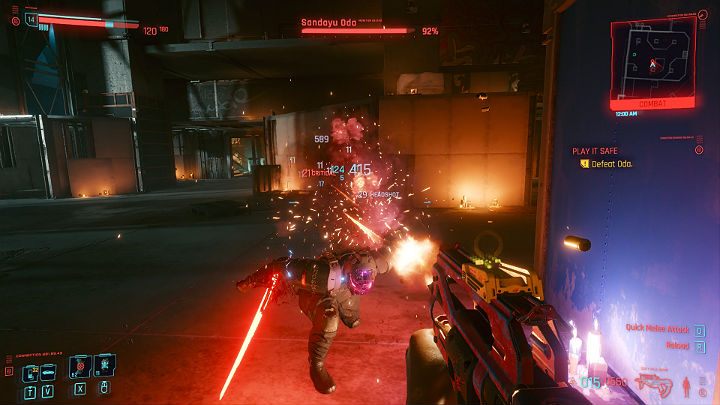
It is worth to aim at the head to destroy Oda's mask. Then you can start using Smart weapons again, which are undoubtedly the best way to hit a moving target. If you are good at using weapons and have no problem aiming at an opponent in constant movement, you can, of course, still use a Power weapon to do more damage. Tech weapons will also be useful as you can shoot your opponent through various objects staying behind a cover
Combat without weapons
You can fight Oda without using any weapon, and it's also a faster way to deal with him, but you will need patience.

As soon as the fight starts, start running to lose Oda. When your opponent is in the other end of the room (watch him on the mini-map), wait in hiding until you exit combat mode.

Your opponent will surely approach you and continue patrolling the area but won't be in combat mode. After a short while, Oda will use camouflage and start moving in some direction. Use the scanner to check which way he goes. This is when you have to sneak up on him and grab him from behind.

After the surprise attack, the opponent will immediately be deprived of the Oni mask. As soon as Oda gets back on his feet, run away from the enemy again.

Oda will use the camouflage again and start looking for V. If you can't locate him, turn on the scanner to track him. Get him from behind and make a second, final attack.
End of the fight

When the fight is over, you can decide what will happen to the Oda. However, your decision will have consequences, so think carefully.
If you accept Takemura's request and save Oda, he will appear in one of the endings of Cyberpunk 2077 and will no longer be an enemy of V.
Connect to the Access Point

After the fight, connect to the access point. When you switch to the right camera's view, eavesdrop on the Hanako call and turn off the security. Then you will watch a cutscene of Takemura's conversation with Hanako.
Escape the parade grounds

Not everything will go according to plan, and you will have to escape. Go out the double door, then run on the footbridge to the left and turn right. Jump the lower level and run to the elevator, which you will take to the street level. The mission is complete. You will immediately receive the next quest, Search and Destroy.
- Cyberpunk 2077 Guide
- Cyberpunk 2077: Walkthrough
- Cyberpunk 2077: Main missions
- Cyberpunk 2077: Act 2 Main missions
- Cyberpunk 2077: Playing for Time walkthrough
- Cyberpunk 2077: Automatic Love walkthrough
- Cyberpunk 2077: The Space In Between walkthrough
- Cyberpunk 2077: Disasterpiece walkthrough
- Cyberpunk 2077: Double Life walkthrough
- Cyberpunk 2077: Ghost Town walkthrough
- Cyberpunk 2077: Lightning Breaks walkthrough
- Cyberpunk 2077: Life During Wartime walkthrough
- Cyberpunk 2077: Down on the Street walkthrough
- Cyberpunk 2077: Gimme Danger walkthrough
- Cyberpunk 2077: Play It Safe walkthrough
- Cyberpunk 2077: Search and Destroy walkthrough
- Cyberpunk 2077: M'ap Tann Pelen walkthrough
- Cyberpunk 2077: I Walk the Line walkthrough
- Cyberpunk 2077: Transmission walkthrough
- Cyberpunk 2077: Act 2 Main missions
- Cyberpunk 2077: Main missions
- Cyberpunk 2077: Walkthrough
You are not permitted to copy any image, text or info from this page. This site is not associated with and/or endorsed by the developers and the publishers. All logos and images are copyrighted by their respective owners.
Copyright © 2000 - 2025 Webedia Polska SA for gamepressure.com, unofficial game guides, walkthroughs, secrets, game tips, maps & strategies for top games.
