Dragon Age Veilguard: Tips and tricks
Our beginner's guide for Dragon Age Veilguard will help you get started on your adventure. We share tips on the battle system, character development, controls, companion relationships and much more.
Here you will find a set of the most important tips for Dragon Age Veilguard. Here you will find a variety of information related to aspects such as: combat, exploration, relationships with companions, equipment and controls. Thanks to the knowledge gathered here, you will easily deal with the dangers that await you and quickly learn the rules of the game.
- Don't forget to distribute points to your companions
- Look for Codex entries - it's an easy experience
- Items can drop from destructible objects
- Don't choose a Mage on your first playthrough
- Save your game often, especially before making story choices
- Some rooms are hidden and not visible on the map
- Don't ignore companions' quests
- Try to have at least one synergy between companions
- Make sure you have a companion with a healing ability
- Destroy barriers with ranged attacks and armor with heavy attacks
- Increase the camera sensitivity if you are playing with a controller
Don't forget to distribute points to your companions
- Companions, like your character, get experience points. The more often you take a character on missions, the faster they will gain skill points. The pool of points is individual and does not transfer between characters.
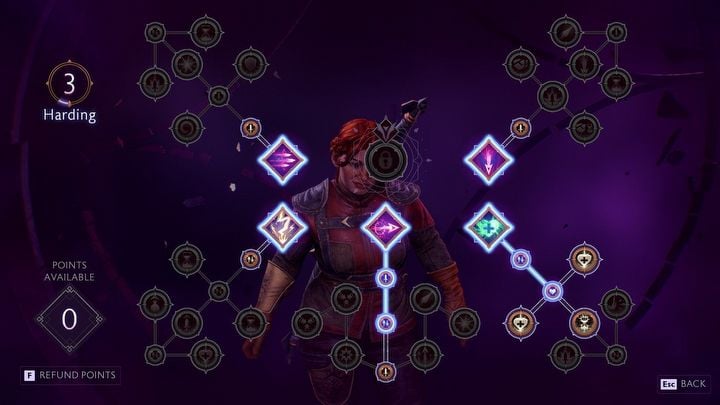
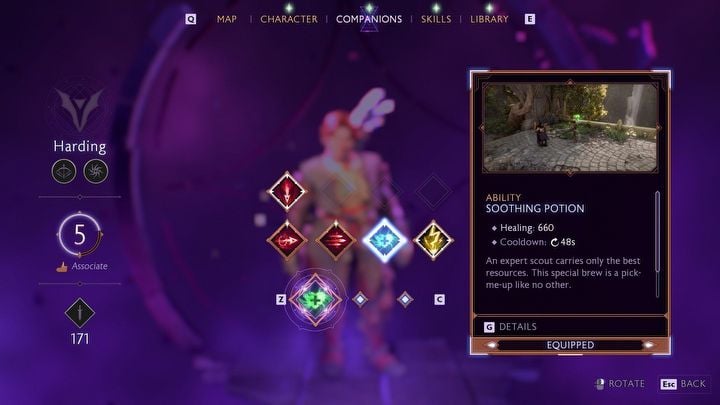
- You can find skill trees in the pause menu, in the companions tab. All you need to do is select the character and then click the button described in the lower right corner of the screen (on the keyboard it is F, and on the controller it is Y/Triangle).
- Companions skill trees are much smaller than the protagonist's, but they still offer a number of interesting upgrades and passive bonuses. Remember to check the companion development screen from time to time and spend the points you have earned.
Similarly to the main character development tree, you can refund and re-allocate your companions' experience points once they've been spent.
Look for Codex entries - it's an easy experience
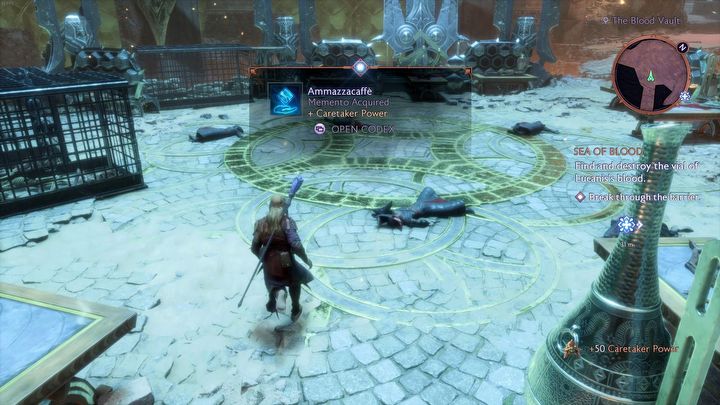
- Story-related collectibles such as scrolls, books, and notes can be found in the same section in the game menu called Codex. Look for them and carefully search for entrances to hidden rooms and nooks - story collectibles give you additional experience points, which is especially useful at the beginning of the game.
Items can drop from destructible objects
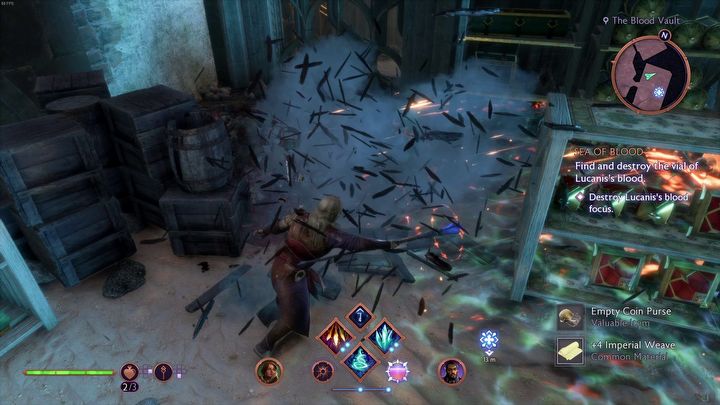
- The locations in Veilguard are full of various destructible objects. These can be boxes, shelves, boards and othe similar elements. It is worth destroying them, because from time to time they drop small loot, such as crafting materials.
- Many of these destructible objects hide larger treasure chests or passages to hidden rooms and nooks.
Don't choose a Mage on your first playthrough
- In our experience, the Mage class is the most difficult specialization available. For this reason, we don't recommend it for new players.
- Unless you decide on a fairly specific build, the ranged mage archetype can prove to be very frustrating due to opponents who prioritize attacking the player.
Save your game often, especially before making story choices
- Dragon Age Veilguard lets you save your game at almost any time. Use this feature to easily return to earlier parts of the game if you happen to miss something important.
- Of particular importance will be saves done before dialogues with branching out paths. If you have saved before such a dialog, you can test how certain characters will react to your decisions. If you fail, you can simply load the save.
Some rooms are hidden and not visible on the map
- The entrances to some rooms (especially those with treasures) are hidden and do not show directly on the map. Some of them are hidden behind destructible objects (chests, planks), others are located above or below other parts of the map. Look around carefully so as not to miss any hidden locations.
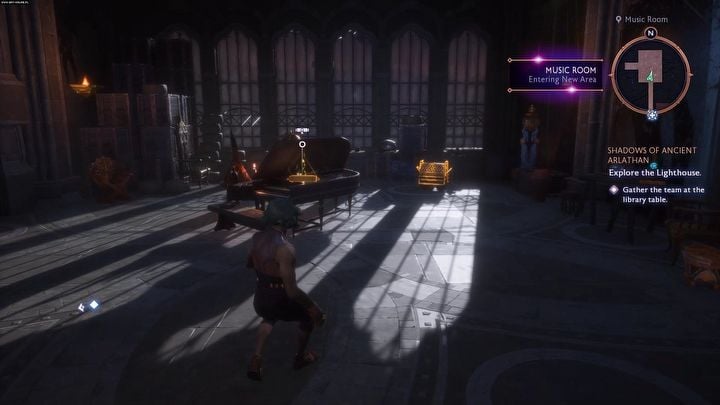
- The entrance to some rooms may be blocked by a more complicated puzzle. An example would be the music room in the Lighthouse, which you can read more about on the page What are the sculptures in the lighthouse for?.
Don't ignore companions' quests
- You can start individual companions' storylines when exclamation marks appear next to their icons on the map of the Lighthouse.
- Try to complete these quests on a regular basis. Not only will they improve your relationships with specific characters, but they will also allow you to expand your romance options. If you ignore companion quests, you will not be able to return to some of them.
- You can find a list of all companion quests in our walkthrough.
Try to have at least one synergy between companions
- When putting together a party for the next mission, make sure that your skills and those of your companions work well together. Many active abilities apply special effects that can be further enhanced by another ability.
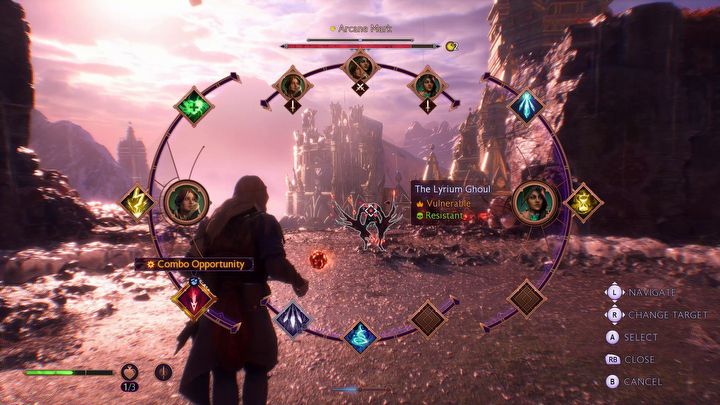
- The simplest example of a combination here will be detonation, which you will encounter for the first time in chapter three. Abilities that apply a selected status can be instantly linked to their corresponding detonator of another ability. You can easily find matching pairs on the skills radial menu. The combo opportunity signal will then illuminate the corresponding skill and point to its accompanying pair with an arrow.
Make sure you have a companion with a healing ability
- When choosing a skill set for your companions, make sure that at least one of them has some type of healing ability. It will prove extremely important during more difficult fights.
- Healing skills are marked with a cross icon. Each companion has one ability of this type. You can select it from the pause menu in the companions tab.
Destroy barriers with ranged attacks and armor with heavy attacks
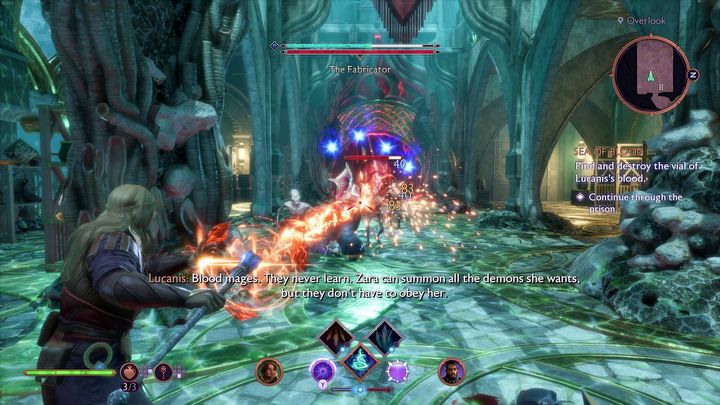
- Some enemies, in addition to a red health bar, will also have a yellow bar above their head symbolizing their armor. You need to destroy it first to damage the enemy. Charged heavy attacks are the most effective against the yellow bar. Other types of attack bounce off armor and deal minimal damage to armored targets.
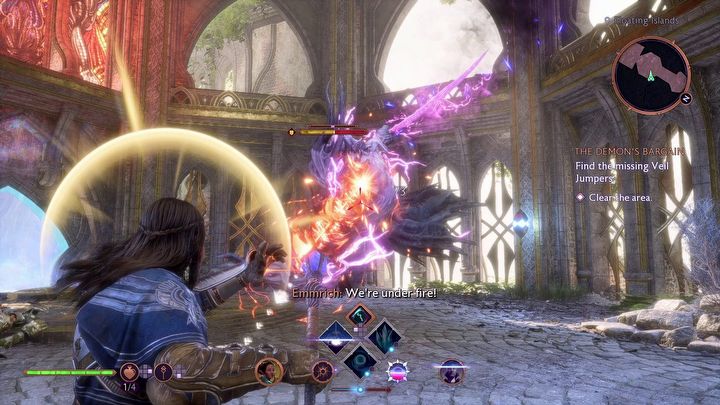
- The blue bars symbolizing the barrier work in a similar way. These must be destroyed with ranged attacks. Barriers are often used by ranged enemies and mages. Once the barrier is destroyed, try to kill them as quickly as possible, as the enemies can regenerate their barrier if you ignore them.
Increase the camera sensitivity if you are playing with a controller
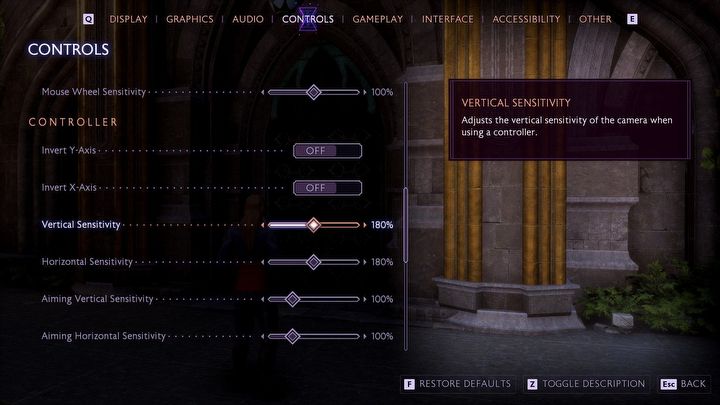
- The default camera sensitivity when playing on a controller is very low. This becomes extremely irritating during more dynamic fights, when quick camera movements become crucial to keeping the fight fluid.
- You can change the camera sensitivity in the settings. Go to the Controls tab, then find the sliders next to the Vertical Sensitivity and Horizontal Sensitivity options (under the Controller heading). In our opinion, a comfortable sensitivity is around 160 - 180%.
You are not permitted to copy any image, text or info from this page. This site is not associated with and/or endorsed by the developers and the publishers. All logos and images are copyrighted by their respective owners.
Copyright © 2000 - 2026 Webedia Polska SA for gamepressure.com, unofficial game guides, walkthroughs, secrets, game tips, maps & strategies for top games.
