Pillars Of Eternity 2: Tikawara Island - Map
The map above depicts Tikawara. This is one of the more important locations in Pillars of Eternity 2 Deadfire. You have to visit this village inhabited by Huana tribe before you head out to Poko Kohara ruins. Here, you can unlock new quests and continue those that were already started. You can also trade, rest or get loot.
- Important places in Tikawara
- Quests that can be unlocked in Tikawara
- Quests that can be continued in Tikawara
- Important NPCs in Tikawara
- Exploration of other parts of the island
- Other information regarding Tikawara
Important places in Tikawara
1. Dock. Your exploration of Tikawara starts here. This is also the place where you can return to the ship after doing everything on the island.
You can meet Vektor here - talk to him about The Storms of Poko Kohara quest. After the conversation Vektor will go to the Trading post (M27,3). Vektor is a merchant - he's selling supplies, gadgets, food, potions, clothing and armor, scrolls, bombs and a grimoire.
2. Western beach. You will find an abandoned cat here - pet Mirri (+1 Intellect). There's also a hidden stash with a dried koiki fruit here (you need a character with high Perception) - it's tied to the Plucked Fruit side quest (M27,5) (you can collect the dried food immediately or wait until you unlock the quest and wait for the related character to show up).
3. Cage. Lagufaeth Hatchlings are held inside. You can release them (the door has a level 3 lock) to fulfill the wish of the broodmother from Broodmother's Fury quest (M28,5) (the creatures won't attack the party, they simply run towards water). However, if you get caught, you will receive negative Huana reputation points.
Pekeho is tied to the Plucked Fruit side quest (you can ask him a few questions about the theft).
4. Trading post. Himuihi can give you the Broodmother's Fury side quest. Additionally, you can talk about rest (free or for 400 gold which gives you +2 Resolve and reduced duration of enemy attacks or for 800 gold which gives you +3 Intellect and interruption for certain enemy attacks) and hire adventurers.
Vektor shows up here after the first conversation in the docks (M28,1). You can steal some of the stuff sold by Vektor from nearby containers.
5. Center of the village. Meeting with Mukumu and the held Tamau unlocks the Plucked Fruit side quest.
Harama is one of the people connected to Maia personal quest - The Courier's Calling. You can resolve the situation peacefully or by attacking the locals.
There's a stand with high quality weapons nearby - they are easy to steal.
8. Chieftain's hut. Teana is standing in front of the hut - she's a mute, but you can receive a lot of positive Huana reputation points if you play on the drum with her.
Meet with chieftain Ranga Ruanu. You will receive the Copper Muzuma Shell Key required for The Storms of Poko Kohara quest.
There's a level 5 chest in the hut - breaking the lock is treated as a crime. The chest contains a hatchet, thief's putty and other items.
Quests that can be unlocked in Tikawara
[Missions] Broodmother's Fury - Speak with Himuihi (M27,4).
[Quests] Plucked Fruit - Speak with Mukumu (M27,5).
Quests that can be continued in Tikawara
[Missions] The Storms of Poko Kohara (this quest can be started in a few places in Neketaka) - Speak with Vektor (M27,1) and with chief Ranga Ruanu (M27,8).
[Missions] The Courier's Calling (Maia's personal quest) - Reach Harama (M27,5) and watch a cut-scene.
Important NPCs in Tikawara
Vektor (M27,1 and then 4) - You can speak with him about The Storms of Poko Kohara side quest or trade - he sells supplies, gadgets, food, potions, clothes and armor, scrolls, bombs and grimoire.
Himuihi (M27,4) - Gives you Broodmother's Fury side quest. Besides that, you can also talk with her to get access to rest options and to hire adventurers.
Mukumu (M27,5) - Meeting him and Tamau who is imprisoned unlocks Plucked Fruit side quest.
Harama (M27,5) - You can save him from the locals. He is connected to Maia's quest called The Courier's Calling.
Rangu Ruanu (M27,8) - The meeting with chieftain is an important step for The Storms of Poko Kohara quest. He gives you a key that you have to use in order to get access to Poko Kohara ruins.
Exploration of other parts of the island
Besides visiting Tikawara village, you can also explore the rest of the island. You can reach minor locations where you can find smaller treasures (usually random) or participate in scripted interactions (e.g. a meeting with a potential enemy). Below you can find the list of those locations including information about potential attractions and threats.

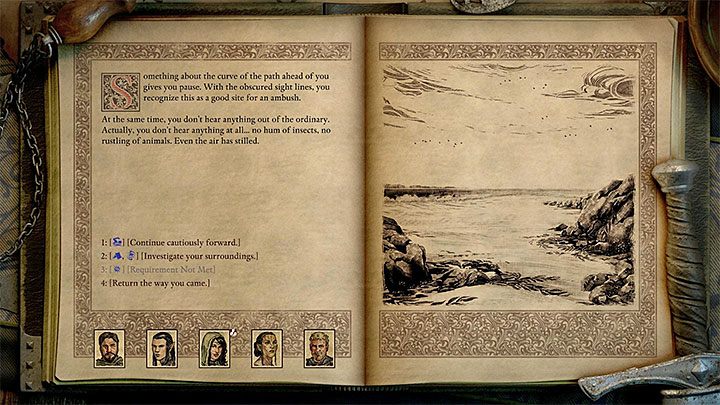
1. Sunepu Beach west from Tikawara - Be sure that there are no skulls next to this location's name (a skull indicates high difficulty level). Examine the beach and rely on Athletics, Survival, Perception and Cipher class. Skulking-Terror, a powerful monster resistant to Might based skills and vulnerable to Perception based skills, can be found on the beach. You can attack this creature (without any preparations or by using a surprise attack, provided that you have scouted the area), use an ability that lets you damage it with lightning or use Stealth and sneak past the beach (this lets you avoid this encounter).
2. Old Battleground west from Tikawara - Search it a few times to find random treasures.

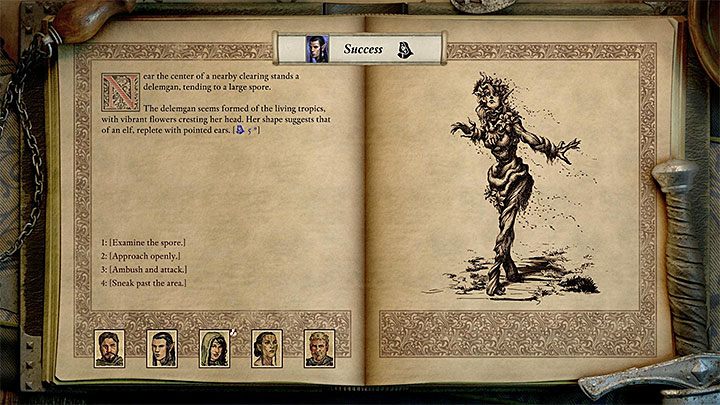
3. Toaku Bihwa Trail north from Tikawara - You can enter this location immediately or use Stealth. Your party comes across a Delemgan. You can attack her immediately (openly or by making an ambush) or sneak past the area. If you chose to fight then you also have to defeat bigger Sporelings, an Earth Blight and a Dank Spore. A defeated Delemgan leaves, e.g. Spore-coated Grimoire.
4. Burial Site north from Tikawara - Search it a few times to find random treasures.
5. Orchard north from Tikawara - You can find fresh fruits.

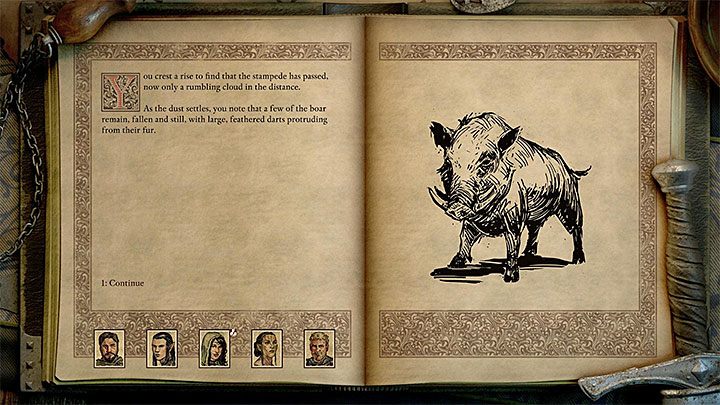
6. Boa Hika Pass north-west from Tikawara - Your first encounter will be with a boar. You can use Stealth and kill the boars after sneaking up on them successfully, heal them (requires any of the healing abilities) or take a baby piglet boar with you. The last option gives you a new pet called Baby Boar (your melee attacks have a chance to interrupt). Your party can also come across Lagufaeth. You can be the one who attacks first or you can be forced to confront these creatures. Chief Echoing-Strike is the strongest among these enemies but you should also watch out for, e.g. monsters that can use magic.
7. Campsite north-west from Tikawara - There, you can find supplies.
8. Hohina Ravine north-west from Tikawara - this is a bigger and more important location. Its description can be found on the page with the map M28.
Other information regarding Tikawara
Rest by visiting Himuihi and replenish supplies before you head out to Poko Kohara Ruins (M29) in order to complete The Storms of Poko Kohara side quest. Poko Kohara is full of monsters, e.g. a challenging Titan.
The locals are sleeping during nights. Use this knowledge if you play as a well-developed thief to steal treasures from chests and containers that are guarded by the NPCs during a day.
You are not permitted to copy any image, text or info from this page. This site is not associated with and/or endorsed by the developers and the publishers. All logos and images are copyrighted by their respective owners.
Copyright © 2000 - 2025 Webedia Polska SA for gamepressure.com, unofficial game guides, walkthroughs, secrets, game tips, maps & strategies for top games.
