Pillars Of Eternity 2: The Storms of Poko Kohara - Walkthrough
On this page you will find a description of the side task The Storms of Poko Kohara in Pillars of Eternity 2: Deadfire. This is one of the most extensive optional quests. You can unlock it while you are on the Neketaka Island in two different places, cause you can complete it in different ways to gain respect from - the Vailing Trade Company or the Royal Dead Fire Company. The following solution contains information on how to get to the ruins, how to defeat the titan that guards them, how to get to the lowest level of the dungeon and what are the consequences of the decision made in the strict finale of this quest.
- Unlocking the quest
- Reaching Tikawara
- Reaching the ruins of Poko Kohara
- Finding Engwithan Machinery
- Meeting with the souls of the expeditionary members and choosing the ending of the quest
Unlocking the quest
You can unlock this side quest in two places. The choice of starting point does not matter at all. It is worth visiting both potential quest givers, because it will allow you to add to your logbook two smaller quests concerning the solution of the main problem in different ways (the decision about which faction you work for is made at the end of the quest).
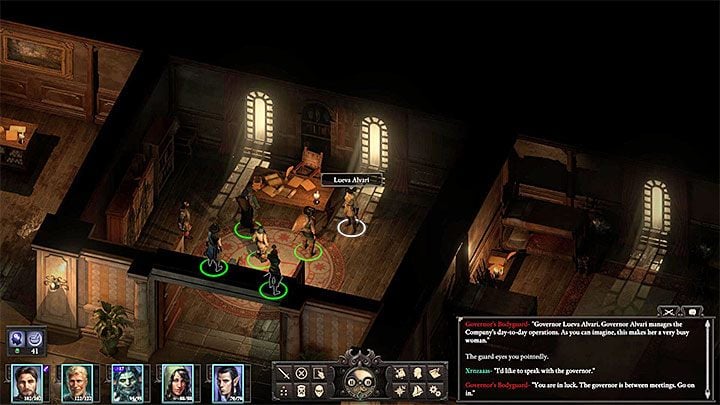
The first of the possible quest givers is governor Lueva Alvari from Vailian <br>Trading Company. You will find this figure in the Vailian Trading Company Headquarters in the Royal Harbour of Neketaka Island (M18,4). From Lueva Alvari you will also receive a task titled Terms of Trade - the Vailian Trading Company desires to find the missing expedition and complete the task that was originally assigned to it.
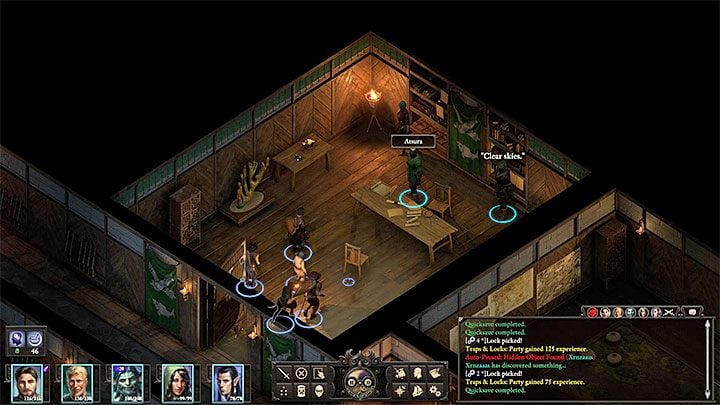
The second possible quest client is Atsura from the Royal Deadfire Company. You will find this figure in the Imperial Command in the Citadel of Brass on the Neketaka Island (M23,6). From Atsura you will also give you a task entitled Dim Prospects - The Royal Deadfire Company is committed to thwarting the plans of the Vailian Trading Company by making the luminous adra useless.
Reaching Tikawara
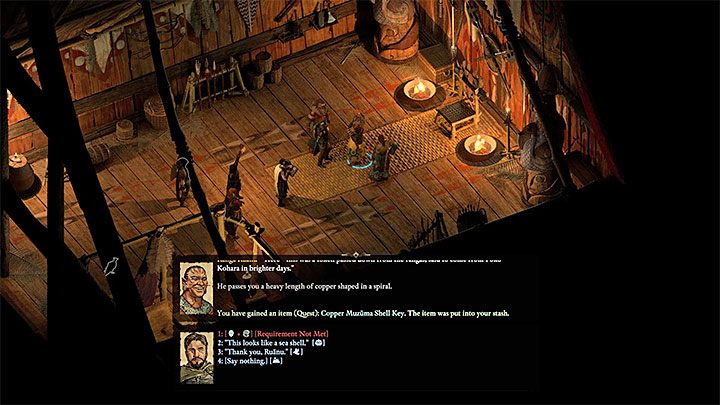
Visiting the Tikwara Island is theoretically an optional step, but you should not skip it as it will allow you to get the key to the dungeon where the main part of the quest is situated. Get out of Neketaka and head eastwards until you reach the Tehiwai Island. After arrival on Tikwara Island, dock the vessel in the fishing village (M27,1) In this location, you can chat with several characters:
- Vektor - You will meet him near the starting point (M27,1). He was the chef of the expedition sent by the Vailian Trading Company. You will learn from him that the rest of the expedition has not returned from the Poko Kohara so far. You will also be sent to the leader.
- Priestess Nairi stays in the chapel (M27,7) and reveals that she is not satisfied with the arrival of foreigners. If you have a good relationship with Huan, Nairi may suggest that you sabotage the adra's luminous column.
- Chieftain Ranga Ruanu (M27,8) is the most important figure in Tikawara. You can learn more from him about Poko Kohara, about the constant storms and the lost Vailian expedition. He will also give you Copper Muzuma Shell Key to open a dungeon located on the island with ruins.
Reaching the ruins of Poko Kohara
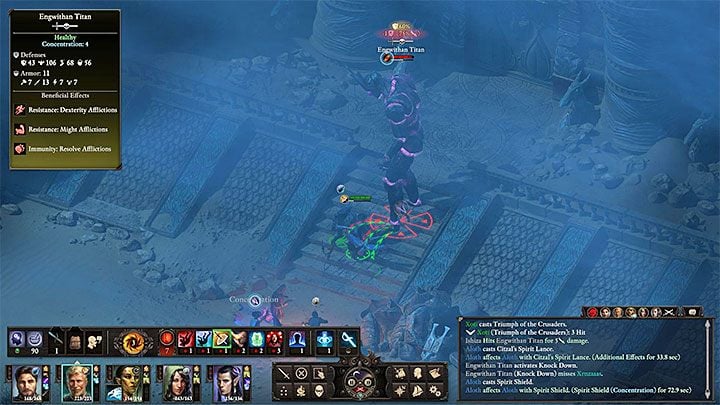
Return to the ship and go further east until you reach the island of Poko Kohara. Note - A storm may be raging near the island, but you can easily avoid it and get to the place where the ship is moored. Once on dry land, set out north to Poko Kohara Ruins (M29). It is optional to examine the new map as a whole. The places associated with this quest are:
- Camp of Vailian Trading Company (M29,3). You can check the campfire there and the first of several visions with the members of the expedition will be shown.
- Stairs to the main dungeon (M29,4). You will see the next vision here. Before you use the stairs, it is essential to save the state of the game, because a very demanding duel awaits you.
Using the stairs will lead to the revival of a huge Engwithan Titan (Boss) and it is not an easy task to defeat this monster. Do not fight with it until the team has been experienced significantly (preferably to at least level 10 - if you arrived to the island too early leave the quest for later), equipped with good items and optionally rested (e.g. in Tikawara).
Titan is moving slowly, but the attacks are extremely strong. Of course, this creature has many unique skills, including a Trip that can lift and throw team members, and a Fall that you'll probably use yourself if you have a warrior in your team. Be sure to keep weaker team members away from the titan as a stronger barefoot attack can kill them almost instantly. It is also worth knowing that titan is resistant to power and dexterity, and immune to the incidence of firmness. Titan leaves many crafting materials.
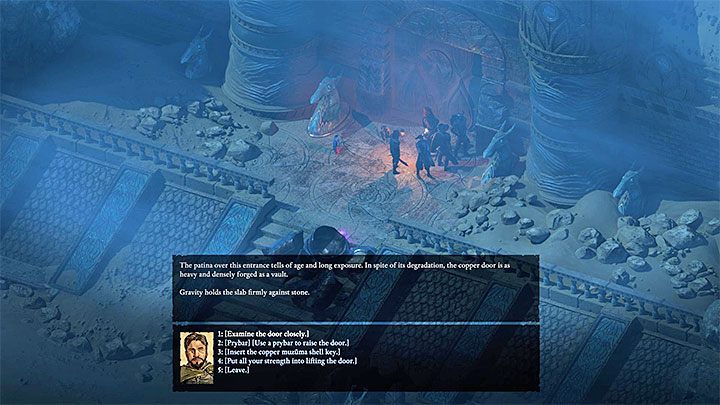
Titan is not the only "hurdle" you have to deal with. The door to the dungeon (M29,5) are locked. If you have visited the Chieftain (M27,8) as suggested, you can use the key he gave you to open the door. Otherwise, return to him for the key or:
- Use prybar - If you don't have any in your inventory, get to the Xauri Camp on this map (M29,6) and take the prybar from the trapped chest after passing all the xaurips.
- Pass Power Test - a skill test will be successful only if the selected hero has a very high value of this attribute (you can use potions or spells that temporarily raise Power). If you choose a character that is too weak, it may be injured (permanently injured).
Regardless of the method you choose, you will be taken to the interior of the main dungeon, i.e. to the Engwithan Waystation (M30,1).
Finding Engwithan Machinery
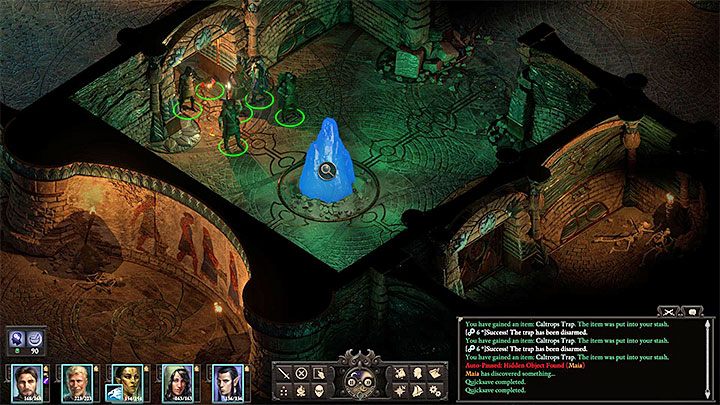
You start at the first level of the dungeon (M30,1) and have to go down to the lowest third level where the Engwithan Machine is located (M30,18). When you reach the first crossroads, you can choose between a left corridor that leads to a room with DOZEN of traps (avoid or disarm them) (M30,2) and a secret room, or a right corridor that involves fighting (quite simple) against scarabs and luminous restored (M30,5).
Both paths will allow you to reach a room with a small adra column (M30,4). Examining it will attach a new vision. Then, you can then reach the large hall with the adra column (M30,6) and use the stairs to the second level of the dungeon (M30,7).
On the second level of the dungeon (M30,8) you start next to the distorted adra column and the room with the corpses (another vision). It is worth searching for the corpse, because you can get the expedition's journal. You can now choose to take shortcuts and open the door with the level 11 lock or choose a circular road and start by exploring the western hall with desert imps.
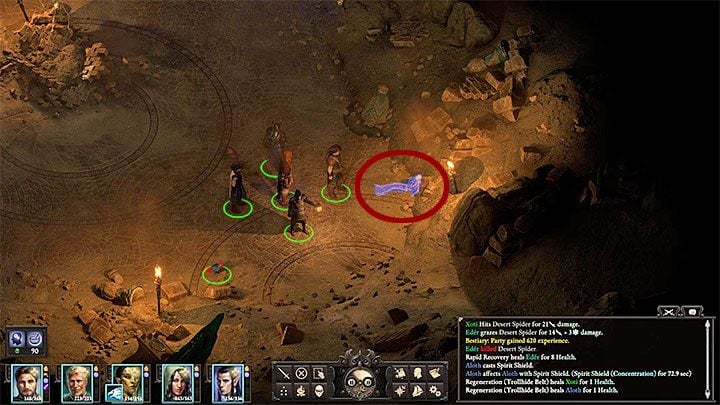
It is better to choose a circular path, as this will allow you to stop along the way in a collapsed room (M30,11). There are desert spiders there. After combat, locate the skeleton shown in the picture. He has 2 lockpicks and a key (Old Copper Key) that you'll need soon. Later on, watch out for the ambush carried out by the skeletons in the large western hall (M30,13).
Ultimately, you need to reach the north-western dungeon room (M30,10). It is necessary to get rid of twisted adra animats. In addition, you must be careful about the sigil of nightmares, which can put a curse on the team members. It is best to fight away from this sign (the game displays its range of action), because destroying it is very troublesome. There are closed doors in the same room - to open them use Mechanics 8 or a key from the collapsed room (M30,11). You will reach the stairs that lead to the third level (M30,15).

On the third level of the dungeon the most troublesome is the room with lightning bolts (M30,16) - it is shown in the picture above. Here you have to solve a simple puzzle and send one member of the team to it. Avoid lightning and destroy further essence batteries by travelling anticlockwise. After each successful action, it is a good idea to make a quick save, as contact with lightning can lead to an injury to the controlled character.
After the destruction of all batteries, check the south-western room (M30,17). There are the remains of Beza. You can read her soul and take the Beza's Pages away. You can also take the Ngati figurine and the unique Beza's Toothed Blade with you.
Complete the journey to the room with the engwithan machine (M30,18). It is worth to make a manual save game here, because soon an important decision will be made. Use the mechanism and go through the portal to enter The Adra Realm.
Meeting with the souls of the expeditionary members and choosing the ending of the quest
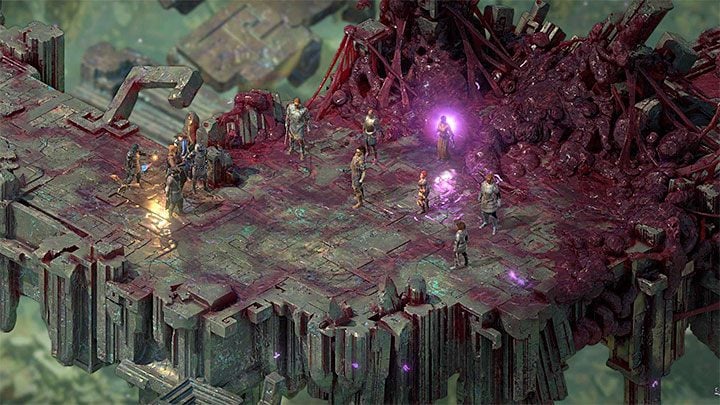
Go east and have a conversation with Anaharu and other souls. It can have several ends:
- Attacking all souls. You can voluntarily agree to such a variant if you prefer a solution by force or if you cannot convince your souls to fight. There is a large group of enemies to beat, although they should die quite quickly. Remember to take care of magicians first and to protect your weaker characters from attacks by enemy warriors.
- Attacking just a part of souls. In the initial part of the meeting, it is worth showing the souls the diary of Beza (M30,17), which you found earlier. In addition, you can support yourself with special dialogue options for more advanced Metaphysics, Mechanics, History, Bluffing and Diplomacy. You can convince souls that there is no return for them or that destroying the column of distorted adra is the only solution to the problem. Depending on the decisions made, some souls may disappear and, as a result, only a few of them will have to be dealt with.
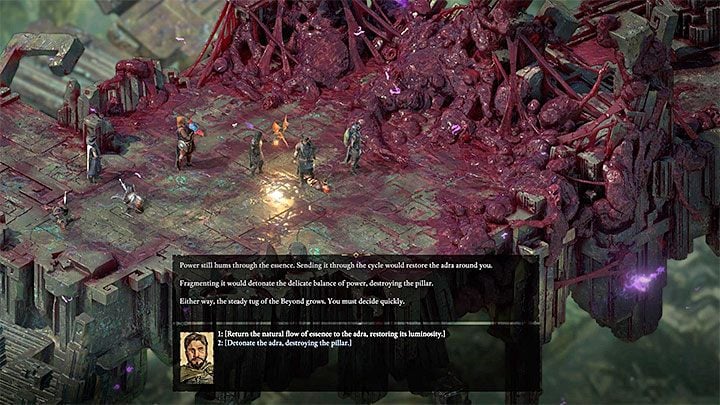
Regardless of how the meeting with souls went, you will be faced with the choice of a distorted adra column and this moment is shown in the attached picture. You can:
- Restore the natural course of the shining adra - the Vailian Trading Company will like the choice of this variant.
- Detonate adra and destroy the column - The Royal Deadfire Company will admire you when choosing this option.
In both cases, after making your decision, go through the new portal to return to the Engwithan Waystation. You can leave the dungeon. The last part of the quest is to give a report to the members of both factions:
- In the case of the Vailian Trading Company, return to Neketaka and meet again with Governor Lueva Alvari at the registered office of the Vailian Trading Company Headquarters (M18,4). You will have a positive or negative reputation depending on your decision. You will receive 1700 gold (even if you have detonated adra) and meet with the director Castol, who will commission a new side quest for Vailian Trading Company - Dirty Laundry (check the chapter with Neketaka quests).
- In the case of the Royal Deadfire Company, return to Neketaka and meet again with the Atsura of the Imperial Command (M23,6). You will have a positive or negative reputation depending on your decision (if necessary, use a lie or Metaphysics 5 to get less negative points). The game will also add a new side quest for the Royal Company - A Matter of Import (check the chapter with Neketaka quests).
You are not permitted to copy any image, text or info from this page. This site is not associated with and/or endorsed by the developers and the publishers. All logos and images are copyrighted by their respective owners.
Copyright © 2000 - 2026 Webedia Polska SA for gamepressure.com, unofficial game guides, walkthroughs, secrets, game tips, maps & strategies for top games.
