God of War Ragnarok: Groa's Secret - walkthrough
Groa's Secret is a main quest in Alfheim in God of War Ragnarok. Our guide contains a solution to the Twilight Stone puzzles, how to defeat elves and go through the Temple of Light, as well as information on how to leave the Light Well.
In the course of Groa's Secret story quest of God of War Ragnarok, Kratos, Atreus, and Tyr will visit Alfheim for the first time. Our walkthrough explains how to solve the puzzles involving the Twilight Stones and Light Doors, how to defeat Light and Dark Elves, how to reach Groy's shrine in Temple of Light, and how to escape the temple in order to leave Alfheim.
- Reach Groa's shrine atop the temple
- Descend the Light Well
- Make your way to the Mystic Gateway
- Return to Sindri's when ready
Reach Groa's shrine atop the temple
The mission starts after entering the land of Alfheim and once again you control Kratos for the duration.
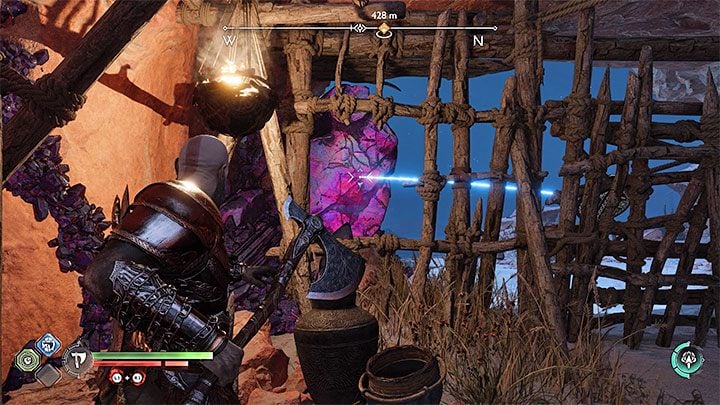
In the progress of exploring the location, you'll encounter Twilight Stones for the first time - they can reflect Leviathan Axe throws. In order to place yourself well for the throw, watch as the color of the throw trajectory line turns blue. To get past the first barricade, throw the axe at the stone on the left (screenshot).
During your path through the location, you'll encounter Light Elves - they are characteristic for their agility, so flawless dodges, blocks or parries will be necessary to defeat them. You can also ask Atreus to stun them with his arrows.
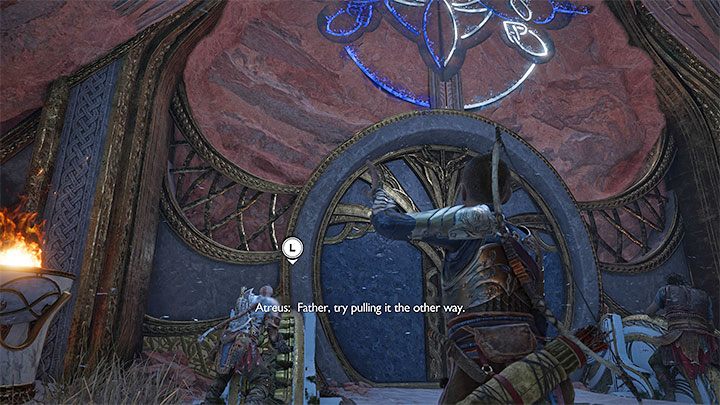
Soon you should reach the entrance to the Temple of Light. To unlock the way forward, start by activating the mechanism on the left. Listen to directions from Atreus - you must stop turning the mechanism and start turning it in the opposite direction.
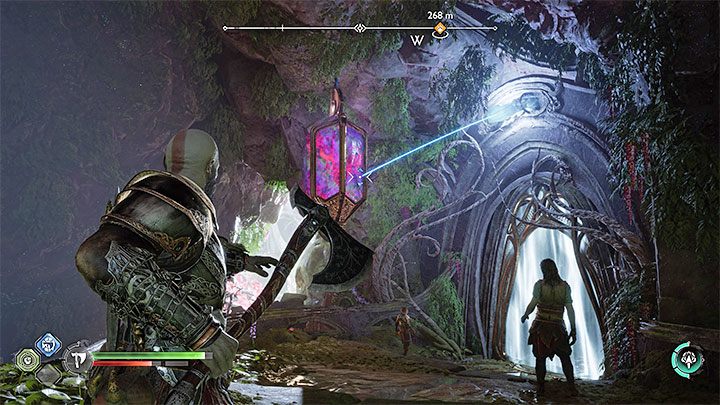
Once you enter the first chamber of the temple, a short puzzle awaits that blocks the way forward - you must throw the axe at the Twilight Stone in such a way so it hits the crystal above (screenshot)
You'll pass Well of Souls along the way forward. In the next chamber, you need to repeat the action with the Twilight Stone to destroy another crystal that is blocking the Light Door. You will reach a large gate and it leads to another part of the temple.

Defeat the new opponents and take a moment to explore this area. Kratos can jump and grab ledges. To do that, you need to turn towards the ledge and press X. Once you're ready, follow the path forward. During next battles, watch out for exploding monsters - to avoid damage, quickly jump or dodge away from the red area that symbolizes the radius of the explosion.
Follow Tyr and Atreus. You'll reach a new room with the passage forward blocked - to unlock it, you need to place yourself in the area from the screenshot and throw the axe at the Twilight Stone so that it is reflected and hits the crystal.
In the next battle, elves will use Homing Orbs. Use ranged attacks to destroy them from a distance. The orbs take a long time to fly towards Kratos and don't expect to lose them easily. After the fighting, reach the gate.
The stairs will lead you to a closed passage - you must solve the puzzle with a door of light and a rotating mechanism.
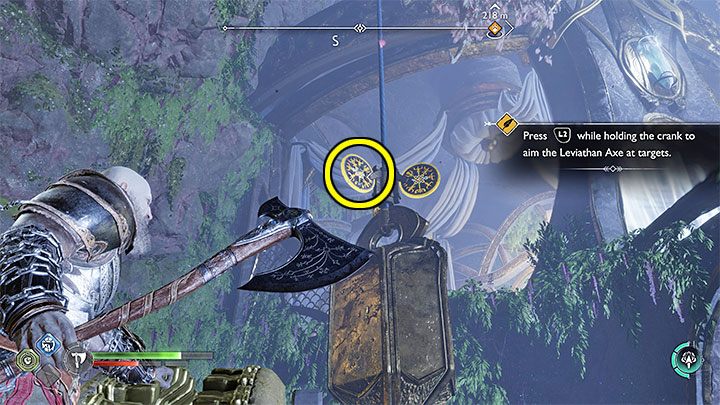
Jump down to lower left level and use the mechanism. Lower the hanging cargo and throw the axe at its left shield without letting go of the mechanism (screenshot).
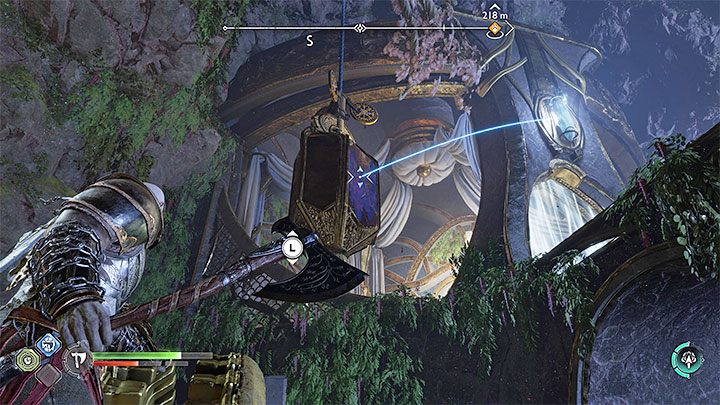
A successful hit should rotate the object 90 degrees and reveal a Twilight Stone. Now you must throw the axe at the twilight stone so it's bounces back and hits the crystal (screenshot). This will unlock the path forward. Return to your companions.
During new battles with elven warriors, you will learn about blue attacks that they can use. You can stop them by pressing L1 2 times in rapid succession, i.e. making the shield hit the ground. This will interrupt the enemy attack and break through this block.

Use hanging ledges and interactive hook to reach Tyr who is on a remote ledge. During further battles, you'll learn that twilight stones can be used to stun opponents i.e. you can throw the axe at a stone in order for it to bounce off and hit the enemy. This only works if when aiming the throw there is a blue trajectory line.
In the statue room, defeat opponents and push one of the statues (screenshot). Your action will lead to creating an uncomplete bridge. Tyr will automatically repeat the action with the second statue, unlocking the path forward.
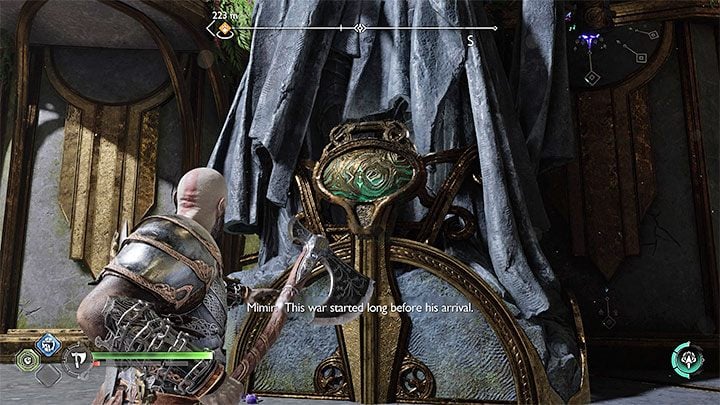
Continue by defeating further opponents until you reach a large gate. Behind it, there is another puzzle involving a Door of Light and statues. Turn to the right and command Atreus to destroy the seal on the statue on the right (screenshot). A part of the statue should fall down.
Grab the downed statue (the one on the right) with Blades of Chaos. Make it fall to the left.
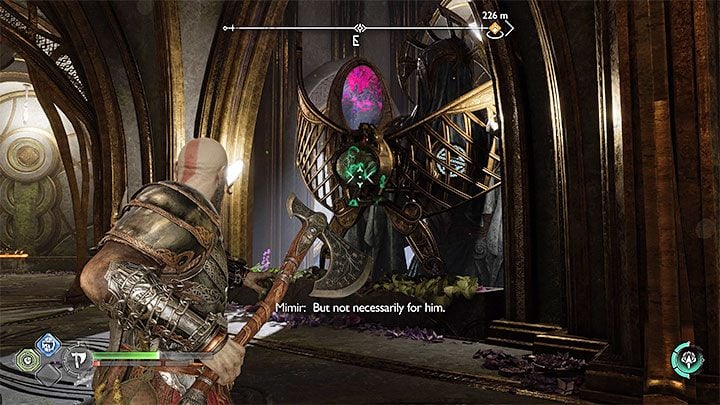
As you move the statue, a hook will be revealed that allows you to get access to upper ledges. Once you're on the upper floor, run to the right and grab the upper hook, so that you reach the opposite balcony (the one behind the still unused statue).
There is another seal at the back of the statue on the left (screenshot), and Atreus needs to hit it with an arrow.

Now for the statue on the left:
- throw the axe at the newly exposed shield (point 1 in our screenshot) - the statue will fall to the right;
- aim the axe at the Twilight Stone (point 2) - the trajectory line needs to be marked in blue, so that the throw is successful and bounces from the stone and hits the statue, damaging another fragment of it.
- use the Blades of Chaos on the red element (point 3) - the statue must fall to the left.
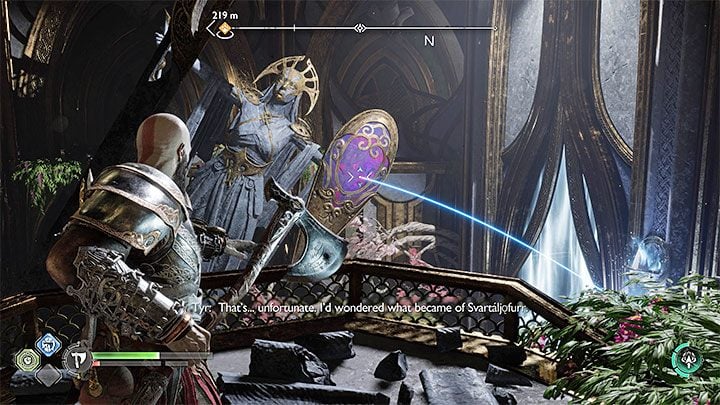
Now return to the balconies behind the statue on the right. The final step is to throw the axe at the twilight stone found on the statue on the left. Make sure to place yourself correctly (it is shown in the screenshot above). The axe must bounce from the stone so it hits the crystal above the Light Door. You've managed to unlock the path forward.
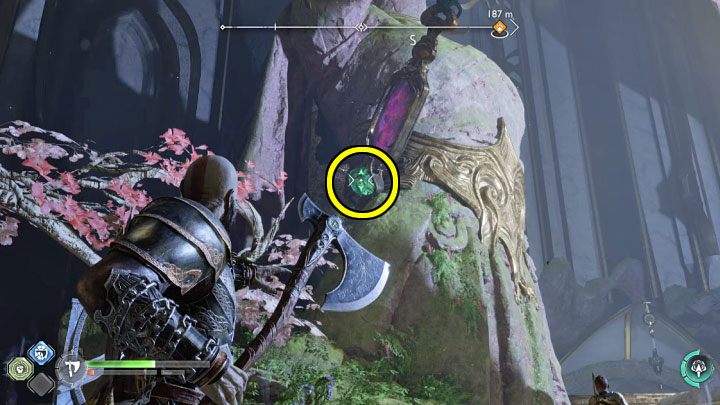
The next step of your journey is the Central Chamber, where you'll find another puzzle.
On the left, Atreus can hit the green hook with his bow. This will rock the hanging twilight stone.

Unfortunately, the stone is facing the wrong way. Explore the area to the right of the Light Door. Atreus must hit another green object (screenshot above). Once that is completed, an interactive grappling spot will be unlocked, which Kratos can use to reach the back area.
Tyr will lose his patience and set the twilight stone for you. Return to the central area and throw the axe at the twilight stone. The trajectory line must be blue in order for the throw to be successful.
Use the unlocked staircase and elevator to continue following Tyr. There is a dwarven shop along the way - you can make a detour and restock. Interact with the marked object to activate a cut-scene.
Descend the Light Well
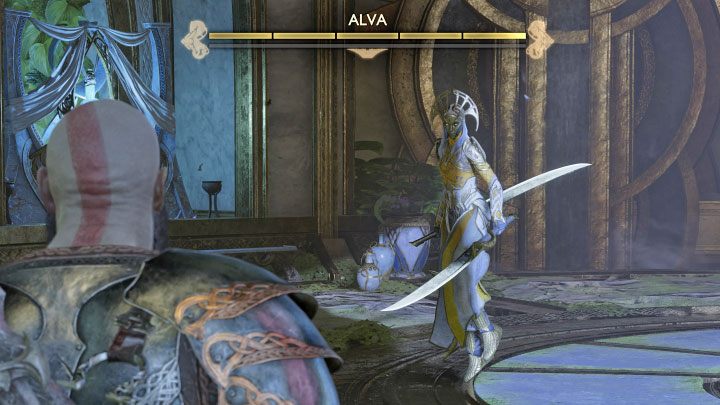
Along the exit path you'll have to face more elves, and again watch out for their blue attacks and make sure to interrupt them with your shield. Continue descending to lower levels and use Blades of Chaos to reach the ledge.
The group will be stopped by Alva. We described this fight on a separate page Alva in the Bosses chapter.
Once you defeat your opponent, make sure to collect all loot left by Alva. Among others, you'll find Frozen Flame, and a shield upgrade.
Make your way to the Mystic Gateway
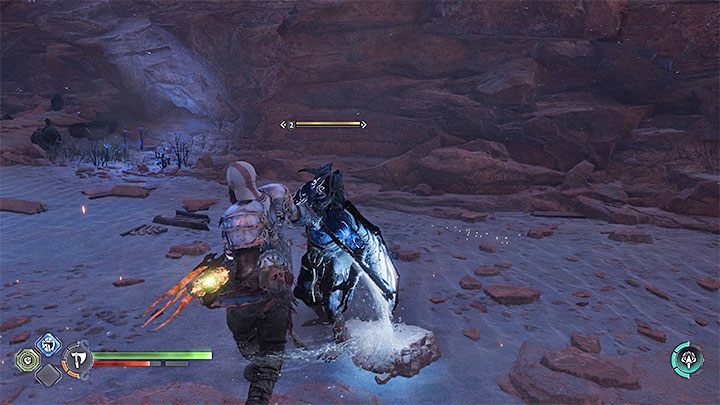
Further along the path, you'll start encountering Dark Elves - they don't differ much from their light counterparts. You can also take advantage of the situation, as some elves are initially busy fighting, and you can make a surprise attack. When fighting an elf summoner, focus on defeating him first so he is dealt with as soon as possible.
Return to Sindri's when ready
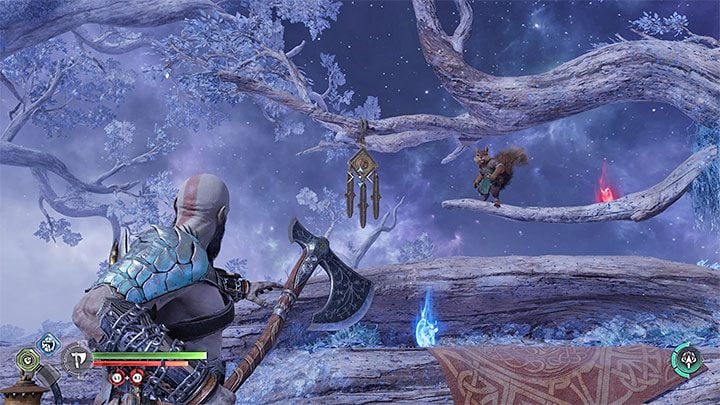
You will return to the Mystic Gateway where you have a choice:
- You can immediately go through the gate and return to Sindri's House. This will continue the main storyline.
- Alternatively, you can explore the optional areas of Alfheim. You can access them through a path in the Canyons, and this is a good way of getting XP, loot, and unlocking collectibles.
Talk to Ratatoskr and try hitting wind chimes with Leviathan Axe. Enter the house and sit at the table. You've unlocked a new Atreus quest - The Lost Sanctuary.
- God of War Ragnarok Guide
- God of War Ragnarok: Game Guide
- God of War Ragnarok: Walkthrough
- God of War Ragnarok: Walkthrough, all quests
- God of War Ragnarok: Surviving Fimbulwinter - walkthrough
- God of War Ragnarok: The Quest for Tyr - walkthrough
- God of War Ragnarok: Old Friends - walkthrough
- God of War Ragnarok: Groa's Secret - walkthrough
- God of War Ragnarok: The Lost Sanctuary - walkthrough
- God of War Ragnarok: The Reckoning - walkthrough
- God of War Ragnarok: The Runaway - walkthrough
- God of War Ragnarok: Into the Fire - walkthrough
- God of War Ragnarok: The Word of Fate - walkthrough
- God of War Ragnarok: Forging Destiny - walkthrough
- God of War Ragnarok: Unleashing Hel - walkthrough
- God of War Ragnarok: Reunion - walkthrough
- God of War Ragnarok: Creatures of Prophecy - walkthrough
- God of War Ragnarok: Unlocking the Mask - walkthrough
- God of War Ragnarok: Hunting for Solace - walkthrough
- God of War Ragnarok: The Summoning - walkthrough
- God of War Ragnarok: The Realms at War - walkthrough
- God of War Ragnarok: Beyond Ragnarok - walkthrough, endgame
- God of War Ragnarok: Endings
- God of War Ragnarok: Walkthrough
- God of War Ragnarok: Game Guide
You are not permitted to copy any image, text or info from this page. This site is not associated with and/or endorsed by the developers and the publishers. All logos and images are copyrighted by their respective owners.
Copyright © 2000 - 2025 Webedia Polska SA for gamepressure.com, unofficial game guides, walkthroughs, secrets, game tips, maps & strategies for top games.
