God of War Ragnarok: How to defeat Bodvar the Fierce and Starolfr the Troublesome?
Bodvar the Fierce and StarStarolfr the Troublesome are a pair of berserk optional bosses from the God of War Ragnarok game. From this guide page, you will learn how to reach the Berserkers Gravestone in the Jarnsmid mine in Svartalfheim and how to avoid the attacks of the 2 berserk souls.
On this page of our God of War Ragnarok guide, you can find a walkthrough for the battle against the berserker duo Bodvar the Fierce and Starolfr the Troublesome. Our guide will show you how to reach the berserker gravestone in Svartalfheim, what attacks the enemies have at their disposal, and in what order to eliminate the bosses.
The Bodvar and Starolfr encounter arena
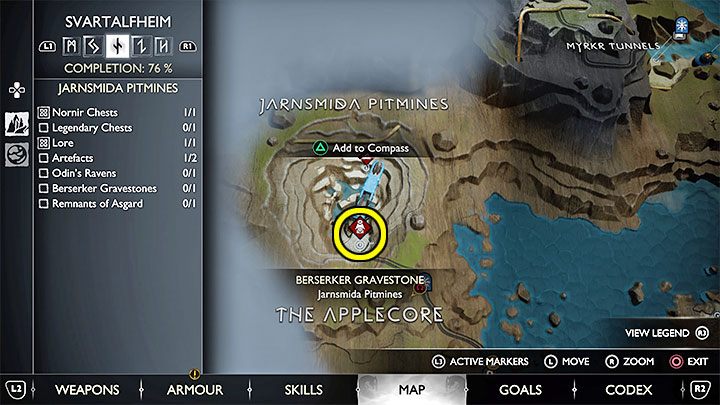
This berserker gravestone is in the Jarnsmida Pitmines region of Svartalfheim. This region is visited in the early stages of the story, but you can't find and activate the gravestone then, as Kratos is busy with finding and saving Tyr.
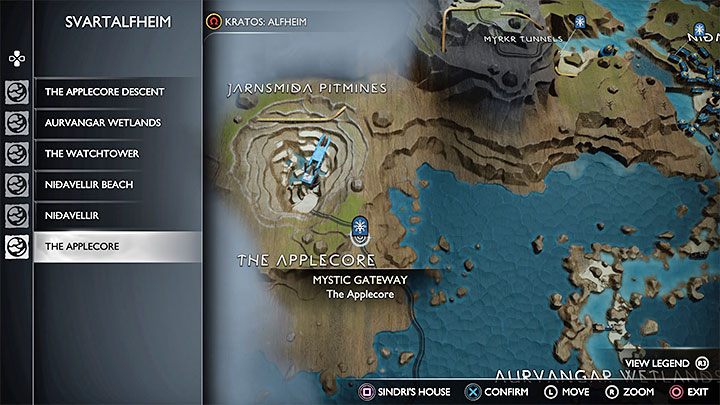
To have a chance at the berserkers, you need to revisit the mine in further stages of the gameplay. You can start the trek to the gravestone in southern Sverd Sands and go north from there. You'll pass through The Applecore again and you can make a detour to unlock the Mystic Gateway there (which will allow you to return more easily to this location later).
Walkthrough for the battle
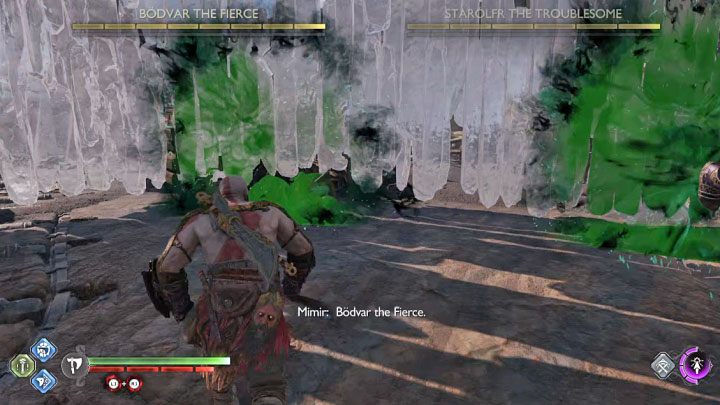
In this encounter, Kratos has to face two enemies at once - Bodvar the Fierce and Starolfr the Troublesome.
The key to victory here is paying attention to what the bosses do at all times. Follow the bosses with the camera more often and heed Mimir and Atreus/Freya's warnings about incoming attacks - perform "blind" dodges.
A useful tip here is to avoid standing in one place and slow attacks, as you're facing two enemies at the same time - if you allow a moment respite, you may be attacked by the second berserker from another side.
Make use of companion skills - the attacks of your ally may interrupt attacks, damage or distract the Berserkers. This will increase your chances of survival immensely. Try to avoid losing health in the initial stage of the encounter, as you're in for a long battle.
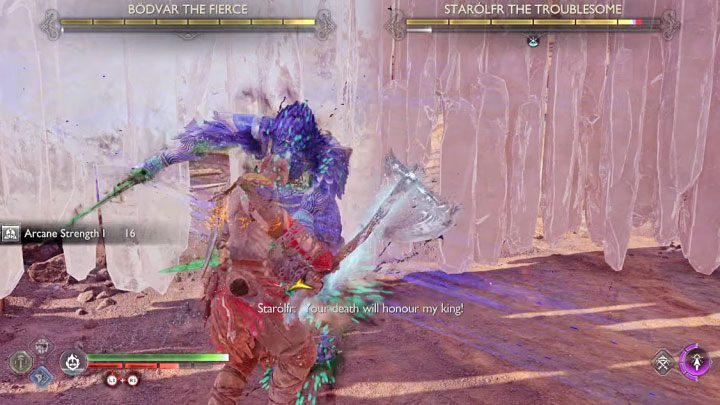
Starolfr is less durable than her ally, and we suggest attacking her first. Your goal should be to get one of the bosses defeated as quickly as possible in order to have only one opponent left in the arena.
Go all-out - use runic attacks of all 3 main weapons, as well as Spartan Rage to deplete Starolfr health bar more efficiently.
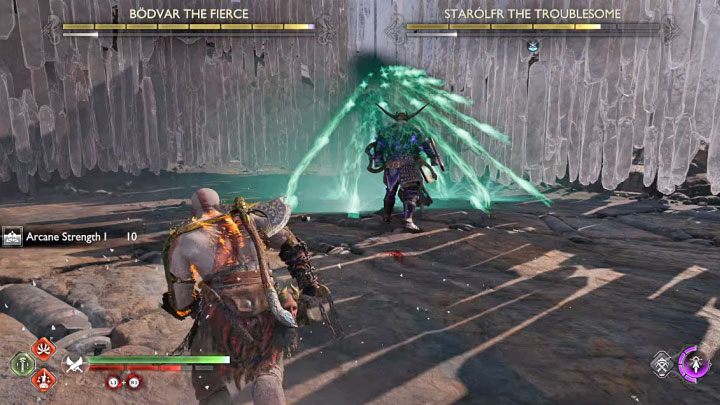
Among her moves, Starolfr can:
- fire a barrage of projectiles incoming from air - this is a normal attack and you can block the projectiles with your shield (or make a long dodge to the left to get out of the range of the spell.
- perform a jump concluded with a shockwave - this is a red attack and you need to jump away quickly after the boss lands.
- throw melee combinations - this may be normal and yellow attacks (dodge/parry) but the sequence can be concluded with a red attack that cannot be parried or blocked.
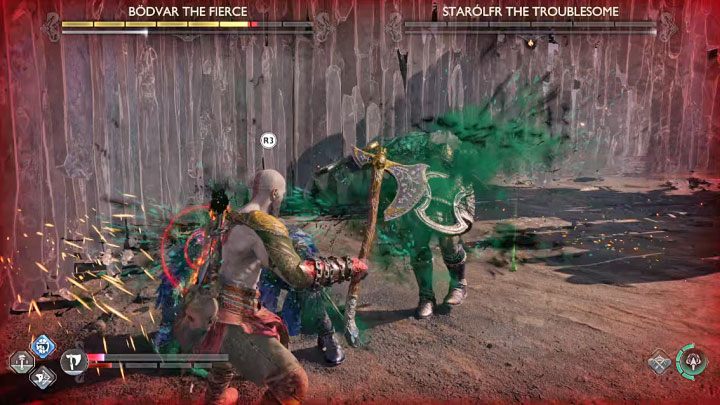
Hit Starolfr hard until you can execute her (R3) - this will be possible once all her health is depleted. This will eliminate her from the fight and you can focus on Bodvar.
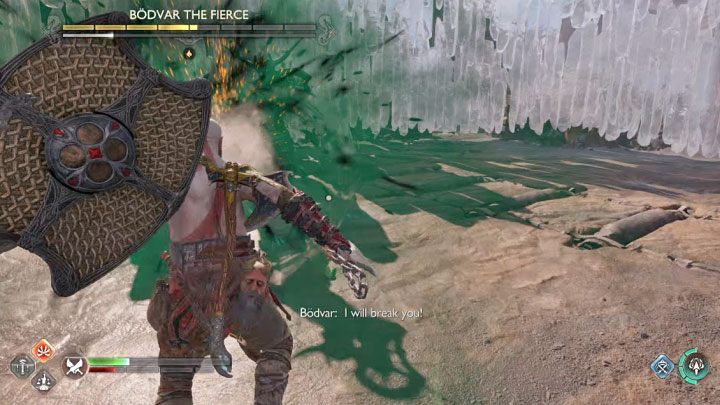
Remember to avoid Bodvar's attacks when damaging Starolfr. The most problematic of the lot is his yellow attack - an explosion. There are two ways of proceeding:
- Quickly running away from the boss once you see the spell being cast;
- performing a perfect parry (example in the screenshot) - this is the only way to avoid receiving damage.
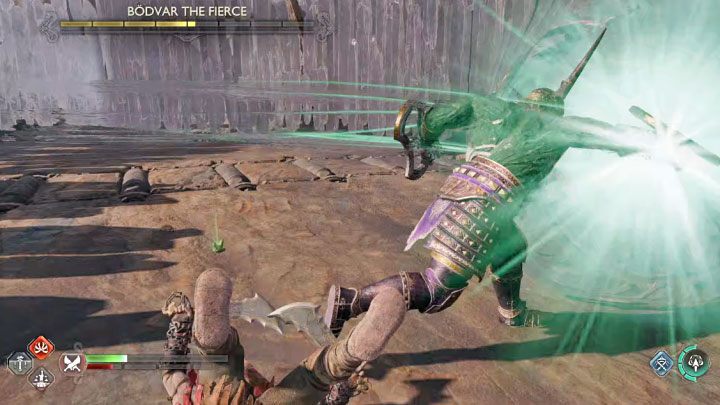
Other Bodvar's attacks include:
- melee combinations - this may be normal and yellow attacks (dodge/parry) but the sequence can end with a red attack that can only be dodged;
- charges - this is a yellow attack and the boss makes it from far away, meaning you have a lot of time to dodge correctly (parrying is too risky)
- line of exploding projectiles - this is a normal attack and can be easily blocked with a shield;
- Build-up (blue attack) - try to interrupt it by getting close and pressing L1x2.
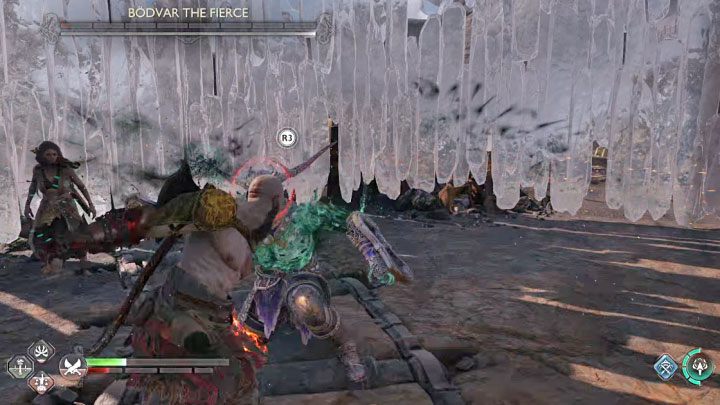
Look around the arena for healing items but pick them up only when it is safe.
Fight until Bodvar is deprived of all his health - you can execute him once that happens (R3) and end the encounter. Before you approach the sword fragment marked with the quest icon, collect all loot from the arena.
- God of War Ragnarok Guide
- God of War Ragnarok: Game Guide
- God of War Ragnarok: Bosses
- God of War Ragnarok: Berserkers
- God of War Ragnarok: How to defeat the Hardrefill the Callous berserker boss?
- God of War Ragnarok: How to defeat the Beigadr the Feared berserker boss?
- God of War Ragnarok: How to defeat the berserker Haklangr the Bearded?
- God of War Ragnarok: How to defeat the Berserker Fraekni the Zealous?
- God of War Ragnarok: How to defeat the berserk Hvitserkr the Bold?
- God of War Ragnarok: How to defeat the berserker Skjothendi the Unerring?
- God of War Ragnarok: How to defeat the Brserker Hjalti the Stolid?
- God of War Ragnarok: How to defeat Svipdagr the Cold and Sisters of Illska?
- God of War Ragnarok: How to defeat Bodvar the Fierce and Starolfr the Troublesome?
- God of War Ragnarok: How to defeat the final berserker - King Hrolf Kraki?
- God of War Ragnarok: Berserkers
- God of War Ragnarok: Bosses
- God of War Ragnarok: Game Guide
You are not permitted to copy any image, text or info from this page. This site is not associated with and/or endorsed by the developers and the publishers. All logos and images are copyrighted by their respective owners.
Copyright © 2000 - 2026 Webedia Polska SA for gamepressure.com, unofficial game guides, walkthroughs, secrets, game tips, maps & strategies for top games.
