Splinter Cell Blacklist: Reach the CIA safehouse
NOTE - before you start playing this mission, it is a good idea to equip yourself with several useful gadgets for distracting enemies (e.g. Sticky Noisemaker) and stunning them (e.g. Smoke Grenade, Tear Gas, Sleeping Gas, Flashbang). It is also recommendable to equip the Paladin plane with an upgrade that guarantees, at least basic, form of the radar. This will prove helpful at finding and avoiding the enemies.

Right after this mission loads, start the linear walk, during which you won't have to sneak. Walk around the square with the big numbers of armed men and take the side alley. Walk into the shop and go to the backroom. Your character will change clothes after reaching one of the rooms. You will now be able to start the actual action. Keep following the narrow alleys and stop after you reach the spot with two enemies. Hide behind a cover and wait for them to finish their conversation and walk away. Do not walk out of your cover until the enemy that stayed here goes left. Only then, leave the cover and approach the door to the building to the right.
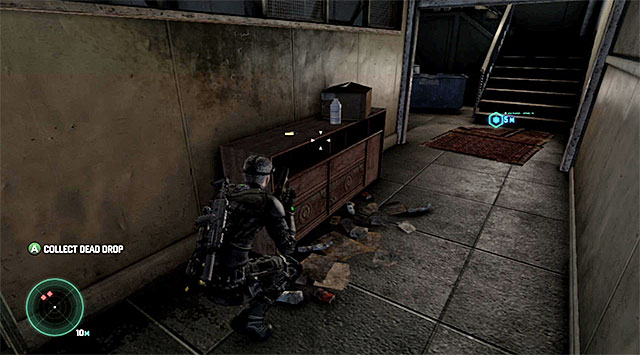
Carefully, enter the building and go right, while passing by the three enemies in the main room. Follow the linear corridors and find the Dead Drop, shown on the screenshot, which is one of the game's collectibles. It should be noted here that for finding a collectible, you will receive 10 thousand dollars and you will also be able to learn its contents after you come back to the airborne command center. After you collect the item, climb the stairs to reach the first floor.
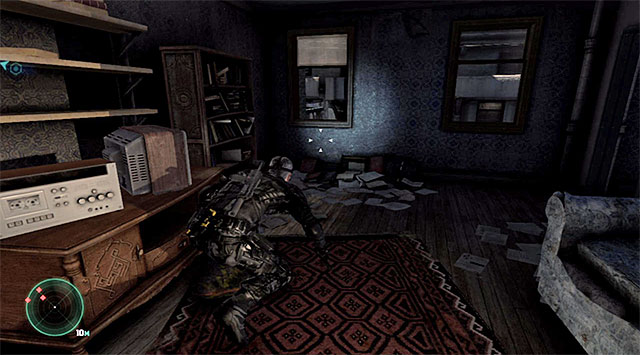
After you reach the first floor, put out the light and go quickly to the room to the right, before the guard approaches you (you could also wait for the character to turn the lights back on an follow him). Approach one of the windows, walk over the window and catch onto the ledge.
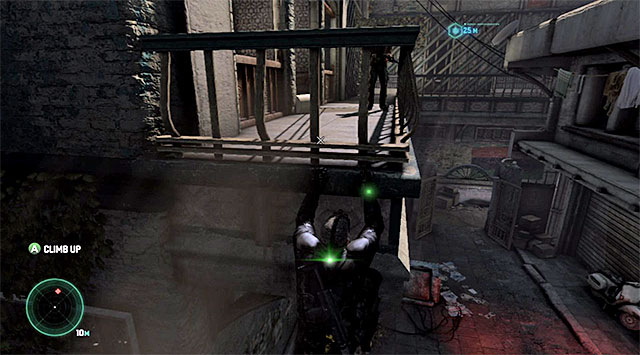
Carefully, shimmy to the right and stand in the spot shown in the screenshot. Wait for the guard that is patrolling the balconies to enter the room to the left and starts a conversation with his colleagues. Only then, resume shimmying to the right.
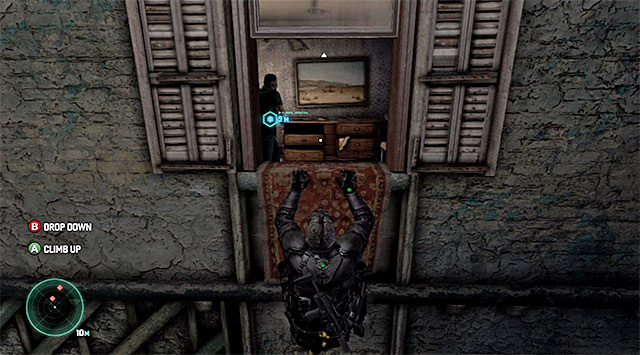
Once you get past the room with enemies inside, pull up and jump over the balustrade. Approach the wall of the new building and start climbing up, and then shimmy to the right. Stop after you reach the opened window.

Notice that there is only one guard inside the room. Wait for him to turn his back at you on the left. Carefully, make it inside the room and approach the window to the right. Open the widow, make it over to the other side and start shimmying to the right.
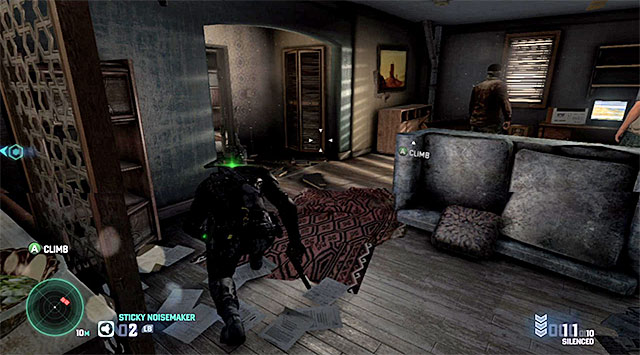
Stop after you reach the first window. Climb up here and walk into the bathroom. Carefully, approach the main area - apart from the guard that you have just walked past, there are also two others to the right. Take advantage of the fact that they are talking, while turned towards the TV. Quickly, squeeze past them and make it to the exit shown in the screenshot. Since you have come near the alleged Andriy Kobin's holding place, you will soon receive new objectives.
Additional tips for the Panther/Attack playing style: Try to stop in the narrow passages that lead to further locations, to prevent raising an alarm and getting surrounded after you start eliminating the enemies.
- Tom Clancy's Splinter Cell: Blacklist Game Guide
- Splinter Cell Blacklist: Game Guide
- Splinter Cell Blacklist: Mission 1 - Safehouse
- Splinter Cell Blacklist: Reach the CIA safehouse
- Splinter Cell Blacklist: Find Kobin
- Splinter Cell Blacklist: Reach the vicinity of the police station
- Splinter Cell Blacklist: Make it inside the police station
- Splinter Cell Blacklist: Reach the interrogation room
- Splinter Cell Blacklist: Rescue Kobin
- Splinter Cell Blacklist: Escort Kobin
- Splinter Cell Blacklist: Mission 1 - Safehouse
- Splinter Cell Blacklist: Game Guide
You are not permitted to copy any image, text or info from this page. This site is not associated with and/or endorsed by the developers and the publishers. All logos and images are copyrighted by their respective owners.
Copyright © 2000 - 2026 Webedia Polska SA for gamepressure.com, unofficial game guides, walkthroughs, secrets, game tips, maps & strategies for top games.
