Splinter Cell Blacklist: Mission 1 - Hawkins Seafort
General premises
- You need to hack into three different devices located around the fort.
- You can't be detected by the enemy.
- If you want to receive a bonus, you can't drive the enemies into the state of uneasiness. This does not mean that you can't knock down/kill enemies but, they can't become suspicious, for example if you destroy a security camera or eliminate a person that stays put in one position.
- Apart from completing the mission objectives, you can also find Dead Drops, Blacklist laptops, or capture a high-value target.
Fort infiltration
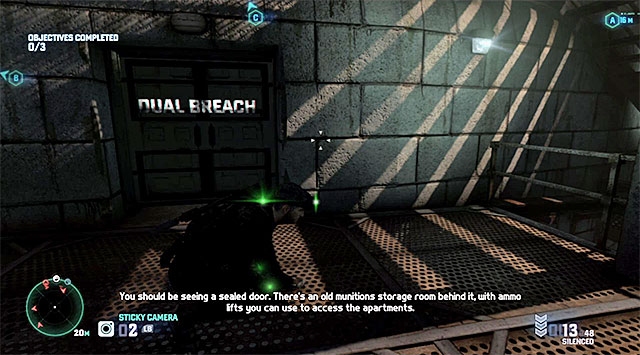
On your way to the fort, you need to watch out for, at least, two enemies but, they can be easily avoided thanks to shimmying along the pier. You can gain access to the fort in several different ways. If you are the second player, the best idea is to break the protection systems of the door located on the ground floor.

If you play solo, or if you d not want to start the exploration of the fort from the lowest level, you can start climbing and move in the counterclockwise direction. Depending on your preferences, you can either access one of the windows of the room, or get to the very top of the fort.
Additional obstacles
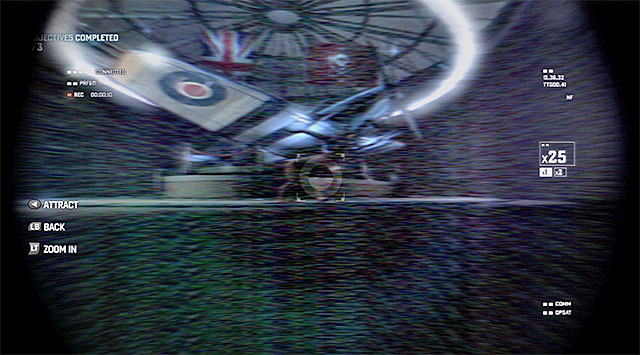
One of the more serious obstacles connected with the fort exploration is the presence of a guard dog. The animal patrols, by default, the central room with the airplane model and, if the enemies are alarmed, the dog may also start patrolling the middle level, together with a guard. You also should remember that the dog can sniff you out through the door and alarm the enemies nearby with its barking.
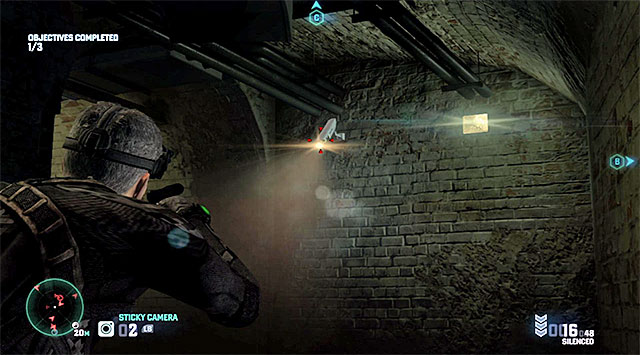
Another important obstacle are the security cameras that have been deployed mainly around the spots where you complete the main objectives of the mission. While planning your tactics, use to your advantage the fact that the range of vision in the cameras is limited and well depicted. Do not attempt to destroy the cameras because, even if it isn't noticed straight away, sooner or later it will be noticed and the enemy will go into the state of uneasiness, which will make it impossible to gain a bonus. As a last resort, you can try to sabotage the cameras temporarily with EMP charges (e.g. shot from the crossbow), but this can be risky so it is better to ignore them.
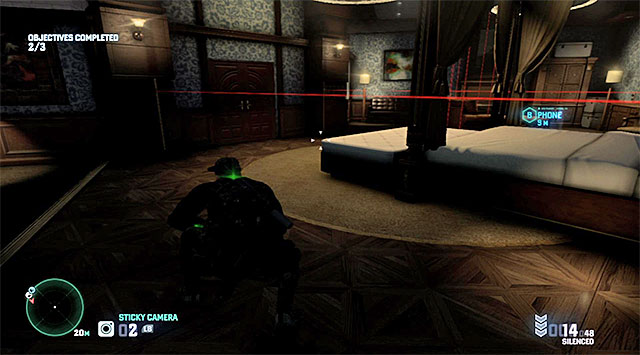
Finally, laser traps are also worth mentioning. You need to avoid the lasers AT ALL COSTS because, interfering with any beam will end up in failing the mission. To the extent that it is possible, you can watch out for control panels that you can disable these with.
Hacking into devices
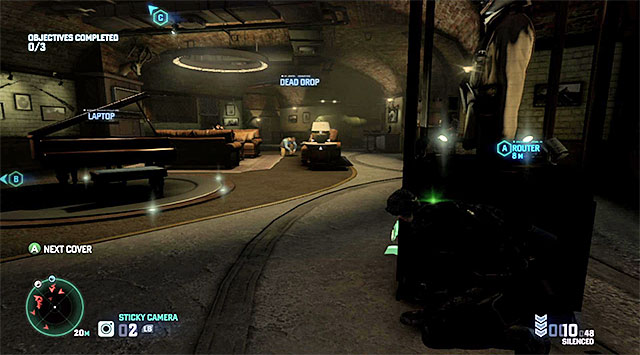
As I have just mentioned, there are three devices altogether which you need to hack. The device marked as A is a router and it is located in the room with display cases on one of the lower floors of the fort. The room is patrolled by two enemies and you can get here by, for example, entering through window or from the bottom level of the fort, by climbing up the vertical shaft.
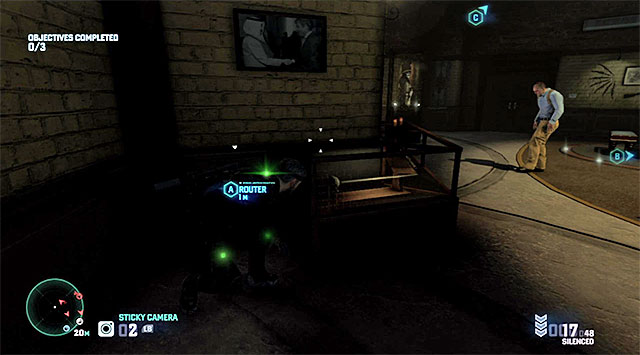
The process of hacking of the router will take Fisher several seconds. If you play sols, wait for the enemies to turn away to prevent being caught. If you play the co-op mode, it would be good for one of the players to distract the guards, which gives the other player enough time to complete the mission objective.
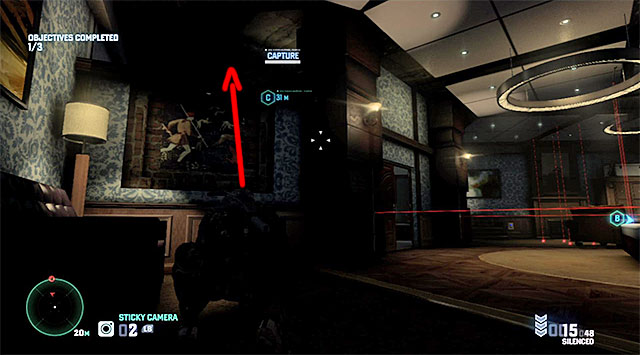
The device marked as B is a phone and it is located in the bedroom on one of the middle levels of the fort. A big obstacle is the fact that there are lasers in this room. The first group of lasers can be avoided by climbing over the wall into the bathroom that neighbors the bedroom (the above screenshot).
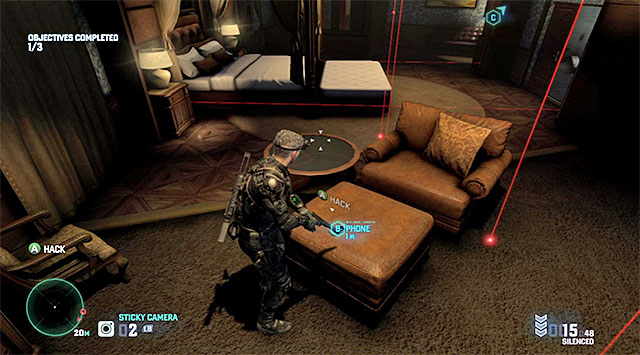
Avoiding the second group of lasers is more difficult. You need to wait for the right moment and RUN, slightly at an angle, and try not to cut any of the beams. It is worth noting that right after the process of planting the bug ends, you can approach the panel incorporated into the wall and disable the lasers.

The device marked as C to is the communications center and it has been installed on the roof of the fort. You need to watch out on your way to this objective, because, apart from the regular guards, you also need to watch out for a security camera (do not destroy it!) and a sniper (he is, by the way, a high-value target).
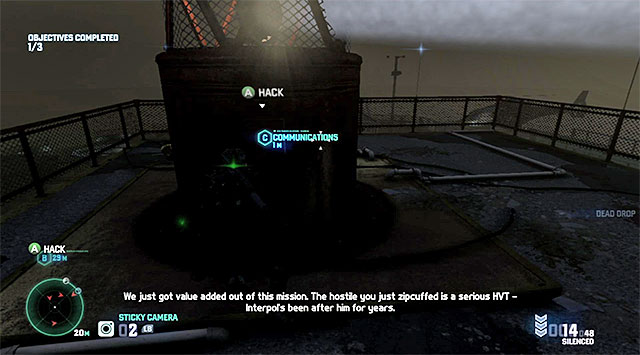
To reach the communications center, it is best to move in the counterclockwise direction again, and remember not to be spotted by the sniper (red beam of the laser sight). If you play in the co-op mode, one of the players may be busy distracting the regular guards, to make it easier for the other to reach the marked target. Do not exaggerate with such actions, because you may draw the sniper's attention. Finally, start climbing. Wait for the sniper to change positions and, only then, approach the center to hack the device uninterrupted.
Locations of collectibles
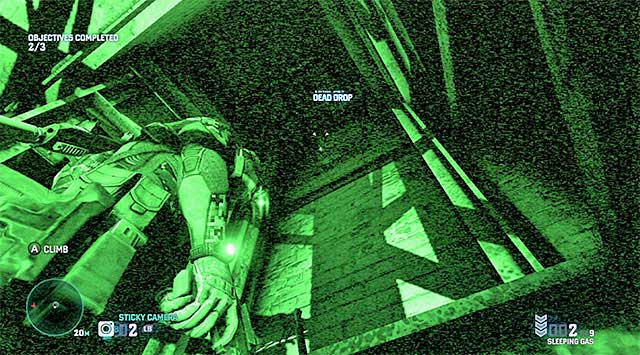
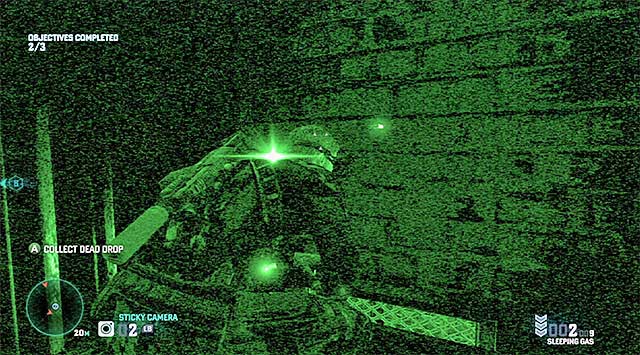
Before you leave the fort, it would be good to find all of the collectibles. The Dead Drop is definitely the most difficult to locate. It is in the vertical shaft shown in screenshot 1, that leads to the lowest level, to the room with display cases (the one with the router). Start climbing, ignore all the windows on your way and make it to the very top. The collectible is in the spot shown in screenshot 2.
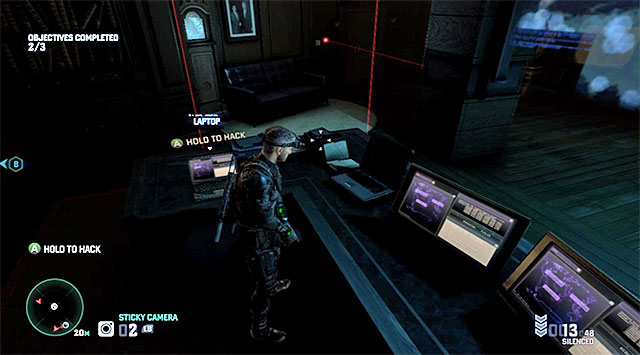
Blacklist Laptop is in the office on the very same level, where you visit the bedroom to bug the phone. You need to watch out for the security camera and for the new laser traps, while approaching the desk either from the left or from the right. Fortunately, you should not meet any enemies around.
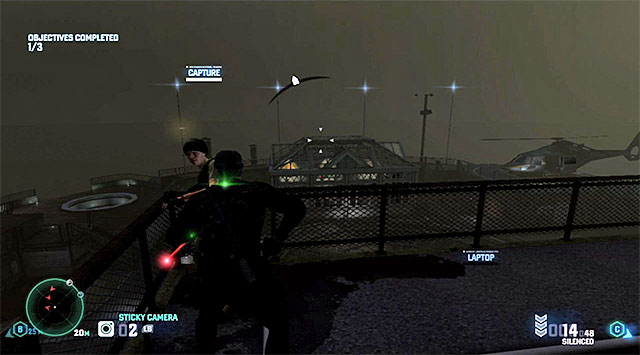
High Value Target as has been mentioned earlier, it is the sniper that occupies the roof of the fort, right next to the communication center which you need to hack into. Carefully, find the sniper, get him from behind, knock him down and tie up, which will prepare him for extraction.
Leave the fort
After you have dealt with everything, you need to return to the pier where you started this mission. If the enemies have not been alarmed, it is going to be very easy. If they are currently in the state of uneasiness, you should watch out near the pier itself because it will be patrolled by many guards. Just like at the beginning of this mission, it is a good idea to shimmy along the pier which will be effective at helping you at avoiding detection.
After you return to the mobile command center, get acquainted with the statistics for this mission and receive the reward. You can talk to Grim about another optional mission- Border Crossing.
- Tom Clancy's Splinter Cell: Blacklist Game Guide
- Splinter Cell Blacklist: Game Guide
- Splinter Cell Blacklist: Mission 12 - Site F
- Splinter Cell Blacklist: Disable vent fan
- Splinter Cell Blacklist: Infiltrate the bunker
- Splinter Cell Blacklist: Gain access to the bunker defense systems
- Splinter Cell Blacklist: Sabotage the bunker's defense systems
- Splinter Cell Blacklist: Initiate the bunker lockdown procedure
- Splinter Cell Blacklist: Stop Sadiq
- Splinter Cell Blacklist: 4E Missions - general premises
- Splinter Cell Blacklist: Optional missions assigned by Grim
- Splinter Cell Blacklist: Mission 1 - Hawkins Seafort
- Splinter Cell Blacklist: Mission 2 - Border Crossing
- Splinter Cell Blacklist: Mission 3 - Hackers' Den
- Splinter Cell Blacklist: Optional missions assigned by Charlie
- Splinter Cell Blacklist: Enemy types and general premises of Charlie's missions
- Splinter Cell Blacklist: Mission 1 - Pakistani Embassy
- Splinter Cell Blacklist: Mission 2 - Swiss Embassy
- Splinter Cell Blacklist: Mission 3 - Egyptian Embassy
- Splinter Cell Blacklist: Mission 4 - Russian Embassy
- Splinter Cell Blacklist: Optional missions assigned by Kobin
- Splinter Cell Blacklist: Mission 1 - Opium Farm
- Splinter Cell Blacklist: Mission 2 - Fish Market
- Splinter Cell Blacklist: Mission 3 - Blood Diamond Mine
- Splinter Cell Blacklist: Additional missions assigned by Briggs
- Splinter Cell Blacklist: Mission 1 - Smugglers Compound
- Splinter Cell Blacklist: Mission 2 - Missile Plant
- Splinter Cell Blacklist: Mission 3 - VORON Station
- Splinter Cell Blacklist: Mission 4 - Abandoned City
- Splinter Cell Blacklist: Mission 12 - Site F
- Splinter Cell Blacklist: Game Guide
You are not permitted to copy any image, text or info from this page. This site is not associated with and/or endorsed by the developers and the publishers. All logos and images are copyrighted by their respective owners.
Copyright © 2000 - 2026 Webedia Polska SA for gamepressure.com, unofficial game guides, walkthroughs, secrets, game tips, maps & strategies for top games.
