Splinter Cell Blacklist: Grim's missions Blacklist Laptops
Mission 1

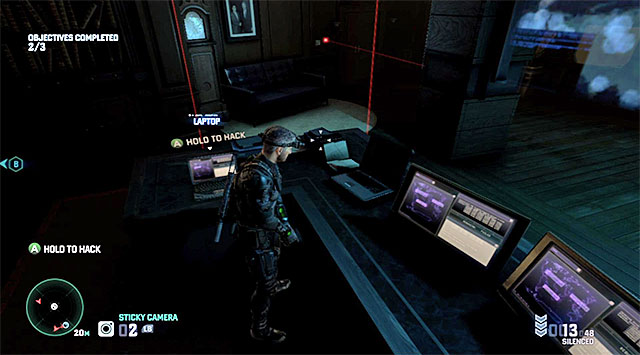
LAPTOP 10/23 - the laptop is in the security room on one of the middle floors of the fort, close to the bedroom with one of the hack-able devices.
Mission 2

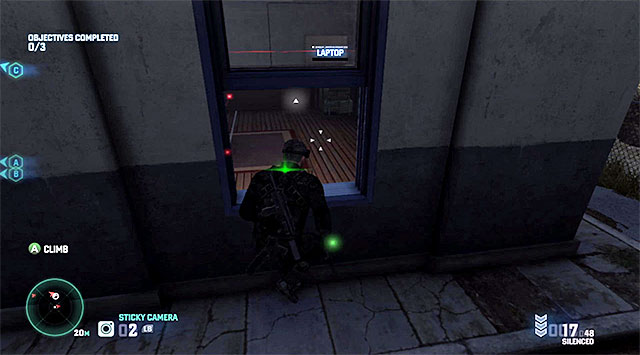
LAPTOP 11/23 - the laptop is on the ground floor of the building with document C (the one the furthest away from the starting point) and also here you need to avoid laser beams.
Mission 3

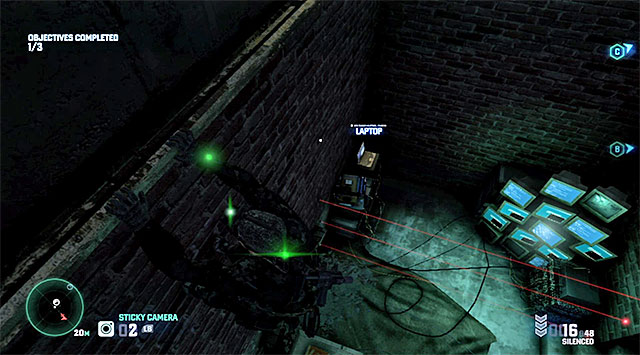
LAPTOP 12/23 - the laptop is inside the right building of the hackers' den, i.e. the one that you visit to hack into device C. You need to avoid laser traps by grabbing onto the ledge above.
- Tom Clancy's Splinter Cell: Blacklist Game Guide
- Splinter Cell Blacklist: Game Guide
- Splinter Cell Blacklist: Blacklist Laptops
- Splinter Cell Blacklist: Main campaign missions Blacklist Laptops
- Splinter Cell Blacklist: Grim's missions Blacklist Laptops
- Splinter Cell Blacklist: Charlie's missions Blacklist Laptops
- Splinter Cell Blacklist: Kobin's missions Blacklist Laptops
- Splinter Cell Blacklist: Briggs' missions Blacklist Laptops
- Splinter Cell Blacklist: Blacklist Laptops
- Splinter Cell Blacklist: Game Guide
You are not permitted to copy any image, text or info from this page. This site is not associated with and/or endorsed by the developers and the publishers. All logos and images are copyrighted by their respective owners.
Copyright © 2000 - 2025 Webedia Polska SA for gamepressure.com, unofficial game guides, walkthroughs, secrets, game tips, maps & strategies for top games.
