Splinter Cell Blacklist: Mission 2 - Missile Plant
Infiltrate the HQ
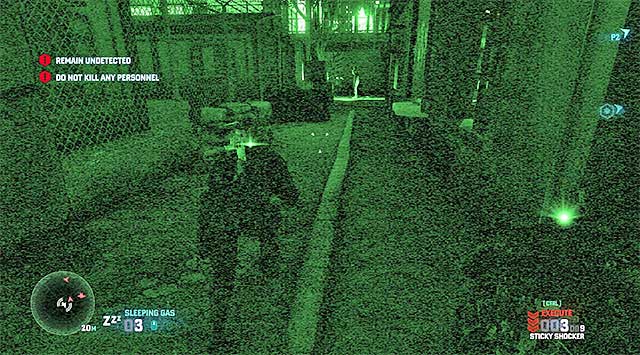
The initial part of this mission is very demanding because you won't be able to cause the alarm to be raised. It's also forbidden to kill any enemy. While through the barracks, I recommend that you take advantage of the fact that it's pitch dark in here. Do not hurry, stay in shadows and move along the ledges overhead. If you are going to neutralize enemies, I recommend that you use the crossbow combined with sticky shocker charges or sleeping gas explosives but, each time you need to make sure that the enemy you attack stays out of the range of vision of the others.
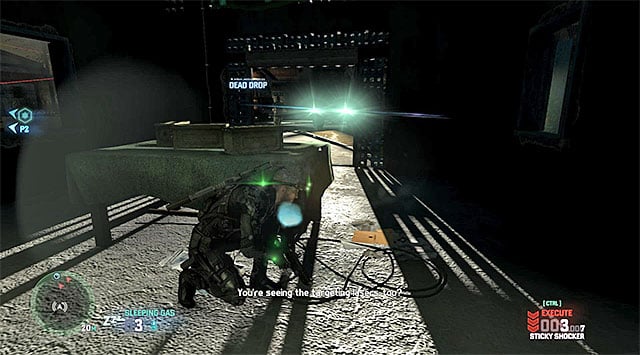
Your destination is the biggish building marked by the game and, since it's well lit, it's a good idea to use the EMP charges to your advantage. Approach the door and in cooperation with the other player, unlock passage to the next location. It's worthwhile to wait here for the vehicle to leave the area, thanks to which the starting point will be veiled in darkness. As you explore this area, you need to watch out not only for the standard enemies, but also or two snipers. Therefore, you should remember about hiding behind covers and destroying the nearby light sources.
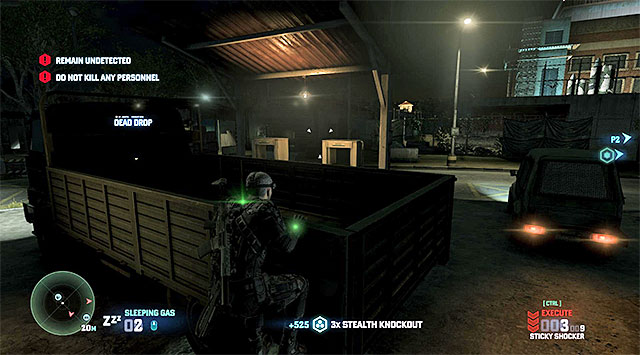
You could eliminate the abovementioned snipers by climbing onto the watchtowers (best one player for each tower), but this isn't required to succeed. It's worthwhile, though, to explore the truck parked at the fuel station (the screenshot), near the watchtower to the right. Onto the tarpaulin of the truck, there is a Dead Drop. You should systematically move towards the exit marked by the game, while trying to remain on rooftops and taking advantage of covers, to walk around the enemies. In cooperation with the other player, try to unlock the entrance to another garage.
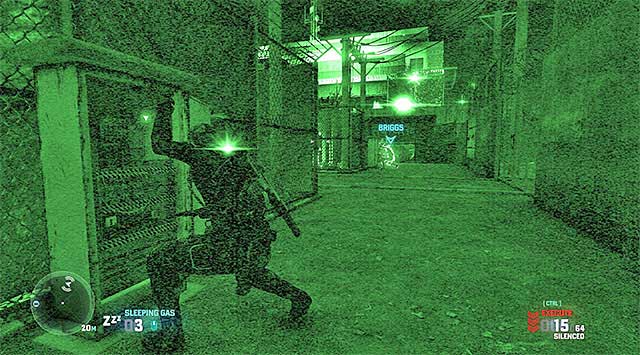
In the garage, there is only one enemy but, you should watch out for the security camera. After you approach the substation, you should start observing the recon drones' routes. It isn't necessary to eliminate the drone operator, especially that destroying a drone with pistol isn't going to raise the alarm (unless you overdo and the machine explodes). Start by destroying the local lamps and cameras, and neutralize the drones as well. Then, walk over to one of the marked devices to cut off power supplies in cooperation with the other player.
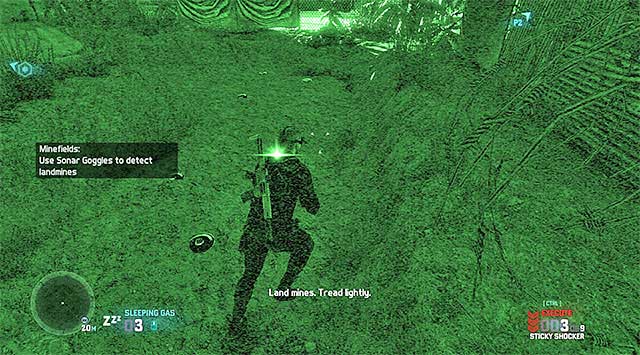
I recommend against taking up the risky attempt to eliminate the enemies that arrived near the substation. Instead, go to the passage to the neighboring area as quickly as possible. Since you have neared the mine field, you should consider using goggles to locate mines because, due to the nighttime, it may prove difficult to find them without these. Cooperate with your teammate again (either of you needs a boost up) to reach the main entrance to the rocked base.
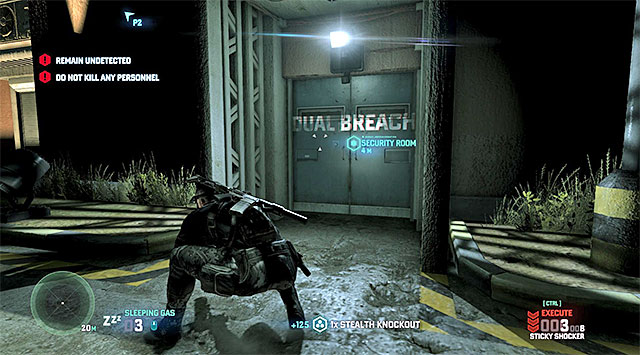
Here, you need to decide whether you want to reach the entrance to the building as quickly as possible, or approach it slowly. I recommend that you consider the first variant and knock down several guards that you encounter because, after a dozen or so seconds, power supply will be restored and the range of vision of enemies will improve. The best way to reach the base is by remaining on the right side of the square, and neutralizing at least two of the encountered guard groups. After you come close to the entrance, open the door, in cooperation with your teammate.
Secure the warhead
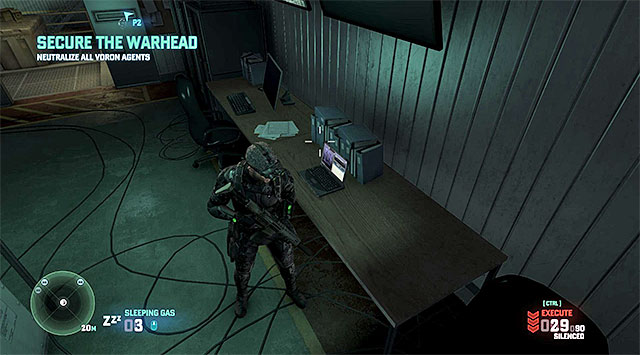
Start a linear walk and pass by the retina scanner on your way. Reaching the vicinities of the hall with the warhead won't take too long and you will receive here the instruction to neutralize all of the hostile agents around. After you make your way into the main hall, I recommend that you first go to the left control room, where you will find the Blacklist Laptop shown in the screenshot.
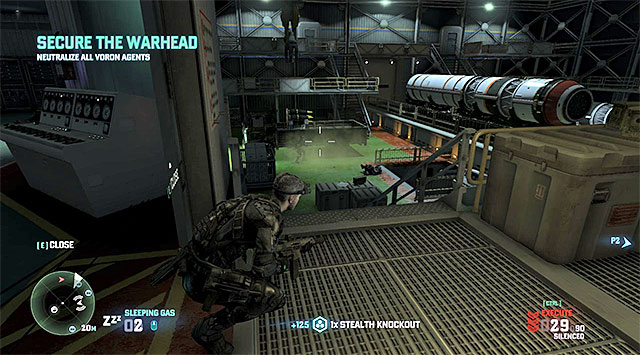
Only now, start eliminating the enemies. If you do not want to kill the enemies, I recommend that you look for the moments when you can jump down onto them from balconies above, and also use the crossbow and sleeping gas grenades (they are effective especially when there are two enemies close to each other). Do not attempt to hide in shadows because the enemies come equipped with goggles. You should also watch out for the heavy armored enemies and deal with them from behind. After you secure the area, one of the players needs to interact with the crane marked by the game.
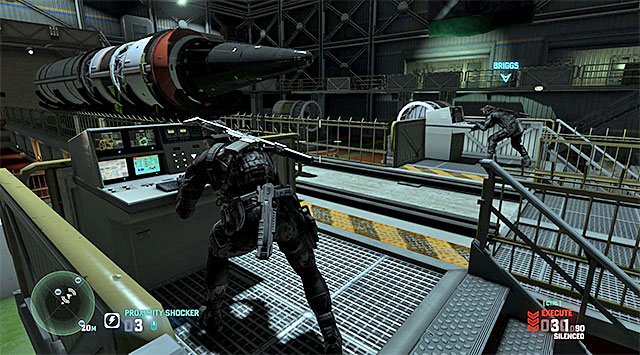
Using the crane will result in the arrival of another group of enemy soldiers. Just like before, it's best to eliminate all of them without raising the alarm and relying, to a large extent, on the gadgets that both players are equipped with. If, in spite of all your efforts, you will have to confront the enemy directly, you should watch out for the explosives thrown by the enemies, and also you should not let them surround you. After you clear the hall again, one of the players needs to interact with the terminal in the control room. Traditionally, you should be prepared to face another wave of enemy agents. Deal with the enemies and, while cooperating with the other player (to activate both computer terminals simultaneously) withdraw the rocket.
Leave the hall with the warhead
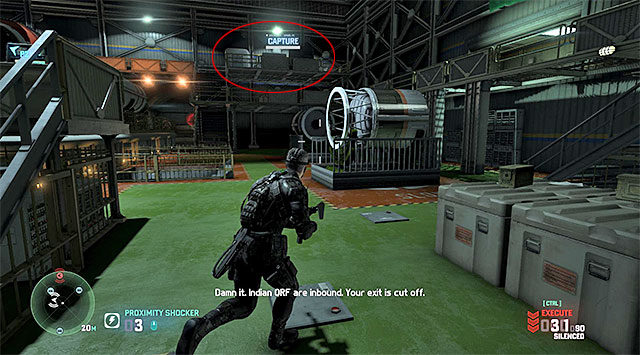
On the top balcony that you can see in the distance to the right, there will arrive the last wave of enemies and it's worth knowing that, among them, there will be the high value target. Try to avoid raising the alarm because the abovementioned enemy makes use of the heavy armor and, as a result, to knock him down you will have to surprise him from behind. After you eliminate all of the enemy agents, you should go to the bridge located between the two computer terminals that you have just visited, and receive the reward for neutralizing the high-value target (up to 30 thousand dollars).
Reach the extraction zone
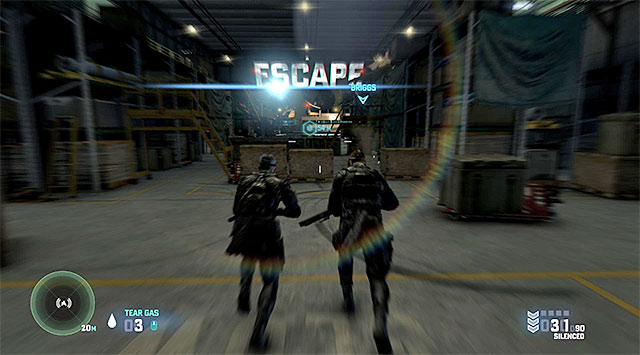
The final part of this mission isn't too demanding although, during the escape from the exploding facility, apart from sprinting it's also a good choice to press and hold down the interaction key/button. As a result, your character will automatically overcome all obstacles. The mission will end in success, assuming that both players managed to walk around the closing door and leave the building.
After you return to the mobile command center, get acquainted with your ratings and receive your reward. You can talk to Briggs about the next optional assignment - VORON Station.
- Tom Clancy's Splinter Cell: Blacklist Game Guide
- Splinter Cell Blacklist: Game Guide
- Splinter Cell Blacklist: Mission 12 - Site F
- Splinter Cell Blacklist: Disable vent fan
- Splinter Cell Blacklist: Infiltrate the bunker
- Splinter Cell Blacklist: Gain access to the bunker defense systems
- Splinter Cell Blacklist: Sabotage the bunker's defense systems
- Splinter Cell Blacklist: Initiate the bunker lockdown procedure
- Splinter Cell Blacklist: Stop Sadiq
- Splinter Cell Blacklist: 4E Missions - general premises
- Splinter Cell Blacklist: Optional missions assigned by Grim
- Splinter Cell Blacklist: Mission 1 - Hawkins Seafort
- Splinter Cell Blacklist: Mission 2 - Border Crossing
- Splinter Cell Blacklist: Mission 3 - Hackers' Den
- Splinter Cell Blacklist: Optional missions assigned by Charlie
- Splinter Cell Blacklist: Enemy types and general premises of Charlie's missions
- Splinter Cell Blacklist: Mission 1 - Pakistani Embassy
- Splinter Cell Blacklist: Mission 2 - Swiss Embassy
- Splinter Cell Blacklist: Mission 3 - Egyptian Embassy
- Splinter Cell Blacklist: Mission 4 - Russian Embassy
- Splinter Cell Blacklist: Optional missions assigned by Kobin
- Splinter Cell Blacklist: Mission 1 - Opium Farm
- Splinter Cell Blacklist: Mission 2 - Fish Market
- Splinter Cell Blacklist: Mission 3 - Blood Diamond Mine
- Splinter Cell Blacklist: Additional missions assigned by Briggs
- Splinter Cell Blacklist: Mission 1 - Smugglers Compound
- Splinter Cell Blacklist: Mission 2 - Missile Plant
- Splinter Cell Blacklist: Mission 3 - VORON Station
- Splinter Cell Blacklist: Mission 4 - Abandoned City
- Splinter Cell Blacklist: Mission 12 - Site F
- Splinter Cell Blacklist: Game Guide
You are not permitted to copy any image, text or info from this page. This site is not associated with and/or endorsed by the developers and the publishers. All logos and images are copyrighted by their respective owners.
Copyright © 2000 - 2026 Webedia Polska SA for gamepressure.com, unofficial game guides, walkthroughs, secrets, game tips, maps & strategies for top games.
