Splinter Cell Blacklist: Make your way out of the command center with Charlie's disc
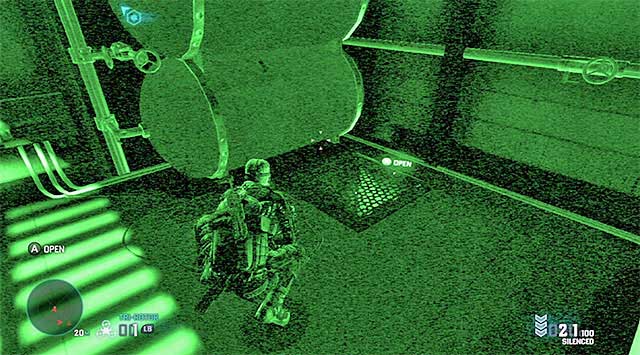
Just like I wrote earlier, right after you collect the disc with the downloaded data, you should return to the manhole to the underground tunnels. Before you use the manhole, you should, of course, make sure that there is nobody on the lower level that is looking your way. After you return to the tunnel, grab onto the pipe attached to the ceiling once again. Walk around the laser barrier that is further away from the door and locate the ventilation shaft opening shown in the above screenshot.
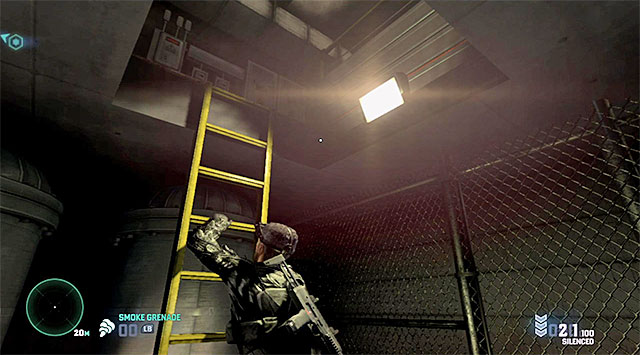
Walk through the ventilation shaft and return to the room with one guard. Walk around him very carefully and go towards the manhole that was mentioned in the description of the silent path so, the one that leads t the room neighboring with the cage, where you found the collectible at the beginning of this mission. You now need to go towards the corridor where you started the exploration of this floor of the building. I recommend to take one of the side balconies, make use of the ledges on the side for the effective avoiding of the enemies that patrol the upper levels.
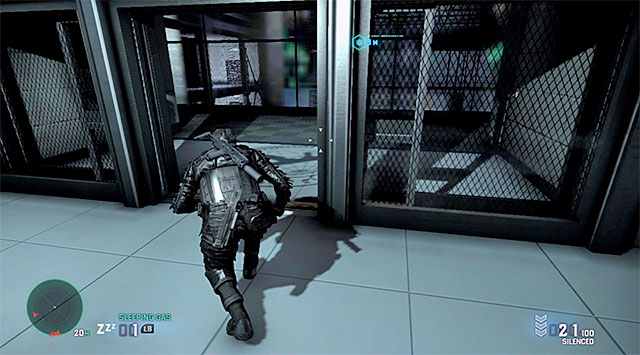
Carefully, approach the exit from this area. The passage is now permanently open but, the bad news is that it can be guarded by one or even several enemies. There are several ways to deal with this problem, by for example diverting the enemies' attention with a sticky noisemaker, waiting for them to change positions or by making silent noises and moving along the upper balconies to catch the guards from behind. After you reach the elevator, approach the glass wall marked by the game and press the interaction key/button to zip down the line.
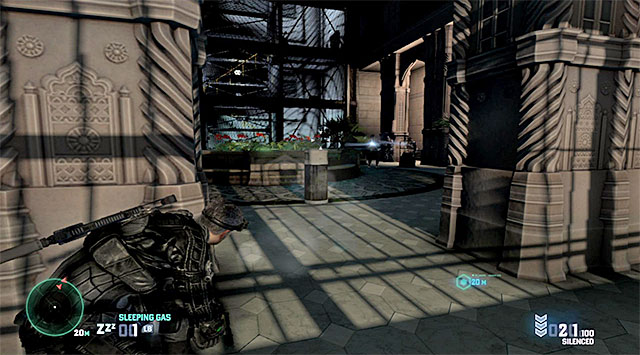
Do not delude yourself that, when you make it to another location over the zipline, your problems will be over. The enemies will still be trying to hunt down your character. Right after you get to the new location, turn right and go towards the nearest poles, or otherwise you will be spotted by the new enemies. Walk now in the counterclockwise direction and use the poles as your covers.
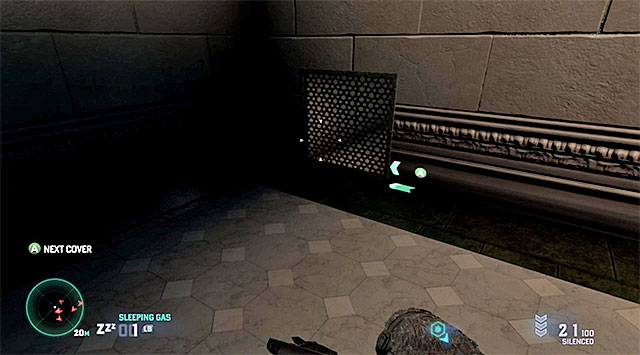
On your way, you should be ready to walk around, at least, one enemy, by walking around the big pillar at the other side. Make your way towards the exit from the yard and watch out for the armored enemy, who is checking on this passage on a regular basis. Do not take the main exit and approach the door to the left, instead, and the venting shaft grate shown in the screenshot. Start the exploration of the shafts. After you reach a bit bigger room, turn left and grab onto a pipe, over which you need to slide down. Enter another shaft and reach near the door marked by the game.
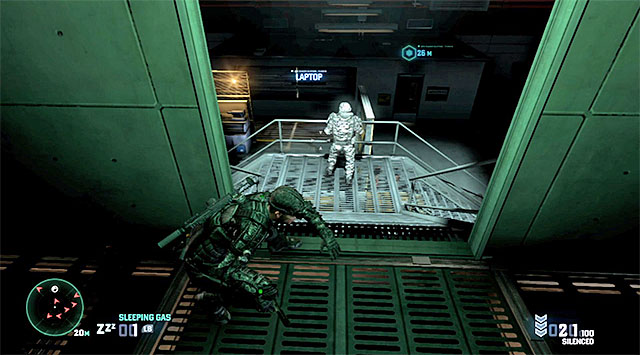
Remain on the upper balconies because, thanks to them, you will walk around many enemies that remain in this area. Go left and stop near the passage to the left that you can see in the distance. Wait for one of the enemies to walk onto the balconies and starts exploring their further part, and for his armored colleague to go left. Follow the armored enemy and remember to keep safe distance.
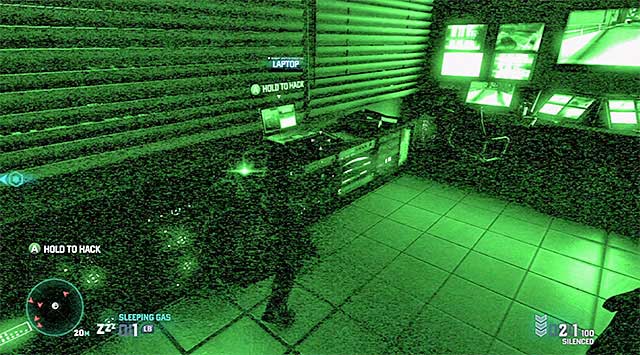
Go towards the stairs and turn right, and then left. Take the door located in front of your character, and remember to move in shadows. Close the door behind you and explore the room that you have just entered. You will find the Blacklist Laptop shown in the screenshot, which is worth the standard 40 thousand dollars.
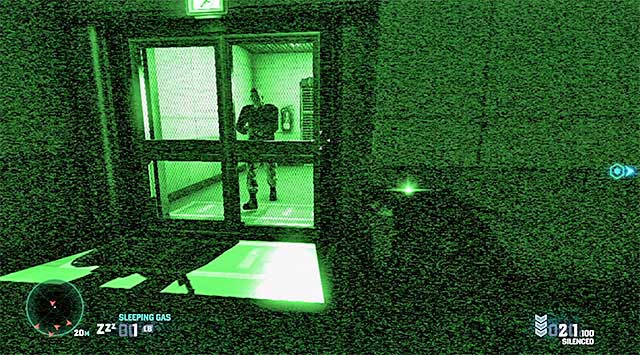
Go through the opposite door in this room and, after you walk into a darkened corridor, turn left and stop near the blocked passage shown in the above screenshot. You, of course, need to wait for the guard to appear, and take the opportunity to sneak behind his back before the door shuts again. Open the next door and enter the control room on the left . Use the computer to unlock further passage.
Additional tips for the Panther/Attack playing style: In situations in which you engage the enemy directly, you should watch out for the armored enemies and use explosives to eliminate them.
- Tom Clancy's Splinter Cell: Blacklist Game Guide
- Splinter Cell Blacklist: Game Guide
- Splinter Cell Blacklist: Mission 6 - Special Missions HQ
- Splinter Cell Blacklist: Find route into Quods HQ
- Splinter Cell Blacklist: Reach the basement level of the parking lot
- Splinter Cell Blacklist: Break out of the prison
- Splinter Cell Blacklist: Reach the elevator
- Splinter Cell Blacklist: Gain access to the vault
- Splinter Cell Blacklist: Download the data
- Splinter Cell Blacklist: Make your way out of the command center with Charlie's disc
- Splinter Cell Blacklist: Reach the gardens
- Splinter Cell Blacklist: Reach the evacuation zone
- Splinter Cell Blacklist: Defend the van
- Splinter Cell Blacklist: Mission 6 - Special Missions HQ
- Splinter Cell Blacklist: Game Guide
You are not permitted to copy any image, text or info from this page. This site is not associated with and/or endorsed by the developers and the publishers. All logos and images are copyrighted by their respective owners.
Copyright © 2000 - 2025 Webedia Polska SA for gamepressure.com, unofficial game guides, walkthroughs, secrets, game tips, maps & strategies for top games.
