Splinter Cell Blacklist: Mission 3 - VORON Station
Follow Cherski
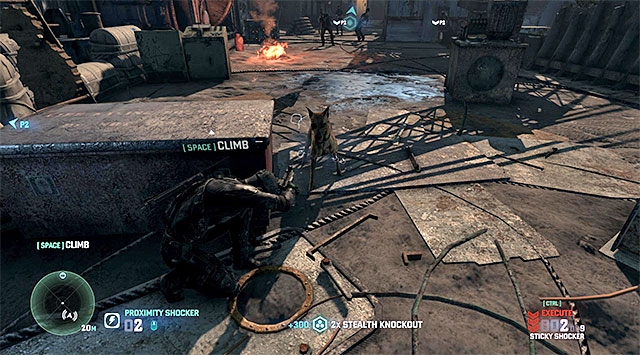
Just like in the case of Briggs's first mission, first of all you will have to perform some not too complicated climbing connected with the necessity to grab onto the consecutive ledges and sliding down the drain pipe. After you pry the door open (cooperation necessary here) you will reach the scrap yard patrolled by the enemy forces. I recommend that you watch out here because, apart from guards, there also is a guard dog around. You can attempt to distract the animal with the decoy or eliminate it with the crossbow, once it's safe to do that.
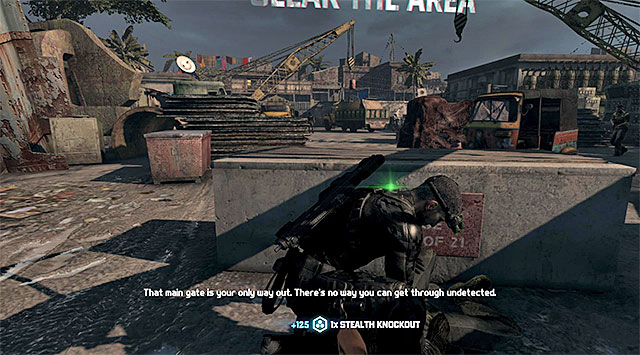
Eventually, you need to make your way, along with the other player, to the tall vertical wall, where one of you will have to give boost to the other to make it to the seemingly inaccessible ledge. After you make it to the other side of the yard, you will have to neutralize all of the enemies. Try to remain in hiding for as long as you can (for the whole time would be best) and eliminate the enemies by using your gadgets to your advantage. Apart fro the standard covers, you can also use the numerous tunnels to surprise the enemies and get them from the flank.
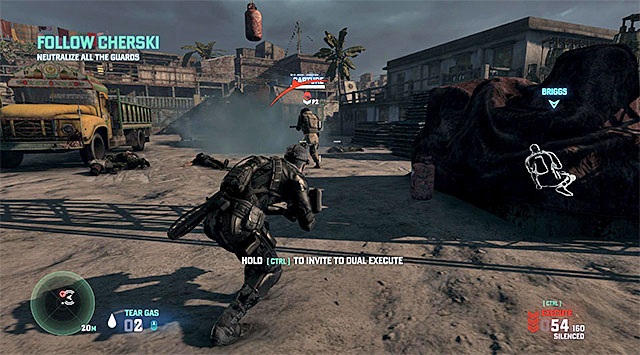
You need to realize that in the second part of the scrap yard, you will encounter several heavy armored enemies and one of them will be your high value target. Just as it's usually the case for this type of actions, you need to get the target from behind to enable a problem free takedown. At the same time, you should watch out for the enemies occupying the balconies above because their vast range of vision. After you clear the area, open the gate, which will result in a cutscene being played. At the same time, you will receive a reward for neutralizing the high-value target (up to 30 thousand dollars).
Find Cherski
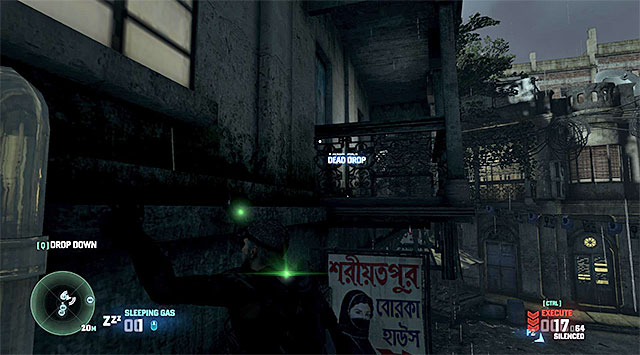
Start the exploration of the side streets by grabbing onto the wall to the left and making it onto the balcony shown in the screenshot, where there is a Dead Drop. After you reach the locked gate, locate, on the left, a spot where you can cooperate with your teammate. What is interesting, only one of the players will make it onto the balcony, and the other one needs return to the street level to interact with the mechanism of the gate and open it for the other teammate.
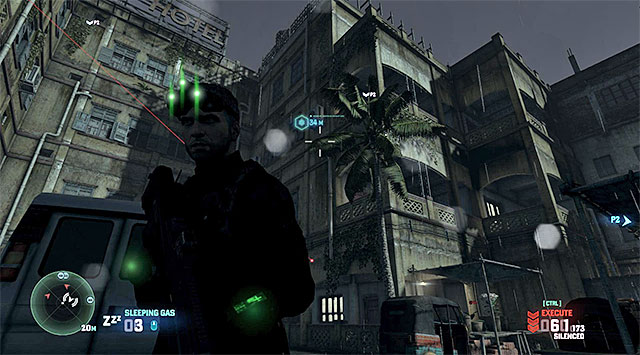
Approach the yard carefully, because the area is patrolled by enemies and monitored by security cameras. You need to start climbing here by grabbing onto consecutive pipes. You should climb prudently because the area is also monitored by snipers. It isn't necessary to eliminate the snipers to ensure yourself with an unproblematic passage but this can help. Reaching the rooftops won't do, because these are also patrolled by the enemy. Stick to using the roof's ledges to hide and wait for the right moment to approach the door, accompanied by the other player, and pry it open.
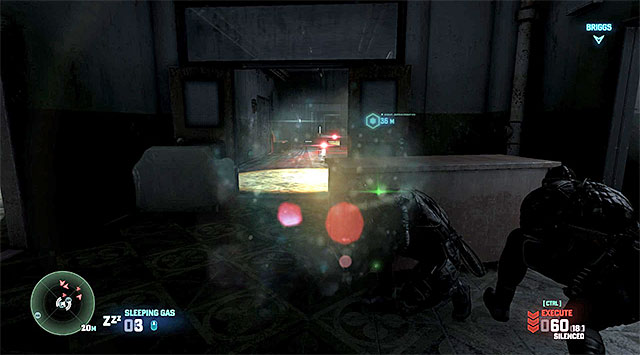
After you make it inside the building, climb down the stairs towards the other levels. Soon, you will have to watch out not only for the cameras, but also for recon drones. Just like in the case of the previous missions, it's worth knowing that using the pistol to sabotage drones won't raise the alarm immediately. I also recommend that you prefer the side rooms to press forward over the main corridors. In situations where you are cornered, you should also look around for horizontal pipes under the ceiling in some rooms to avoid detection.
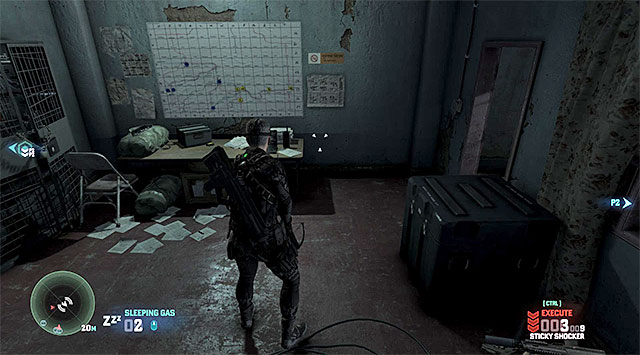
Ultimately, you need to reach the locked door and, after you force it open in cooperation with the other player, you need to climb downstairs. Here, there are new cameras for you to handle and further enemies. You should pay most attention to staying out of the snipers' vision (the red laser sight beams). It's advisable to stay I hiding, after all, because there is a Blacklist Laptop in the room shown in the screenshot and alarming the enemy would cause it to autodestruct.
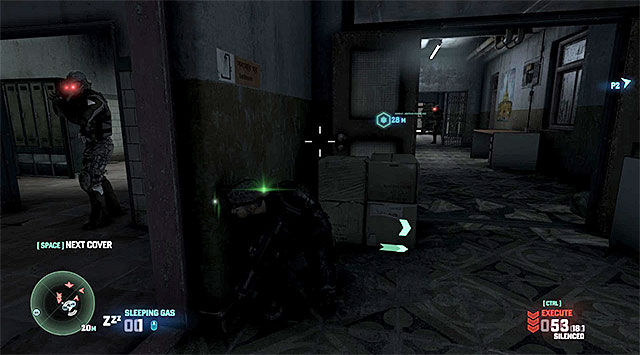
When it comes to the snipers mentioned above, it's best to walk around them and pass through over the external balcony. You need to locate a locked door and, together with the other player, you need to force it open . Walk down to the lower level and start avoiding the enemy again. Note, at the same time, that many of the enemies use goggles so there is no point in hiding in shadows. You should also mind the heavy armored enemy. Your current destination is the barricaded entrance to the security room. After you listen to the dialogue, open the door to the right and plant a C4 explosive on the wall.
Interrogate the people in the security room
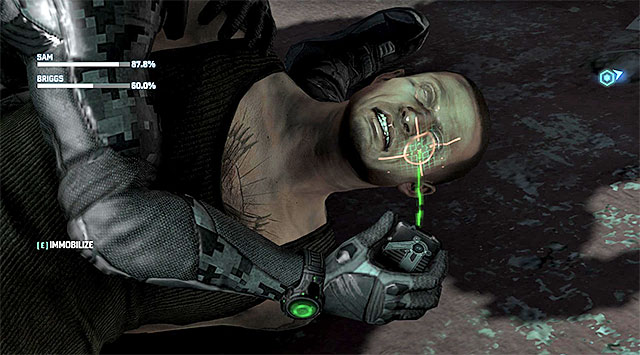
The final part of this mission is definitely less stressful because you need, together with your teammate, interrogate two people that have been staying in the security room, in order to identify Cherski. The minigame consists in using the analog stick (or the mouse) combined with restraining the head of the interrogated enemy (the appropriate key/button displayed by the game) in order to scan the face.
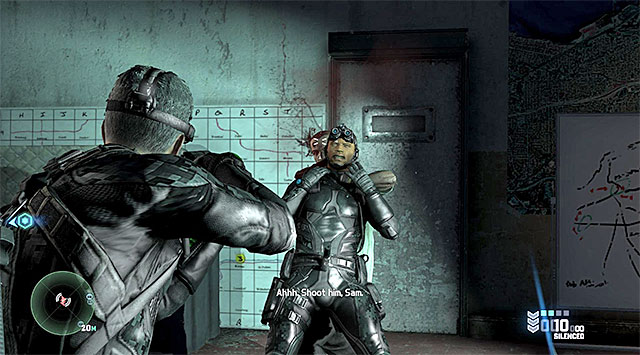
The minigame will be completed as soon as one of the players finishes the process of scanning the face, because he will then determine who Cherski is. Finally, the player controlling Fisher is up for a challenge that consists in saving Briggs. If you are the one playing with this character, you need to wait for the right moment and shoot the enemy on the head.
After you return to the mobile command center, get acquainted with your ratings and receive your reward. You can talk to Briggs about the last optional assignment - Abandoned City.
- Tom Clancy's Splinter Cell: Blacklist Game Guide
- Splinter Cell Blacklist: Game Guide
- Splinter Cell Blacklist: Mission 12 - Site F
- Splinter Cell Blacklist: Disable vent fan
- Splinter Cell Blacklist: Infiltrate the bunker
- Splinter Cell Blacklist: Gain access to the bunker defense systems
- Splinter Cell Blacklist: Sabotage the bunker's defense systems
- Splinter Cell Blacklist: Initiate the bunker lockdown procedure
- Splinter Cell Blacklist: Stop Sadiq
- Splinter Cell Blacklist: 4E Missions - general premises
- Splinter Cell Blacklist: Optional missions assigned by Grim
- Splinter Cell Blacklist: Mission 1 - Hawkins Seafort
- Splinter Cell Blacklist: Mission 2 - Border Crossing
- Splinter Cell Blacklist: Mission 3 - Hackers' Den
- Splinter Cell Blacklist: Optional missions assigned by Charlie
- Splinter Cell Blacklist: Enemy types and general premises of Charlie's missions
- Splinter Cell Blacklist: Mission 1 - Pakistani Embassy
- Splinter Cell Blacklist: Mission 2 - Swiss Embassy
- Splinter Cell Blacklist: Mission 3 - Egyptian Embassy
- Splinter Cell Blacklist: Mission 4 - Russian Embassy
- Splinter Cell Blacklist: Optional missions assigned by Kobin
- Splinter Cell Blacklist: Mission 1 - Opium Farm
- Splinter Cell Blacklist: Mission 2 - Fish Market
- Splinter Cell Blacklist: Mission 3 - Blood Diamond Mine
- Splinter Cell Blacklist: Additional missions assigned by Briggs
- Splinter Cell Blacklist: Mission 1 - Smugglers Compound
- Splinter Cell Blacklist: Mission 2 - Missile Plant
- Splinter Cell Blacklist: Mission 3 - VORON Station
- Splinter Cell Blacklist: Mission 4 - Abandoned City
- Splinter Cell Blacklist: Mission 12 - Site F
- Splinter Cell Blacklist: Game Guide
You are not permitted to copy any image, text or info from this page. This site is not associated with and/or endorsed by the developers and the publishers. All logos and images are copyrighted by their respective owners.
Copyright © 2000 - 2026 Webedia Polska SA for gamepressure.com, unofficial game guides, walkthroughs, secrets, game tips, maps & strategies for top games.
