Splinter Cell Blacklist: Gain access into the estate
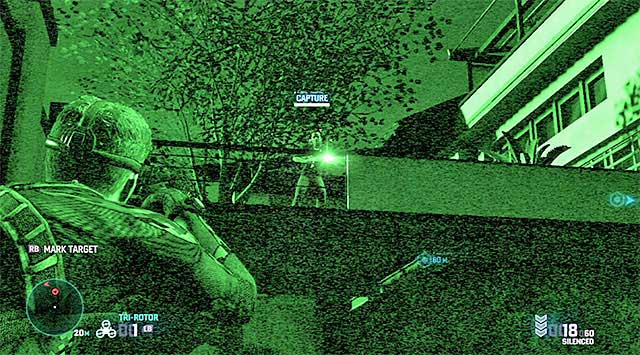
Before you set out towards one of the available entrances to the estate, it would be good to take care of the high-value target, which appeared meanwhile around. The target is patrolling the upper platform to the left of the shed's entrance. The bad news is that he is accompanied by a guard dog. What is even more, you won't be able to allow yourself to stay near the tool shed for too long. After several tens of seconds, the dog will appear here, accompanied by quite a big group of standard guards.
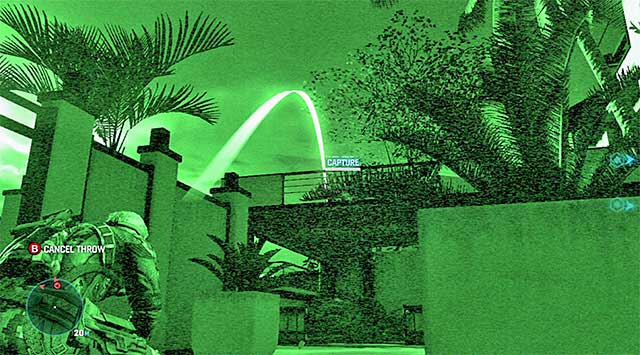
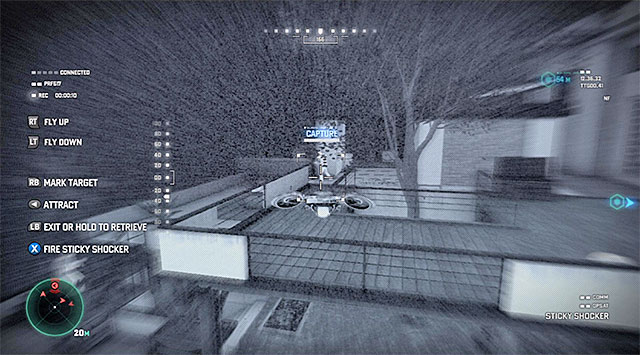
I recommend that, to neutralize the high-value target, you use one of the more advanced gadgets. Definitely, in my opinion, the best idea is to toss a sleeping gas grenade high into the air . walk outside of the shed and stand next to the stairs in front of the starting point. Turn towards the platform to the left, wait for the high-value target, and the dog, to stand close to each other and throw the sleeping gas grenade high into the air (screenshot 1). If you have done everything correctly, you will put to sleep both the guard and the dog. A similar effect can be achieved using the Trirotor drone (screenshot 2). In this case, it is best to shock the high-value target, and then the dog, with electricity. This is because the dog won't react aggressively when he sees the guard unconscious.
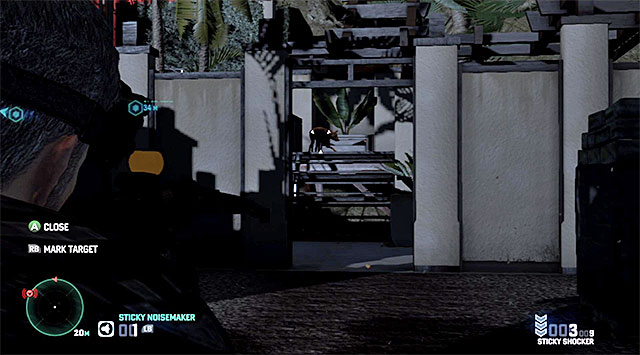
If you do not have the abovementioned advanced gadgets at your disposal, most probably, you will have to eliminate the dog as the first one, and deal with the target marked by the game afterwards. I recommend that you surprise the animal when it stops on the stairs, by shocking him with electricity from the crossbow, or the stun gun. After you stun the dog, approach the high-value target carefully and take him by surprise.
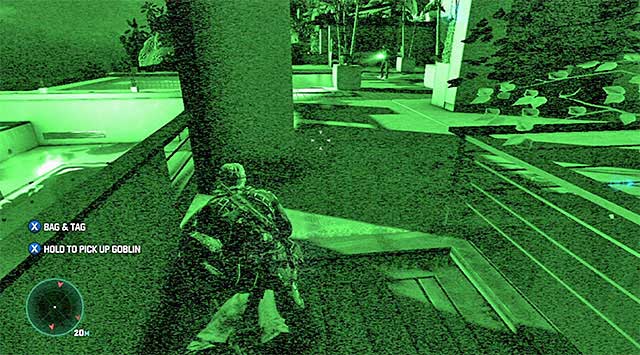
Regardless of how you behave, you NECESSARILY need to tie the neutralized enemy up, thanks to which you will prepare him for extraction. This is only the only way in which you can ensure yourself with the reward for finding him. Fortunately enough, all of the remaining enemies should approach the shed from the side of the path alongside the cliff, so you do not need to worry that the enemy will be found, and freed by anybody.
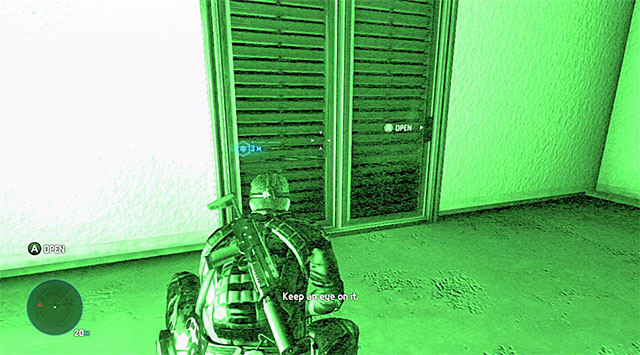
You can now focus on entering the villa. As you have probably noticed, your HUD is pointing to the locations of two different entrances. The first one of them is located on the side of the building, on the ground floor. You can reach it by walking over the drain pipe located to the right of the place where the high-value target used to be. I RECOMMEND AGAINST taking this entrance because you would have to cut through the entire ground floor to get to the higher level (that is where the last one of the collectibles, and the mission's current target is).
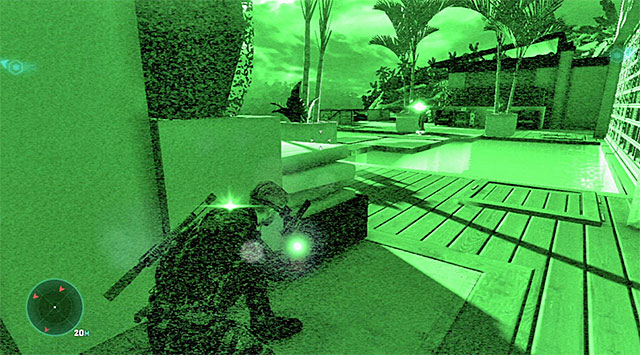
It is way better to go for the entrance that is further away, and it is located on the balcony, at the back of the building (you have already passed this spot on your way to the tool shed). Slowly, move forward and keep as close to the right wall of the villa as possible. You should be especially cautious when you come close to a small reservoir shown in the screenshot above. Wait for the nearby enemies to move towards the shed and only then walk across the stone panels.
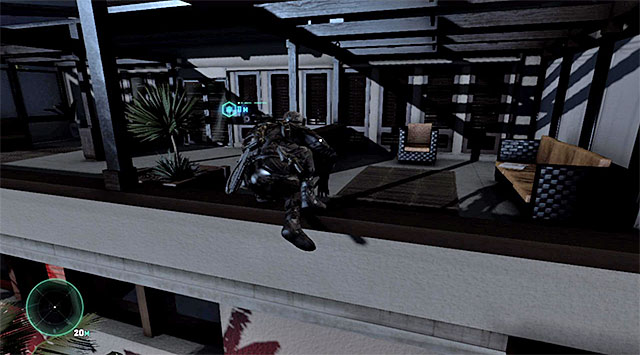
Approach the wall located opposite Fisher, grab onto it and climb up to the higher level. Turn right and start jumping towards the wooden elements. Finally, jump over the balustrade, thanks to which you will get to the balcony and reach the other one of the entrances to the villa. Choosing this entrance is a way better choice, because this will allow you to skip the exploration of the ground floor. Enter the building, receive the reward for capturing the high-value target (up to 30 thousand dollars).
Additional tips for the Panther/Attack playing style: If you want to eliminate most of the enemies, at one take, wait for them to gather near the tool shed, take them from behind and pepper them with grenades.
- Tom Clancy's Splinter Cell: Blacklist Game Guide
- Splinter Cell Blacklist: Game Guide
- Splinter Cell Blacklist: Mission 4 - Private Estate
- Splinter Cell Blacklist: Infiltrate the area around the estate
- Splinter Cell Blacklist: Reach the tool shed
- Splinter Cell Blacklist: Detonate the EMP charge at the fuse box
- Splinter Cell Blacklist: Gain access into the estate
- Splinter Cell Blacklist: Find Nouri's hideout
- Splinter Cell Blacklist: Neutralize hit squad
- Splinter Cell Blacklist: Escort Nouri
- Splinter Cell Blacklist: Mission 4 - Private Estate
- Splinter Cell Blacklist: Game Guide
You are not permitted to copy any image, text or info from this page. This site is not associated with and/or endorsed by the developers and the publishers. All logos and images are copyrighted by their respective owners.
Copyright © 2000 - 2026 Webedia Polska SA for gamepressure.com, unofficial game guides, walkthroughs, secrets, game tips, maps & strategies for top games.
