Splinter Cell Blacklist: Mission 3 - Blood Diamond Mine
Make your way through the surface buildings
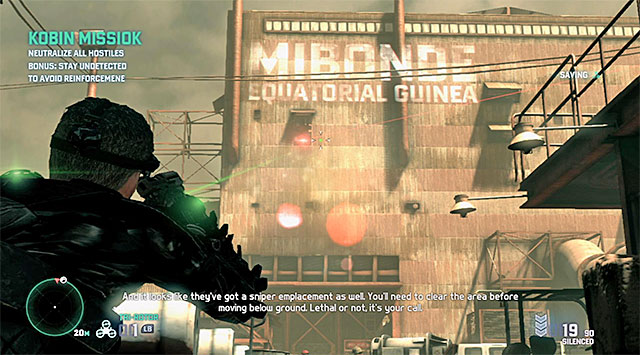
You need to keep all precautions right from the very beginning, because the square, where the mission starts, is being observed by one of the snipers. You can try and eliminate this one using the sniper rifle but, this isn't required at all, because you will have the opportunity to knock him down later into the mission. There are two paths that lead to the abovementioned building and both of them are available irrespective of the number of players. You can either go through the door on the ground floor, or climb up two ladders to reach the upper balconies straight away.
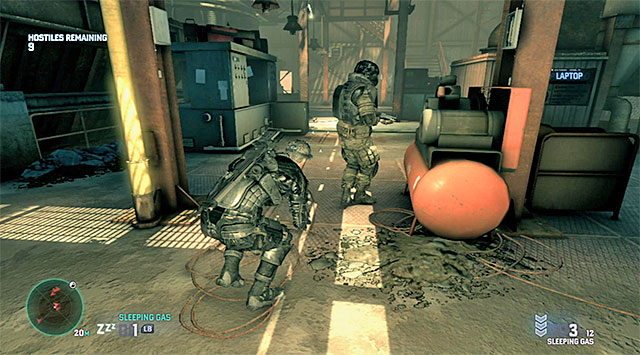
During the exploration, it's especially good to keep in mind that there is a heavy armored enemy here, who should be busy patrolling the ground floor. It's a good idea to catch the enemies, gathered on the upper floor (including two snipers), by surprise, by either dropping on them from the ledges above, or by moving along the pipes all round the area.
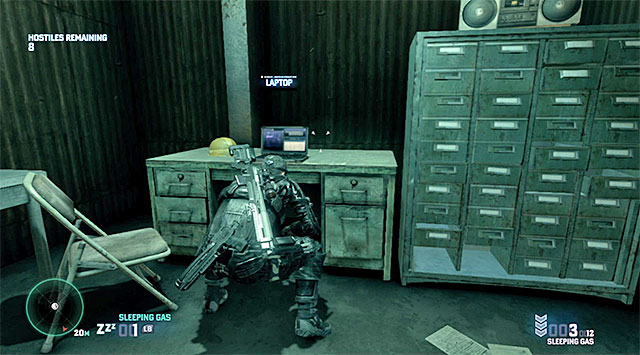
Do not leave the building right after you neutralize all of the enemies, because there is a Blacklist Laptop on the ground floor (the above screenshot). Collect the reward (40 thousand dollars) and end by clearing the square to the left of the building, where there should be three enemies and the passage to the next location. Reaching the mine involves the necessity to zip down several ziplines but, on the other hand, you will encounter no enemies on your way, which is good news.
Make it through the mine
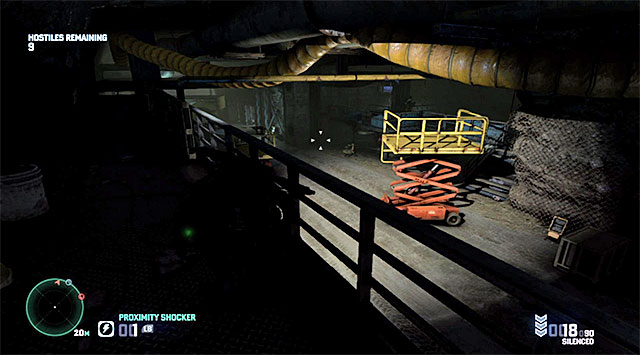
I recommend that, during the exploration of the mine, you destroy all of the sources of light on your way, which will make it more difficult for the enemies to spot you. You should experience no problems eliminating most of the enemies.. Still, you should watch out for the security cameras installed in various parts of the mine and destroy, or disable them temporarily by using the EMP charges.
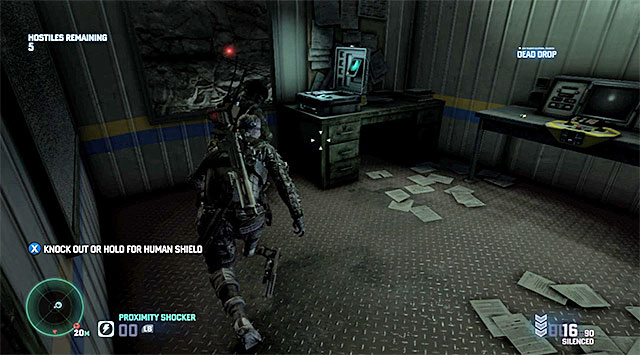
Further into the mine, you should watch out for the reconnaissance drones and not let them spot you. The drone operator should be staying on the upper level of the two storey hall. This is also where you will find a 10 thousand dollar worth Dead Drop.
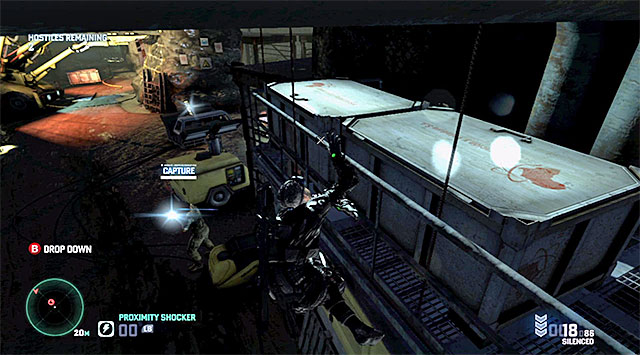
Watch out, because, on your way to the last area of the mine, you can encounter another heavy armored enemy and, traditionally, you need to get him from behind. Soon, you should reach a location where there is another high-value target and, similarly to the previous mission, you need to make sure that he i'sn''t the last enemy that you knock out, because the mission automatically ends after you deal with the last enemy.
- Tom Clancy's Splinter Cell: Blacklist Game Guide
- Splinter Cell Blacklist: Game Guide
- Splinter Cell Blacklist: Mission 12 - Site F
- Splinter Cell Blacklist: Disable vent fan
- Splinter Cell Blacklist: Infiltrate the bunker
- Splinter Cell Blacklist: Gain access to the bunker defense systems
- Splinter Cell Blacklist: Sabotage the bunker's defense systems
- Splinter Cell Blacklist: Initiate the bunker lockdown procedure
- Splinter Cell Blacklist: Stop Sadiq
- Splinter Cell Blacklist: 4E Missions - general premises
- Splinter Cell Blacklist: Optional missions assigned by Grim
- Splinter Cell Blacklist: Mission 1 - Hawkins Seafort
- Splinter Cell Blacklist: Mission 2 - Border Crossing
- Splinter Cell Blacklist: Mission 3 - Hackers' Den
- Splinter Cell Blacklist: Optional missions assigned by Charlie
- Splinter Cell Blacklist: Enemy types and general premises of Charlie's missions
- Splinter Cell Blacklist: Mission 1 - Pakistani Embassy
- Splinter Cell Blacklist: Mission 2 - Swiss Embassy
- Splinter Cell Blacklist: Mission 3 - Egyptian Embassy
- Splinter Cell Blacklist: Mission 4 - Russian Embassy
- Splinter Cell Blacklist: Optional missions assigned by Kobin
- Splinter Cell Blacklist: Mission 1 - Opium Farm
- Splinter Cell Blacklist: Mission 2 - Fish Market
- Splinter Cell Blacklist: Mission 3 - Blood Diamond Mine
- Splinter Cell Blacklist: Additional missions assigned by Briggs
- Splinter Cell Blacklist: Mission 1 - Smugglers Compound
- Splinter Cell Blacklist: Mission 2 - Missile Plant
- Splinter Cell Blacklist: Mission 3 - VORON Station
- Splinter Cell Blacklist: Mission 4 - Abandoned City
- Splinter Cell Blacklist: Mission 12 - Site F
- Splinter Cell Blacklist: Game Guide
You are not permitted to copy any image, text or info from this page. This site is not associated with and/or endorsed by the developers and the publishers. All logos and images are copyrighted by their respective owners.
Copyright © 2000 - 2026 Webedia Polska SA for gamepressure.com, unofficial game guides, walkthroughs, secrets, game tips, maps & strategies for top games.
