Splinter Cell Blacklist: Gain access to the vault
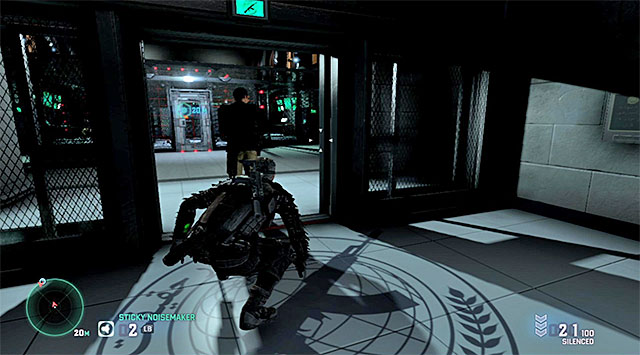
Go ahead and stop where you can turn right. Hide behind the nearest cover and wait for the arrival of a single guard. Do not move until the enemy ends his beat. Start following the guard as soon as he starts going towards the next room, by walking through the security gate. Being equipped with the elements of the apparel that silence movements is very useful, because you won't have to take any risk while sneaking behind a guard. Of course, you can't keep too large distance while sneaking behind the enemy, because you won't be able to enter the new location otherwise. As a result, you will have to wait for the guard to set out for the next patrol.
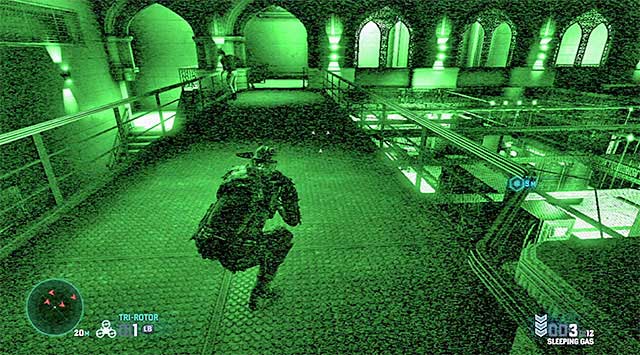
Do not come near the cage located in the central part of the room, because you would be noticed and you can't access it anyways. Turn right, take the stairs to the balconies on the right and turn off the light on your way. Now, walk over the roof of the large cage and reach the balconies to the left. Also in this case, you should retreat to the landing and turn off the light. You can now start your march towards the opposite end of this hall. Wait here until a single guard that is patrolling the upper balconies, finishes the conversation with his colleague who is standing below.
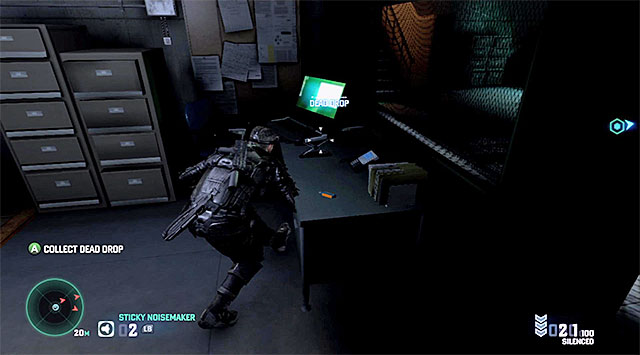
Carefully, approach the new guard stationed on the level below. Wait until he positions himself to the right and sneak quickly to the left room where there is a Dead Drop shown in the screenshot (they are worth 10 thousand dollars). Hide behind one of the covers and wait for the enemy to visit this room once again because, it is very likely that you would not be able to leave this place in time, right after you collect the collectible.
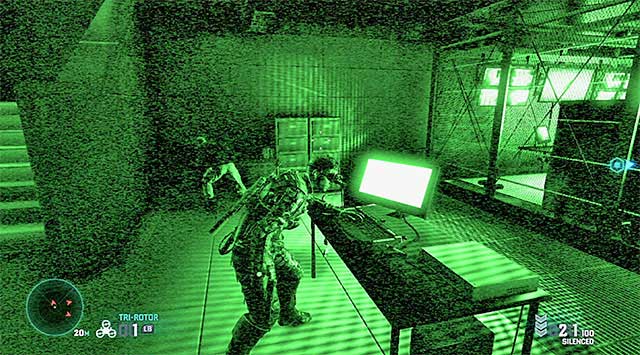
You now need to decide how you want to reach the treasure's terminal marked by the game, located inside the cage. You can do that in two different ways and the first variant has been named by Charlie as the loud path. Remain near the place where you have found the collectible and wait for the guard, which you have been avoiding, stops near the lockers to the left. Approach quickly the computer terminal shown in the screenshot.

Interacting with the abovementioned computer will result in disabling the cage's security systems but, this will alarm the enemies. Quickly move away from the terminal to prevent being spotted. This isn't the end to your troubles, because a new group of enemies will soon arrive on the elevator. I recommend that you hide in shadows by grabbing onto one of the ledges at the balconies above, and wait until most of the enemies go towards the computer that you have just broken into.
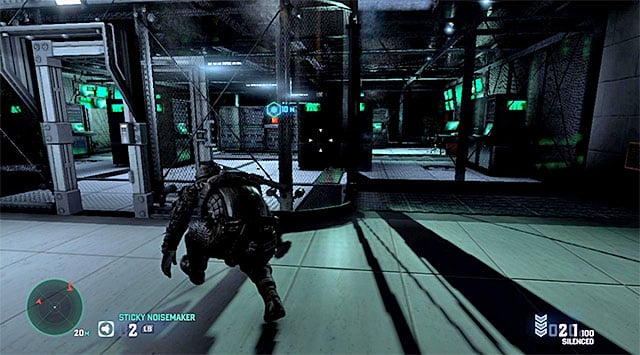
Slowly, keep moving towards the place where you have started the exploration of this location. Often use the radar, or the goggles to monitor the enemies' actions. Ultimately, you need to make it to the newly-unlocked entrance to the cage shown in the screenshot. Make sure that it isn't guarded by anyone and enter.
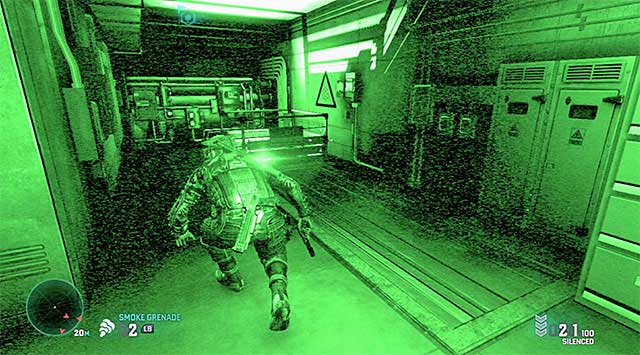
Variant two has been called by Charlie the silent path. In this case, you should start in the room where you have found the collectible. Turn around and go to the manhole shown in the screenshot, thanks to which you will reach the tunnels located under the main room, and avoid alarming the enemies as a result of disabling the cage.
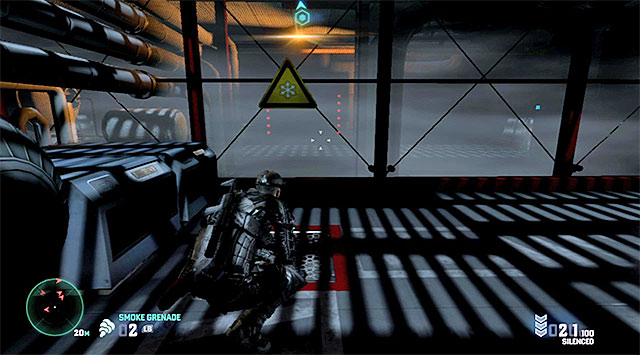
After you walk into the first area of the tunnels, locate the terminal and interact with it. This will lead to the termination of cooling of the neighboring area. Locate the manhole in the floor and start your march along the ventilation shaft. The abovementioned shaft will lead you to a room with two laser traps. Grab onto the pipe under the ceiling and avoid the first set of laser beams this way.
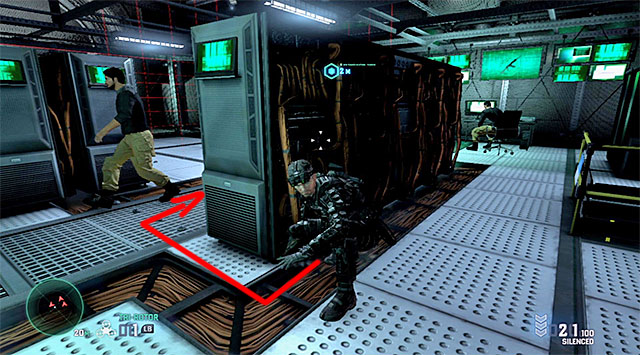
You can now let go and use the ladder that leads to the inside of the cage. Note - before you climb to the very top, you need to check the enemy's current position, because he may be looking your way. Turn left twice and stop in the position shown in the screenshot. Wait for the guards to finish their conversation, because one of them will soon pass you by. Take advantage of the fact that the laser beams heave been temporarily disabled and go to the right.
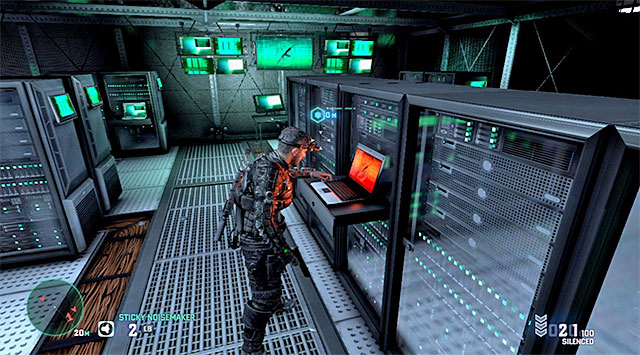
Both f the above variants will take you to the same point, which is the main terminal of the computer treasure. Interact with the terminal to start the process of downloading the data about engineers.
Additional tips for the Panther/Attack playing style: the laser beams can't be, unfortunately, disabled with the EMP charges. If you plan on knocking down or killing enemies, you need to hide their bodies very well. Otherwise, the terrorists that come from the side of the elevator will find them. The edges on the side-balconies work well with the plan of jumping down on the heads of the enemies below, but it is worthwhile to make sure that there are no onlookers around.
- Tom Clancy's Splinter Cell: Blacklist Game Guide
- Splinter Cell Blacklist: Game Guide
- Splinter Cell Blacklist: Mission 6 - Special Missions HQ
- Splinter Cell Blacklist: Find route into Quods HQ
- Splinter Cell Blacklist: Reach the basement level of the parking lot
- Splinter Cell Blacklist: Break out of the prison
- Splinter Cell Blacklist: Reach the elevator
- Splinter Cell Blacklist: Gain access to the vault
- Splinter Cell Blacklist: Download the data
- Splinter Cell Blacklist: Make your way out of the command center with Charlie's disc
- Splinter Cell Blacklist: Reach the gardens
- Splinter Cell Blacklist: Reach the evacuation zone
- Splinter Cell Blacklist: Defend the van
- Splinter Cell Blacklist: Mission 6 - Special Missions HQ
- Splinter Cell Blacklist: Game Guide
You are not permitted to copy any image, text or info from this page. This site is not associated with and/or endorsed by the developers and the publishers. All logos and images are copyrighted by their respective owners.
Copyright © 2000 - 2025 Webedia Polska SA for gamepressure.com, unofficial game guides, walkthroughs, secrets, game tips, maps & strategies for top games.
