Splinter Cell Blacklist: Charlie's missions Blacklist Laptops
Mission 1

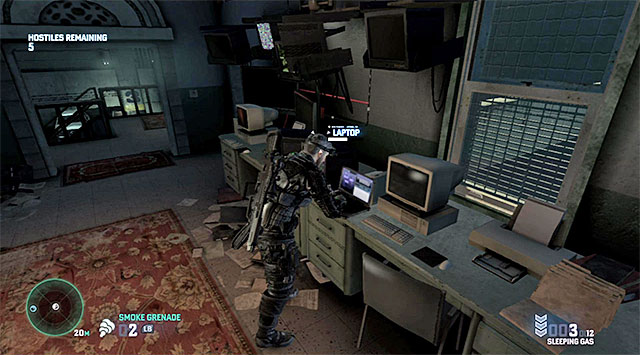
LAPTOP 13/23 - the laptop is on the upper floor of the main embassy building.
Mission 2

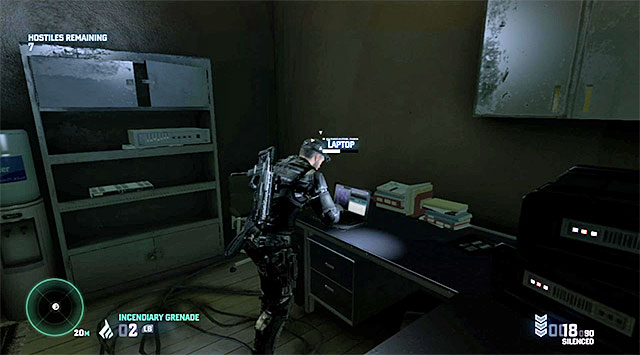
LAPTOP 14/23 - the laptop is in the room located at the very end of the upper floor in the embassy. Before you approach it, destroy the camera on the left.
Mission 3

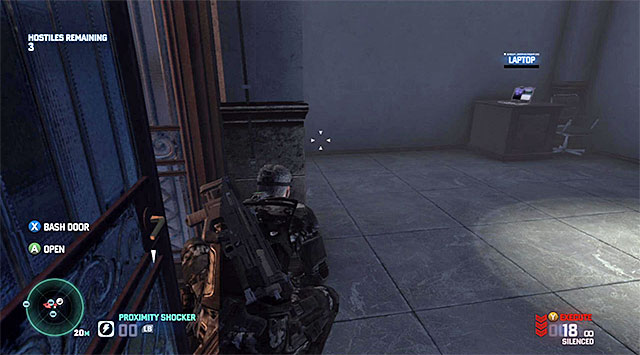
LAPTOP 15/23 - the laptop is inside the central room of the embassy's building. Before you will be able to approach it safely, you will have to disable the laser beams by destroying the boxes located under the staircase to the left, and to the right of the embassy. Apart from that, destroy the camera in the room with the laptop.
Mission 4

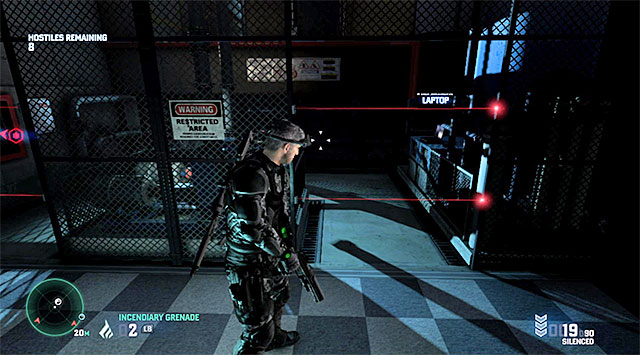
LAPTOP 16/23 - the laptop is in the backroom of the main embassy building. You can disable the laser beams with an EMP charge aimed at the fuse box, or walk through one of the big windows.
- Tom Clancy's Splinter Cell: Blacklist Game Guide
- Splinter Cell Blacklist: Game Guide
- Splinter Cell Blacklist: Blacklist Laptops
- Splinter Cell Blacklist: Main campaign missions Blacklist Laptops
- Splinter Cell Blacklist: Grim's missions Blacklist Laptops
- Splinter Cell Blacklist: Charlie's missions Blacklist Laptops
- Splinter Cell Blacklist: Kobin's missions Blacklist Laptops
- Splinter Cell Blacklist: Briggs' missions Blacklist Laptops
- Splinter Cell Blacklist: Blacklist Laptops
- Splinter Cell Blacklist: Game Guide
You are not permitted to copy any image, text or info from this page. This site is not associated with and/or endorsed by the developers and the publishers. All logos and images are copyrighted by their respective owners.
Copyright © 2000 - 2025 Webedia Polska SA for gamepressure.com, unofficial game guides, walkthroughs, secrets, game tips, maps & strategies for top games.
