Splinter Cell Blacklist: Mission 1 - Smugglers Compound
Reach the city of Kargil
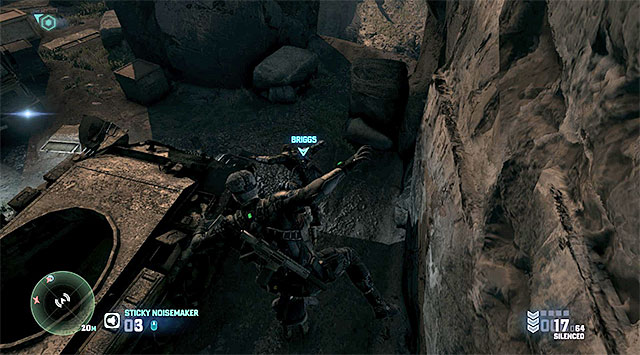
The beginning of this mission is a not too demanding climb down the slope, where it's worth noting that this will require you o co-operate with the other player if you want to make it to the ledge that seems inaccessible. Eventually, you will reach an enemy encampment and it's a good idea to land, along with the other player, onto the enemies standing next to the car parked here, in order to knock them down without any problems. If you do not want to attack the enemy, you can move over to the right, as far as you can, and drop down from the rocks far away from the enemy units.
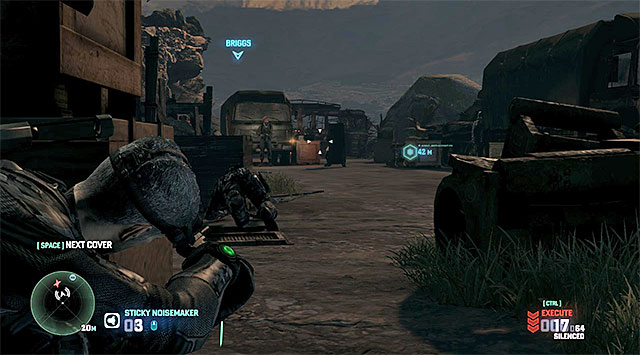
You need to watch out here, because there are plenty of enemies and, what is more, one of them is equipped with shield. If you are going to eliminate the enemies (or if they are alarmed to your presence) you need to remember that the only way to knock the shielded enemy down, is by getting him from behind. You can also try and walk around the enemies, by using the gadgets to your aid, or by dashing between covers. Regardless of the actions undertaken by you, you need to reach the cliff and zip down the zipline.
Plant the C4 charge onto the truck
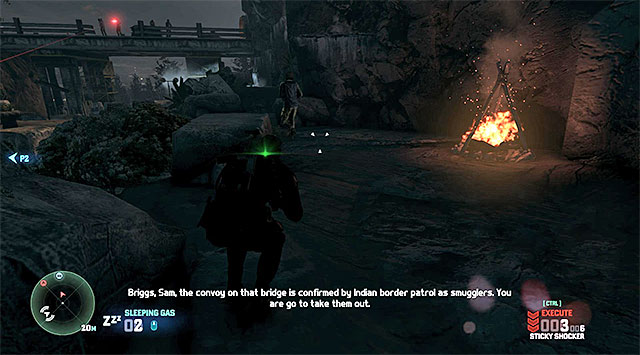
On your way to the bridge that is your current destination, you can continue eliminating the enemies that you encounter and, the easy thing about it's that most of them should be facing away from you and your teammate. If you, on the other hand, prefer to walk around them, you need to take up the more time consuming route and you will have to use the gaps in the enemy patrols to your advantage. Regardless of the tactic, watch out for the enemy sniper deployed on the bridge, do not allow him to spot you. You can approach the bridge by choosing the bridge on the left, or by climbing up its body (it would be a good idea, of course if both players chose different access routes).
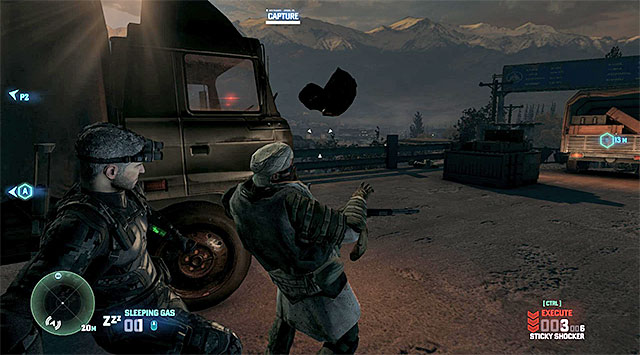
I strongly recommend that you secure the bridge because this won't only facilitate the planting of the explosive, but will also ensure you with easy neutralization of the high-value target. Since this enemy is wearing a heavy armor, you need to get him from behind and the it's easiest to do if the enemies haven't been alarmed. After you secure the area, make sure that you have planted the C4 explosives on both trucks and go towards the village, which will result in the automatic detonation of both charges.
Collect the intel data
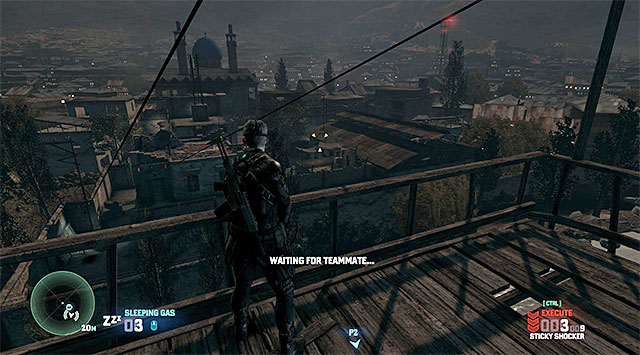
Start by positioning yourselves in the spot where you will have to force the door down together, and collect the reward for eliminating the high-value target (up to 30 thousand dollars). The path to the main part of the village is a linear one and it assumes opening one more door and zipping down the zipline. After you reach your destination, it's worthwhile to get acquainted with the instructions concerning the necessity to explore various places in the village to collect the intel data.
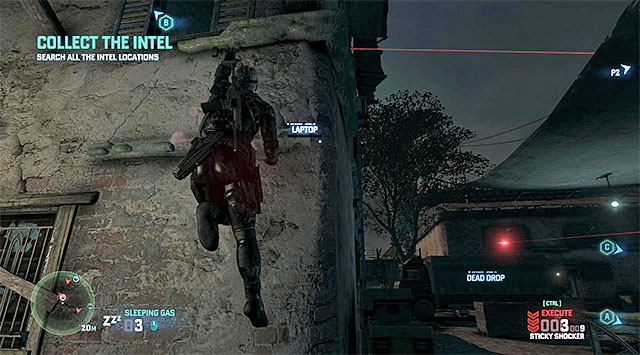
Before you take to the main objective, it would be a good idea to reach the spot with the Blacklist Laptop, because the device will self destruct in the event of the alarm being raised, which will make it impossible to hack into it. The laptop is located on the upper floor of the building to the left (the above screenshot), i.e. the one occupied by one of the snipers. The best way to gain access into it's over the ledges and through the window into the room with the laptop in it.
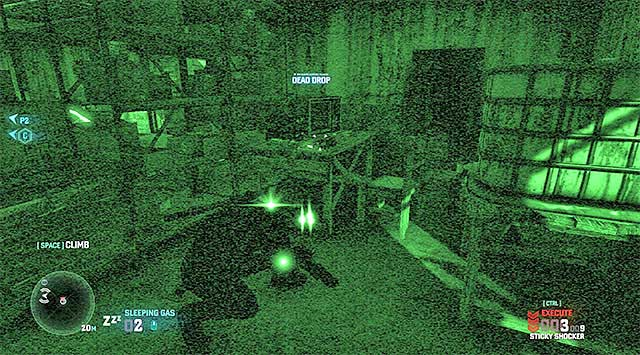
The laptop isn't the only collectible in this location, because inside one of the buildings located to the right of the starting point there is a Dead Drop shown in the screenshot. During your exploration of the village, you should watch out for the enemy forces, with the particular focus on the snipers and the watch dog. I recommend that you render the animal unconscious (with e.g. your crossbow) which will bring down the risk of the enemies being alarmed.
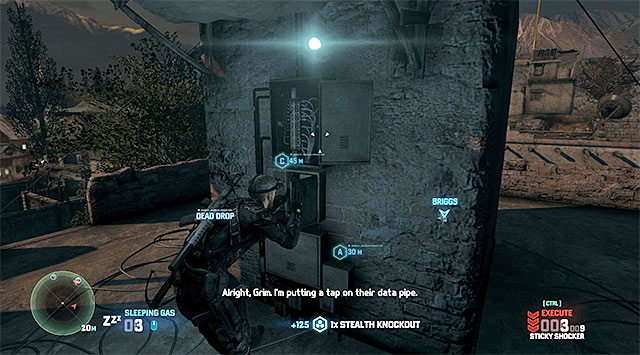
Just as I have mentioned earlier, you need to visit three locations. Depending on your preferences, you and your teammate can split and go towards different points or, act together and cover each other. Point A is a computer in the basement of the building to the right , point B is a crate on the rooftop of the building on the left and point C is a locker with documents, located on the upper floor of the building to the right. Each of these locations is guarded by, at least, one guard so, you need to distract the enemies or knock them down silently.
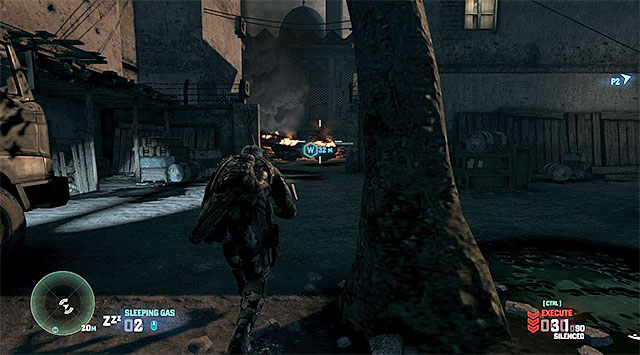
After you have visited all of the three locations and acquired the data, return to the main square and wait until the allied drone eliminates the enemies that have appeared near the big gate. Approach the gate and co-operate to unblock the passage, to the right, into the garage. On your way to the next location, you will encounter no new enemies. You should expect the situation to grow tense only after you reach one of the main streets in the city, where you will have to use the drone again.
Escape from the city of Kargil
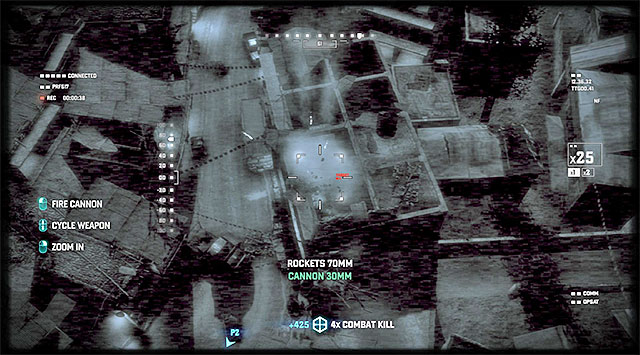
The final part of this mission is quite specific, because you, and your teammate need to split tasks - one of the players will have to seize control over the drone and cover his teammate along the street, where there will be enemy units appearing. If you are the one to control the drone, first of all you should eliminate the targets that come marked in red. Try and observe the other player at all times because some of the enemies appearing right next to him won't be marked by the drone's camera. You should also remember not to attack your teammate by mistake because, due to the excellent equipment of the drone (the machine gun + rockets) you can easily kill him.
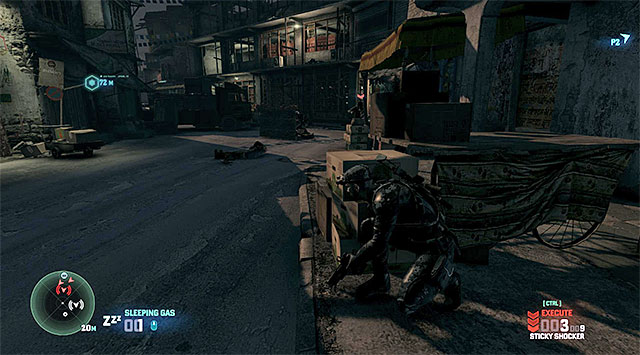
If you are the one to travel along the street, you should, first of all, remember that you should not hurry too much because, you can unnecessarily alarm the enemies and get under heavy fire as a result. What is even more, moving too fast can result in the attracting of the dogs' attention, and this always means serious trouble (if this happened though, I recommend that you deploy proximity shockers around so that the animals get shocked with electricity trying to run up to your character). It isn't going to be easy to remain in hiding but, if the other player will be doing his best handling the drone, it's absolutely viable. The mission ends as soon as both players make it to the evacuation point.
After you return to the mobile command center, get acquainted with your ratings and receive your reward. You can talk to Briggs about the next optional assignment - Missile Plant.
- Tom Clancy's Splinter Cell: Blacklist Game Guide
- Splinter Cell Blacklist: Game Guide
- Splinter Cell Blacklist: Mission 12 - Site F
- Splinter Cell Blacklist: Disable vent fan
- Splinter Cell Blacklist: Infiltrate the bunker
- Splinter Cell Blacklist: Gain access to the bunker defense systems
- Splinter Cell Blacklist: Sabotage the bunker's defense systems
- Splinter Cell Blacklist: Initiate the bunker lockdown procedure
- Splinter Cell Blacklist: Stop Sadiq
- Splinter Cell Blacklist: 4E Missions - general premises
- Splinter Cell Blacklist: Optional missions assigned by Grim
- Splinter Cell Blacklist: Mission 1 - Hawkins Seafort
- Splinter Cell Blacklist: Mission 2 - Border Crossing
- Splinter Cell Blacklist: Mission 3 - Hackers' Den
- Splinter Cell Blacklist: Optional missions assigned by Charlie
- Splinter Cell Blacklist: Enemy types and general premises of Charlie's missions
- Splinter Cell Blacklist: Mission 1 - Pakistani Embassy
- Splinter Cell Blacklist: Mission 2 - Swiss Embassy
- Splinter Cell Blacklist: Mission 3 - Egyptian Embassy
- Splinter Cell Blacklist: Mission 4 - Russian Embassy
- Splinter Cell Blacklist: Optional missions assigned by Kobin
- Splinter Cell Blacklist: Mission 1 - Opium Farm
- Splinter Cell Blacklist: Mission 2 - Fish Market
- Splinter Cell Blacklist: Mission 3 - Blood Diamond Mine
- Splinter Cell Blacklist: Additional missions assigned by Briggs
- Splinter Cell Blacklist: Mission 1 - Smugglers Compound
- Splinter Cell Blacklist: Mission 2 - Missile Plant
- Splinter Cell Blacklist: Mission 3 - VORON Station
- Splinter Cell Blacklist: Mission 4 - Abandoned City
- Splinter Cell Blacklist: Mission 12 - Site F
- Splinter Cell Blacklist: Game Guide
You are not permitted to copy any image, text or info from this page. This site is not associated with and/or endorsed by the developers and the publishers. All logos and images are copyrighted by their respective owners.
Copyright © 2000 - 2026 Webedia Polska SA for gamepressure.com, unofficial game guides, walkthroughs, secrets, game tips, maps & strategies for top games.
