Splinter Cell Blacklist: Mission 2 - Swiss Embassy
Location of collectibles

Just like in the case of the previous mission, I recommend that you start searching for collectibles right after the beginning, or after you have completed five rounds, i.e. when you have one minute to decide if you want to evacuate or to stay in the embassy. It is much easier to locate Dead Drop. You can find it on the balcony to the right of foyer shown in the above screenshot. The reward for retrieving the collectible is 10 thousand dollars.
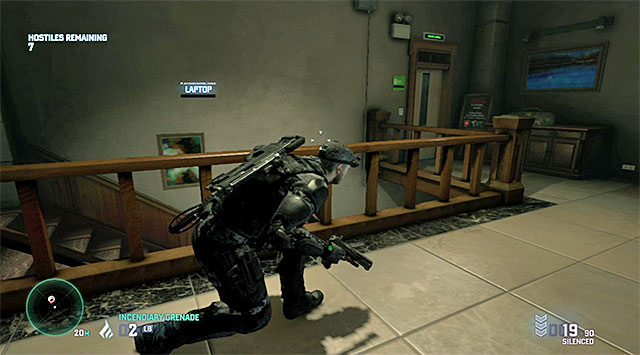
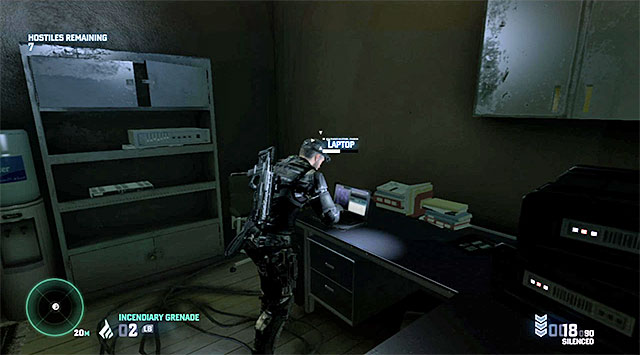
It is more difficult to locate the Blacklist Laptop. You need to make your way to the first floor and reach the end of the main part of the balconies, i.e. to get as far from the starting point as possible. Locate the door shown in screenshot 1. Note - after you enter the room, you absolutely need to destroy the camera to the left. If you are spotted by the camera, the laptop will self destruct and it will be impossible to acquire the collectible. The reward for hacking into the laptop (screenshot 2) is 40 thousand dollars.
Location description
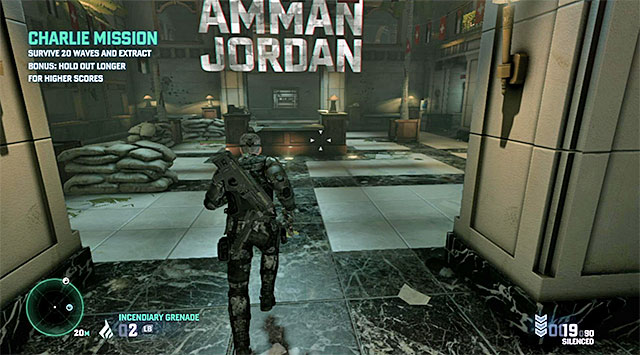
Unlike the previous mission from Charlie, this one is played entirely indoors. The biggest area of the embassy is, definitely, the foyer but, remaining around here isn't the best idea. Many enemies appear, by default, in this room. Furthermore, they may attach your characters on many sides at the same time.
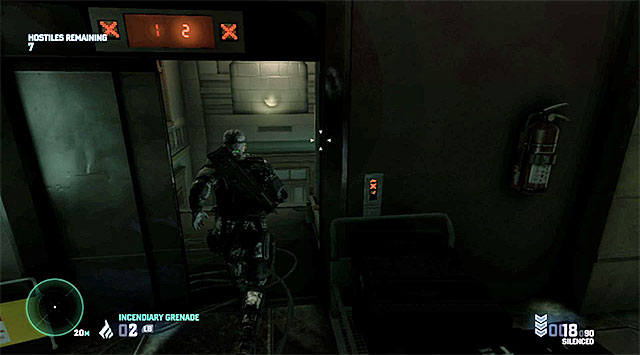
Further part of the building is, mainly, a very wide vestibule on the ground floor, with the adjacent balconies that are even bigger. . It is worth mentioning that the two parts of the upper balconies are conjoined with a catwalk, which you can use to your advantage by "encouraging the enemies to take the narrow footpath and bump into traps that you deployed earlier. While we are at the first floor, also an inactive elevator is worth mentioning because the elevator shaft is a good place to hide, especially if the enemies have already started searching the entire area.
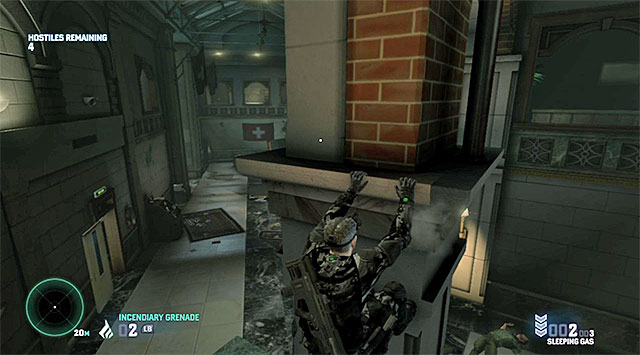
During your stay in the Swiss embassy, you can't count on using horizontal pipes under the ceiling so, you need to restrict yourself to the balcony ledges and climbing into the region of big windows that are situated high above the ground. . To avoid detection, you can also use pillars in various parts of the embassy. Still, it is worth knowing that this will not save you from being detected by guard dogs and, as a result, all the animals need to be eliminated straight away (to the extent it is possible, at a long distance)
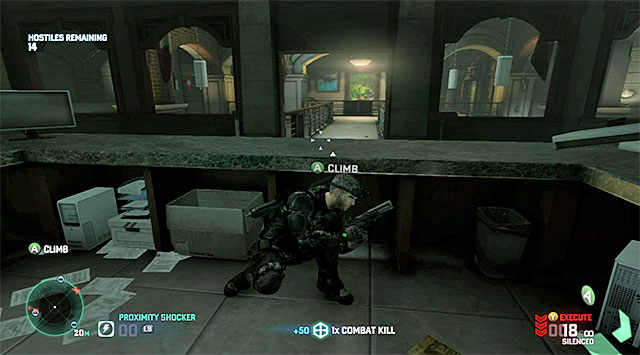
You can't feel entirely safe on the upper floor, because there are three flight of stairs that lead to the balconies. What is even more, in some waves, enemies may be coming out of side rooms that are unavailable by default. A good idea is to entrench oneself near the desk in the left part of the balconies where you have earlier found the Dead Drop, or in the room on the ground floor (the one with the supply crate) and it is especially recommended if you are playing the co-op mode because the players can then occupy themselves with the observation of different areas which decreases the threat of approaching enemies.
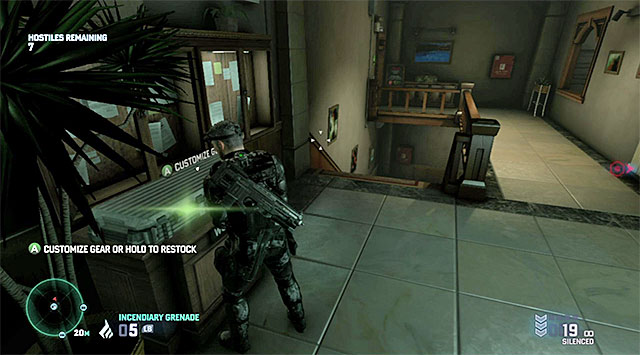
If you haven't selected the highest difficulty level (Perfectionist), it is definitely worthwhile to visit frequently the supply crates that are all around the area to replenish ammo and gadgets. Apart from the abovementioned crate in the room on the ground floor, there are also two other crates . One of them is located on the ground floor at the big stairs that lead to the upper floor. The last one (I recommend visiting this particular one frequently) is located at the very end of the balconies, close to the room where you found the laptop.
After you return to the mobile command center, get acquainted with your ratings and receive your reward. You can talk to Charlie about the next assignment - Egyptian Embassy.
- Tom Clancy's Splinter Cell: Blacklist Game Guide
- Splinter Cell Blacklist: Game Guide
- Splinter Cell Blacklist: Mission 12 - Site F
- Splinter Cell Blacklist: Disable vent fan
- Splinter Cell Blacklist: Infiltrate the bunker
- Splinter Cell Blacklist: Gain access to the bunker defense systems
- Splinter Cell Blacklist: Sabotage the bunker's defense systems
- Splinter Cell Blacklist: Initiate the bunker lockdown procedure
- Splinter Cell Blacklist: Stop Sadiq
- Splinter Cell Blacklist: 4E Missions - general premises
- Splinter Cell Blacklist: Optional missions assigned by Grim
- Splinter Cell Blacklist: Mission 1 - Hawkins Seafort
- Splinter Cell Blacklist: Mission 2 - Border Crossing
- Splinter Cell Blacklist: Mission 3 - Hackers' Den
- Splinter Cell Blacklist: Optional missions assigned by Charlie
- Splinter Cell Blacklist: Enemy types and general premises of Charlie's missions
- Splinter Cell Blacklist: Mission 1 - Pakistani Embassy
- Splinter Cell Blacklist: Mission 2 - Swiss Embassy
- Splinter Cell Blacklist: Mission 3 - Egyptian Embassy
- Splinter Cell Blacklist: Mission 4 - Russian Embassy
- Splinter Cell Blacklist: Optional missions assigned by Kobin
- Splinter Cell Blacklist: Mission 1 - Opium Farm
- Splinter Cell Blacklist: Mission 2 - Fish Market
- Splinter Cell Blacklist: Mission 3 - Blood Diamond Mine
- Splinter Cell Blacklist: Additional missions assigned by Briggs
- Splinter Cell Blacklist: Mission 1 - Smugglers Compound
- Splinter Cell Blacklist: Mission 2 - Missile Plant
- Splinter Cell Blacklist: Mission 3 - VORON Station
- Splinter Cell Blacklist: Mission 4 - Abandoned City
- Splinter Cell Blacklist: Mission 12 - Site F
- Splinter Cell Blacklist: Game Guide
You are not permitted to copy any image, text or info from this page. This site is not associated with and/or endorsed by the developers and the publishers. All logos and images are copyrighted by their respective owners.
Copyright © 2000 - 2026 Webedia Polska SA for gamepressure.com, unofficial game guides, walkthroughs, secrets, game tips, maps & strategies for top games.
