Splinter Cell Blacklist: Locate the source of transmission
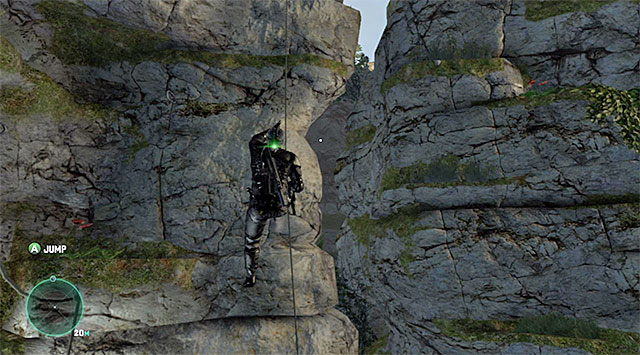
Approach the manhole located in the room where you have just met Jadid and slide down into the narrow tunnel. Go towards the exit from the tunnel to reach a cliff. In here, you need to climb, in order to reach the village in the mountains. This sequence won't be problematic for you, because Fisher grabs onto ledges, and jumps towards them, automatically. Eventually, you need to get under the bridge that leads to the village.
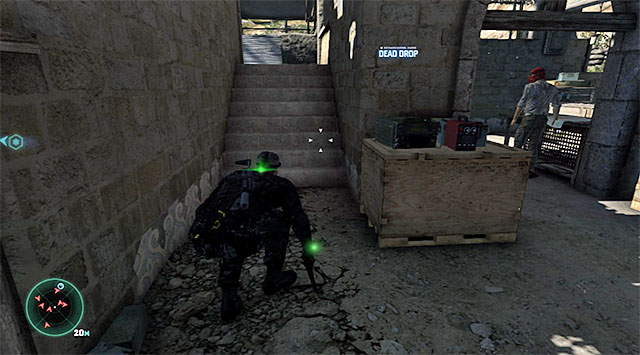
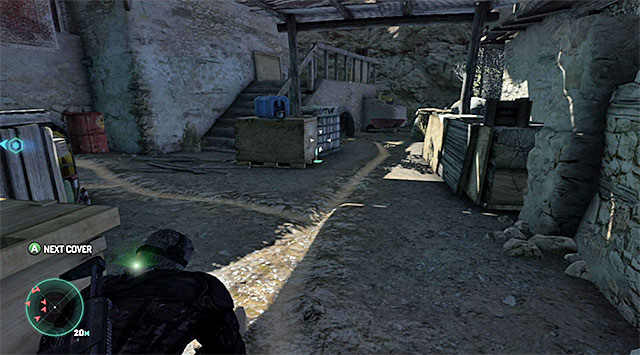
Start by walking under the bridge. Do not choose the path between the cliff and the stronghold, and take the first turn to the left. Try to approach the stairs shown in the above screenshot, while being careful of the enemies to the right (it is a good idea to dash from cover to cover).
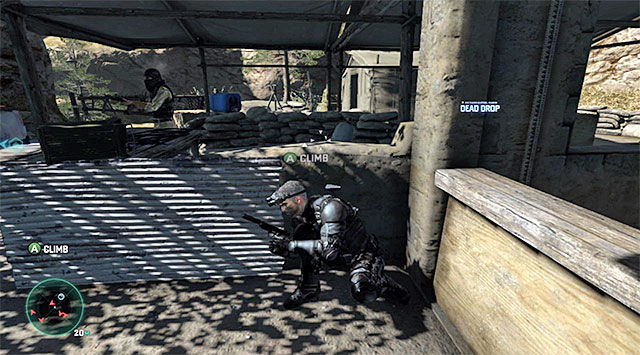
Unfortunately, you can't remain for too long at the wall atop the staircase, because, sooner or later, you would be spotted by the enemies, who would approach from the left. Wait for a single guard, who will start looking to the left, to appear before you. Jump over the wall and go right straight away. Remember not to move too fast, to prevent being heard.
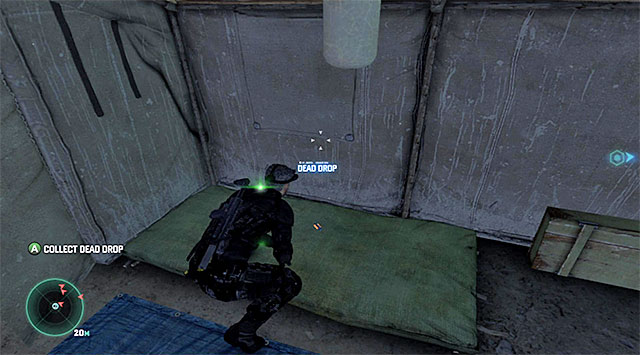
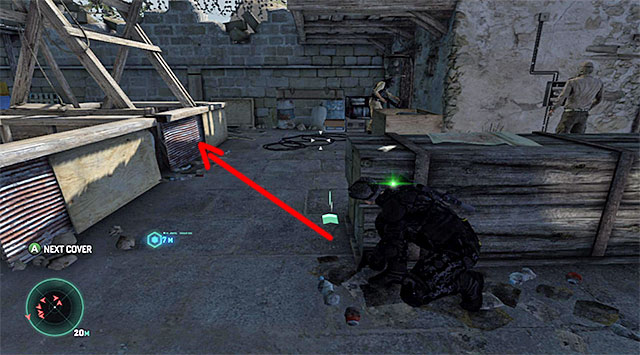
Keep going to the right and you will reach a tent after several moments. Approach the tent and press the interaction key/button to cut it open. This will allow you to explore the tent thoroughly. Enter the tent and collect the Dead Drop from the floor to the left (the above screenshot), for which you will receive 10 thousand dollars. You can leave through the door , which will take you back to the area patrolled by the rebel that you have been avoiding so far.

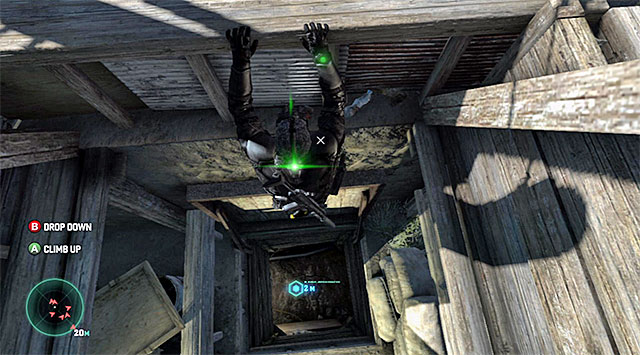
Stand next to the sandbags and wait for the right moment to skip into action. The guard that you have been avoiding so far, needs to stand next to the stronghold walls, or to the left. Additionally, you need to check out the area to the left of the truck and make sure that none of the remaining enemies is facing you. Go a bit to the right and try to reach the wooden structure shown in the screenshot, which you need to climb.
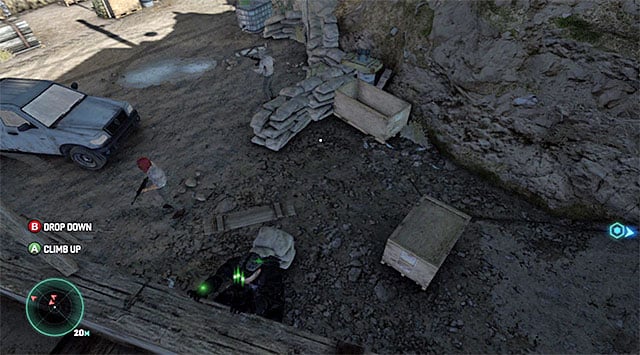
Go ahead and jump over the obstacle in your way. Stop after you reach the end part of the wooden structure and look down. You now need to wait for the rebel with the red headgear goes left. Jump over the balustrade and make sure that the other of the enemies is looking the other way. Only then, slide down and reach quickly the tunnel's entrance marked by the game.
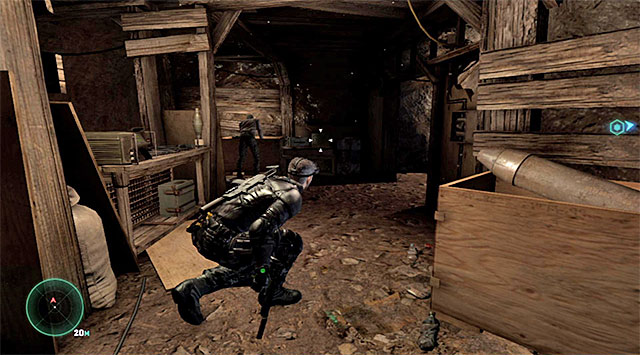
As you go along the tunnels, you only need to watch out for a single rebel but, since he shouldn't move, getting around him will be relatively easy. Jump over the balustrade to reach lower and use the ladder. Towards the end of your walk, you will have to climb a rope again. Soon, you will reach another big area and it is a good idea to watch out here. Apart from rebels, you will also encounter a watchdog here. As a result, you will have to try and monitor the dog's actions, because it is walking all around the area. Thanks to this, you will avoid bumping into the dog and being spotted.
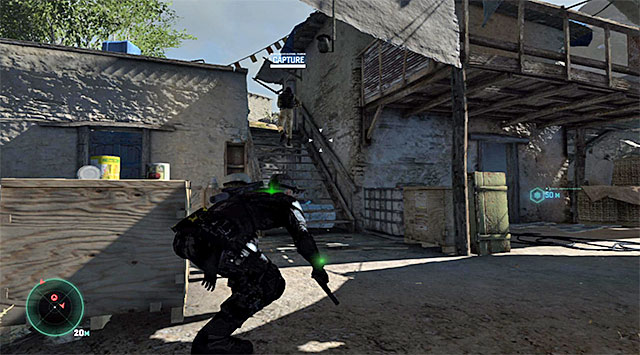
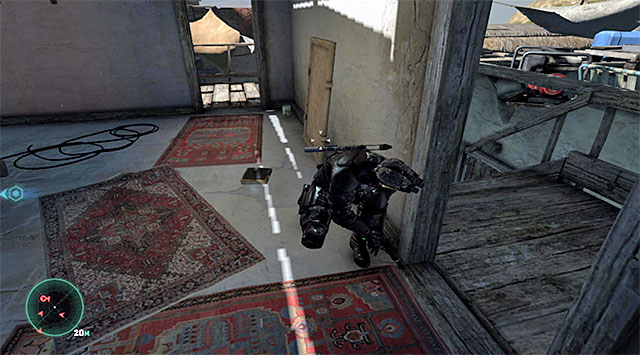
Go to the right straight away, jump over the low wall and walk through one of the huts. Note that there is a high value target around. Just like in the case of the previous mission, it would be worthwhile to neutralize silently the enemy marked by the game, while keeping him alive at the same time. You can adopt two either of two tactics here. Variant one assumes that you wait for the enemy to appear in front of Fisher, after which you follow him to the left (screenshot 1), and get him in the main hut or on the balconies. Variant two assumes that you lie in wait for the enemy in the room on the floor (screenshot 2). In both cases, you need to do the same thing, i.e. catch the victim, and then stun and tie him up.
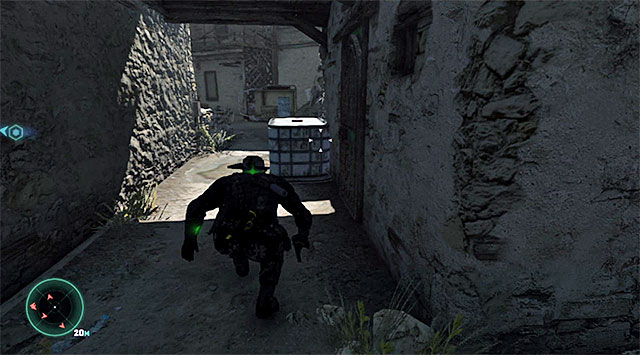
Return downstairs and remain in the right part of the village. Resume your march towards the current mission objective. The local square is being patrolled by a single guard but you can easily walk around him by employing the covers to the right. After you leave the rebel behind, make sure that the guard a bit further away, to the left, isn't looking your way. Enter the narrow passage between the buildings.
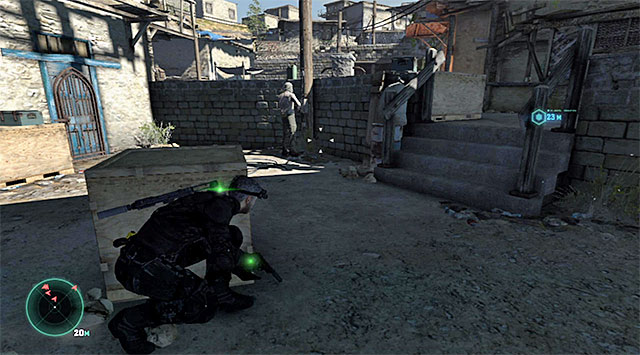
Carefully, approach the larger square, which is being patrolled by two guards. First of all, wit for the guard patrolling the higher level walks away, and focus on the monitoring of the other one's actions. I recommend that you hide behind the central cover in the right moment and move forward when the enemy approaches the entrance to the building to the left. Of course, keep going to the right.
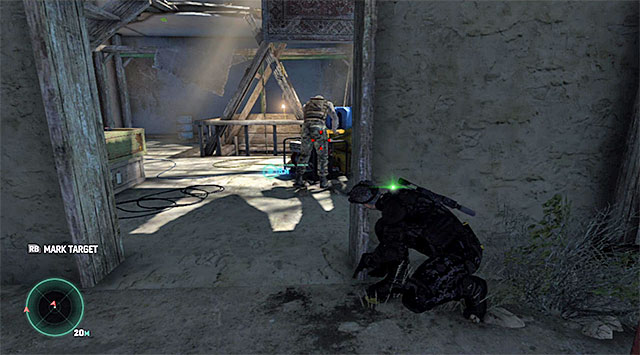
There is still one more guard that you need to walk around, and he is staying next to the elevator shaft, where you need to get. I recommend that you divert the rebel's attention with the decoy and go left to reach the alternative entrance to the building, in which he has just stayed. Quickly, approach the shaft and start sliding down.
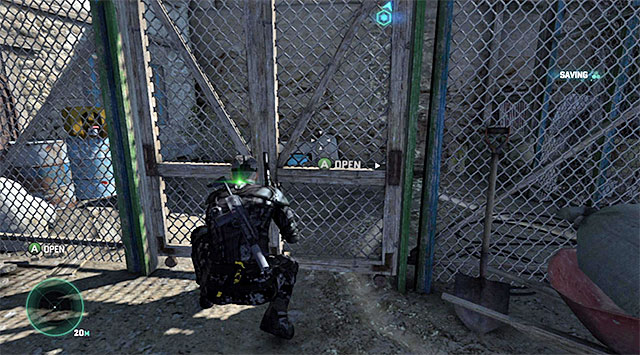
Start going along the tunnels and receive the reward for capturing the high value target (30 thousand dollars). Reach the rope, thanks to which you will return to the surface. Climb up the stairs and reach the gate that you need to open. Approach the vertical wall and jump to grab onto the ledge. Thanks to this, you will be able to climb up and jump into the new area guarded by the enemy forces.
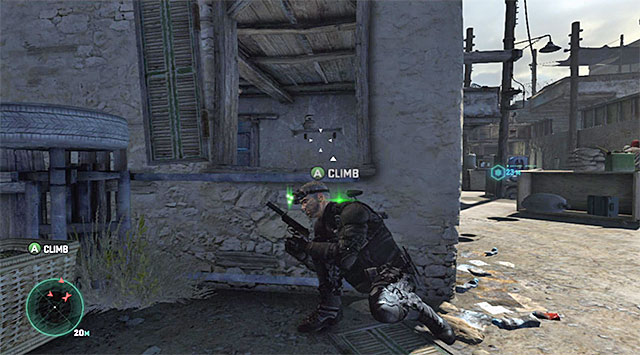
Also this time, you will have to reach a shaft but, this time it is going to be more difficult than previously. Around, there are swarms of enemy units. You can near your destination along two, entirely different, paths, and both of them have been presented below. Variant one assumes that you make it through the left part of the village. Hide behind the nearest cover and wait for the two rebels that are the closest to you, to start their conversation. Sprint towards the hut on the left and enter.
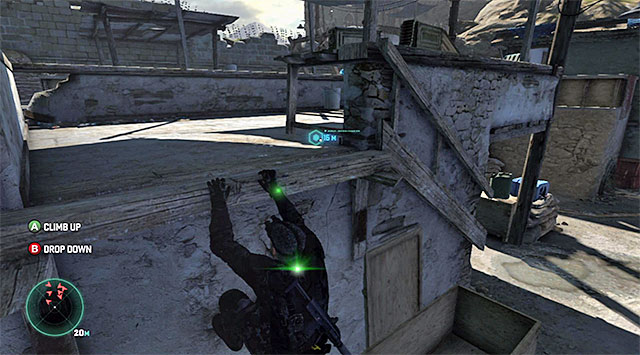
Approach the locked blue doors and find out about the current position of the guard patrolling the left part of the village. Do this either using your radar (an appropriate upgrade required), or by peeking through the door. Start acting as soon as the guard will start to move away. Open the door, go straight ahead and climb onto the roof of the next building.
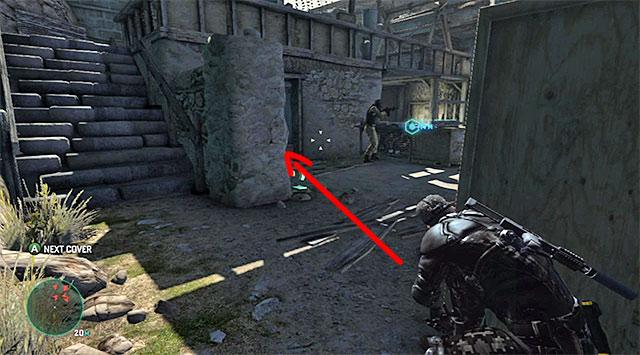
Approach the left edge of the roof and start observing the single guard, which you have been avoiding now, again. This time, you need to wait for him to go back towards the hut that you started your exploration of the village at. Grab onto the edge of the roof and drop down to the street level. Go left and wait for the right moment to enter the building to the left shown in the screenshot.
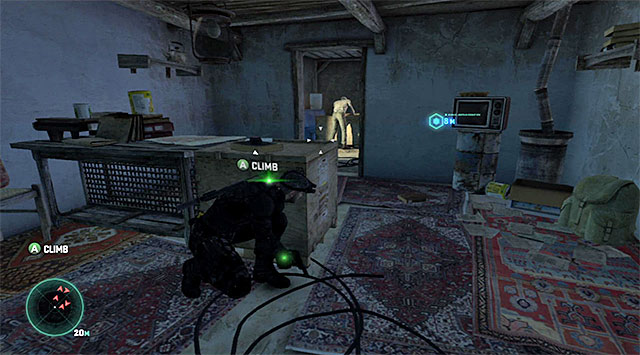
Remain inside and spend several moments on learning the route for the next guard in this area. This rebel spends the most time outside of the hut but, every now and then, he enters the hut so, remember to use the cover. You need to approach the shaft from the main objective, when the enemy is staying outside. Of course, this isn't the only threat. You need to make your move only when the enemies to the right are facing away. It is worth mentioning here that you can use a sticky noisemaker to make them turn away or walk away from the shaft.
Variant two assumes that you make it through the right part of the village, and in my opinion this will allow you to reach the shaft much easier. Also in this case, start by hiding behind the nearest cover. This time, you do not need to wait for the nearby guards to start the conversation. Go towards the bigger building located to the right of the starting point. Climb onto the wall and take the narrow path located to the right of that building.
Stop after you reach a larger area, at the upper level of the village, because there are two rebels here. Each one of them changes his position often, but if you are patient enough, the enemies will end up in a position that will allow Fisher to approach the shaft, jump over the balustrade and disappear from their sight.
The aim of both variants is the same. You need to reach the big vertical shaft shown in the above screenshot. If you have chosen the first variant, you can slide down straight away. If you have chosen the second variant, you need to wait until the moment is right, or else you will be spotted by the enemies staying in the central part of the village. It is best to use the radar here, and start climbing down only after the enemies from the hut, the shooting range and the central part of the square turn away (keep tapping the drop down key/button to make it before they turn towards the shaft again).
Note- if you are experiencing problems while avoiding detection around the shaft, you can always make use of e.g. the sticky noisemaker, which will divert the enemy's attention from the shaft.
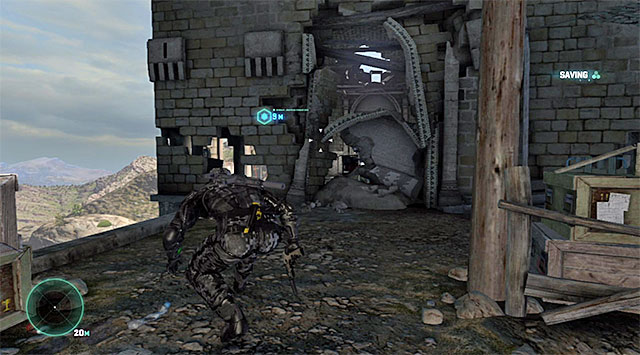
Start your march along the tunnels to reach, eventually, near the place where the transmission is broadcasted from. Continue the climbing, which will take you to an area near a derelict building. Approach the cliff and start shimmying to the left. After you reach the end of the cliff, pull up and go left. Open the entrance door. This will initiate a longer cutscene.
Additional tips for the Panther/Attack playing style: While exploring the village, make use of various huts to arrange surprise attacks. Remember about the dog that guards the first one of the described locations and, in necessary, eliminate the animal with a ranged attack, or by lading on it. Where the enemies are oblivious to Fisher's presence, it is a good idea to use grenades.
You are not permitted to copy any image, text or info from this page. This site is not associated with and/or endorsed by the developers and the publishers. All logos and images are copyrighted by their respective owners.
Copyright © 2000 - 2025 Webedia Polska SA for gamepressure.com, unofficial game guides, walkthroughs, secrets, game tips, maps & strategies for top games.
