Splinter Cell Blacklist: Main campaign missions Blacklist Laptops
Mission 1
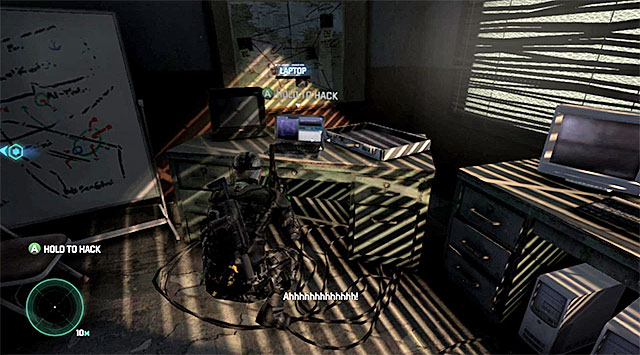
LAPTOP 1/23 - The laptop is in the room on the upper floor in the police station which you can visit on your way to the interrogation room (you need to do that before you enter the interrogation room, because it will be impossible to return to this location later on).
Mission 2
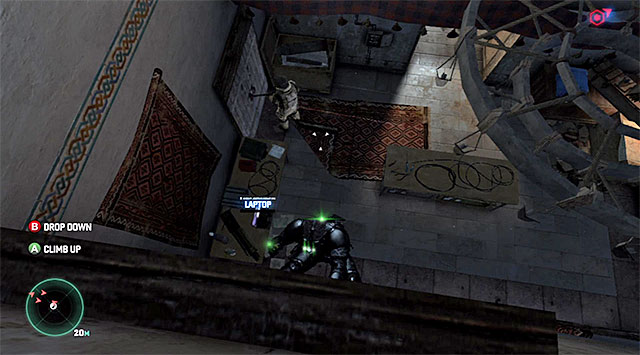
LAPTOP 2/23 - the laptop is in the room guarded by the heavy armored guard and you can visit this place on your way to the hideout where there is the merchant that you are searching for.
Mission 3
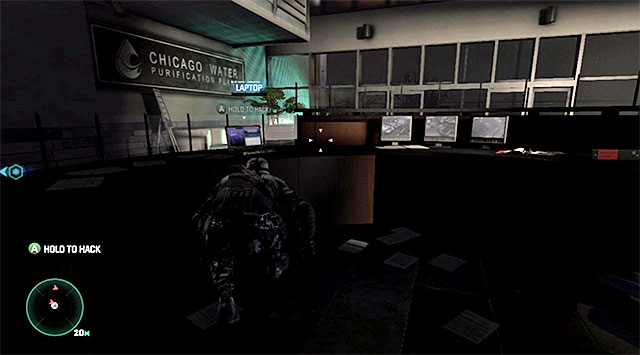
LAPTOP 3/23 - The laptop is in the reception desk of the water filtration plant. The area is patrolled by, at least, two terrorists so you need to wait for the moment to be right to approach the laptop and hack into it.
Mission 4
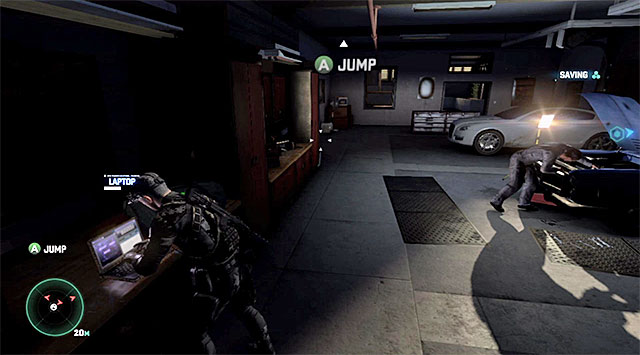
LAPTOP 4/23 - the laptop is in the garage that you visit right after the beginning of the mission. You need to watch out here for both the mechanic and the guards that patrol the area in front of the villa's main entrance.
Mission 5
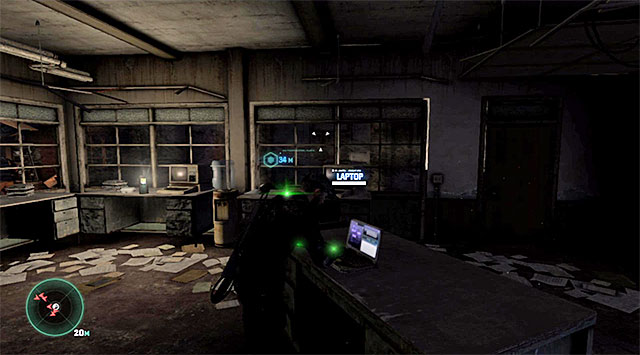
LAPTOP 5/23 - You can find the laptop on your way to the loading bay. More precisely, after you reach the two-storey building. The collectible is in the room on the lower floor and it's best that you reach it by jumping through the hole in the ceiling.
Mission 6
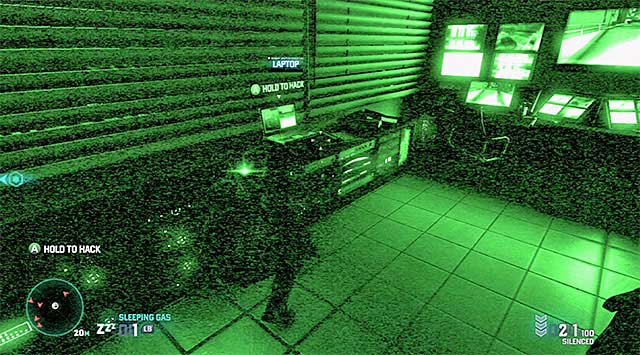
LAPTOP 6/23 - the collectible is located in one of the security rooms in the part of the facility that you visit right after you leave the vault with Charlie's disc. This is the area that you explore after you drop down from the balcony patrolled by several enemies.
Mission 7
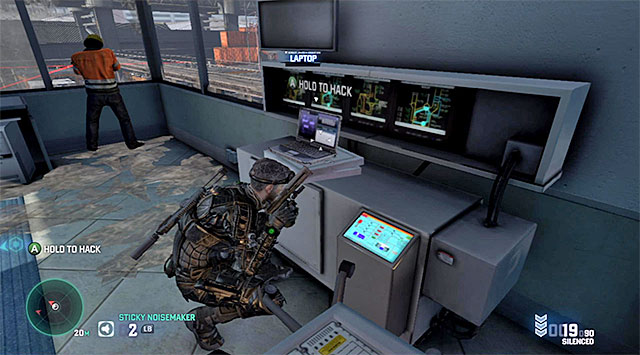
LAPTOP 7/23 - You can find the laptop on your way to the spot where you disarm the third bomb. The collectible is inside the tower occupied by one of the snipers. You need to make sure that neither the sniper nor any of the enemies spot you.
Mission 11
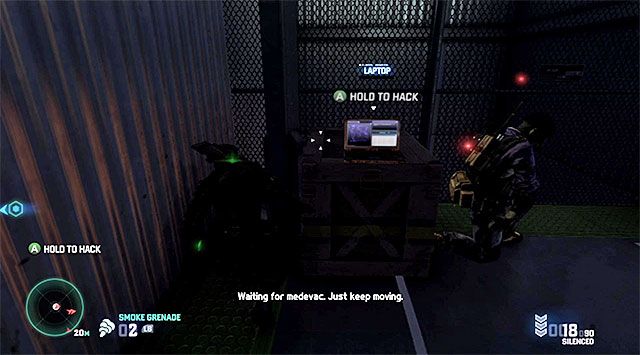
LAPTOP 8/23 - the laptop is in one of the areas of the gas station that you visit at the beginning of the mission. More precisely, it's in the place where the drone operator is deployed (the upper level of the two0storey structure).
Mission 12
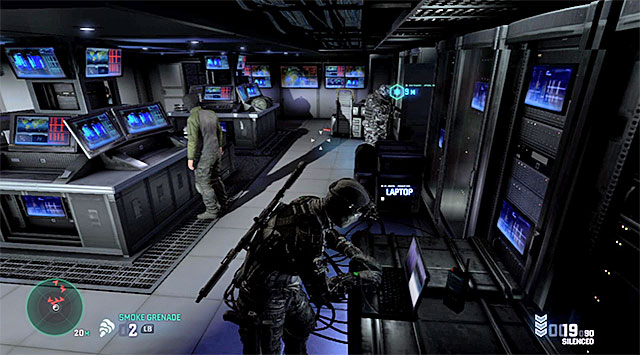
LAPTOP 9/23 - the laptop is in the main room of the meteorological station that you visit soon after the beginning of this mission. You need to be very careful here, because there are, at least, three enemies.
- Tom Clancy's Splinter Cell: Blacklist Game Guide
- Splinter Cell Blacklist: Game Guide
- Splinter Cell Blacklist: Blacklist Laptops
- Splinter Cell Blacklist: Main campaign missions Blacklist Laptops
- Splinter Cell Blacklist: Grim's missions Blacklist Laptops
- Splinter Cell Blacklist: Charlie's missions Blacklist Laptops
- Splinter Cell Blacklist: Kobin's missions Blacklist Laptops
- Splinter Cell Blacklist: Briggs' missions Blacklist Laptops
- Splinter Cell Blacklist: Blacklist Laptops
- Splinter Cell Blacklist: Game Guide
You are not permitted to copy any image, text or info from this page. This site is not associated with and/or endorsed by the developers and the publishers. All logos and images are copyrighted by their respective owners.
Copyright © 2000 - 2026 Webedia Polska SA for gamepressure.com, unofficial game guides, walkthroughs, secrets, game tips, maps & strategies for top games.
