Total War Rome 2: Sample formations and maneuvers
I will discuss here several formations created for the campaign. Their use is not necessary, I even recommend coming up your own ranks and using them - sometimes they are even better fit for your unique style of play. The following examples are merely intended to show the use of different types of units during combined maneuvers. Of course some of the following settings are based on historical and ancient battles; many general thought the same way, hence the described formations have some common elements.
Strong flank, weak center
In this line-up your weaker hastati units are located in the center of the rank and are flanked by principes which are more effective in the fight. Behind them you have more mobile triarii, ready to flank the enemy or to expand the first line. On flanks you have cavalry in form of equites. In front of the entire army you place velites skirmishers, who are forcing enemy to attack. And at the back of your ranks you have war machines.
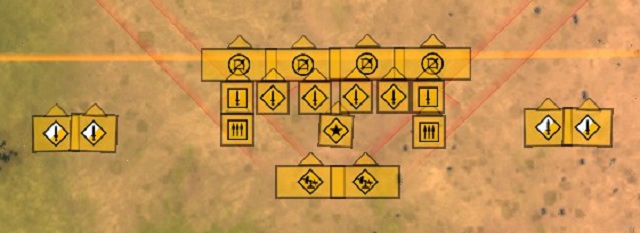
This formation is designed to take a hit in the center and quickly flank enemy forces using melee infantry and cavalry. In case when the opponent has heavy cavalry, triarii located on sides can cover principes or help equites fighting enemy riders and then attack the center.
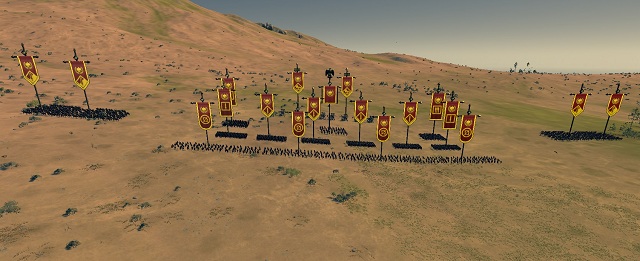
The advantage of this formation is the ability to quickly eliminate enemy flanking units, to attack then the center and defeat the rest of enemy army. On the other hand if the enemy has shock infantry, he can destroy hastati units and get through the center of the formation, splitting your troops.

Pikemen in the center
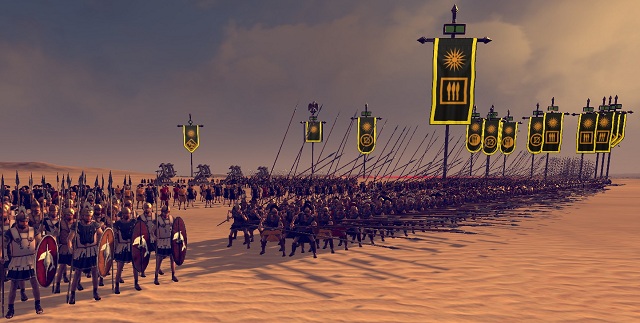
This line-up is used for maximum usage of phalanx. There are pikemen in the center and their sides are cover by more mobile spearmen. Similarly to the previous line-up, there is cavalry on flanks. Due to the very strong center you can use here even more cavalry. Projectile units, slingers, are located behind the wall of spears - their main task is to eliminate enemy skirmishers. Any war machines should be deployed at the back of the formation.

In contract to Roman formation, this line-up has a powerful but slow center and weaker flanks. Pikemen phalanx is able to move forward while destroying each encountered unit - spearmen task is only to hold survivors long enough to allow cavalry to make a decisive impact.
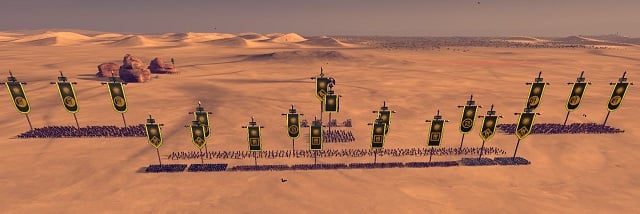
The biggest disadvantage of this formation is high vulnerability to attacks breaking the phalanx. Suicide chariots attack or attack of war elephants will thin the phalanx, giving time to melee infantry to get to confused soldiers.
Mobile shock group
This time you use the advantage of cavalry high mobility. Line-up the infantry in line rank - heavy infantry goes to the center and light one is located on one flank. On the other flank, slightly behind, set the entire cavalry. Your projectile units should be composed of slingers and deployed behind infantry line.
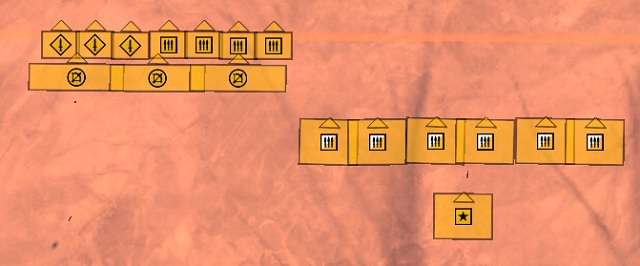
After the fight begins, a lot depends on the enemy army deployment. If he decided to gather heavy infantry in front of your cavalry, you can quickly shift cavalry to the other flank, while turning the entire formation so it frontally faces elite enemy units. When it comes to the battle, cavalry will attack weaker enemy units, defeating them rapidly and providing you numerical superiority on the battlefield. Now you just have to surround heavy infantry and attack it from all sides.
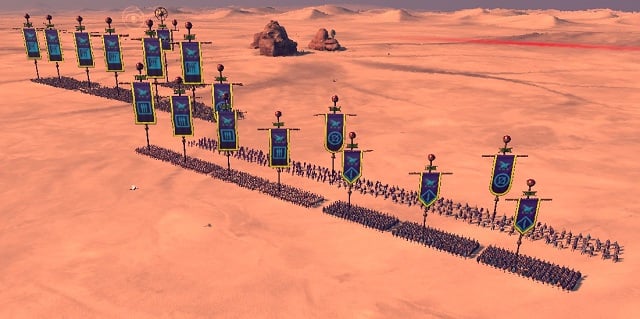
This formation is very mobile and even when you lose infantry you can be sure that cavalry will stand until the end of fight. Unfortunately, if the opponent has a lot of heavy infantry your strike force may be not enough to destroy all his units.
Two attacks
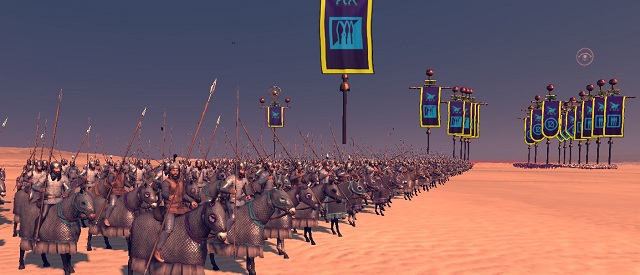
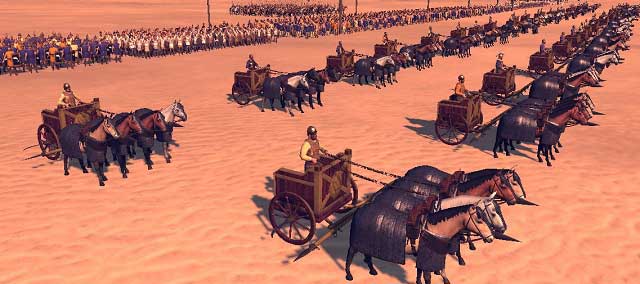
In this case you use war elephants or chariots deployed in the first line. Right behind them you should set your elite melee infantry and light infantry on sides. If you have a cavalry, you can set in on flanks of the formation.
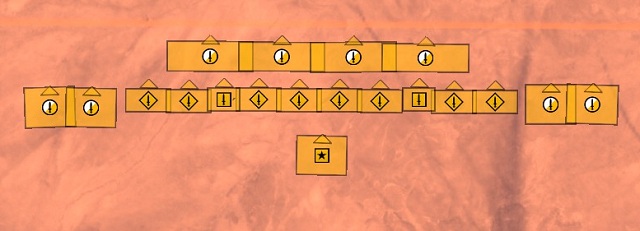
Mechanics of this formation is simple - elephants or chariots hit enemy, trying to get through his formation. Before your opponent is able to gather back his ranks, your heavy infantry gets to him. In the same time the rest of elephants and chariots can go back and hit the enemy from the back. Cavalry plays a support role here - these units have to destroy enemy projectile units, war machines and deal with survivors.
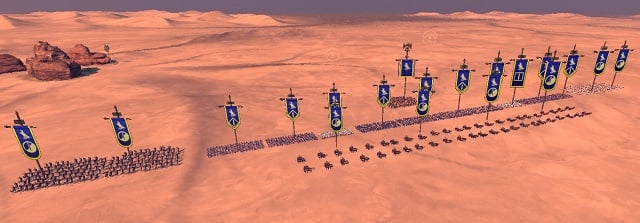
This formation can have problems if you encounter a rank consisting of several lines of infantry - in this case your elephants and chariots will get stuck and probably will be destroyed.
You are not permitted to copy any image, text or info from this page. This site is not associated with and/or endorsed by the developers and the publishers. All logos and images are copyrighted by their respective owners.
Copyright © 2000 - 2025 Webedia Polska SA for gamepressure.com, unofficial game guides, walkthroughs, secrets, game tips, maps & strategies for top games.
