Prologue | Total War: Rome II
The Siege of Capua
The following prologue walkthrough is not intended to lead player step by step, but only to provide a range of tips and helpful information, that will help you with your first steps in Total War: Rome II. Right after beginning you'll be transferred to the foreground of Capua, where your task is to relieve the tired defenders and defeat the invaders. After getting familiar with camera movement and army control basics, you can send your troops to the battle. I suggest grouping hastati under one key and keep triarii separate - at the beginning of the battle will send them to fight the enemy unit advancing from the flank. Hastati can help your ally fighting in the middle of the village.

Once you defeat first enemy units, you'll get another order - to destroy siege machines. But this is a piece of cake. Form a line with your units and slowly move towards the enemy. Before the proper battle begins, your projectile units can start shooting at enemy infantry - they will soften them a little bit before the fight. You can attack siege enemies with slingers as well as with infantry unit - it is up to you.
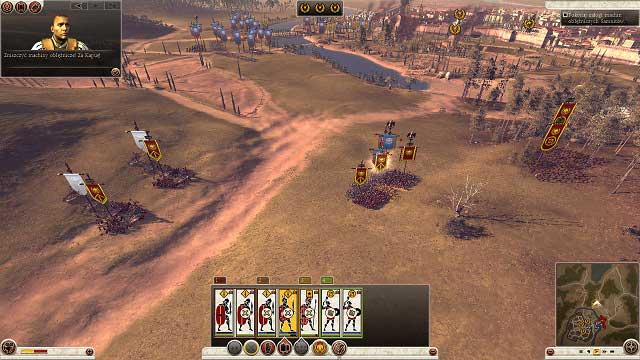
It is time to support defenders main forces. You'll cross the river by shallow ford located near. This time you should leave here triarii and optionally one of wounded hastati units and both groups of slingers. The rest of your small army should hurry up to help the city. Triarii will clash with the enemy cavalry and the main forces - with the infantry.
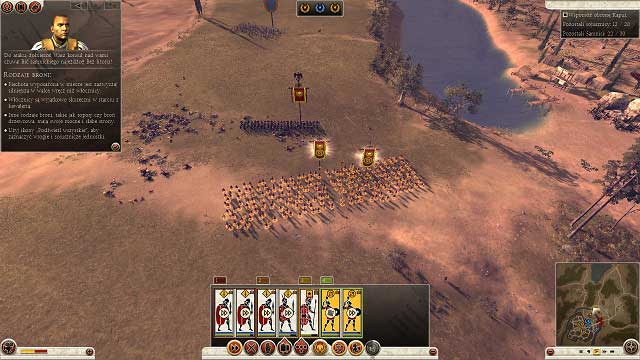
In the meantime you'll get a ballista at your disposal. You can select it by switching between Land Units and Mountable Artillery tabs. Now you have to just aim at the any opponent. The game allows you to manually aim machines (Insert key), but I do not recommend that option because you lose control over the rest of army.
Once we defeat the enemy cavalry, long-awaited reinforcements will come. Your allies, along with the rest of your troops, will deal with the rest of Samnites without any problems. After few minutes only Rome remains on the battlefield.
Italy
You'll find yourself on Italy map. Following the tutorial, you'll learn how to operate a camera, move troops, constructing building in cities and recruit units. After few turns another Samnites army will come and you'll be taken to another scripted battle.
The Battle of Vesuvius
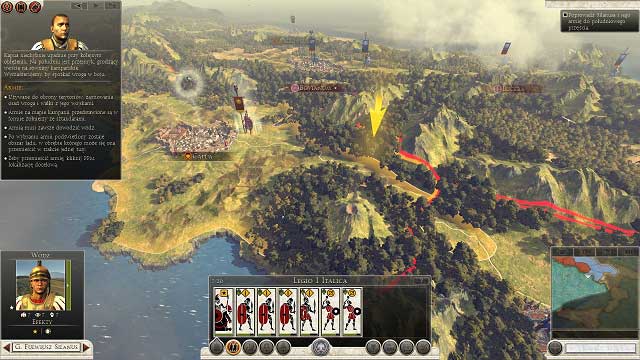
This time your task is to defend a mountain pass against numerous enemy troops. The clash starts with deploying units. It would be best to split infantry into 2 groups: 3x hastati and 3x hastati with swordsmen and form them in a one long line (as on the below screen). Projectile units should be organized in another group in front of your main forces and general should be placed directly behind the shields line - he will prevent spreading of panic among your troops. So prepared you could start the battle.
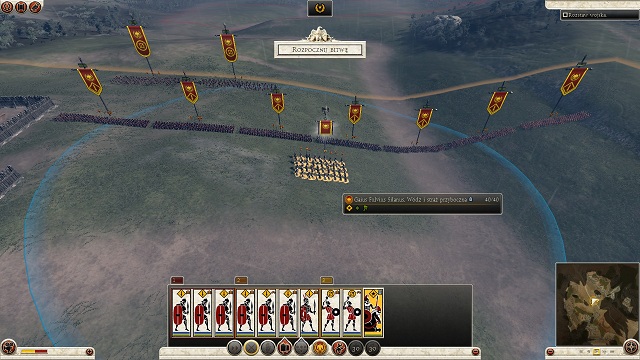
First objective: move projectile units several dozen meters ahead, to the edge of the hill - thanks to that you'll be able to observe enemy maneuvers. In the meantime several units of equites will join you - split them into two groups and places them on the wooden hill on the right side of the road. So prepared wait for the enemy forces.

Samnites will send their own projectile units against you. Once they come closer to your first troops, you can use the cavalry. Be sure to order attacking single units - thanks to that you'll quickly eliminate enemy forces vulnerable to charge. When you see a movement in main Samnites' forces, you'll have to immediately withdraw the cavalry - you'll need it in the clash with enemy spearmen.
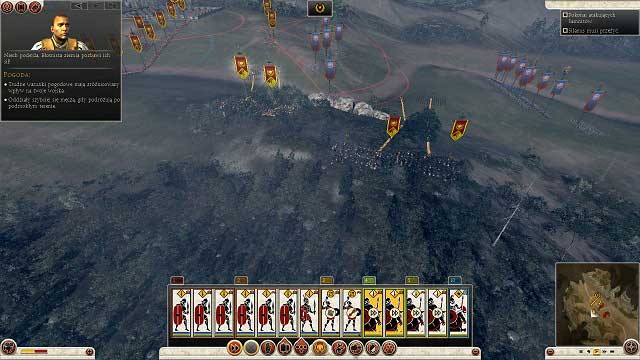
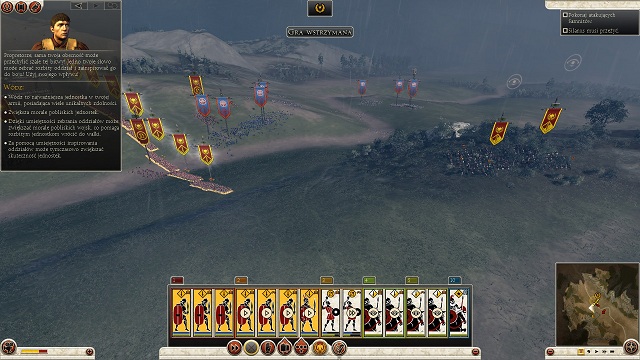
It is time to take the initiative. If Samnites stand still, use slinger survivors to shoot at them - it would be best to aim enemy units without shields. If you lost all units, you'll need to move your infantry forwards. Cavalry should be still on the flank, far from the attack range of Samnites. Once it comes to the melee fight, your cavalry should get opponents from behind and charge. Never attacks spearmen with cavalry frontally! After a few minutes of the carnage, the battle should end with your victory. If you failed, I recommend trying to play this battle again, this time paying more attention to actions of your cavalry and the general.
Salernum
Once you get to the Italy map, you'll get another order - attack Salernum. If you didn't lose too many units, you can attack the next town (otherwise it would be good to wait one turn until your troops recover). Unfortunately time is running out, because your treasury is empty - you have to capture the settlement as soon as possible.
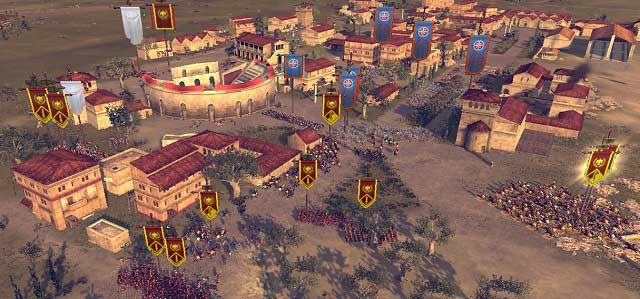
The attack on Salernum also starts with deploying your troops. I suggest making the same division as in the previous battle. Also this time enemy forces are numerous, but their quality is much worse than in the previous clash. Infantry units should block both possible passages in the city and slingers can start shooting. Cavalry should be on both sides of your formations, ready to race over city streets. Once enemy spearmen attack you, counterattack with your infantry. At the same time order cavalry to attack exposed enemy light infantry.

One decisive charge should break up the mob, leaving only few elite units to finish off. You can try to charge with general unit - he is equally effective in the fight as your cavalry. Victory in the battle will give you complete control over the settlement.
Italy
It is time for some state management. Increase your hero's rank (it doesn't matter which path you choose) and raise a new army in Rome and move it to Velitrae. You do not have to recruit units - the general with a local garrison will crush the rebels without problems. Remember about choosing the next technology - in the first place you should take Manipular Organization and after that all first level Siege technologies. You'll get the next mission - capture Buxentum.
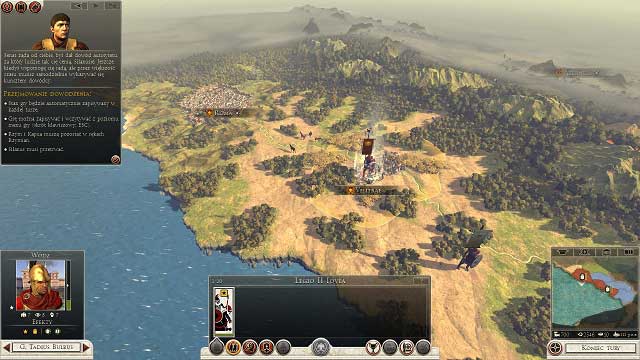
After upgrading weapons and armors of troops in Salernum, you can go sailing. Make sure to raise a new army here and recruit few troops right away - choose 3 triarii units if possible. Now you can end the turn. As you can see, Samnites send new armies towards you - keep recruiting army (hastati or principes). In the meantime move your transport ships towards Buxentum. Along your way you'll encounter a small fleet - it is worth to combine both groups and use them to attack the settlement.
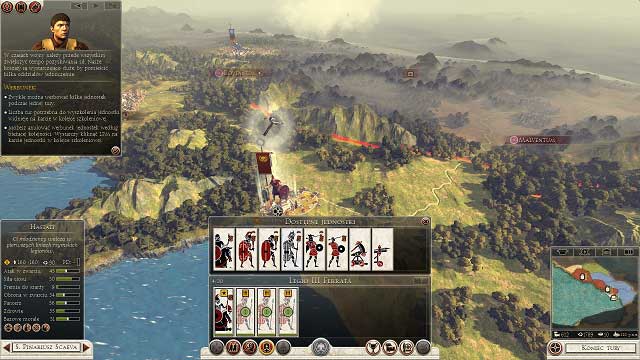
After defeating the first wave of Samnites in Salernum, continue raising your army. Another three groups of triarii, principes or even velites (9 units in total plus the garrison) should be enough to repeal every attack. But focus on Buxentum: send your fleet to attack the city (ground forces start the siege), select ships and choose the assault option. If you largely outnumber the enemy, you can leave off the battle to the AI - decision is yours.

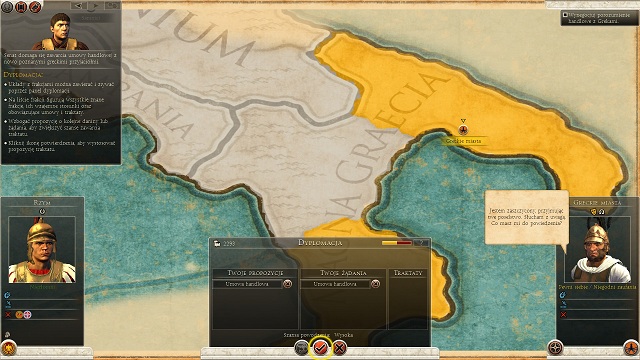
After capturing the city you'll be able to recruit a spy and send him towards enemy settlements. In the meantime you'll establish a contact with Greek cities and begin trading with them, filling out almost empty treasury.
Bovianum
Now you can move towards the enemy. Your army stationing in Salernum can go ahead and start the siege of Malventum while the legion stationing in Buxentum should move north, heading to Lucera. This will be the rallying point of your troops - wait here for troops from Salernum. In the meantime you can destroy one of buildings and build workshop. Since you have a lot of time, I suggest building few ballista batteries: 4-6 should be enough. Once you are ready, you can start siege of Bovianum.
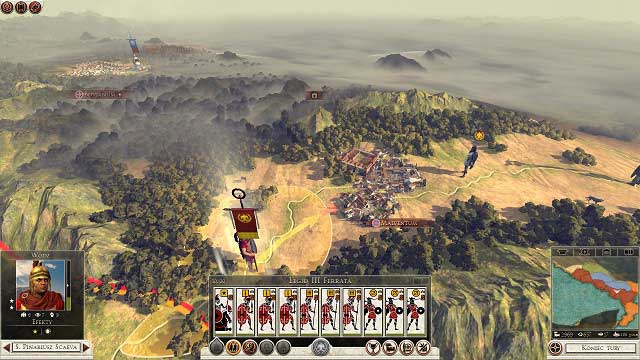
The first step is to move your army a bit forwards - your support units, which have no ballista, should be placed just out of the range of the city (red area). A second legion can directly hit Samnites - if you have placed your first army properly, it will support you during the fight. Now choose a set of siege machines to be built and end the turn.
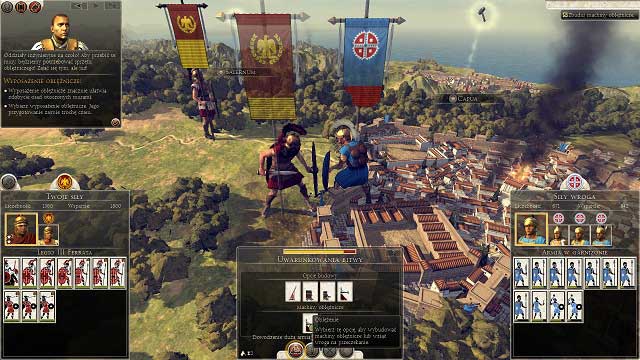
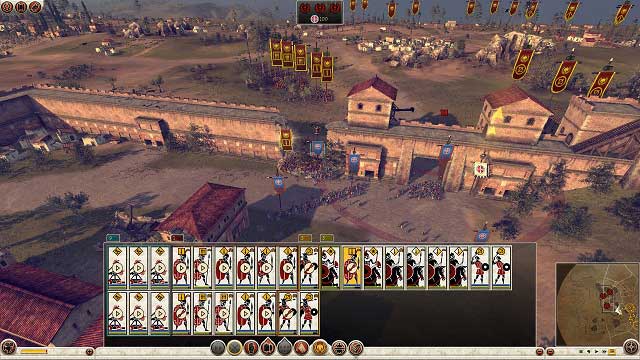
This is the last clash in a prologue: you have to play it manually. If you have both armies, you should outnumber Samnites. Deploy your troops, place ballista in front of the city walls and start the battle. Ballista should destroy all enemy fortifications: towers, city walls and gates. When you decide that the breaches are large enough for your troops, you can start the assault. In the first line you should place your best units - they will smash enemies, making the way to the city. Here you can finish the rest of Samnites units or take three points in the city. Regardless of your decision the mission will be a success!
You are not permitted to copy any image, text or info from this page. This site is not associated with and/or endorsed by the SEGA or Creative Assembly. All logos and images are copyrighted by their respective owners.
Copyright © 2000 - 2025 Webedia Polska SA for gamepressure.com, unofficial game guides, walkthroughs, secrets, game tips, maps & strategies for top games.
