Oddworld Soulstorm: Unlocking the platform in Workzone 1
Feeco Depot walkthrough
This page of the guide to Oddworld Soulstorm contains the first part of the walkthrough of Mission 14 - Feeco Depot. Our solution explains how to solve the puzzle to summon the Delivery Car platform, how to pass through the WorkZone Zone 1, and how to reach the WorkZone Zone 2.
Additional note: The green color in this walkthrough stands for secrets and unique locations/activities associated with the badges (challenges) in the game. Mission 14 badges have been described on a separate page of the guide.
Get to Terminal 2
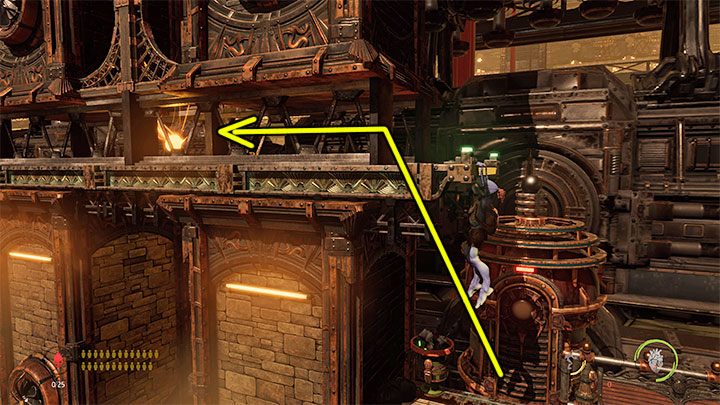
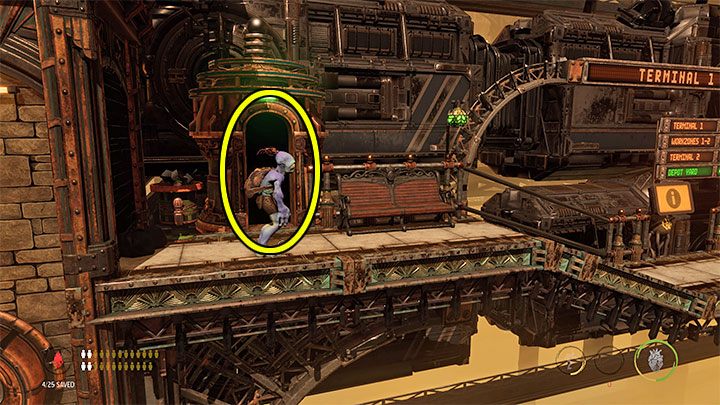
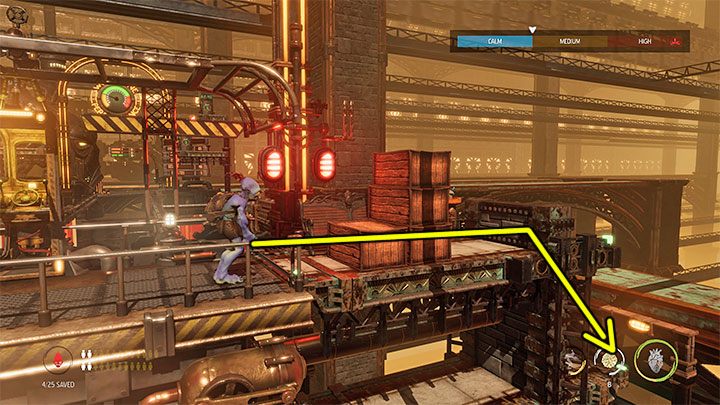
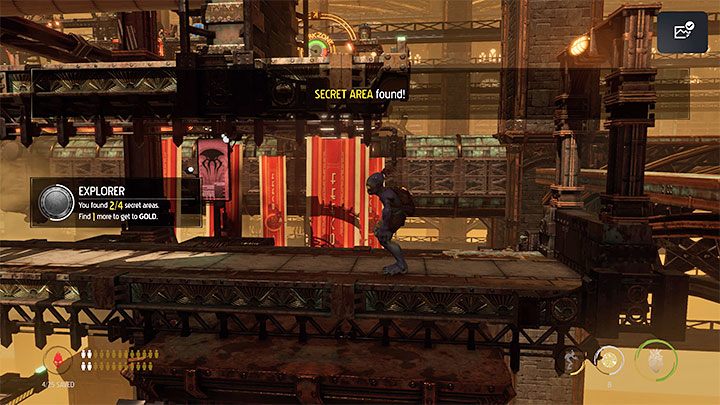
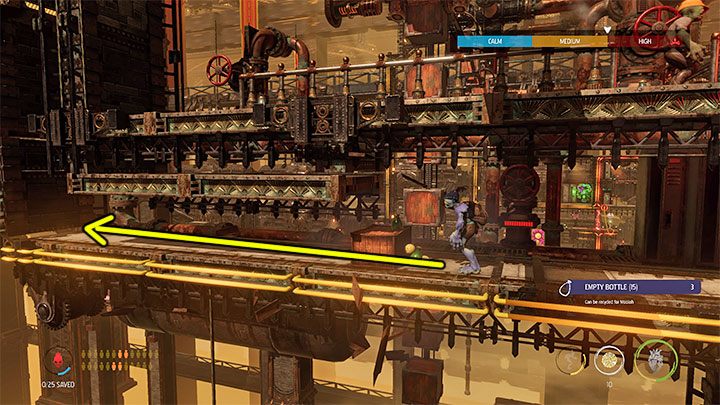
Don't go right after the mission starts - examine the area to your left first. At the spot from the above image, Abe can jump to the top edge and roll through the ventilation shaft. There is a Royal Jelly in the shaft. You will also get to a Secret Area.
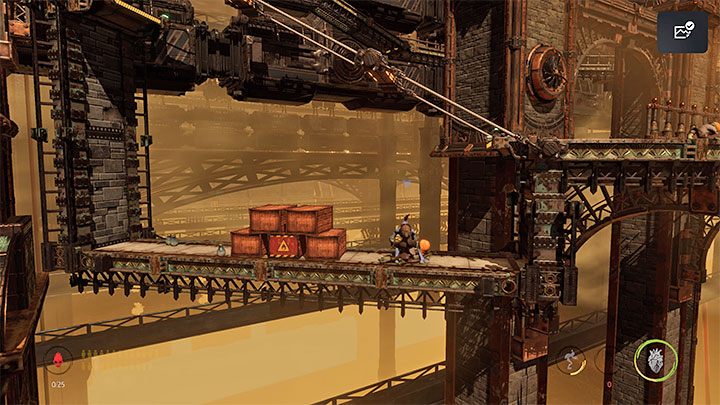
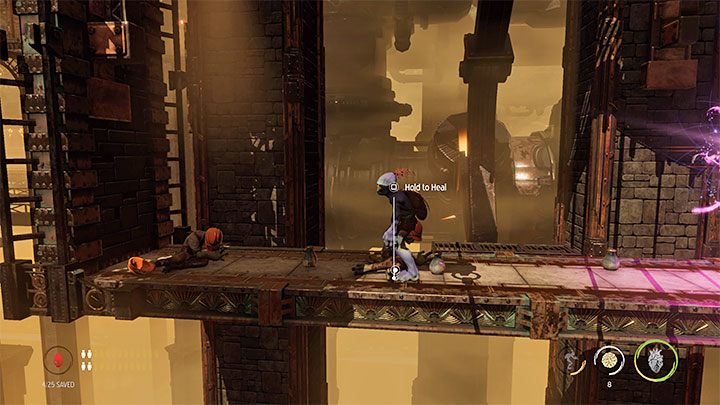
Explore the bigger secret location. Be careful not to fall - you may accidentally land on an explosive crate. In this area, you will find a total of 4 sick Mudokons - heal them and activate the nearby Bird Portal to send them back.
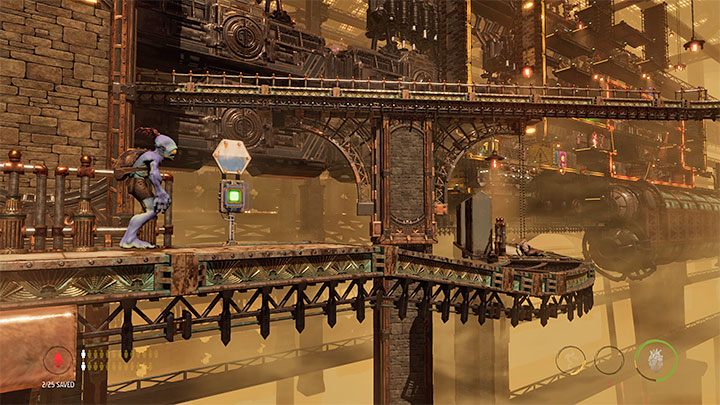
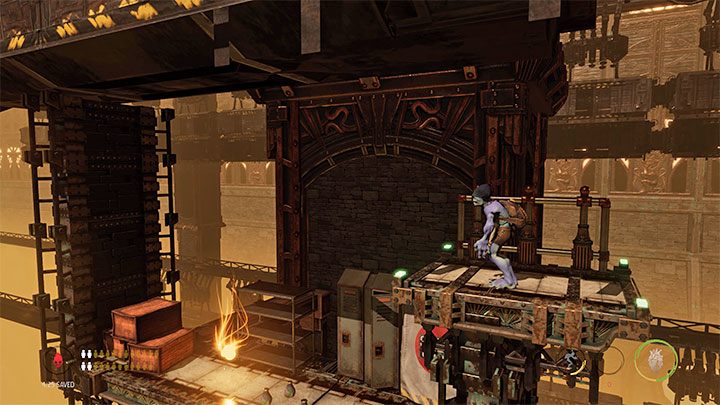
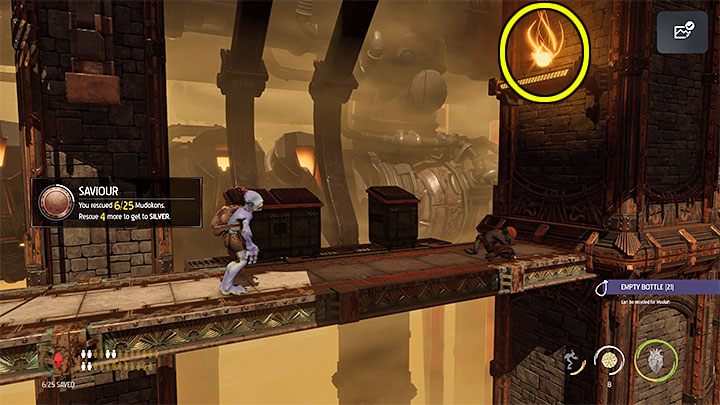
Before you leave this place, press the button shown in picture 1. This action unlocks a new passage
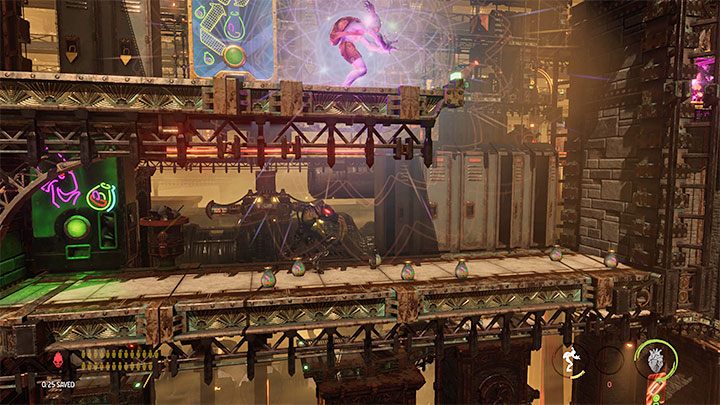
Return to the starting point by following the same path you got here - you can use the newly unlocked passage from picture 2.
You will get to the next Secret Area. During its exploration, you must watch out for a Slig. You can, however, possess him. We will find a recycling station and vending machines selling Fizzy Pop and Blastos.
At the very end of the secret location, in addition to the new loot, we will find the Royal Jelly shown in the picture.
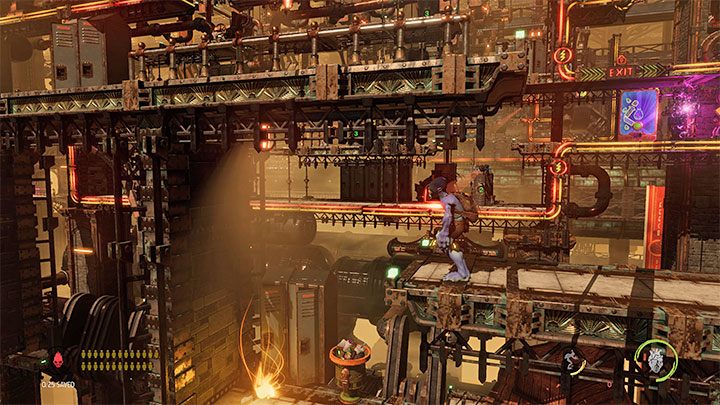
After checking all the above-described "starting" secrets, we go to the right and use the interactive passage. After reaching a new place, it is worth remembering the destructible grille on the floor because you will be able to return here later after obtaining Fizzy Pow gadgets.
Going further to the right, it is worth checking the small lower areas. In the first one, you will find a lot of objects to pick up (associated with the Collector badge), lockers to examine, and a recycling station for empty bottles. On one of the shelves, there is a single Slig, but you can easily possess it. It'll unlock access to the vending machine with Brew Bottles (for purchase).
Continue your journey to the right. Take this opportunity to explore another lower area. The most important find in this place is the Royal Jelly, but we will also find loot, lockers to search, and crates to destroy.
Call the delivery car
Go further to the right. At the very end of the path, a puzzle awaits Abe - you can't call the Delivery Car immediately since the Slig in the upper booth will notice this, pull the lever, and turn it around.
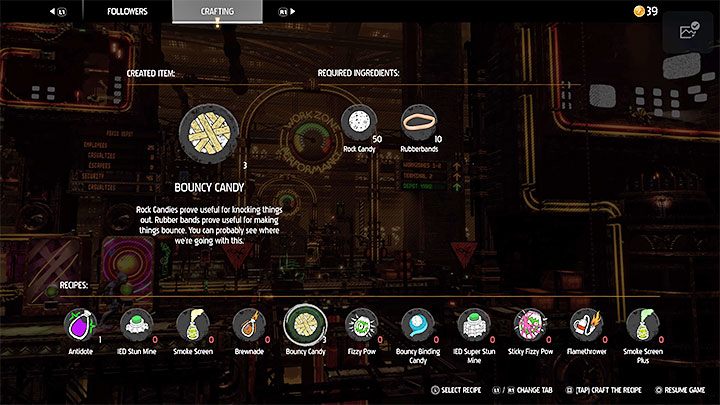
Use the vending machines to get Rock Candy and Rubberands for free. Now you can use these ingredients to make Bouncy Candy.
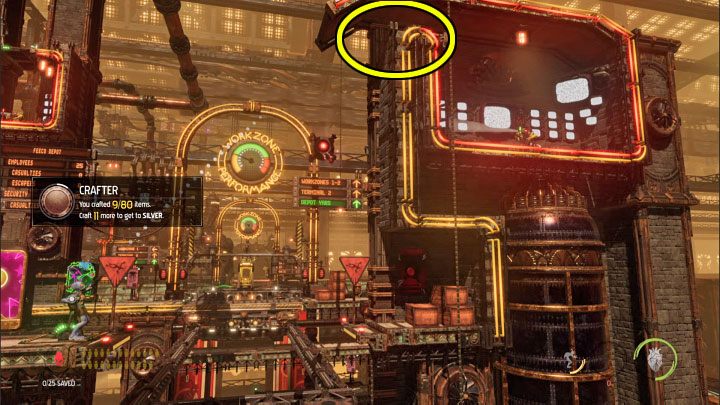
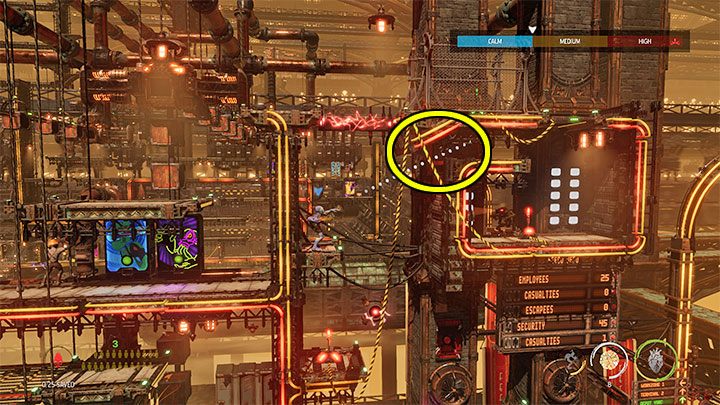
Aim a Bouncy candy at the hole in the left wall of the building marked in the picture. Throw until one of the Bouncy Candy hits Slig and knocks him out. You can use this to summon the platform, destroy the crates to the right of it, and move deeper.
Unlock the delivery car in Workzone 1
The platform will not be able to go further - you have to remove the blockade. Let's first examine the area to the right of the platform. In the place from picture 1, Abe can destroy the crates and jump down to the lower shelf.
We will reach a Secret Area - we have to go left. On the way, we can explore the lower areas, although this is optional. In one of the lower areas, we will find a vending machine with free Batteries.
Along the way, we will encounter Slogs. You can, however, you possession on them. We'll also find a Brew Bottles vending machine.
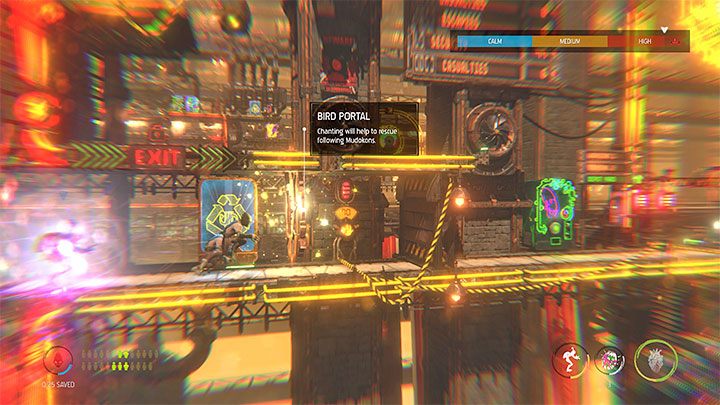
At the very end of the secret location, we will find 3 sick Mudocons to recruit (see the picture 1). Once they are healed, activate the Bird Portal to save the Mudokons right away. There is a Royal Jelly on the small shelf on the right.
Return to the mobile platform and go back to the mission's main objective. We have to go left. On the way, you will come across a vending machine selling Brew Bottles.
In this place, you have to solve a puzzle similar to the one with Bouncy Candy. Position Abe on a little shelf under the red beams. Aim the candy at the guardhouse with a Slig and throw it inside so it will stun the opponent. You can already pull the lower lever and turn off the red lasers so Abe can climb all the way to the top. It is worth reaching the guardhouse with a stunned Slig (pull the lever on the roof) and, if possible, tie it. Searching it will allow us to get the Gold Round Key
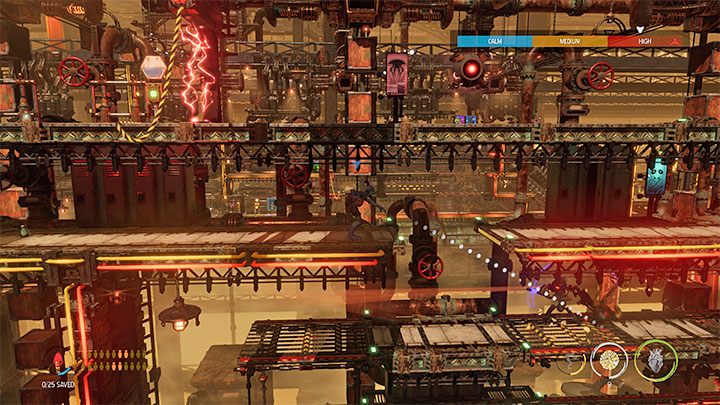
Move to the left area now. There are four Mudokons in the area to recruit, but it is best to order them to stay behind and explore the area alone.
Here you will find vending machines with free Fizzy Pop and Blastos - you can start to produce Fizzy Pow explosives, and they will come in handy, among others, to destroy metal fragments of the floor. You can also successfully attack nearby opponents - they will try to electrocute Abe, and therefore attacks from higher shelves will work best.
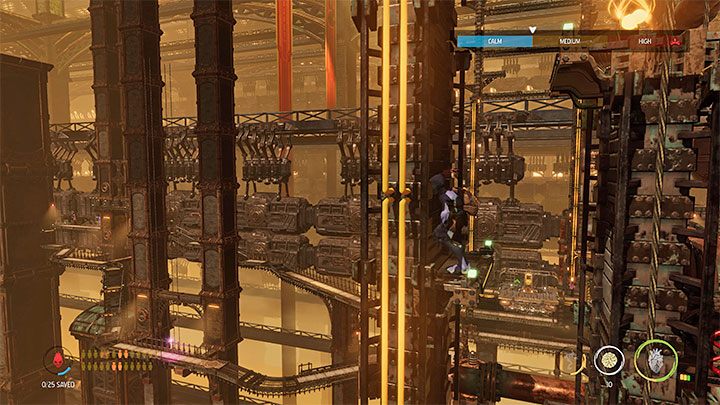
During the exploration, look at the left tunnel shown in picture 1. You can find more crates and loot there, and go to the end of the tunnel and climb to reach the Royal Jelly.
Jump to the lower right area, recruit 1 Mudokon and press the button to disable red beams. Leave this Mudokon behind along with the rest of our allies.
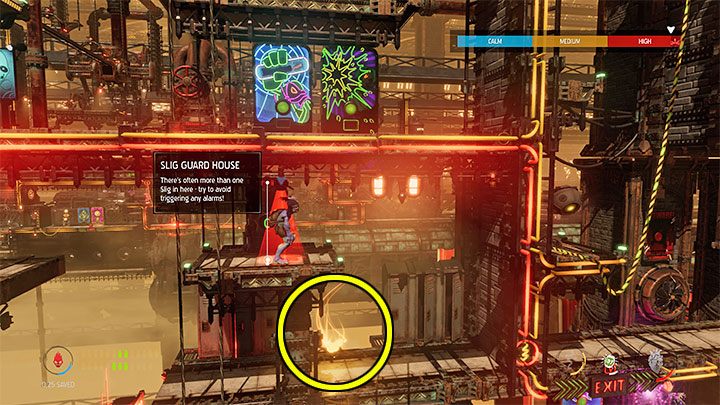
As you explore the lower levels of WorkZone 1, you'll find another Royal Jelly (pictured above). Remember to look into all the lockers you pass. You don't need to avoid raising the alarm in this location. If you really want, you can sneak and avoid scanners.
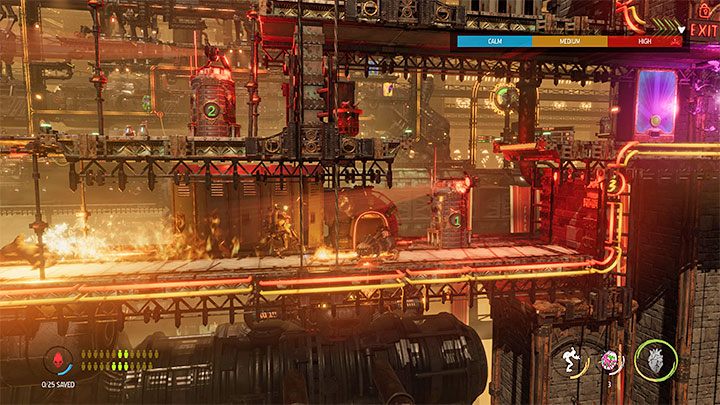
On the lower floors, you will start coming across elite Sligs, and it is worth watching out here because, unlike previous enemies, they can easily kill Abe at a distance. It is worth taking advantage of the fact that there are no Chant Suppressor devices here, so Abe can use possession on Sligs and attack other opponents.
On the lowest level, there is also a doghouse, from which the Slog creatures come out. It is best to deal with them using possessed opponent. It is important to secure this area and get rid of all of the reinforcements.
After getting rid of all Sligs and Slogs from the area, return to the place where you found Mudokons earlier. Lead them through the lower floors and then go with them to the right. Eventually, you will reach the Bird Portal, through which we can send them back.
In the same place you will find the recycling station and the Moolah Gate. The fee is 70 moolah, and if you searched the cupboards and recycle empty bottles, you should have enough cash.
Optional secret area
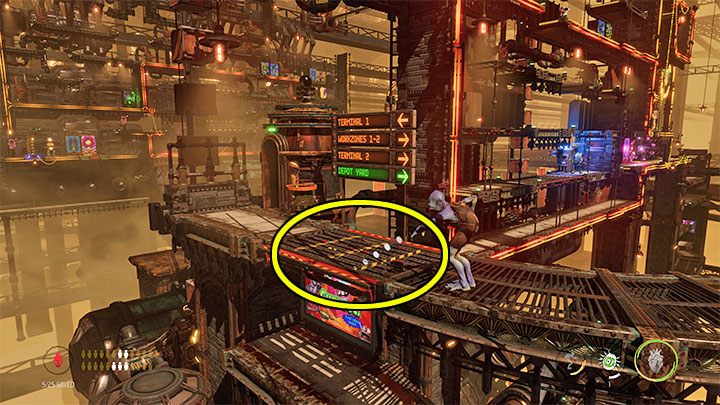
You have to get back to the Delivery Car you used to get to this place.
Before you deal with the next main mission objectives, it is worth returning to the previous area - tilt the left analog down. Head to the left, return to the locations you crossed at the very beginning of the mission. The destination is metal grille on the floor marked in the picture. You can use the Fizzy Pow to unlock access to a previously inaccessible Secret Area.
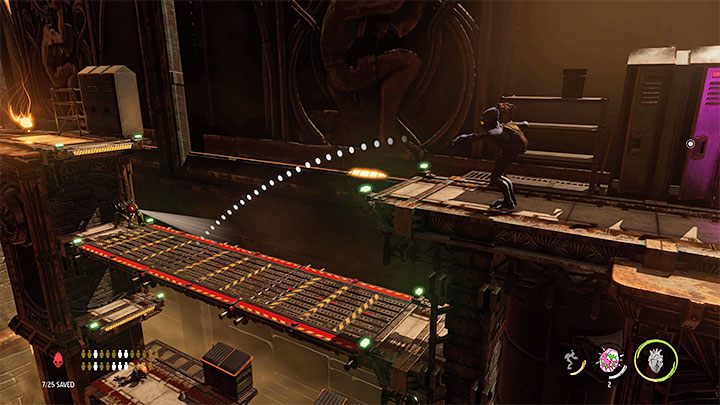
Go to the right, jump on the Monkey Bar, and then to the shelf. Along the way, watch out for Slig, who you can get rid of using possession.
In the secret location, there are two lower areas you can access by throwing more Fizzy Pow on metal bars on the floor. Alternatively, you can climb the upper platforms and reach the cargo, which can be dropped and destroy the bars.
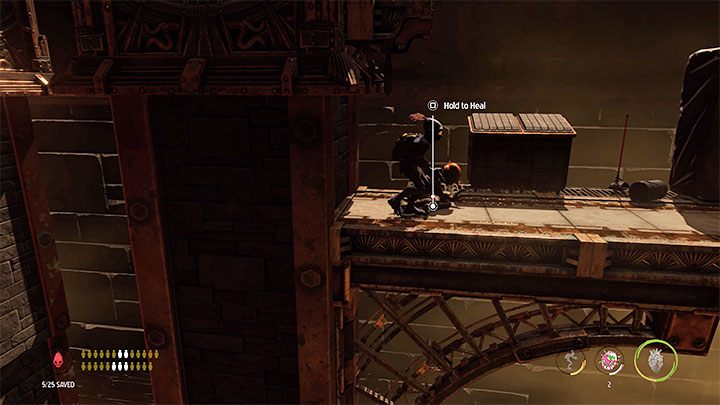
Each of the lower areas is guarded by Sligs, and it is best to get rid of them first. You will also find sick Mudokons that can be cured by Abe. This will allow you to recruit four Mudokons.
Additional note - make sure that the bars are destroyed, which will allow the Mudokons to get out of the lower areas and follow Abe.
There is a Bird Portal up, with you can use to send back found Mudokons. There's also a Royal Jelly in the area.
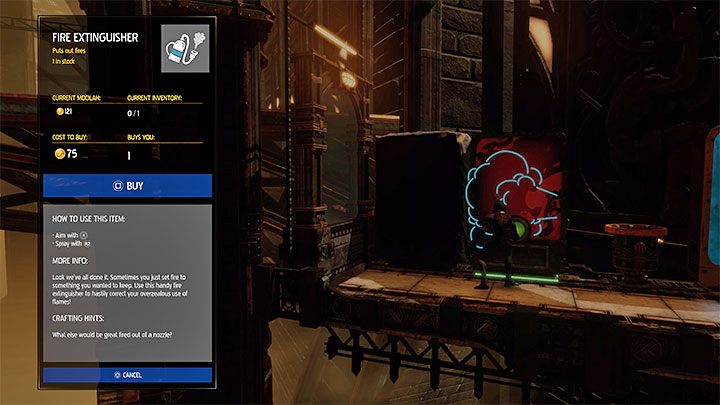
At the left end of the main path, you will also find a recycling station for empty bottles and vending machine with Fire Extinguisher. The fee is 75 Moolah, and it is worth purchasing it if you have enough cash because, in the future, you will be able to build a flamethrower. Leave the secret area the same route - reach the Monkey Bar (be careful not to fall into the abyss) and returning to the upper path you used at the beginning of the mission.
You are not permitted to copy any image, text or info from this page. This site is not associated with and/or endorsed by the developers and the publishers. All logos and images are copyrighted by their respective owners.
Copyright © 2000 - 2025 Webedia Polska SA for gamepressure.com, unofficial game guides, walkthroughs, secrets, game tips, maps & strategies for top games.
