Oddworld Soulstorm: Reaching the Fueling Tower, Phat Station
This page of the Oddworld Soulstorm game guide contains the second part of the walkthrough of level 6 - Phat Station. Our guide has information on how to sneak past Sligs in Tank Row 1, how to hide in lockers, how to collect Moolah, how to open the Moolah Gate, how to release Mudokons from prison, how to use Mudokons to open the passage and how to reach the Tank Row 2.
Additional note: The green color in this walkthrough stands for secrets and unique locations/activities associated with the badges (challenges) in the game. Mission 6 badges have been described on a separate page of the guide.
- Sneak past the sleeping Slig
- Hide in the lockers
- Scavenge enough Moolah to get past the gate
- Open the door with the work wheel
- Free the Mudokons from the Worker Jail
- Take the cargo car to Tank Row 2
Sneak past the sleeping Slig
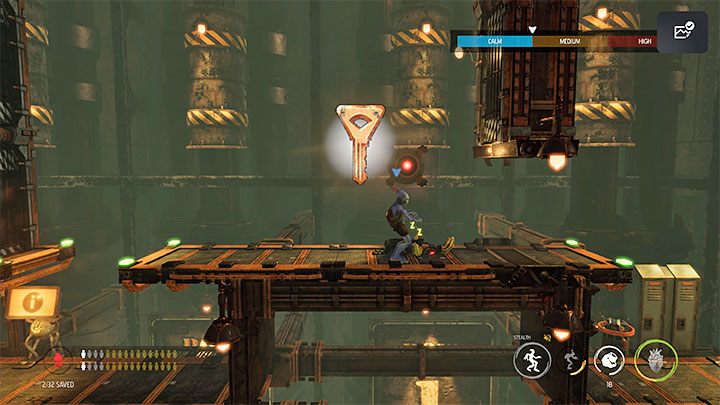
You will find the first sleeping Slig shortly after you start exploring the Tank Row 1 location. Remember to keep the sneaking button pressed all the time. It is worth stealing from Slig using the pickpocket option because they should have the Copper Triangle Key in the inventory - it can be useful in the later phase of the game.
Check all the containers along the way. Starting from this location, you will also start to find Moolah, which is the local currency. It's mainly used for paying fees at the Moolah Gate (more on this in one of the next paragraphs of the walkthrough) and in vending machines.
Hide in the lockers
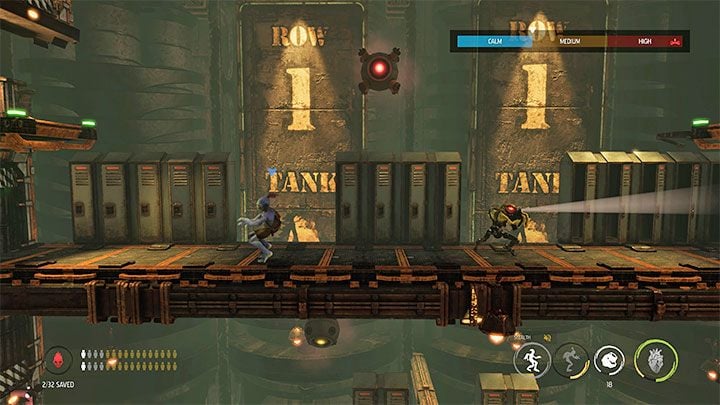
After using the control panel, go to the first location with lockers and a Slig patrolling this area. You have to sneak in here because Abe doesn't have the gadgets to stun his enemies at the moment.
The character can hide in lockers - you need to press the interaction button twice (2x square on PS4 and PS5). Using this technique will allow you to gradually move to the left and pass behind the Slig as it walks or stands facing the other way. We advise you to take your time and search all the lockers you pass searching for loot because one of the badges of this mission is associated with it. There's an elevator at the left end of the area.
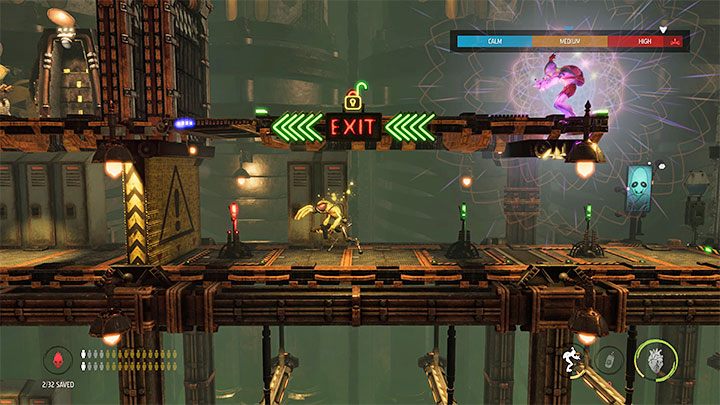
On the upper level, you need to sneak and rely on hiding in lockers. This time also try to search all the lockers besides focusing on the main objective of the mission. On the upper balcony, there is a sleeping Slig, and if you have already collected the tape, then you can optionally tie and search it. The exit is on the right, and you will find the elevator again.
After reaching the elevator to the lower level, pull the first lever, quickly hide on the top shelf and use possession on the Slig standing below.
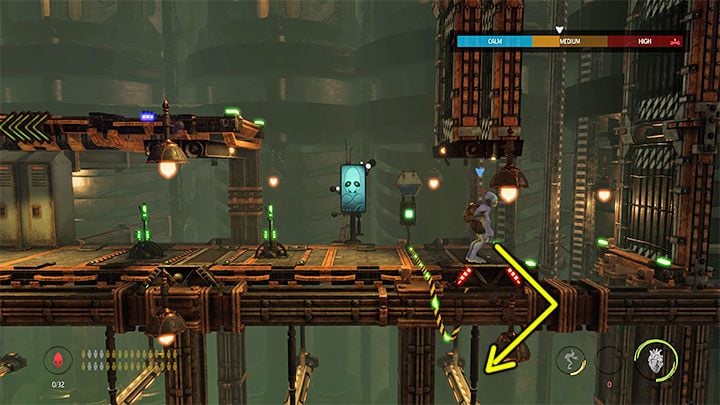
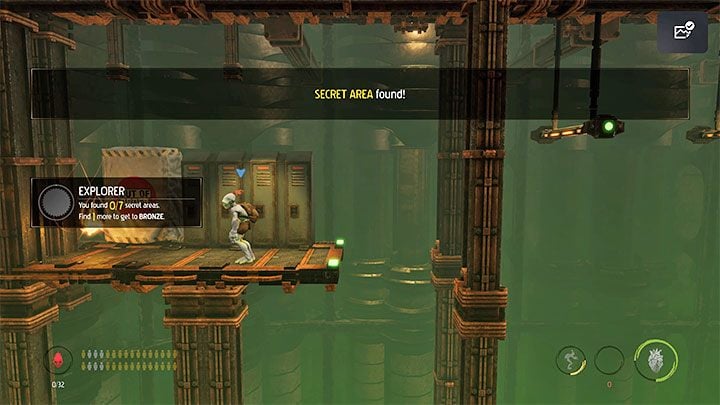
Move the possessed Slig to the right and enter the elevator you used to get here, and go up. End the possession. There is a hole in the elevator shaft presented in picture 1- go down here and grab the lower Monkey Bar.
Keep jumping to the next bars until you reach a small shelf, which is a Secret Area. Here, you will find a Royal Jelly and a few lockers.
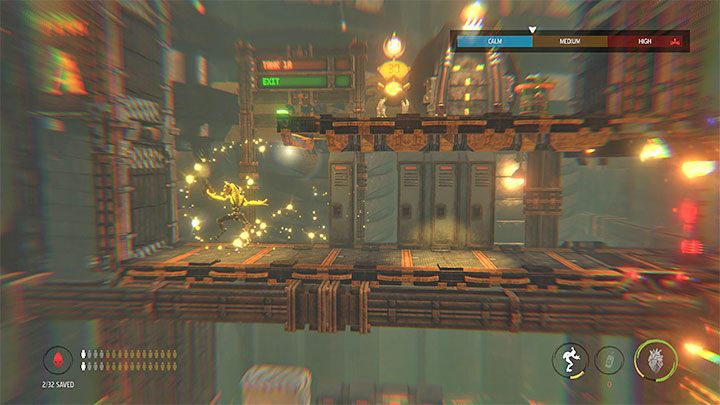
Carefully return to the top by jumping to the bars - remember that you can double jump.
Another Slig is to the left of here. It is also possible to possess it, but you have to wait to pull the lever lowering the lock until the Slig turns in another direction.
Scavenge enough Moolah to get past the gate
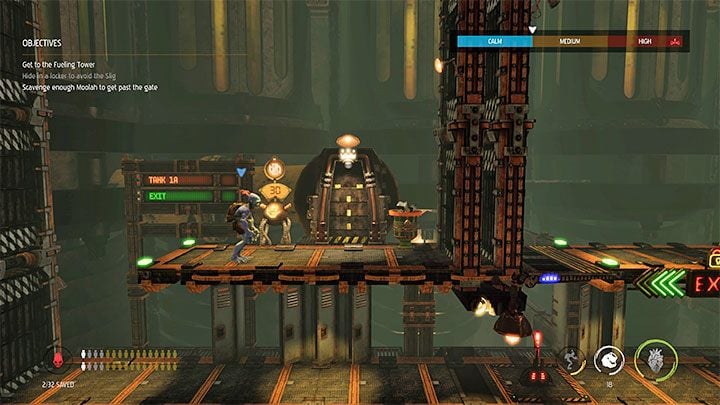
You will reach the upper balcony with the first Moolah Gate. To unlock the passage, you have to pay in Moolah. The fee for this particular gate is 30 Moolah. If you don't have enough cash in your inventory, you'll have to go back and search the lockers and other containers you missed. After the payment, the exit will be unlocked.
Open the door with the work wheel
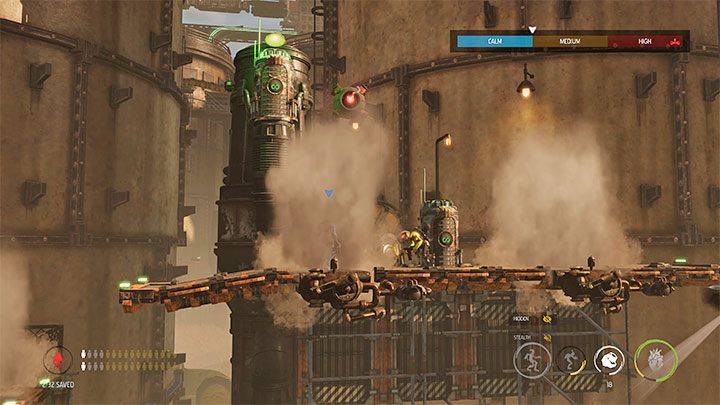
Head right. Abe will soon encounter the first Work Wheel. You can rotate it by holding the interaction button, and if you release the button too soon, the whole process has to start over. Using the first Working Wheel is safe, but in some subsequent levels, you will have to wait to use it iuntil the surrounding Sligs go away.
Moving forward, you will meet other Sligs - both "ordinary" and flying. The Possession of opponents is forbidden, but we can sneak into the next Steam Zones and hide in the steam while remaining temporarily invisible. What's important is to get out of the Steam Zones when it's safe.
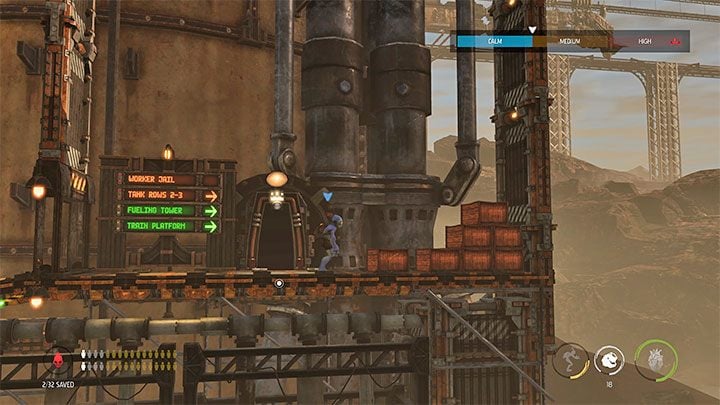
The main character will soon reach the new Work Wheel, but before you use it, make sure that no one is heading in your direction. Continue the journey to the right, avoiding Sligs, and wait for good moments to interact with the Working Wheels.
Finally, Abe has to reach the entrance to the Worker Jail building. Before doing so, you can optionally destroy the crates.
Free the Mudokons from the Worker Jail
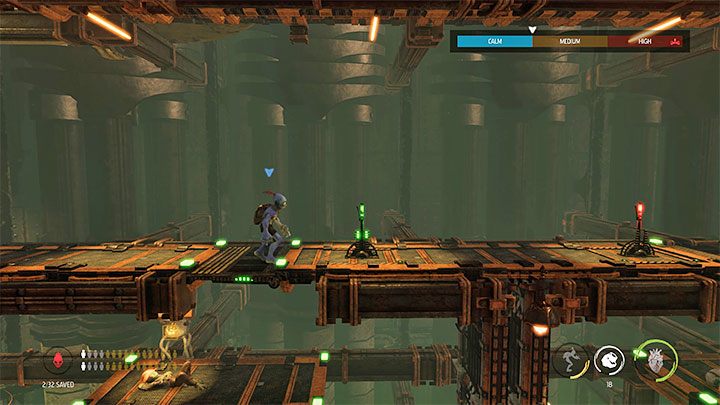
You can no longer use the Work Whistle located near the starting area. You need to recruit 6 Mudokons first. Collect loot from the area and reach the corridor with two levers. Each lever opens a cell with 3 Mudokons, and you can summon them to follow Abe.
In the left cell, you will additionally find a poorly hidden Royal Jelly.
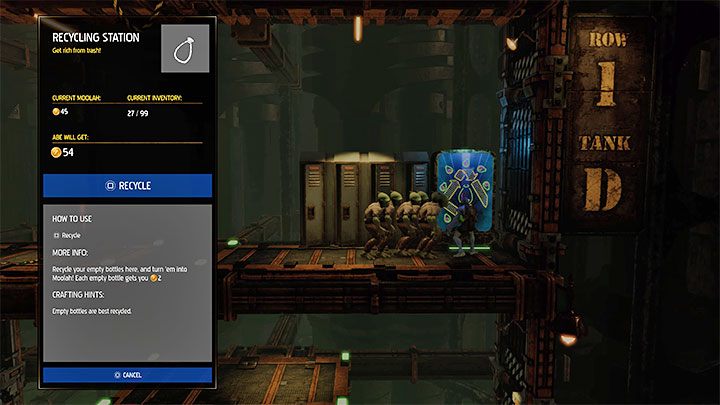
At the end of the main corridor, there is also the first Recycling Station. You can place in this type of station all game empty bottles you find in the game world and get Moolah (local currency) in return. The conversion rate is 2 Moolah per returned bottle.
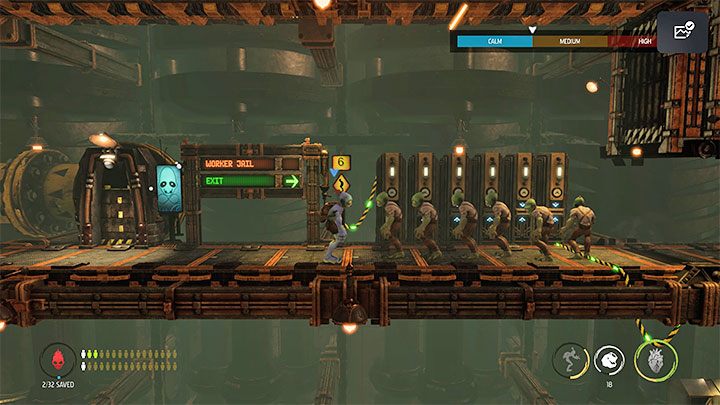
We return with the Mudokons to the starting area and use the Work Whistle to make them work and give them orders to use the posts here. It'll unlock the right passage. You'll move on as a group.
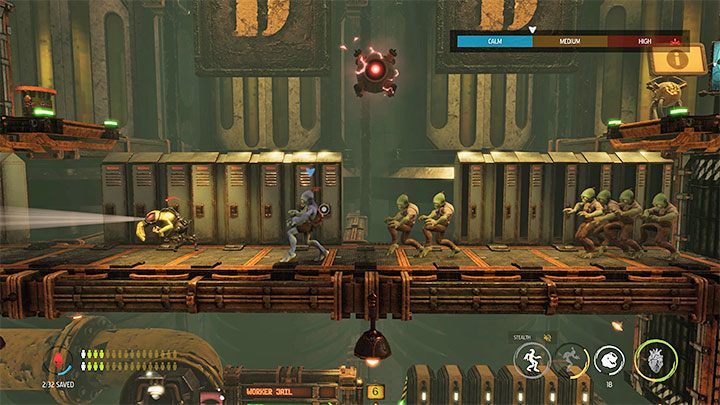
You will soon reach a new guarded area. For the first time during this stage, there will be an option to escort Mukodons to the exit since there is no portal in the area. It is an optional activity, and you can just ignore the Mudokons and leave them behind, although saving them is associated with one of the badges of this mission (additional challenges).
We suggest starting by ordering all Mudokons to stay behind and explore this location alone - look into lockers and optionally tie and pickpocket the sleeping Slig. To avoid detection by the enemy, use the lockers - you can hide the whole group in lockers and wait until the Slig move in the opposite direction. In the left part of the described location, you can climb and escape from this place.
Unfortunately, Mukodons may have problems hiding in lockers and despite the received command, they can stay outside alerting the nearby enemies. If you have trouble passing by, then divide the main group into two smaller ones. The game allows you to give commands to individual Mukodom instead of the whole group.
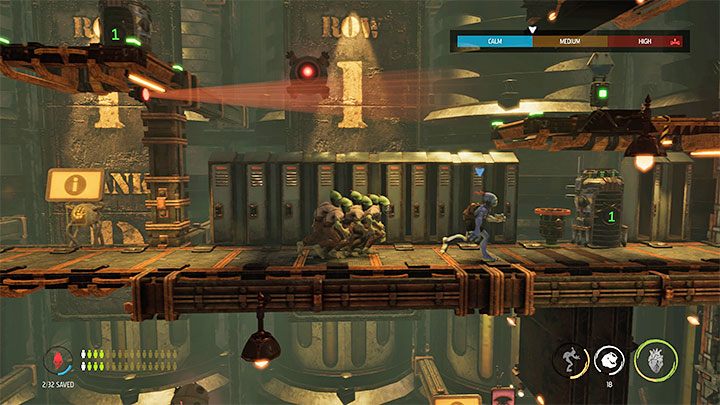
Start the exploration of the next area by pressing the button. Again, order the Mudokons to stay in the back and examine this place alone at first - there are many lockers to search. Two new threats are emerging:
- Scanner - if it detects you, it'll triggers an alarm.
- Guardhouses- when the alarm is triggered, opponents will come out of them.
Let's try to get the group through without being detected by the scanner. You can run with Mudokons when the scanner turns to the right (picture above) and climb to the top right shelf when the scanner turns down.
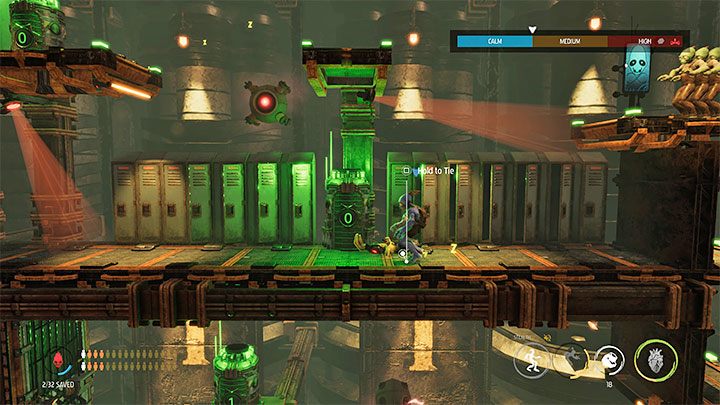
In the next area, there are initially no enemies, but there are two scanners. Avoiding them can be troublesome. If you decide to sneak between scanners, then the escorted Mudokons should be divided into 2-3 groups in order to safely transport them to the left.
Alternatively, you can purposely cause the alarm to go off and wait for the Sligs that come out of the Guardhouses to finish the search. Opponents should fall asleep, and this will allow you to tie them up (if you have tape). From now on, you can ignore the scanners, because no reinforcements will show up.
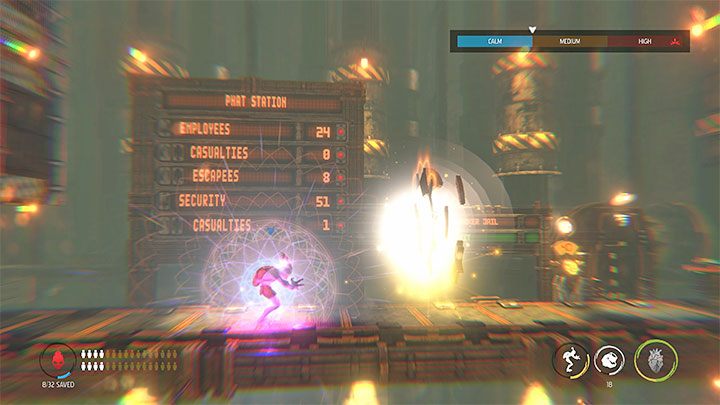
If you have escorted Mudokons so far, then on the upper level, there is an opportunity to activate the Bird Portal to send them back and count them as rescued.
In order to unlock the exit at the Moolah Gate, you have to pay a 40 Moolah fee. As always, if you do not have the required amount of cash, you will have to open all the containers from this and previous locations.
Take the cargo car to Tank Row 2
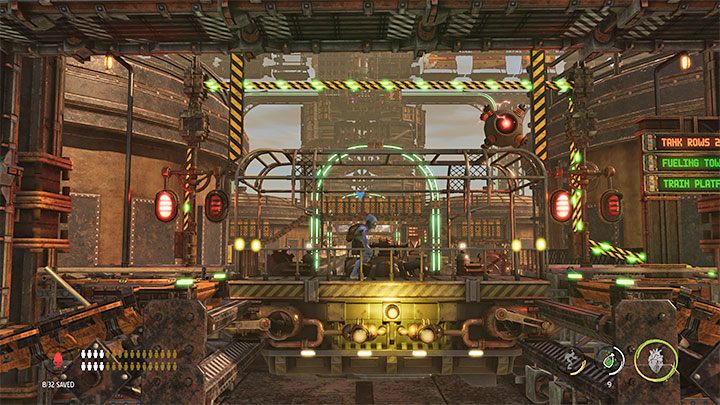
After using the exit, you can destroy new crates or immediately go left. Abe has to sneak again into more Steam Zones and avoid detection. After passing through the abandoned gate, you can try to open the lockers with padlocks (if you have the required key). There is also a chance that you will get here a unique component - Bone Powder, which can be used to create improved smoke grenades.
Eventually, you reach a moving platform, and you can set it in motion to travel to the next area.
- Oddworld Soulstorm Guide
- Oddworld Soulstorm: Walkthrough
- Oddworld Soulstorm: Phat Station
- Oddworld Soulstorm: Badges (challenges), Phat Station
- Oddworld Soulstorm: Infiltrating the station, Phat Station
- Oddworld Soulstorm: Reaching the Fueling Tower, Phat Station
- Oddworld Soulstorm: Crossing Tank Row 2D, Phat Station
- Oddworld Soulstorm: Crossing the Tank Row 3D, Phat Station
- Oddworld Soulstorm: Reaching the top of the Fueling Tower
- Oddworld Soulstorm: Phat Station
- Oddworld Soulstorm: Walkthrough
You are not permitted to copy any image, text or info from this page. This site is not associated with and/or endorsed by the developers and the publishers. All logos and images are copyrighted by their respective owners.
Copyright © 2000 - 2026 Webedia Polska SA for gamepressure.com, unofficial game guides, walkthroughs, secrets, game tips, maps & strategies for top games.
