Oddworld Soulstorm: Crossing the valley on the lift, Sorrow Valley
This page of the Oddworld Soulstorm guide contains the first part of the walkthrough of Mission 5 - Sorrow Valley. Our walkthrough informs how to deal with the threat of flying Sligs, where to find the Phatoline canister in the first mine and how to cross the Sorrow Valley for the first time.
Additional note: the green color in this walkthrough stands for secrets and unique locations / activities associated with the badges (challenges) in the game. Mission 5 badges were described on a separate page of the guide.
Get through Sorrow Valley

We begin the journey on a linear path. It will lead Abe to binoculars at the vantage point - a unique collectible for this mission. The game recognizes the secret as passed immediately after interacting with the binoculars, but if we want, we can look around in FPP mode, for example, for enemies or collectibles seen in the distance.
We're going forward. Along the way, we will find locked lockers (they require the silver square key) and a dead Mudokon with a message left (it is not included in the requirements to save Mudokons at this stage).

In the upper left area, we will meet a flying Slig for the first time. He patrols this area, and the good news is that a flying Slig can be possessed (provided that there are no Chant Suppressor nearby, like in this particular case).
It is worth knowing that a possessed flying Slig can reach locations inaccessible to Abe and it will be useful further in the mission, for example, to unlock new passages. Flying Sligs come in several varieties that differ in weapons they use. We can use their weapons to attack other enemies or to destroy elements of the environment.

After dealing with the first flying Slig, we proceed to climbing and head to the right. We climb several ladders and temporarily ignore the path leading to the railway carriage.
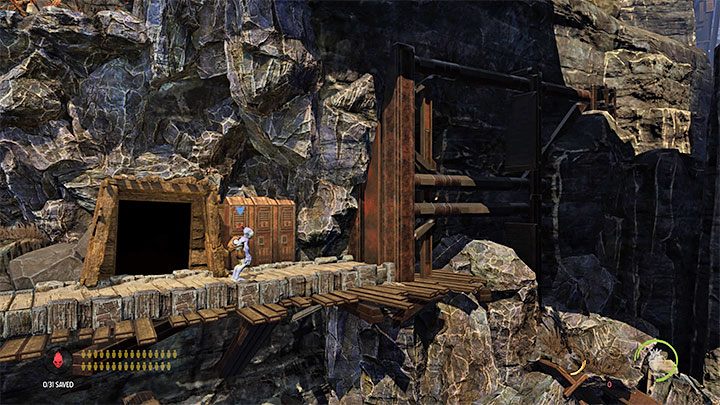
We jump to the upper platform and then to the higher path. We'll find the lockers and the entrance to the first mine.
Find Phatoline in the mine shaft

Our primary task in the first mine will be to find a gasoline canister (Phatoline), but in addition we will be able to help several Mudokons and get a collectible. Flares will make the journey much easier (to be found in some interactive containers). If you proceed without flares, you can try simply moving more slowly and carefully.
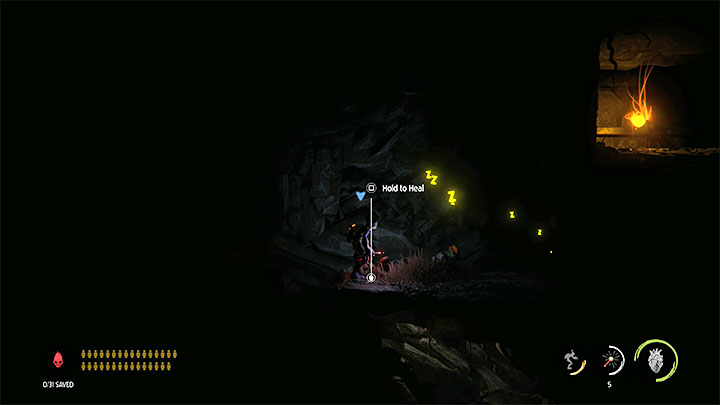
We start the climb exactly above the starting point of mine exploration. We're sneaking around so we don't wake the Slog monster. There are 2 sick Mudokons - Abe can easily heal and recruit Mudokons, because the antidote was transferred from the previous mission and we do not need to produce a new one.

We squeeze through the right tunnel and pass the linear crossing to the place where the Phatoline canister and a Royal Jelly secret are located.
We return to the starting point using the same road. Once again, we remember not to wake the sleeping creature.

We climb to the shelf located to the right of the entrance to the mine. There are two pressure plates. We need to keep one of the previously found Mudokons on each of them. We can issue commands to individual Mudokons by pressing the X button (bottom direction) one time instead of holding it.

The lower area with the next Mudokons will be unlocked. We sneak up on them, treat them, recruit them. We go to the top shelf with the two new Mudokons and tell them to stay there.

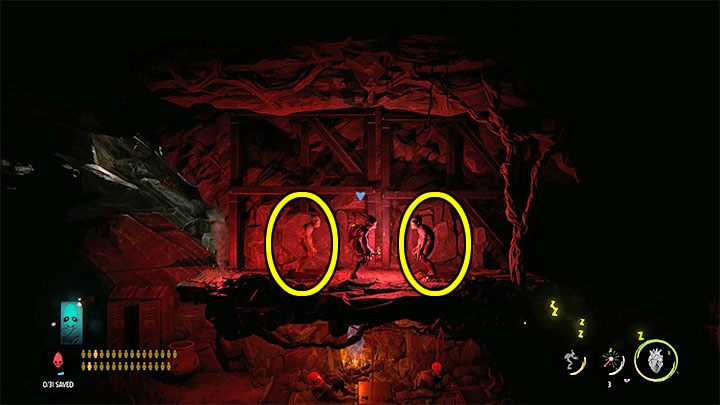
There are sleeping Slogs to the right of the Mudokons and we must pull them to the left. We jump down and start running to the left. The monsters will follow Abe, and there's a good chance they'll be trapped in the lower area. Further down the road, jump to the upper left shelf - it's gonna be safer there.

We can go back to the top shelf with the Mudokons and order everyone to follow Abe. We sneak to the right, that is, to the place where we encountered the sleeping Slogs. There's a bird portal here, and by pulling or trapping the monsters, we can safely activate it and get all the Mudokons in the mine to use it.
We can already go back to the exit and leave the first mine.
Cross the valley on the lift

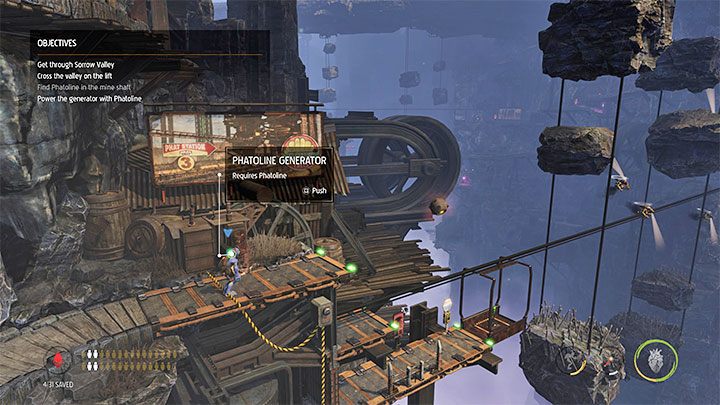
We return to the main path and go right. On the way, we use the Phatoline canister on the generator. It will power the mechanism of the platform, which we will be able to use to cross the canyon. We climb onto the platform and pull the lever to start it.

During the ride, we need to act quickly, i.e. as soon as Abe is far enough away from the Chant Suppressor and will be able to start using possession.
We take control of any flying Slig and use it to attack other flying enemies. If a Slig dies, use possession on the next one. We need to clear the way for the platform with Abe on board. After reaching the other side of the valley, we can examine the binoculars- this is another vantage point.

While crossing the canyon, it is advised to possess and keep alive a flying Slig with a rocket launcher. We can use this enemy's weapon to destroy the blocks marked in the image.
Getting rid of the top block will allow us to get to a Royal Jelly secret.

Getting rid of the lower blocks will allow us to reach a secret area. We'll encounter some Sligs in the secret area. We can use possession on them and stun / kill them, as well as use this opportunity to try out Fizzy Pop, which should be unlocked here. It allows you to stun hit enemies. One of the Sligs should leave behind the copper round key.
At the end of the first path, there's a Royal Jelly secret.

These are not all the attractions of the secret area. Jumping onto the next path, we will reach the crates to destroy and 4 Mudokons that we can heal and recruit. Together with the Mudokons, we go to the right where it will be possible to launch the bird portal.
We can already leave the secret area and return to the place where the platform used to cross the valley stopped.
You are not permitted to copy any image, text or info from this page. This site is not associated with and/or endorsed by the developers and the publishers. All logos and images are copyrighted by their respective owners.
Copyright © 2000 - 2026 Webedia Polska SA for gamepressure.com, unofficial game guides, walkthroughs, secrets, game tips, maps & strategies for top games.
