Oddworld Soulstorm: Disposing of the snipers, Sorrow Valley
This page of the Oddworld Soulstorm game guide contains the third part of the walkthrough of level 5 - Sorrow Valley. Our walkthrough explains how to avoid sniper attacks, where to possess the new flying Slig and how to use the possessed enemy to eliminate the snipers.
Additional note: The green color in this walkthrough stands for secrets and unique locations/activities associated with the badges (challenges) in the game. Mission 5 badges have been described on a separate page of the guide.
Get rid of the snipers
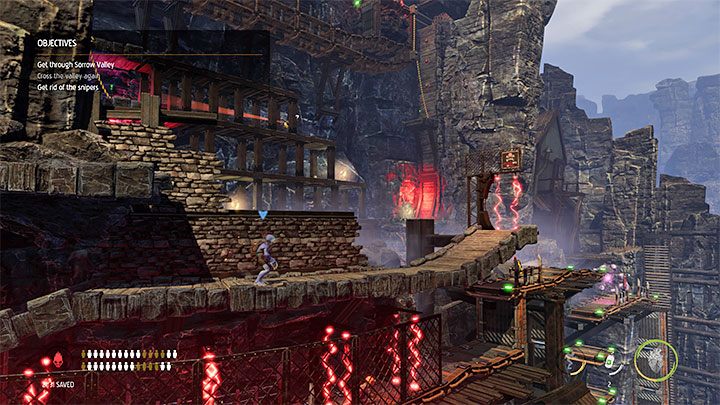
Abe will encounter the snipers once he reaches the area pictured above. Don't come out of hiding, as the sniper fire will be sudden and a single hit will kill our character. Heading right isn't an option. Instead, it will be necessary to eliminate the snipers (additionally, you'll have the opportunity to turn on some devices that will enable future progress).
On the left is an upper platform. Jump to it and begin the journey to the location above.
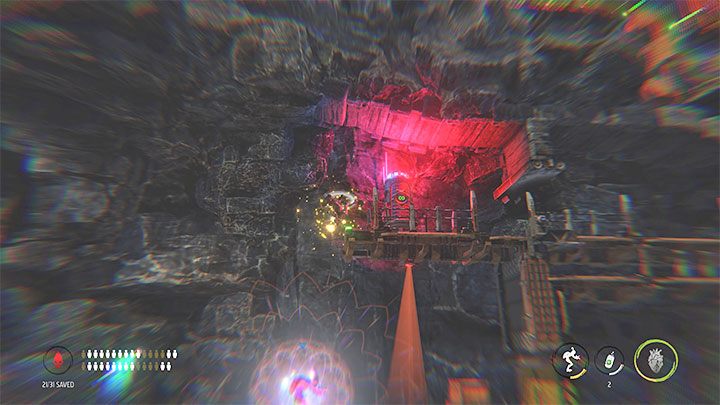
We start by purposely entering the area illuminated by the camera to trigger the alarm and summon a Flying Slig above us. We must possess the flying enemy, because controlling them for the next few minutes will allow us to get rid of the snipers.
Additional note - the "stock" of Flying Sligs is unlimited. If we lose the controlled flying opponent, another one will appear and we can possess them again.
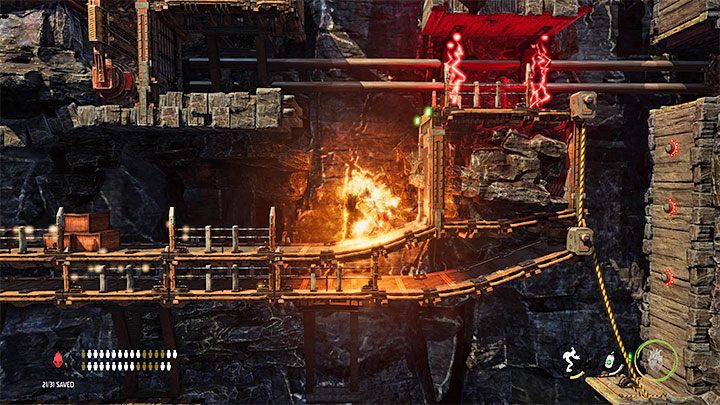
Let's fly to the right. The Flying Slig has a flamethrower that allows us to set fire to our surroundings and any regular opponents we encounter (alternatively, we can completely focus on disposing of the snipers, as required per the mission objective).
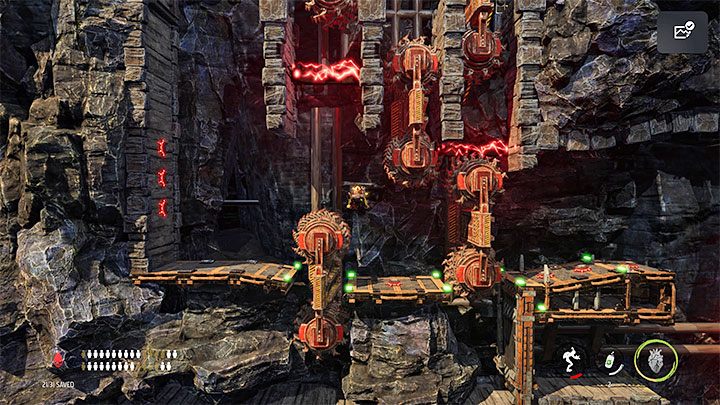
We have to follow the established route and avoid interacting with the working machinery. Keep in mind that we don't have to rush to get to the snipers. Stop in front of each new trap, observe its behavior and wait for the right moment to completely evade it or (in the case of several machines close to each other) to temporarily pause in a safe spot.
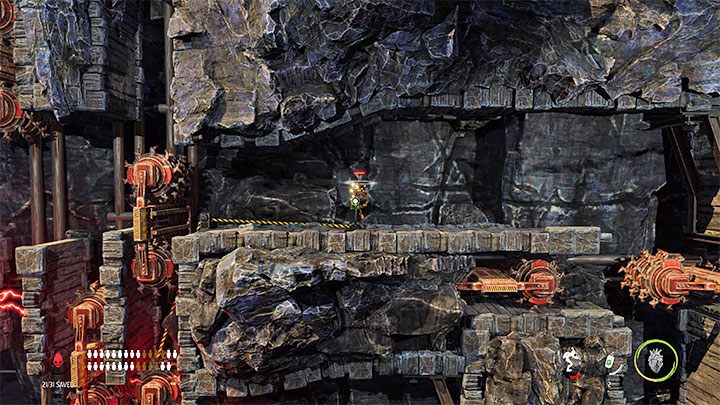
During the flight, we also need to reach the levers so the possessed Slig can interact with them. At first, we will find two levers.
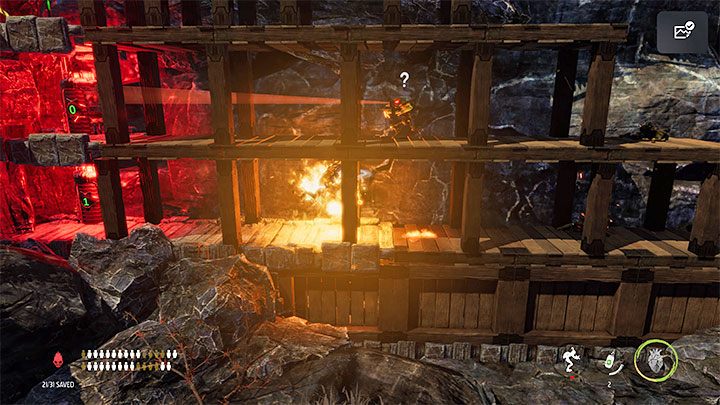
Once we reach the area with snipers, begin setting them on fire. We can either eliminate just the snipers or defeat all the Sligs, including the reinforcements that will appear once the alarm is triggered.
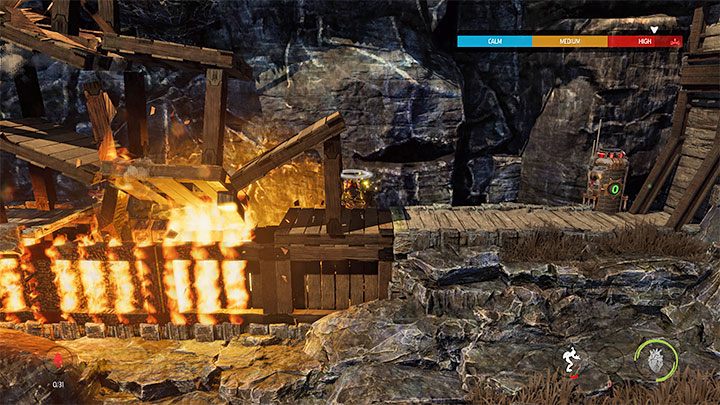
Keep using the thrower even after all the snipers have been eliminated. The point is to set fire to the entire wooden structure, it will soon collapse.
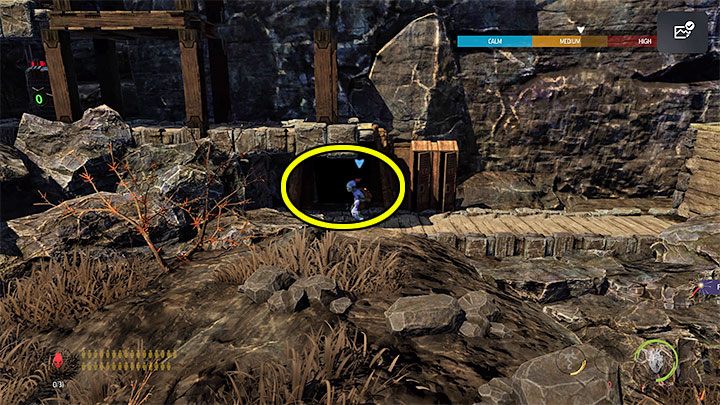
Fly the Slig to the last lever and pull it. The Flying Slig will no longer be useful and we can end the possession.
As Abe, enter into the area where the snipers were and head down. In the place marked on the picture, there is a very well hidden entrance to a secret area.
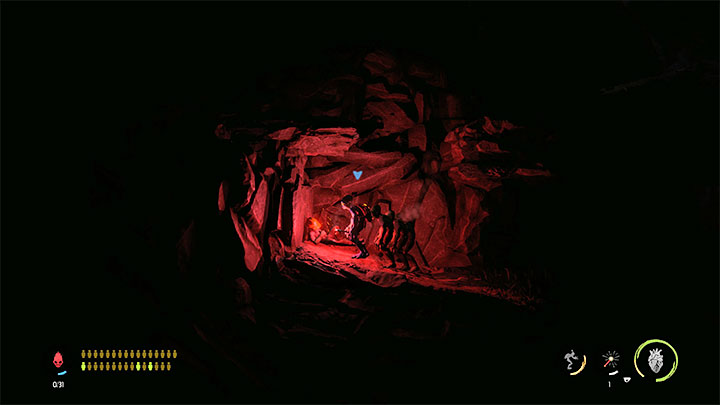
Get to the mine where you will find 6 sick Mudokons to recruit. Join very Mudokon you find to your team.
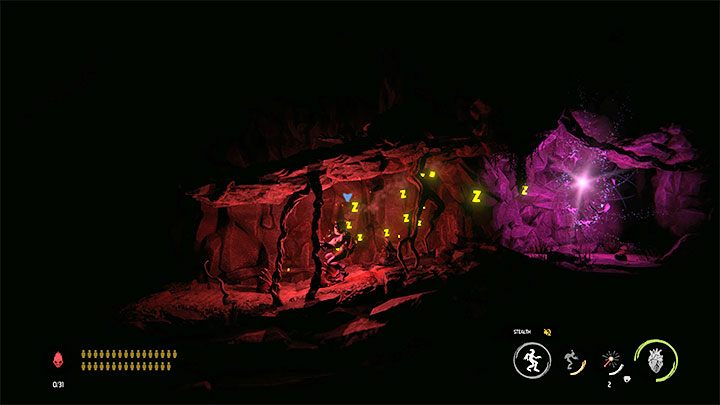
In the lower right corner of the mine, you will find a Bird Portal. However, there are a few Sligs sleeping next to it. Order the allies to wait on the upper level, sprint to the left to lure out the Sligs (jump to the upper level at the end of the path), return to the portal and activate it so that the allies can be saved. You can get out of the mine now and leave this area.
Leave for Phat Station
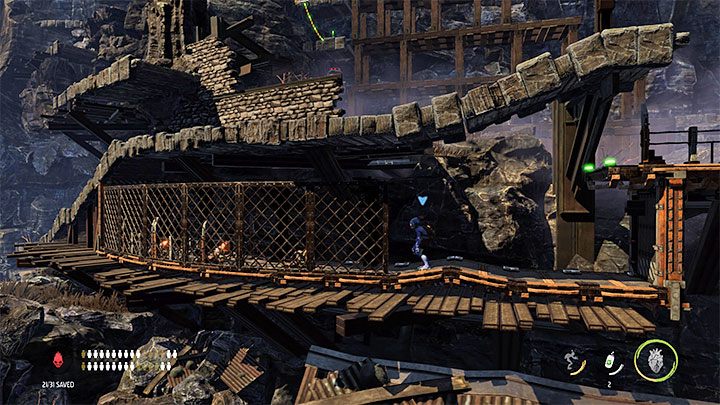
We can now return to the lower area where we first noticed the snipers earlier. There is a single "regular" Slig, which we can possess and stun or kill.
Let's look at the cages on the left. 3 Mudokons were imprisoned in this area. Now we can heal and recruit them. Head to the right with your buddies to find a bird portal and use it to liberate them.
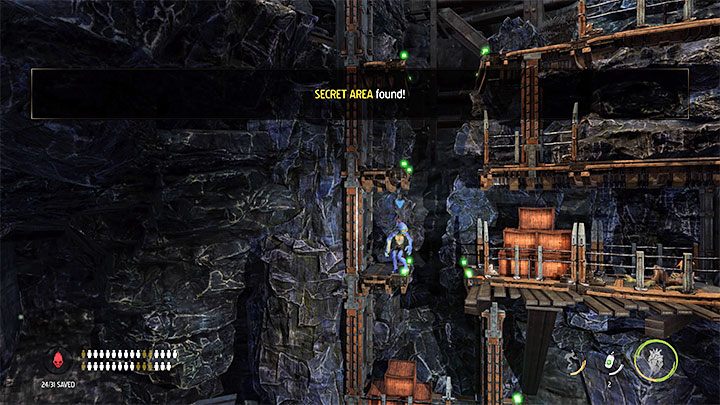
A Secret Area can also be found in this location (pictured above). In this area, in addition to some new destructible crates, we will encounter a sick Mudokon. Heal him and lead him to the bird portal.
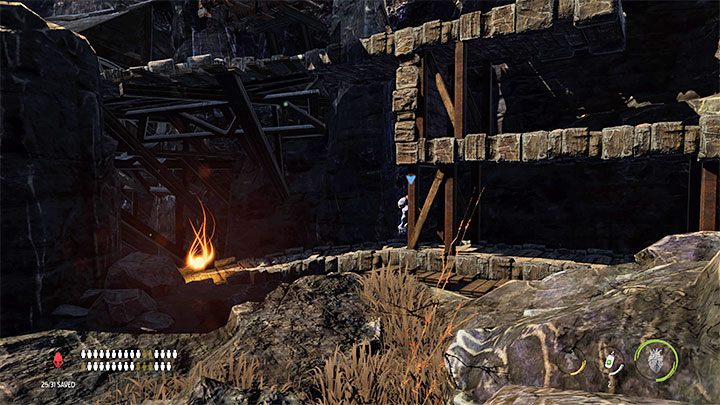
Then, head further to the right and climb down the long ladder. Searching the area on the left will allow us to find the hidden Royal Jelly shown in the picture.
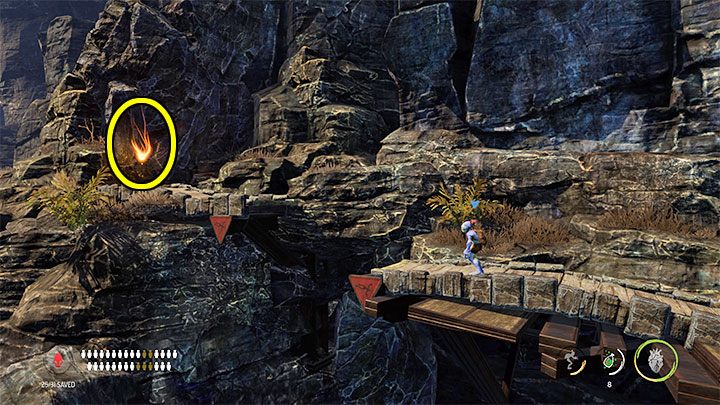
We resume the journey to the right until we reach the location with the elevator. Take the elevator down, then investigate the area to the left first (to the left of the new checkpoint). After jumping over a few precipices, we will reach the location of another hidden Royal Jelly.
Now, we can head all the way to right and complete the mission.
You are not permitted to copy any image, text or info from this page. This site is not associated with and/or endorsed by the developers and the publishers. All logos and images are copyrighted by their respective owners.
Copyright © 2000 - 2026 Webedia Polska SA for gamepressure.com, unofficial game guides, walkthroughs, secrets, game tips, maps & strategies for top games.
