Oddworld Soulstorm: Descending to the Bone Processing, Necrum
Get to the Bone Processing
This page of the Oddworld Soulstorm guide contains the second part of the walkthrough of Mission 10 - Necrum. Our guide has information on how to save all Mukdokons, how to avoid traps, how to finish platform sections with Monkey Bars, and how to unlock the exit from the mine safely.
Additional note: The green color in this walkthrough stands for secrets and unique locations/activities associated with the badges (challenges) in the game. Mission 10 badges were described on a separate page of the guide.
- Get to the Bone Processing Level
- Find the Deep Mines entrance
- First monkey Bars puzzle
- Second Monkey Bars puzzle
- Third Monkey Bars puzzle
- Fourth Monkey Bars puzzle
- Find the Deep Mines entrance #2
Get to the Bone Processing Level
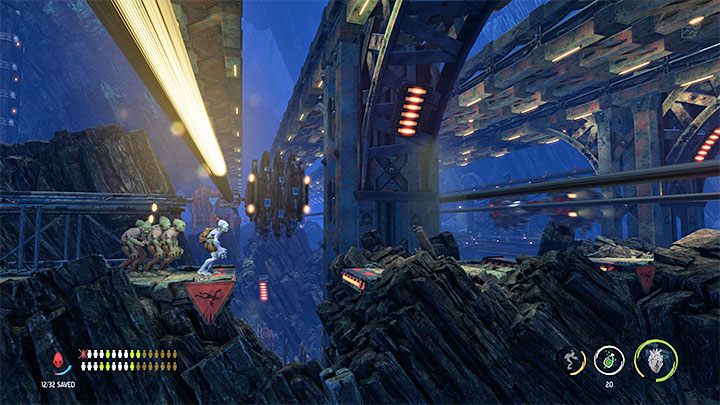
You will reach a new part of the cavern after paying the fee at the second Moolah Gate. Go right. If you want to keep the escorting Mudokons alive, you have to avoid new traps flawlessly. This time it will be the blades moving the upper tracks at a very high speed. Always line up at the edge, jump as soon as the blades pass us, and run on so the Mudokons can join Abe.
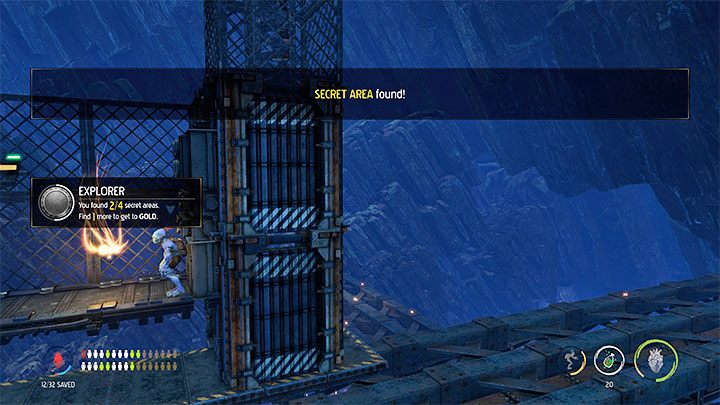
Don't use the elevator right away - squeeze through the hole on the right. This will allow you to reach the Secret Area find a Royal Jelly.
Only now interact with the elevator. You have to move left and again escape the rapidly moving blades. Fortunately, not long after you pass them, you will come across a Bird Portal that allows us to send back six Mudokons.
The bottom path will help you avoid large machines next to each other. You always have to position yourself in the red zone and get into the habit of running a few meters forward when the next mechanism goes up. It's easy to miscalculate the distance.
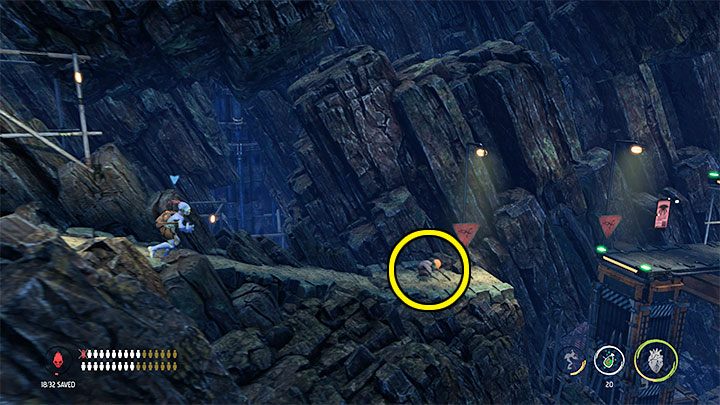
After avoiding the traps, you will meet 1 Mudokon from the picture, and saving him is, unfortunately, very difficult. You would have to return with him to Bird Portal from earlier and avoid the blades again. If you want to take on the challenge, then it is necessaryto unlock the checkpoint first. Fortunately, you don't have to save 100% of the Mukodons to unlock the platinum badge - 2 of them can be skipped.
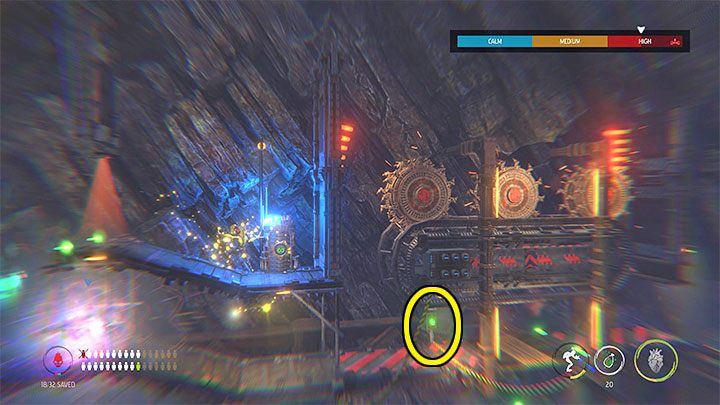
Deliberately set off the alarm approaching the upper scanner and use the Possession on Slig. As Slig, head towards blades on the right, which move at high speed. Slig needs to reach the button marked in the picture. If the enemy dies too quickly, use possession on the next one.
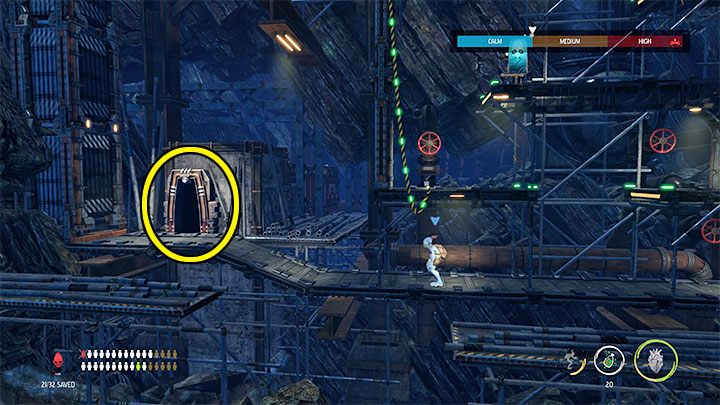
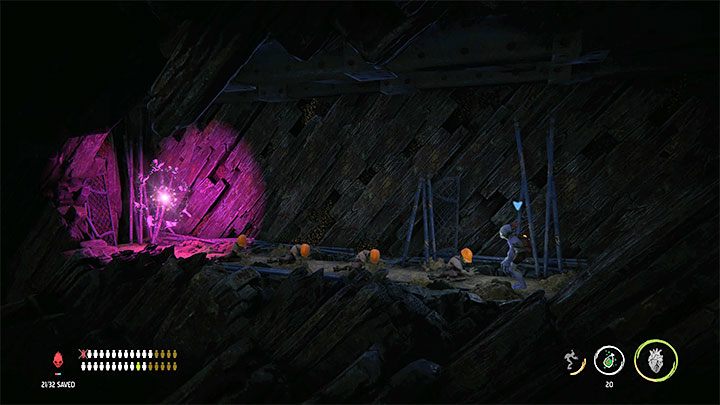
Recruit 3 Mudokons in the lower area, but not leave this area yet. Instead, go to the lower-left passage marked in picture 1. Despite unlocking the Secret Area, enter it.
In the cave, Abe will have to climb long on the ladder, during which you have to avoid different varieties of spinning blades. Along the way, you discover the Royal Jelly. At the top, you will meet 4 Mudokons to heal (the character has the antidote). In the same place, you can activate the portal.
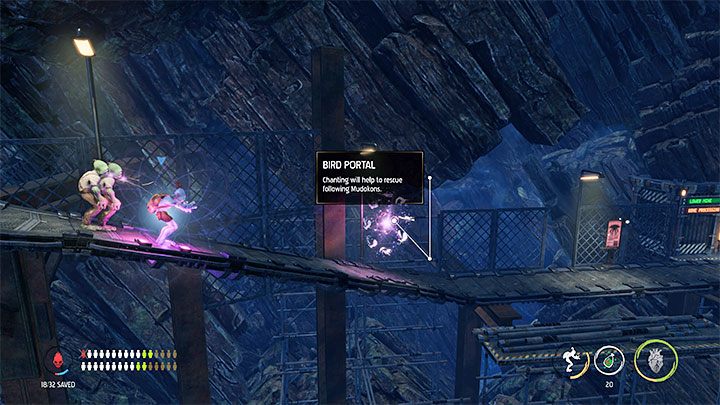
You do not need to use the ladder because the upper passage also allows you to exit the cave. Return to the area with the 3 Mudokons you recruited earlier. Go with them to the right (blades work much slower now) and activate the Bird Portal. After a while, you will reach the entrance to the Bone Processing Level.
Find the Deep Mines entrance
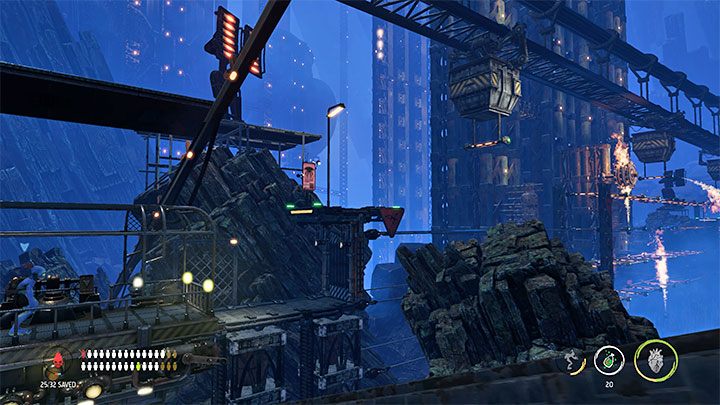
After arriving at Bone Processing Level, you will find a new pair of binoculars, and again, using it is fully optional. You will also find a recycling station and an interactive platform that will take you deep into the stage.
Head right. Now, you will have to deal with the 4 environmental puzzles with Monkey Bars. They will help Abe to avoid further threats.
Additional hint - when performing jumps towards the bars, remember that you can maneuver Abe's flight. You can use this to precisely avoid traps and flight to the next bars. In the case of double jumps, you can also delay the second jump: do not press the jump button immediately for the second time.
First monkey Bars puzzle
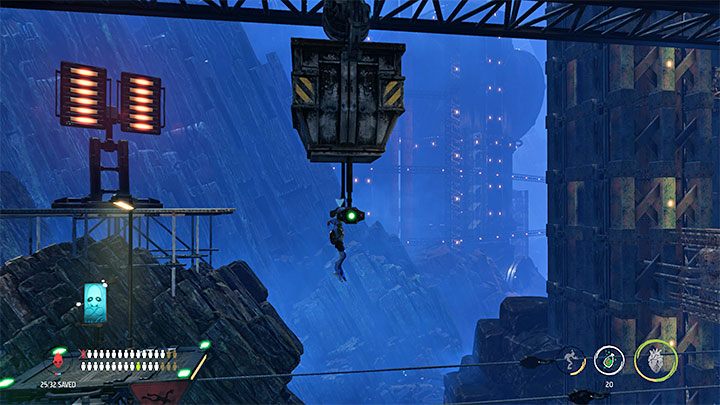
Abe can begin the "ride" by jumping on a moving platform to which a bar is attached. Unfortunately, you won't be able to reach the other end safely that way.
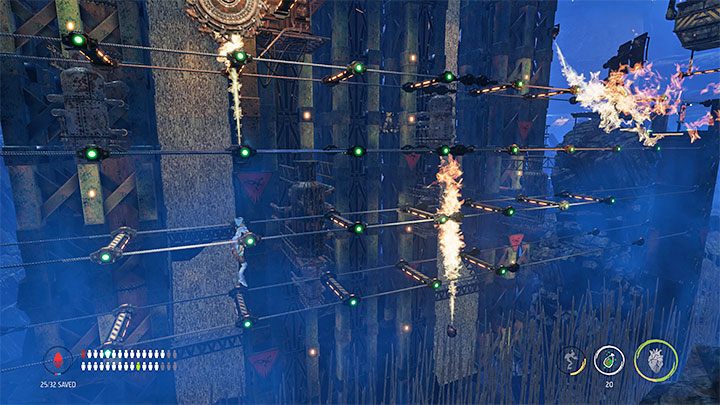
Wait for the right moment to let go. You have to catch one of the lower bars while flying. We move to the right bypassing the flames from the bottom and then from the top. The last flame trap has a rotary mechanism, but since you're not in a hurry, just wait for it to turn right. Eventually, you reach the right shelf whith a checkpoint.
Second Monkey Bars puzzle
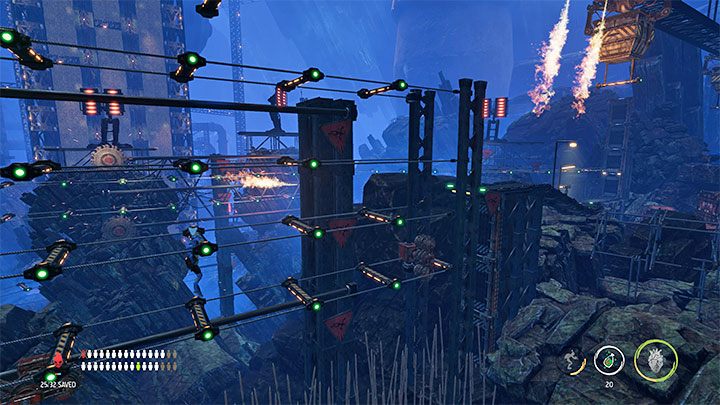
In the second puzzle, you start by grabbing onto a bar on the moving platform and letting go when you find yourself above a group of stationary bars.
Move to the right. It is best to stay in the central part of the area with the bars, as it is the best for avoiding traps in the form of moving blades (fortunately, they move only on the determined track). You do not have to grab the moving platform bar again - make a precise double jump towards the right shelf.
Third Monkey Bars puzzle
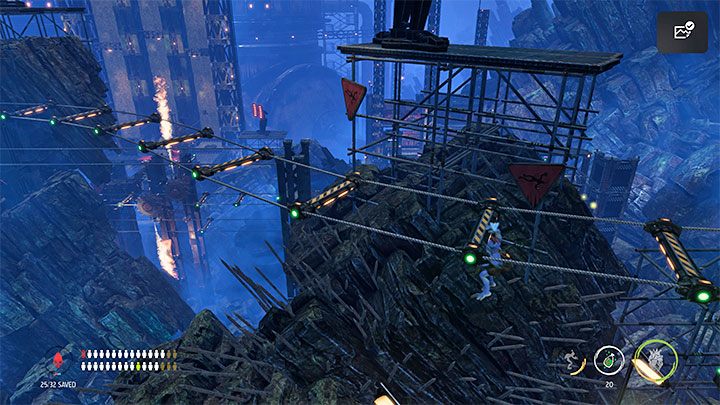
On the way to the place of the third puzzle, you can optionally use the binoculars again at the vantage point. Jump to the higher shelf, then grab one of the upper bars and start moving to the left.
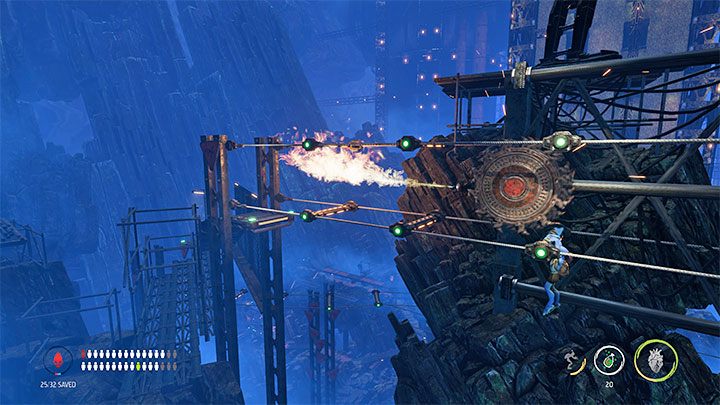
In the case of this puzzle, you must avoid larger mechanisms with blades. Follow the mechanism which flames. After it stops, lower yourself to the lower bar. Resume your travel to the left only when you will be sure that the flames won't reach you. However, we cannot wait too long because the lower mechanism will reach us.
Fourth Monkey Bars puzzle
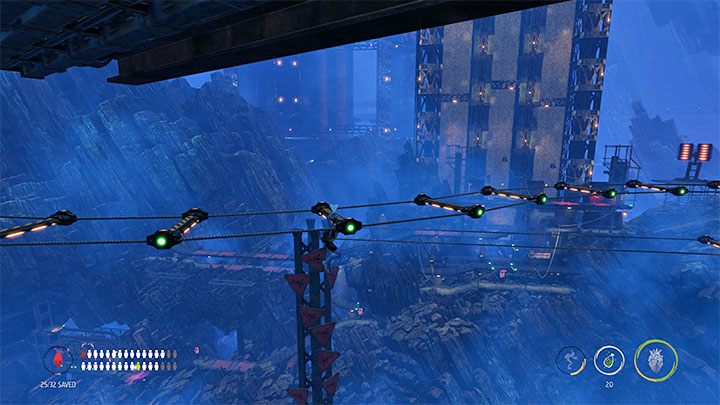
The final fourth environmental puzzle will begin shortly after reaching the checkpoint on the edge of the abyss. Lower yourselves there and begin to use the bars to move right.
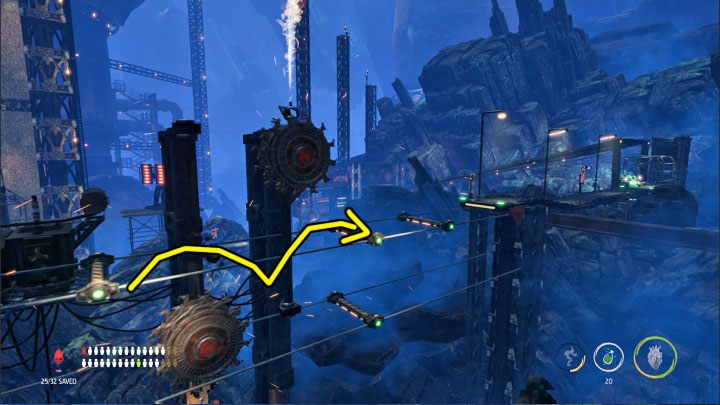
Again, you have to avoid contact with large spinning mechanisms, and in this case, the solution is double jumps.
Passing the first blade is very easy, but the next two are very problematic. Wait until they move down and up as much as possible, and then do a double jump with a delay - press the jump button for the second time only after avoiding the first blade. The suggested path is shown in the attached picture. After bypassing the trap, you will reach the platform traveling deep into the screen.
Find the Deep Mines entrance #2
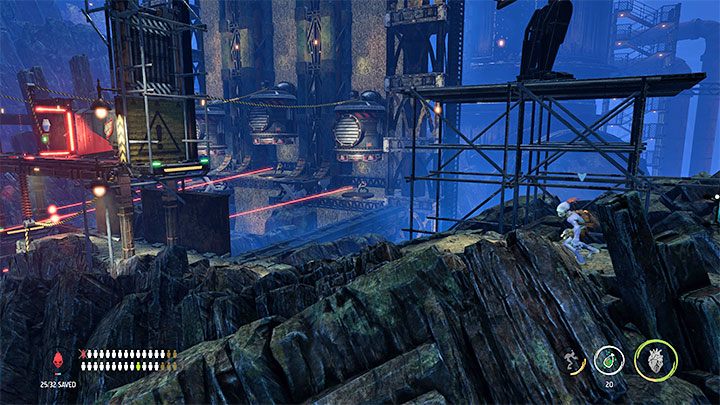
First, go to the right where there is a recycling station and vending machines - you can buy Gum, cans of Fizzy Pop, and Brew Bottles. If you have the chance, it is worth producing some Fizzy Pow explosives - they will be useful at the end of the mission.
Go eft. In the location from the picture, Abe has to avoid snipers at the beginning. Hide behind invulnerable covers and leave only when the laser beams are far from Abe.
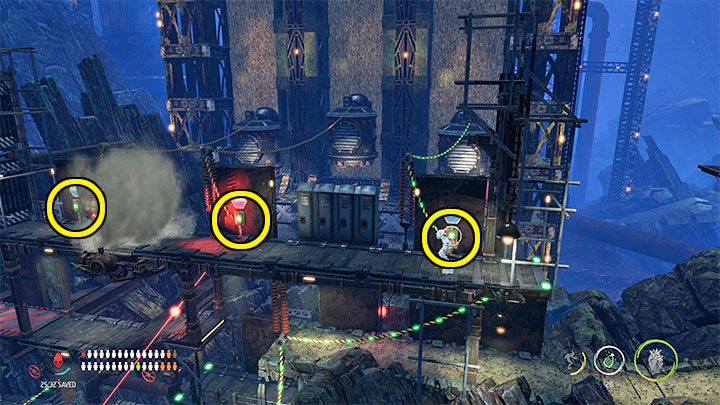
Head down. Recruit 4 Mudokons dragging them away from their work, but temporarily order them to stay in this place. There's also a lever to pull.
Climb to the highest shelf which the machine with a big smile - you can use the Steam Zone, lockers, and hand-thrown Smoke Screen grenades to avoid it. You have to reach the next buttons marked in the picture. Pressing each of them will make a sniper die (he will be crushed by the machine). Get rid of all the snipers that way.
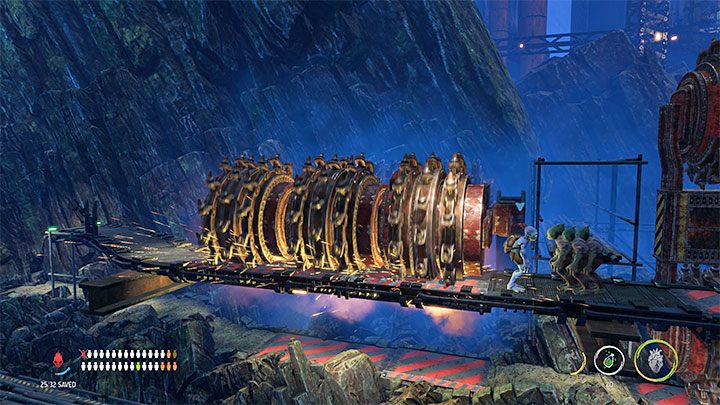
Carefully return to the bottom, recall 4 Mudokons and start going with them to the left. This path involves avoiding further traps that can kill Mudokons. Especially problematic are larger traps, such as the one in the picture - it is worth dividing Mudokons into smaller groups and moving with 2 allies at once. It'll reduce the risk of someone getting killed.
After avoiding all the traps, you will reach the Bird Portal located on the main path, which we will use to save our friends.
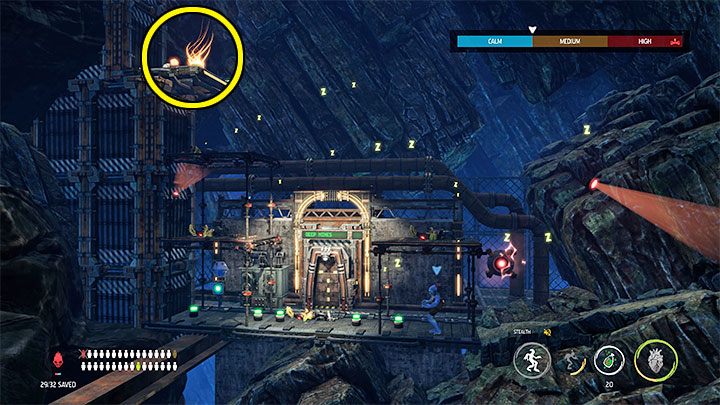
There is 1 Mudokon left to save, and it is in the last area to the left of here. You have to sneak in here, or you might lose your chance of saving ally.
Abe has to avoid two scanners - use a smoke bomb to blind the first one, and pass the second one when it's facing another direction. Mudokon is on the top left shelf and in the same place, where you will also find the Royal Jelly. Carefully return with Mudokon the same way (remember that scanners can also detect other Mudokons). Sending him back through the Bird Portal
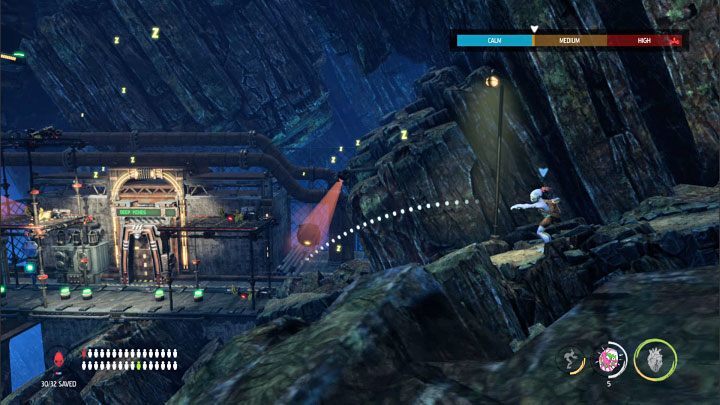
Prepare a Fizzy Pow or other offensive gadget and use it to attack the 2 nearest Sligs. This should lead to explosions that will be able to eliminate opponents. Two more Sligs are occupying the left platforms but you don't have to get rid of them. Just wait until they stop being alert.
Reaach the lever by the door closed. Using it will unlock the exit and allow you to escape this area.
Important note: Do not try to use the lever immediately before getting rid of the first two Mudokons. Pulling it will alert the nearby opponents, and Abe could easily be shot. If you don't have Fizzy Pow, you can "only" stun enemies using e.g. Fizzy Pop or Bouncy Candy.
You are not permitted to copy any image, text or info from this page. This site is not associated with and/or endorsed by the developers and the publishers. All logos and images are copyrighted by their respective owners.
Copyright © 2000 - 2025 Webedia Polska SA for gamepressure.com, unofficial game guides, walkthroughs, secrets, game tips, maps & strategies for top games.
