Oddworld Soulstorm: Journey to Phat Station, The Funicular
This page of the Oddworld Soulstorm game guide contains the third part of the walkthrough of level 4 - the Funicular. Our guide explains where to find and how to save all of the remaining Mudokons and describes the way to reach Phat Station.
Additional note: the green color in this walkthrough stands for secrets and unique locations / activities associated with the badges (challenges) in the game. The badges in level 4 were described on a separate page of our walkthrough.
Find a way to Phat Station
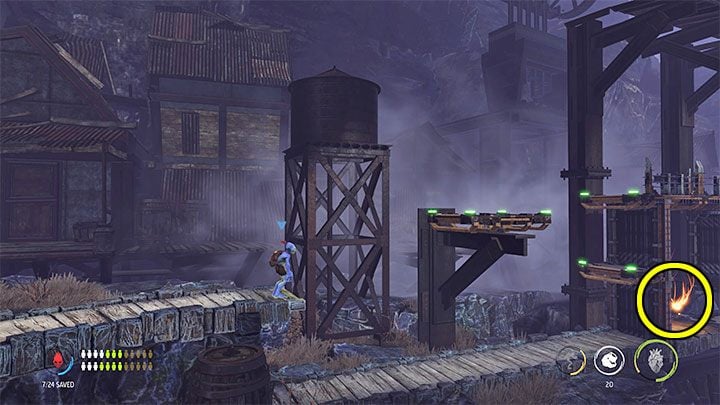
The final part of the stage is initiated by activating the mine cart with the help of the 7 Mudokons travelling with Abe. Once you arrive at the new location, don't head straight to the left. Instead, let's first examine the area to the right of the mine cart.
You can find a hidden Royal Jelly in the spot marked on the attached screenshot.
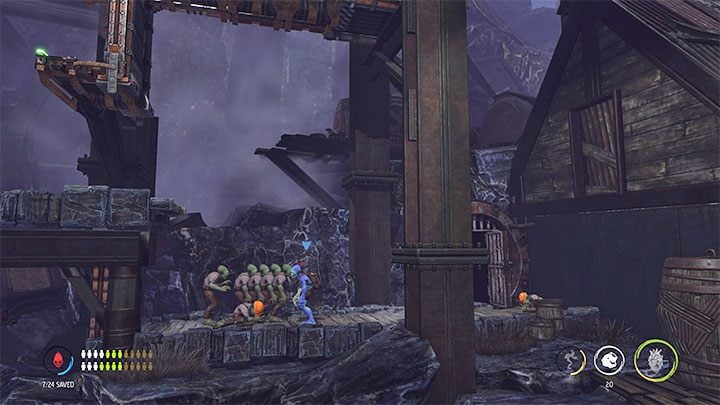
Head even further to the right. In the area pictured above, we can:
- Heal and recruit 2 new Mudokons - they will join the main group (a total of 9 Mudokons should now be following Abe).
- Enter the optional mine - Abe will investigate it alone and this mine will turn out to be a Secret Area.
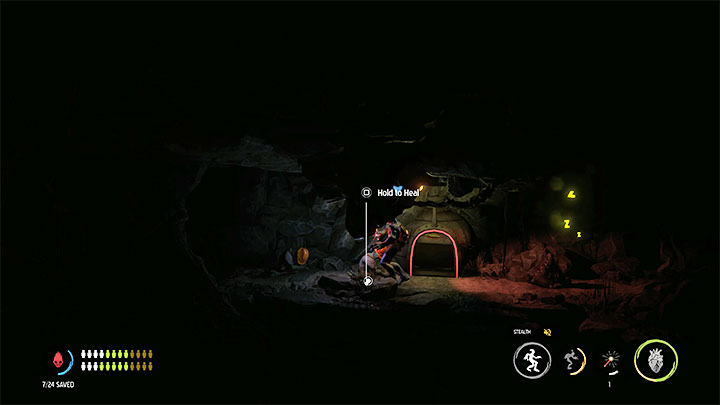
Phatoline needs to be found in the optional mine as it's necessary to start the generator.
In the upper part of the mine, there are 2 sick Mudokons. You will need to sneak past the sleeping creature that is guarding access to them. Use the antidote on these newfound Mudokons and once they have joined you, quietly leave this place. Return to the middle level and command the Mudokons to wait for Abe (down on the d-pad). It's an important precaution to prevent them from accidentally dying in a few moments.
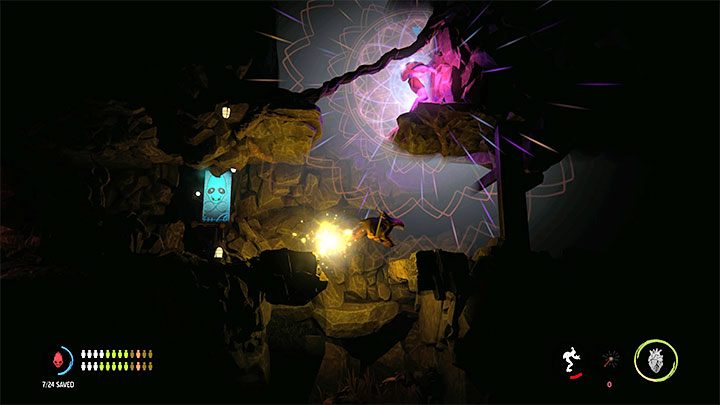
The 3 sleeping creatures on the lower level of the mine might be difficult to avoid. Get their attention, then run to the right and onto the upper platform. Wait until they fall into the hole or lose interest and return to sleep (we can also use a Brew Bottle to set fire to the lower platform).
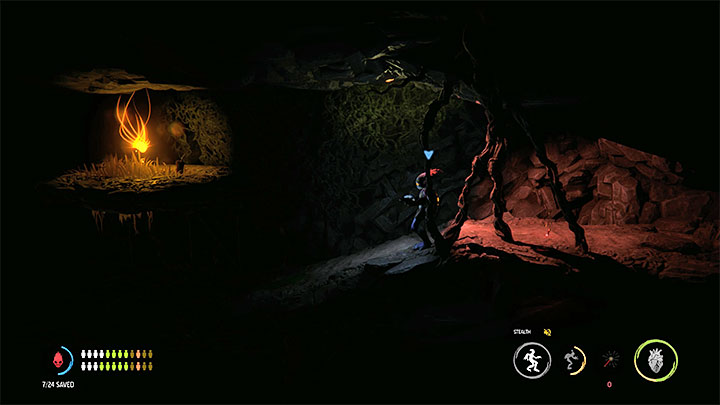
Now, we can investigate the lower left area where the monsters were sleeping. In this part of the mine, a hidden Royal Jelly and a canister of Phatoline are waiting to be found.
Carefully bring the Phatoline back to the generator from earlier in order to refuel and start it.
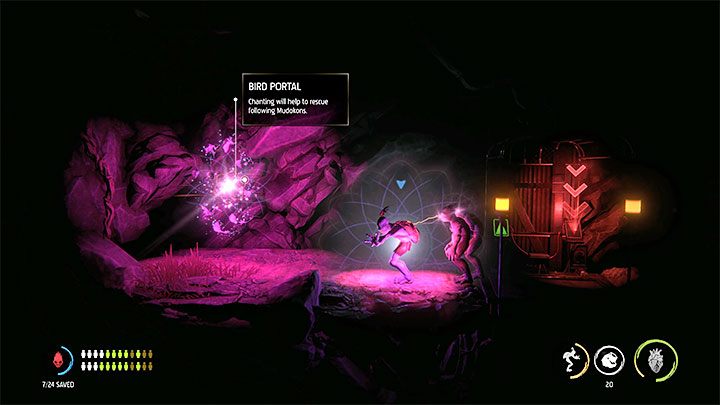
The camera will pan away for a moment to show the location of the elevator that has just been unlocked. Call over 2 Mudokons and take them there. Use the elevator to reach a new level and Chant to activate the nearby Bird Portal. This will open an escape route for the 2 recently met Mudokons.
It's time to leave the optional mine - return the same way we came here.
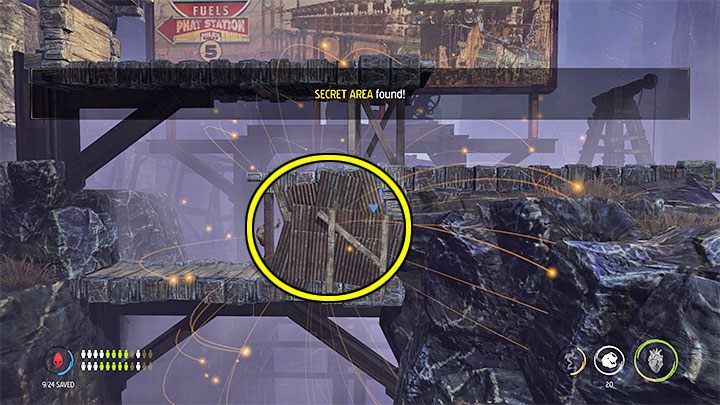
Head back to the main group of 9 Mudokons. Bring them to the left, that is, to the starting point (where you arrived after the mine cart ride). Activate the checkpoint and head further to the left.
Pictured above are the locations of the Secret Area and a hidden Royal Jelly. It's hidden under a big billboard.
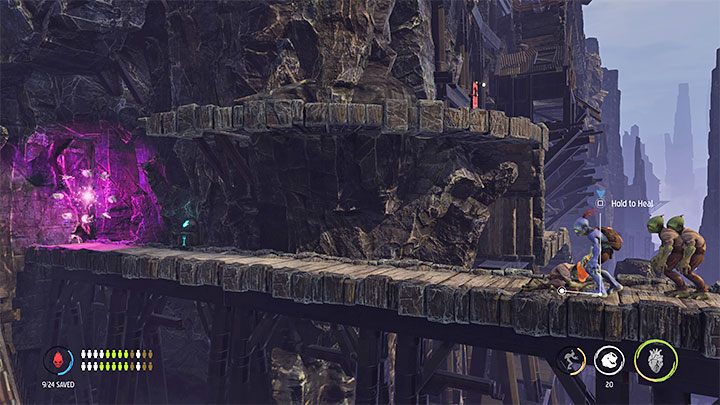
Heading further to the left, we will reach a single sick Mudokon. Patch him up and approach the new Bird Portal at the left end of the path. Activating it will liberate all the Mudokons that have followed Abe so far.
The game should eventually display that 19 of the 24 Mudokons were saved. This means that 5 of them are still to be found.
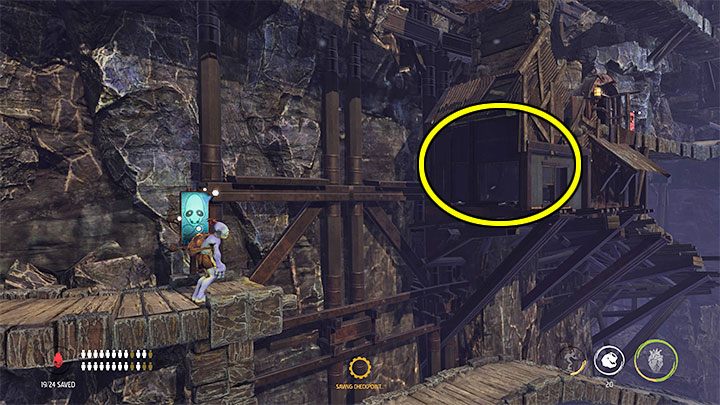
Double jump next to the Bird Portal and head to the right. Double jump again in the spot pictured above to reach the upper house. There is a path here that will lead us to the Secret Area entrance.
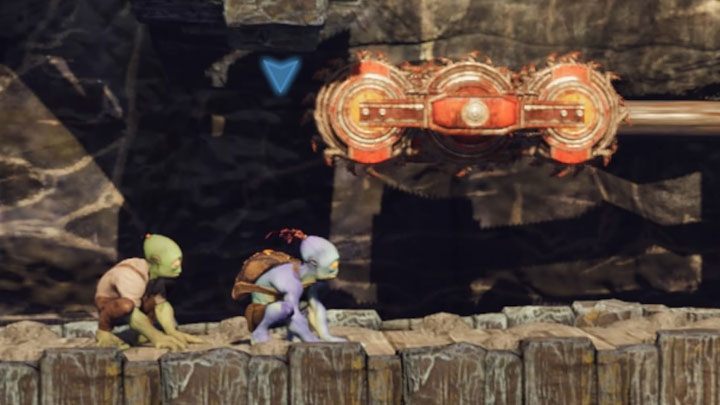
In the Secret Area, you'll find the last 5 Mudokons in need of healing. While exploring this location, be wary of the spinning blades as they can easily kill the Mudokons. To reduce the risk of our buddies dying after evading the trap, command them to join Abe once the trap's blades move in the opposite direction. If one of them dies, it's best to load the last checkpoint and try again.
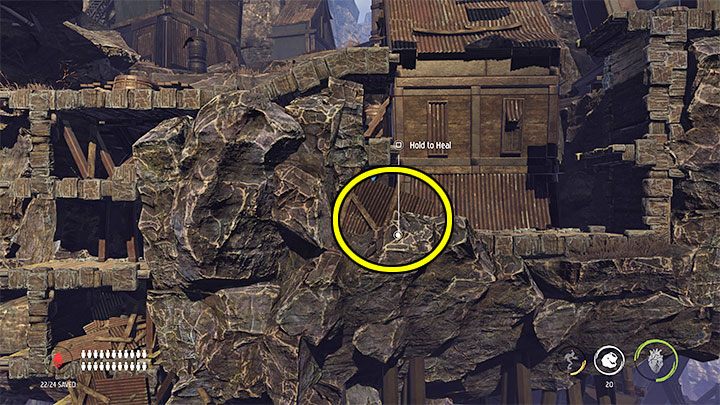
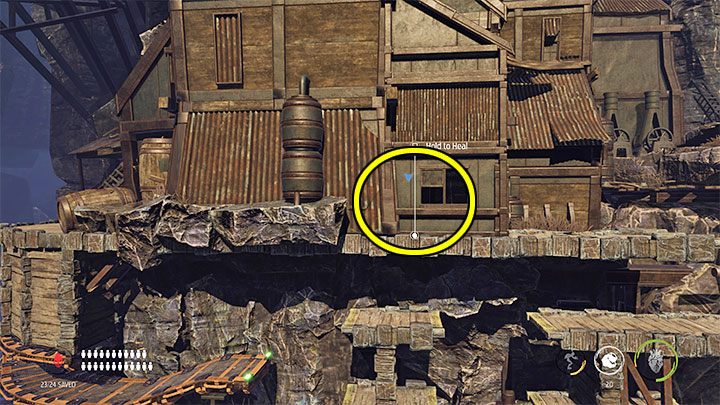
The 2 Mudokons in the screenshots above are the most problematic. They "hide" behind obstacles, making them difficult to see. The only hint we get is the prompt that appears on the screen allowing us to heal a given Mudokon.
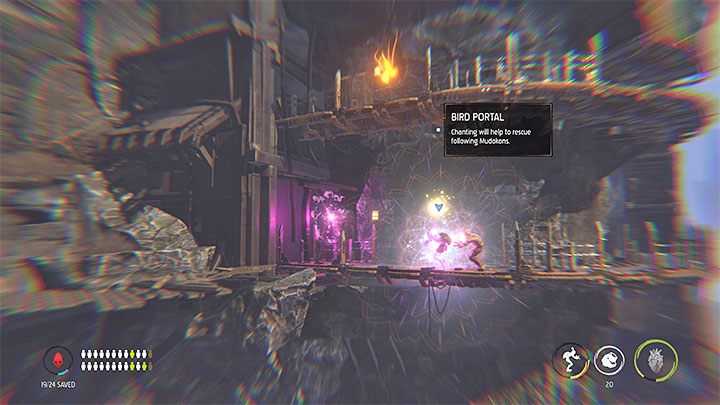
Bring the Mudokons you are saving to the Bird Portal located at the left end of the Secret Area. We don't have to free all 5 Mudokons at once. They can be found and saved one at a time.
You will find a hidden Royal Jelly above the Bird Portal. It can be reached from the right side.
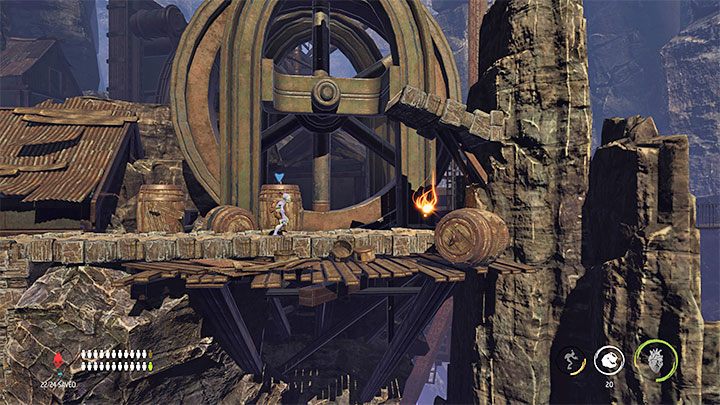
Before we can finally leave the Secret Area, we need to explore its highest level. This will allow you to locate the last hidden Royal Jelly.
Now we can head to the Secret Location's exit and return to the main path.
Ride the mine cart further into the valley
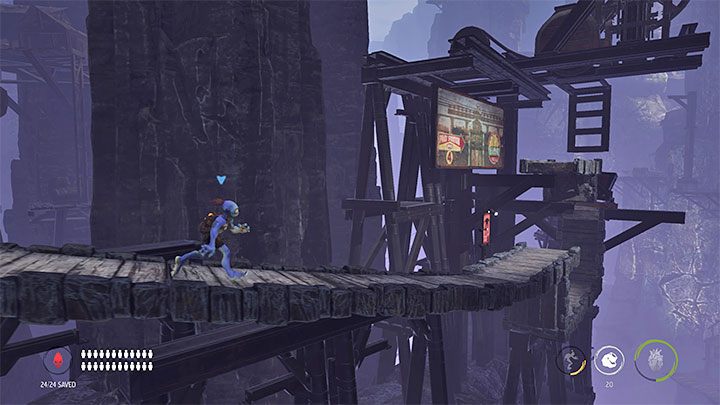
Once you're back on the main path, head to the right. The screenshot above pictures a mine cart, which can be used to complete the stage.
Before pulling the lever, it's a good idea to make sure that the stage is 100% complete, and in particular that we have rescued 24 out of 24 Mudokons.
You are not permitted to copy any image, text or info from this page. This site is not associated with and/or endorsed by the developers and the publishers. All logos and images are copyrighted by their respective owners.
Copyright © 2000 - 2026 Webedia Polska SA for gamepressure.com, unofficial game guides, walkthroughs, secrets, game tips, maps & strategies for top games.
