Oddworld Soulstorm: Crossing Tank Row 2D, Phat Station
This page of the Oddworld Soulstorm guide contains the third part of the walkthrough of Mission 6: Phat Station. Our walkthrough informs how to safely get through the Tank Row 2D section, how to craft smoke screen and smoke screen plus grenades and how to use them.
Additional note: the green color in this walkthrough stands for secrets and unique locations / activities associated with the badges (challenges) in the game. Mission 6 badges were described on a separate page of the guide.
- Go through Tank Row 2D and unlock the cargo car
- Smoke Screens
- Scavenge enough Moolah to get past the gate
- Take the cargo car to Tank Row 3
Go through Tank Row 2D and unlock the cargo car
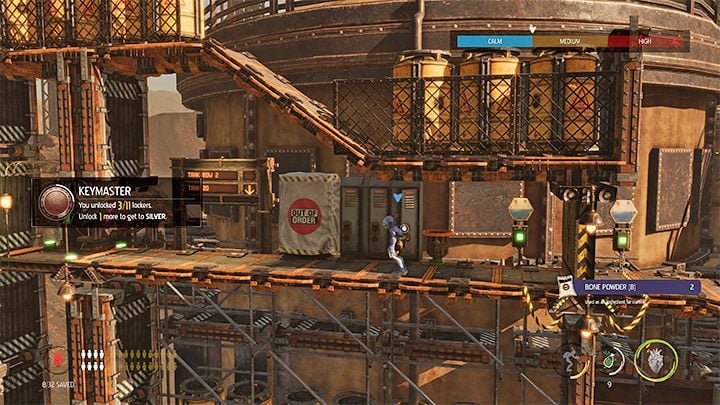
We can start exploring the Tank Row 2 zone after we've used the cargo car for the first time. We open the left gate, but only after a Slig stops observing it. Along the way, we have to keep hiding in steam zones.
We reach the area with several padlocked lockers (it's another opportunity to acquire the rare ingredient for crafting Bone Powder). We're using the elevator to get to the higher level.
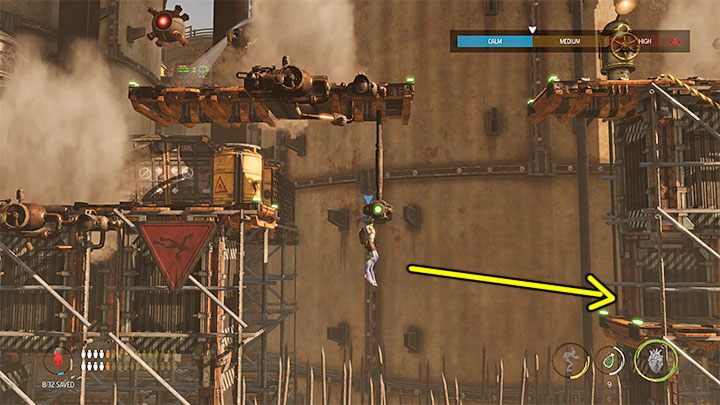
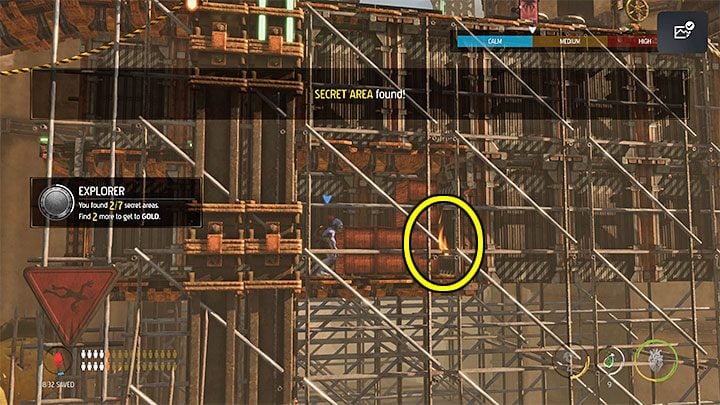
At the top, we recruit 2 Mudokons and use the work wheel. Along the way, we avoid the flying Slig. Consider ordering the Mudokons to wait in the steam zone, descend and grab the monkey bar from picture 1: it is above the spikes. We can make a double jump towards the right platform in order to discover a secret area and find a Royal Jelly secret (it is behind the boxes to destroy).
We return to the top, call the Mudokons and keep going right. We can recruit 1 Mudokon along the way.
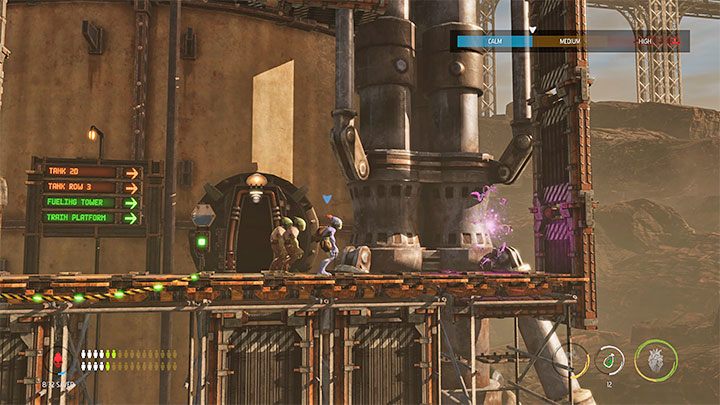
Before entering the next area, we should wait for the Slig flying around this area to appear and fly away. That'll give us plenty of time to get through the area and get to the last wheel of the Work Wheel.
After opening the last gate, we will find the bird portal, which will allow us to save the escorted 3 Mudokons. We can now enter Tank Row 2D.
Smoke Screens
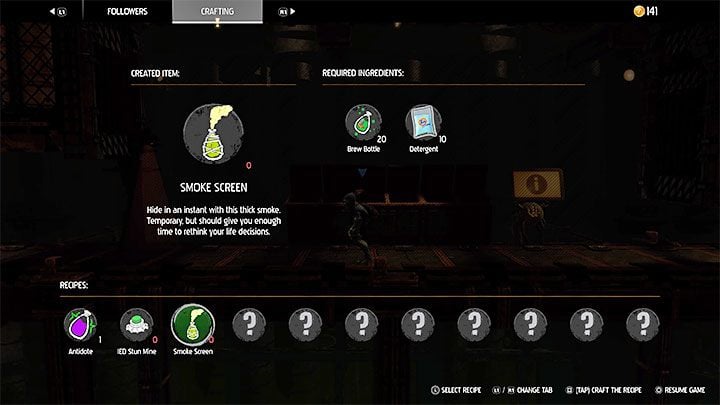
Next to the starting point of the Tank Row 2D exploration, we can find new lockers, a recycling station and the first vending machine. Vending machines offer different products depending on the object found and the one in this location allows you to pick up brew bottles for free. Use it to replenish the maximum stock of these items.
In order to continue the journey, we will squeeze through on the right side. In the lower level, we will find the Detergent component for the first time and the game will unlock the ability to produce smoke screen grenades. Producing standard grenades requires a brew bottle and a detergent.
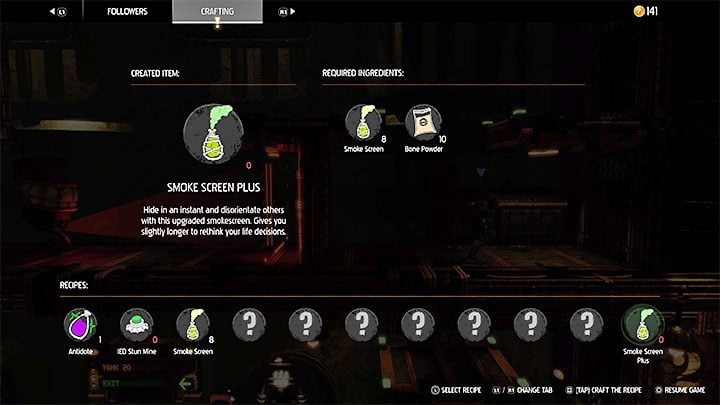
Once you produce your first standard smoke screen grenade, you will unlock a blueprint of upgraded grenades - Smoke Screen Plus To produce them, you will need a standard grenade and Bone Powder, a rare crafting ingredient.
Important note: Bone Powder cannot be easily found along the way. As a result, we must severely limit the use of Smoke Screen Plus grenades, as we will not be able to produce more to replenish the stock. In the following section of this walkthrough, you'll find out where to use the Plus grenades and where the standard ones will be enough.
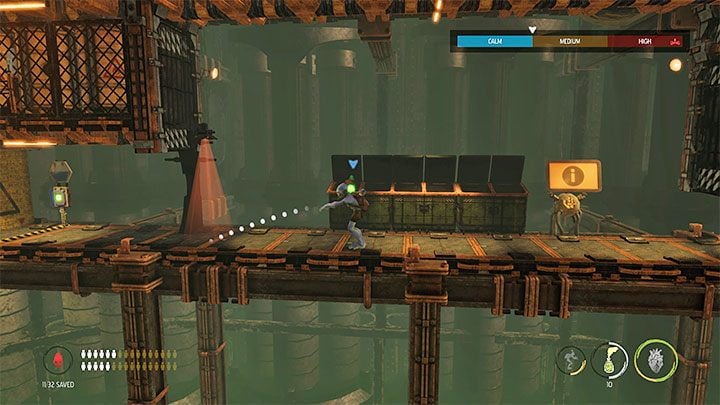
We can test the smoke grenades right away to bypass the scanner to the left of the dumpsters. We prepare to throw a (standard) Smoke Screen grenade and aim it at the area observed by the scanner. This will create a temporary smoke cloud, which, like the steam zones, will make Abe temporarily "invisible". We use the unlocked access to the elevator.
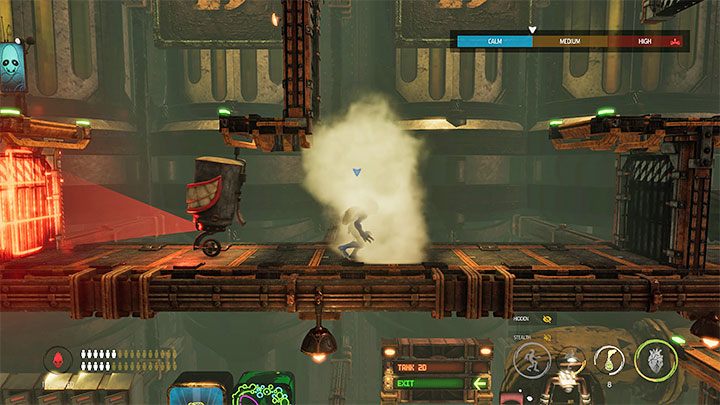
After reaching a new level, we will meet the smiling machine for the first time. It scans the area directly in front of itself (red) and is immune to possession.
As before, we need to help ourselves with a smoke screen - a standard one will do. We throw a grenade once the machine starts coming towards us, then we hide in a cloud of smoke and pass the machine while running to the right. We can also optionally use another smoke screen to have more time to search the dumpsters.
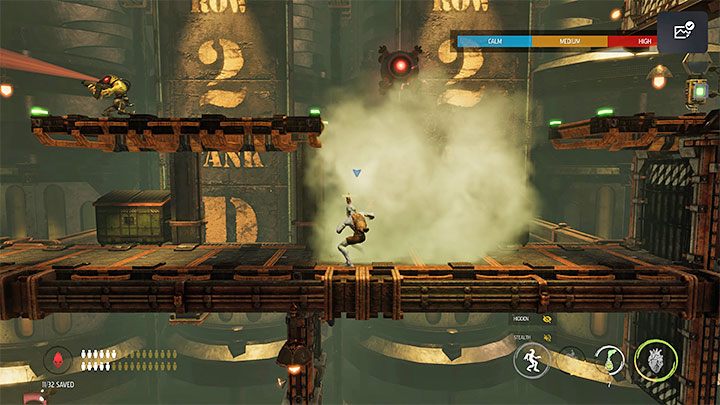
A slightly more difficult situation awaits us once we reach the location with two Sligs: one patrols the ground floor, the other is on the higher level. We jump down and start by ransacking the dumpsters.
We recommend using the Smoke Screen Plus grenade on the lower enemy - this action will allow us to tie the Slig stunned by the smoke (if we have a tape) or, at worst, it will be easier to bypass it.
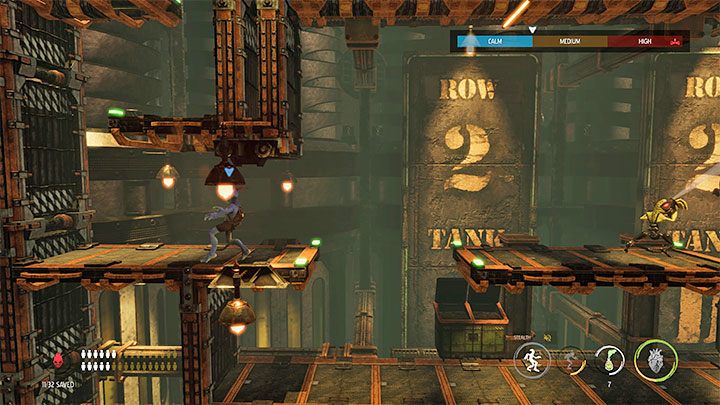
Alerting the area will temporarily block the exit from this location, so we wait it out in cover until everything returns to the blue state (calm). We can finish exploring the area and use the upper left exit.
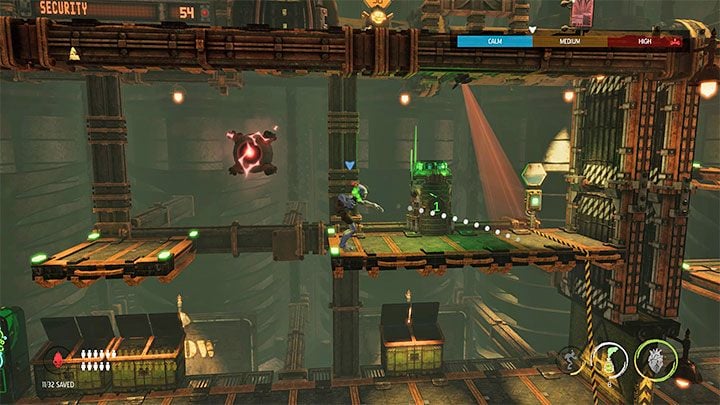
In the new area, we recommend using the Smoke Screen Plus grenade to get rid of the Slig and ensure a peaceful exploration of the location. Here, we will find a recycling station and a vending machine with free brew bottles.
At the top, we use a standard smoke screen to temporarily blind the scanner and allow ourselves to press the button. If possible, it is recommended to avoid raising the alarm here, because an additional enemy would spawn. After pressing the button, we use the exit on the ground floor.
Scavenge enough Moolah to get past the gate
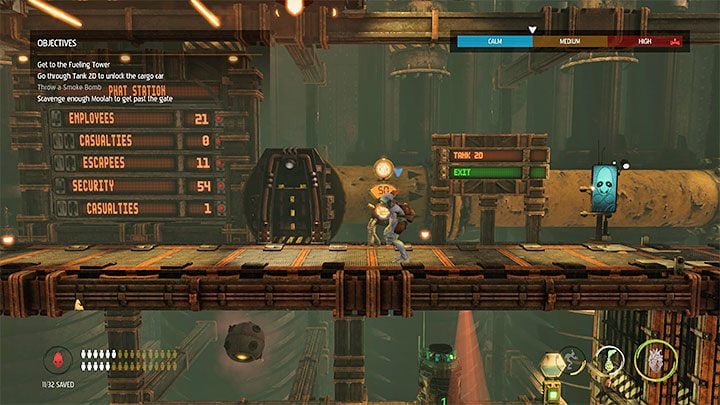
Abe will soon arrive at the new Moolah Gate and it will force a payment of 50 Moolah. As usually, if you have less cash, you can go back to the previous locations and search them more thoroughly.
Take the cargo car to Tank Row 3
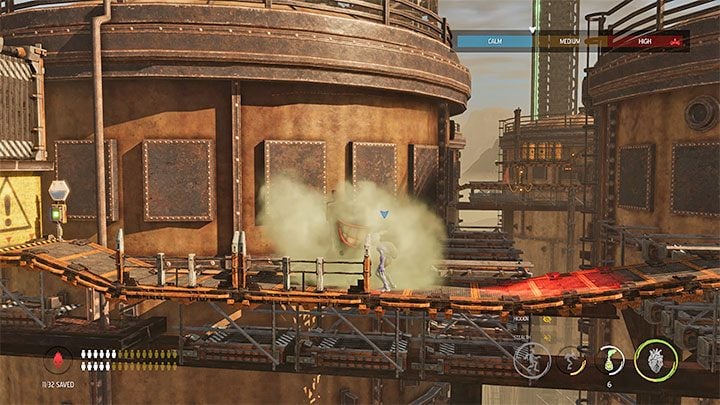
When we go outside, we find crates to destroy and a vending machine with free brew bottles. We open the gate with a button. We meet a new smiling machine and, just like before, we help ourselves with a smoke screen to get past it safely.
We continue going to the left. Use a cable car to get to Tank Row 3 section.
- Oddworld Soulstorm Guide
- Oddworld Soulstorm: Walkthrough
- Oddworld Soulstorm: Phat Station
- Oddworld Soulstorm: Badges (challenges), Phat Station
- Oddworld Soulstorm: Infiltrating the station, Phat Station
- Oddworld Soulstorm: Reaching the Fueling Tower, Phat Station
- Oddworld Soulstorm: Crossing Tank Row 2D, Phat Station
- Oddworld Soulstorm: Crossing the Tank Row 3D, Phat Station
- Oddworld Soulstorm: Reaching the top of the Fueling Tower
- Oddworld Soulstorm: Phat Station
- Oddworld Soulstorm: Walkthrough
You are not permitted to copy any image, text or info from this page. This site is not associated with and/or endorsed by the developers and the publishers. All logos and images are copyrighted by their respective owners.
Copyright © 2000 - 2025 Webedia Polska SA for gamepressure.com, unofficial game guides, walkthroughs, secrets, game tips, maps & strategies for top games.
