Oddworld Soulstorm: Find Alf and the others, Reunion...
Find Alf and the others, Reunion At The Old Trellis walkthrough
This section of the guide to Oddworld Soulstorm contains the first part of the walkthrough of Mission 8 - Reunion At The Old Trellis. You will learn where to find Alf, how to use the Bouncy Bidding Candy, how to correctly go through the cave and where to recruit 4 Mudokons.
Additional note: The green color in this walkthrough stands for secrets and unique locations/activities associated with the badges (challenges) in the game. Mission 8 badges were described on a separate page of the guide.
Find Alf and the others

You will start next to a standing train and then go to the right. Look inside the first containers you find and use the elevator. When you go down, you will find more containers to search and a vending machine that allows you to add Rock Candy to your inventory for free.
From the previous mission, you already know that Rock Candy can be used to stun the Sligs - you need to quickly hit the enemy with the candies 3 times. Stun the first Slig this way (you can also bind it if you have the tape already) and recruit 1 Mudokon.

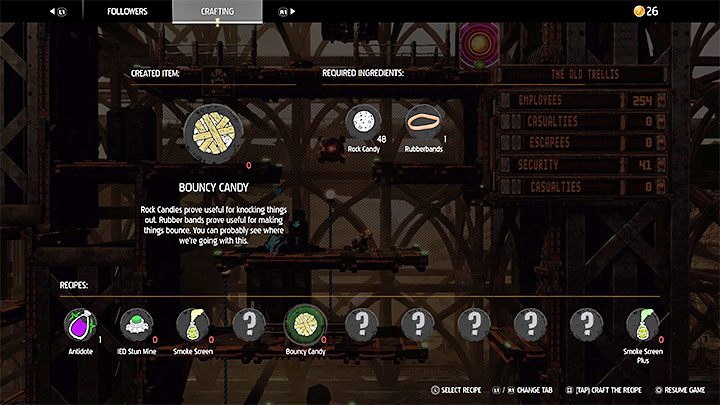
Search the stunned and/or bound Slig, to get a new crafting component - Rubberbands. It can be combined with Rock Candy to make Bouncy Candy. These candies have two main advantages:
- You can attack Sligs more easily from higher or lower shelves - you just need to make sure to bounce the candy correctly off a wall or another object.
- A single Bouncy Candy can stun and slightly knocked back the hit enemy - this can make it much easier for you to neutralize the Slig in order to tie him up or get round him (or kill, if the Slig is standing next to the abyss).

Head further down. You can try out the Bouncy Candy on the nearest Slig. However, be aware that raising alarm in this area will lead to another enemy coming out of the gatehouse.
Before using the left elevator, order the Mudokon to stay behind, and then you need to wait for the Slig marked in the picture to turn right. Otherwise, he could easily shoot Abe before you ride the elevator to the bottom.

At the end of the ride, approach the aforementioned Slig and stun/bind him. There is 1 Mudokon you can recruit in this area. Also, the first Royal Jelly is on the right shelf.
Look out for the Slig on the platform below the elevator. Even if you get rid of him by throwing the candy, another one may come out of the gatehouse. You need to be ready for this.

Keep moving further down. Look out for the single Slig patrolling the ledge with another elevator. After dealing with him, go there together with the escorted Mudokons and ride the elevator to go down.
Head right. You will reach a closed gate and a cave entrance. Examine the lockers and go inside.
Open the door from inside the cave

Remember that as you explore the cave, you can light your way with flares - this will help you avoid falling into the abyss or missing an interactive container.
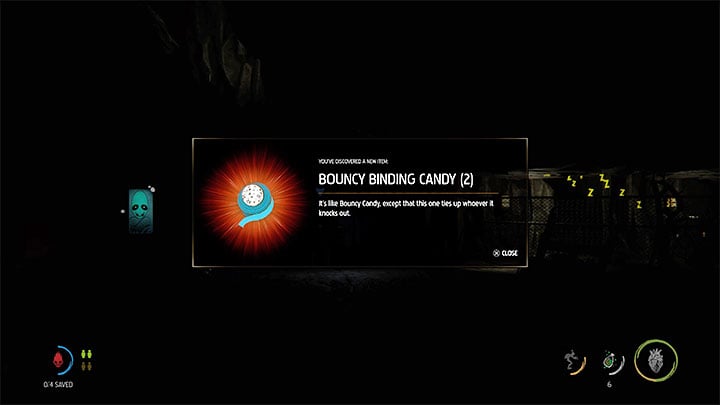
Thanks to searching the cave, you can find the first Bouncy Binding Candy and unlock the related crafting blueprint. This is the best type of candy in the game, because apart from bouncing off surfaces, they can also automatically bind the enemies when they touch them. They will be especially useful in the later fights in this mission. Try to craft them anytime you have the right ingredients, but be careful not to miss as you throw the candy, so that you don't waste it.

Continue exploring the cave, and after descending to its lowest level, start sneaking to avoid waking up the sleeping Sligs. Head left and climb up.
Pulling the lever visible in the picture will complete the current mission objective.


Before leaving the cave, you may want to explore the tunnel on the left side. Once you go round the gap, you will enter the Secret Area, which contains a Royal Jelly , a recycling station and a vending machine. It is worth spending your Moolah on Battery, so that you will be able to craft several Stun Mines.
The game will also unlock a new blueprint for IED Super Stun Mines. To make them, you need ordinary mines and an Amplifier, which you can find alongside different loot. Super mines cause additional damage and if you have any Amplifiers in you inventory, craft the mines whenever possible.

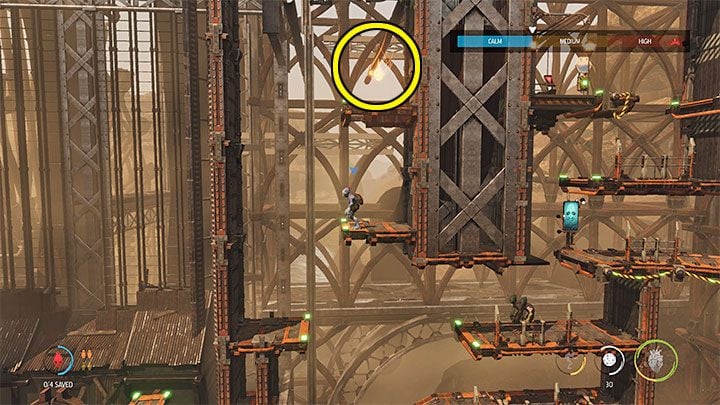
Go right and return to the passage that allows you to exit the cave. The Mudokons from the lower path will start running to the left, but you don't have to protect them now. Make use of the passage that unlocked to the right - you can jump to the top shelves, unlock the Secret Area and get the Royal Jelly marked in the picture.

Only now can you go left, following the freed Mudokons. Near the next checkpoint you will find another Royal Jelly and 2 Mudokons to recruit.
Keep moving left, pull the lever and wait until the elevator arrives - it will take you to the top.
You are not permitted to copy any image, text or info from this page. This site is not associated with and/or endorsed by the developers and the publishers. All logos and images are copyrighted by their respective owners.
Copyright © 2000 - 2026 Webedia Polska SA for gamepressure.com, unofficial game guides, walkthroughs, secrets, game tips, maps & strategies for top games.
