Oddworld Soulstorm: Going through Workzone 2, Feeco Depot
This page of the guide to Oddworld Soulstorm contains the second part of the walkthrough of Mission 14 - Feeco Depot. You will learn how to attack enemies while using the Delivery Car platforms, how to pass through Workzone 2, where to find Mudokons and how to avoid snipers and trains in the final part of the mission.
Additional note: The green color in this walkthrough stands for secrets and unique locations/activities associated with the badges (challenges) in the game. Mission 14 badges have been described on a separate page of the guide.
Cut through Workzone 2
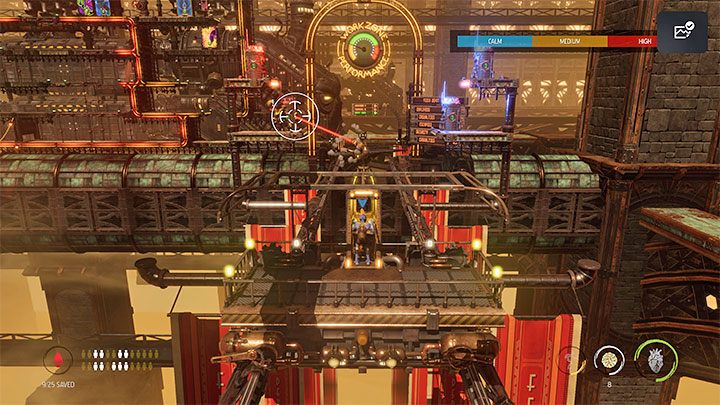
You can go to Workzone 2 after spending cash at the Moolah Gate in Workzone 1. To reach the second location you need to use the Delivery Car but expect some Slig attacks. They will leave the Guard Posts on the upper balconies.
The platform's important feature is that its Supply Delivery Cannon uses the active gadget from Abe's inventory to attack the Sligs. This means that you can choose what you want to attack the Sligs with. In the example from our picture we used the Bouncy Candy. This is a reasonable choice, because these candies immediately stun all hit enemies and it's easy to stock back up on them before going on further journey.
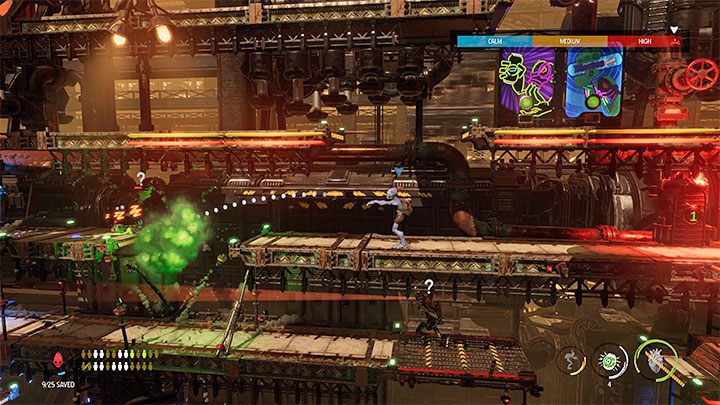
Go left - you can destroy crates and collect bottles along the way. You'll also find a recycling station, and vending machines that sell Gum and offer free Fizzy Pop and Blastos. Thanks to the free crafting components, you can easily stock back up on Fizzy Pow.
It's good to start using explosives to get rid of the surrounding Sligs. Just like in Workzone 1, sneaking is optional and triggering an alarm doesn't cause much trouble.
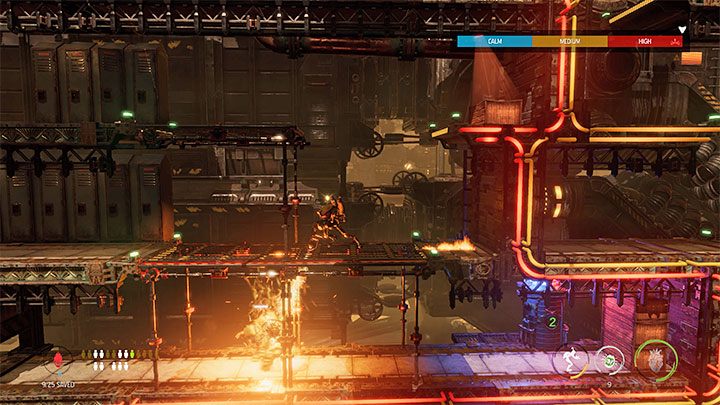
There are 5 Mudokons to recruit in the area, but just like before, it's worth ordering them to stay behind until the area is cleared. In one of the optional small locations, apart from the cabinet rows, you will find a vending machine that sells Brew Bottles.
Watch out on the lower floors where you will meet the elite Sligs again. The power of Possession will be helpful in using the enemies' weapons to make them fight each other.
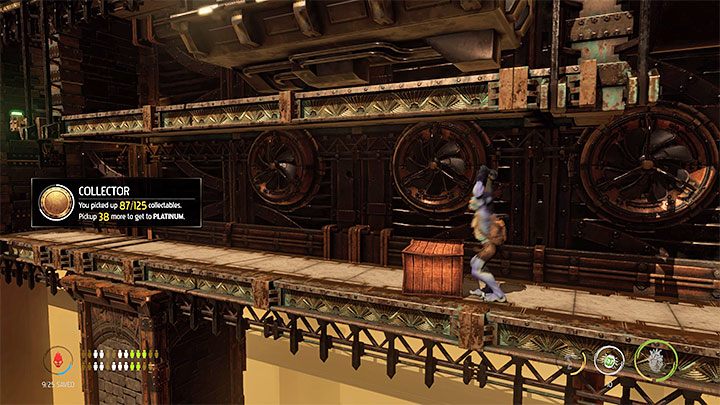
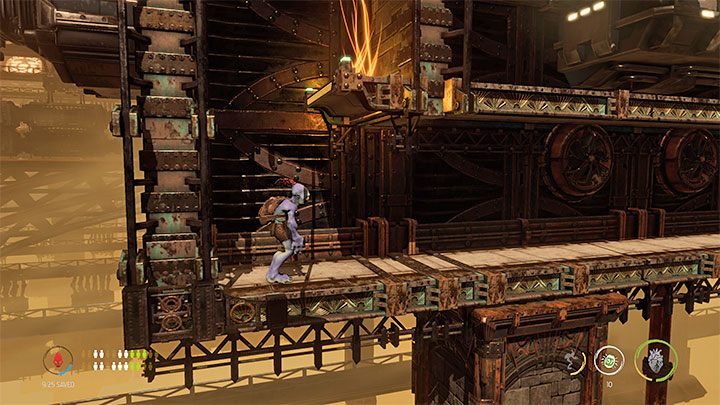
As you're exploring this area, it is worth looking around the long corridor from picture 1. You can destroy crates and collect loot as you're passing through the corridor. At the end of the corridor you can climb and reach the Royal Jelly.
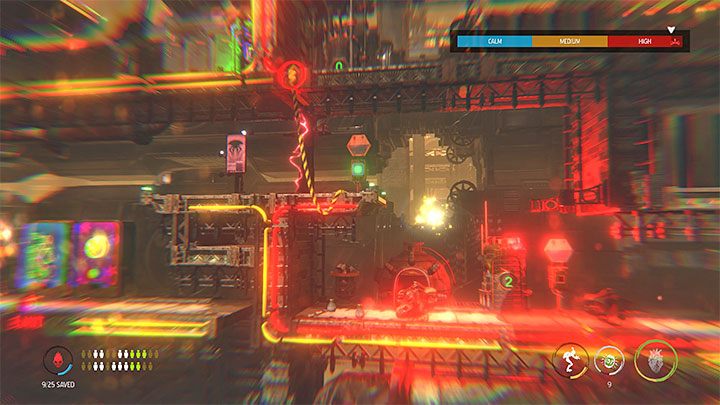
You need to keep an eye on the area shown in the picture, because new Slig booths are located here. You can get rid of these monsters by controlling a possessed Slig or escape when you're controlling Abe - jump to a higher shelf and attack the creatures from a safe place.
Press the buttons you pass on the way. You will eventually reach an area with a recycling station, a vending machine that offers free Rock Candy and a Moolah Gate. If you searched the cabinets and recycled a large number of bottles, you can easily pay 80 Moolah.
Take the supply elevator up
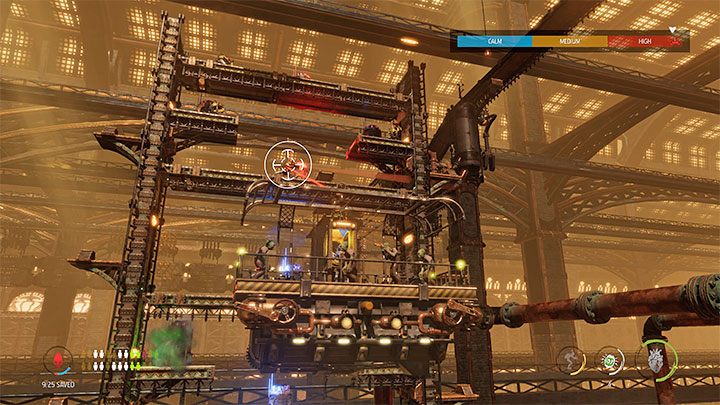
Return for the previously recruited Mudokons and reach the supply elevator with them. There is a free Rubberbands vending machine to the left of it. We recommend that you make the maximum amount of Bouncy Candy.
After starting the elevator ride, you have to defend ourselves against the Sligs. The cannon will use up active gadgets from Abe's inventory. You can use Boundy Candy or e.g. Fizzy Pow if you have excess of it. It is important not to shoot either too early (the bullets may miss the target despite the crosshair turning red) or too late (enemies may open fire and kill Abe or other Mudokons). Don't save on gadgets, as they will not be useful anymore in the further part of this level.
Switch the train tracks
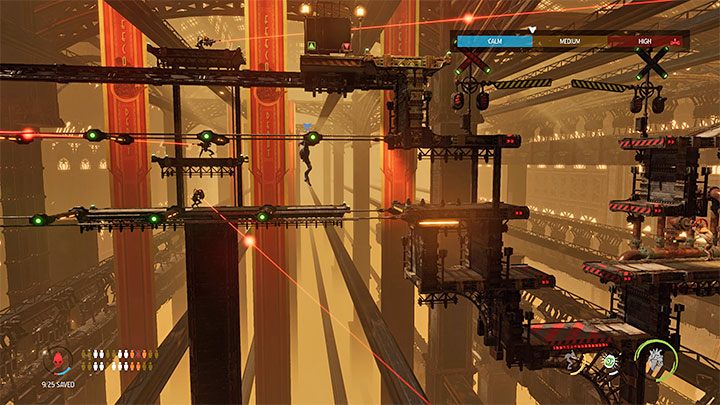
Go right but leave the Mudokons behind after you get close to the first railway crossing. The trains that pass through here regularly can easily kill Abe or other Mudokons. Fortunately, the approaching train is signalled by the semaphores.
Go right on your own to the sniper location. You need to avoid their laser sights and move to the right. Use the Monkey Bars and double jumps.
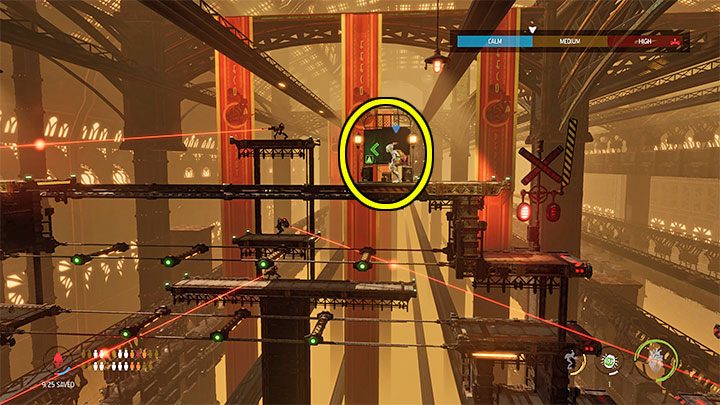
Your task is to reach the elevator marked in the picture, and on your way to it watch out for the sniper again. Interact with the elevator and ride it to the left.
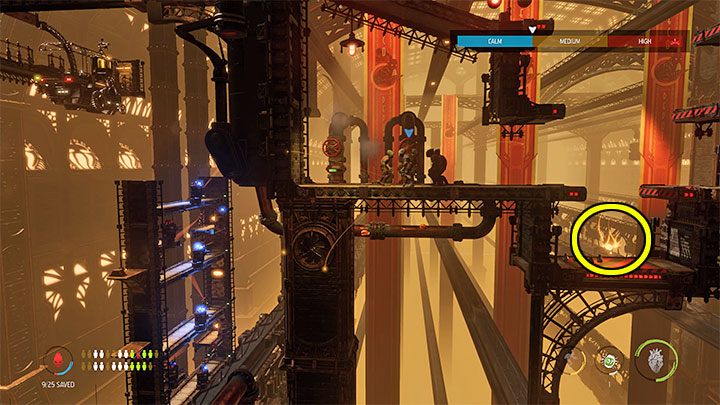
Go back to the Mudokons, call them back to you, and go down. You will find 2 new Mudokons to recruit there. The Royal Jelly marked in the picture is in this area, too.
Go around the railway crossing carefully (it's best to have the whole group move away from where the trains pass) and reach the elevator with the whole group. Wait until the sniper stops watching its surroundings, get into the elevator and go to the right.
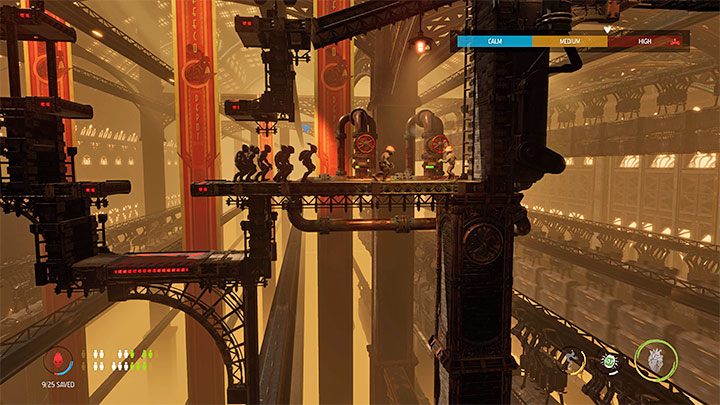
In the right part of the described location again you have to watch out for at least 1 sniper and for trains that use the second railway crossing.
At the bottom of this location you will find 2 Mudocons to recruit.
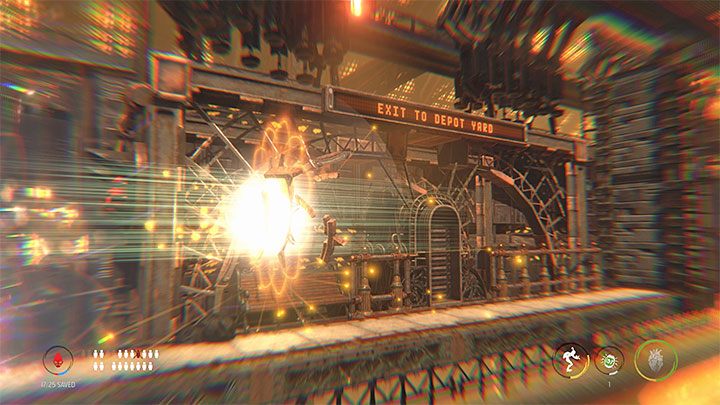
Reach the upper right path with the Mudokons and go to the right. Soon, you will reach the bird portal, which will save your allies.
In order to complete the mission, you need to pull the lever next to the info board and get on the train.
You are not permitted to copy any image, text or info from this page. This site is not associated with and/or endorsed by the developers and the publishers. All logos and images are copyrighted by their respective owners.
Copyright © 2000 - 2026 Webedia Polska SA for gamepressure.com, unofficial game guides, walkthroughs, secrets, game tips, maps & strategies for top games.
