Oddworld Soulstorm: Holding Pen 10-6, Escape
On this page of the Oddworld Soulstorm guide, you will find the first part of the description of passing mission 13 - Escape. Our guide tells you how to pass the start of the mission and unlock the Special Power of Shrykull, as well as how to properly protect escaping mudocons in locations from Holding Pen 10 to Holding Pen 6.
Additional note: The green color in this walkthrough stands for secrets and unique locations/activities associated with the badges (challenges) in the game. Mission 13 badges have been described on a separate page of the guide.
- Save three Mudokons to earn Shrykull power
- Use the Shrykull power to destroy the checkpoint
- Free the prisoners
- Holding Pen 10
- Holding Pen 9
- Holding Pen 8
- Holding Pen 7
- Holding Pen 6
Save three Mudokons to earn Shrykull power
Near the start of the mission, we find a container with ingredients for the production of Fizzy Pow. We start climbing the ladder and find more loot.
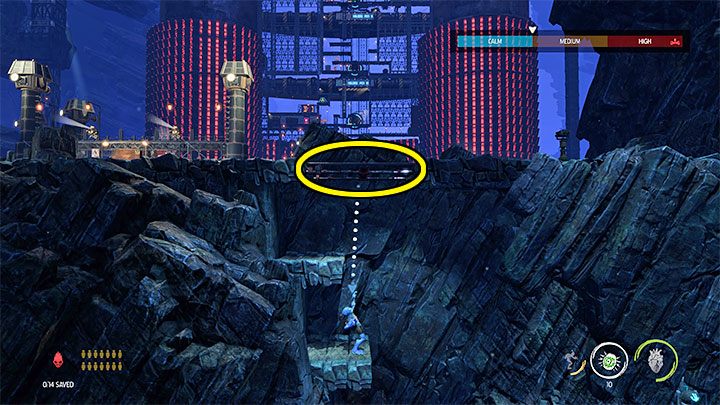
After making Fizzy Pow, we use an explosive charge to destroy the upper grille marked in the image. We don't approach the left post - for a change, we go to the right. On the way we can optionally use binoculars.
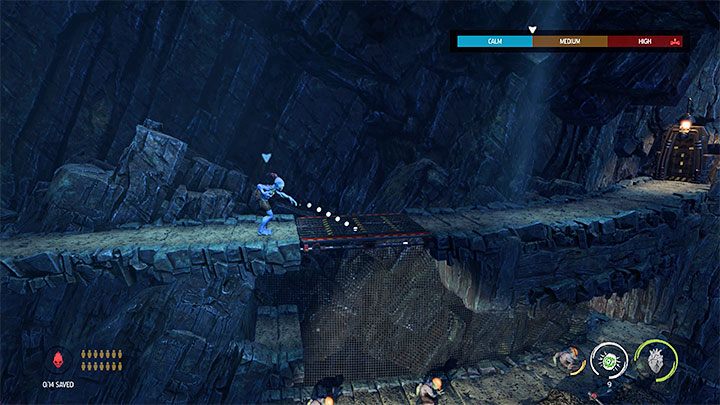
We reach the next grid and just like the previous one we destroy it with the use of Fizzy Pow. We jump down and treat 3 sick Mudokons using the antidote (Abe always has it with him).
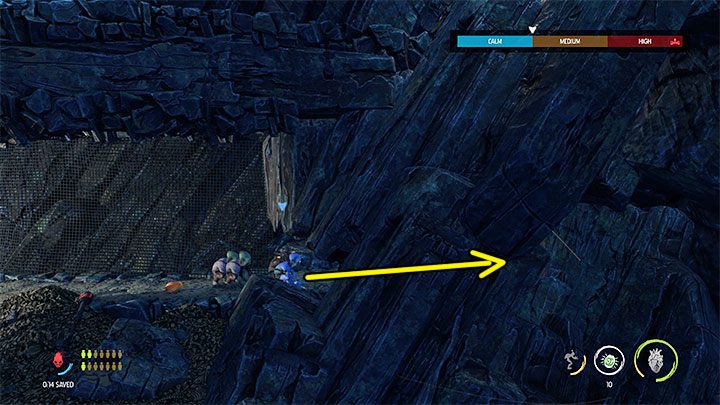
We stay in the location with the Mudokons and squeeze through the hole marked on the image. It leads to the secret area with the Royal Jelly secret.
We recruit Mudokons and return with them to the previous location where the bird portal is located. We use it to save the Mudokons.
Use the Shrykull power to destroy the checkpoint
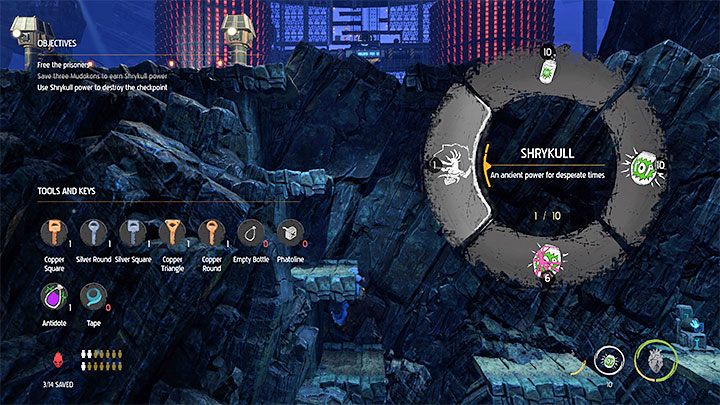
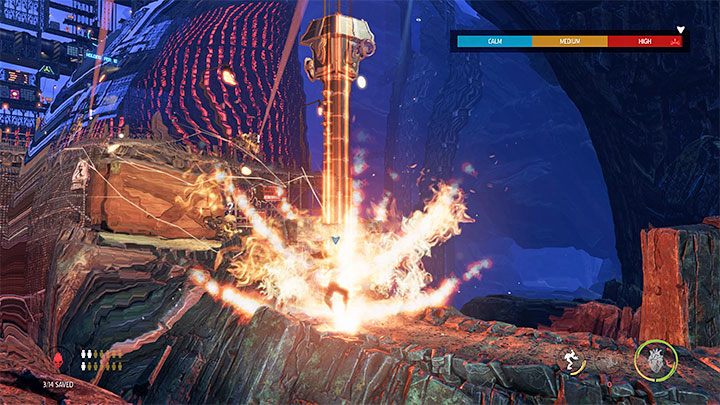
Abe has gained access to the powerful power of Shrykull power, and the game is about to allow us to test it. We can immediately set it as active from the drop-down menu of the inventory.
We climb up and head for the left guard post. We stop on a small wall and after selecting the power of Shrykull from the drop-down window, press R2 (on PS4 and PS5) to activate it. It will do great damage and kill all Sligs in the area.
Shrykull's power can be used to a very limited extent. The game will allow you to use it during some of the subsequent battles, although relying on it is optional and Abe can guarantee the Mudokons' escape even without activating it.
Free the prisoners
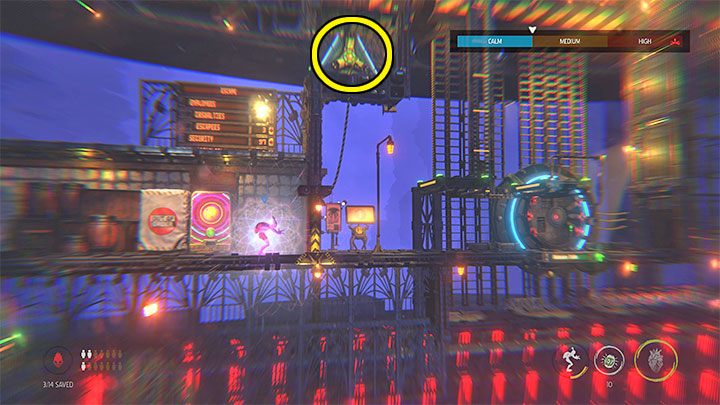
We pass through the destroyed enemy outpost and reach Abe's wide platform, which must pass a long journey into the depths of the screen. We have to do some climbing here. On our way we can use the vending machine offering free Rock Candy.
To unlock the passage, we use chanting - we aim the Chi Orb at the upper mechanism marked on the image. We move on and pull the lever, so that the Mudokons will begin the great escape in the second plan. We're using the elevator to get to Holding Pen 10.
Holding Pen 10
Before us, the first of nine (!) confrontations in which our task will be to protect the escaping Mudokons and make sure that as few of them as possible die (optimally, that 100% of them survive). It is worth recalling here that the game allows you to restart the checkpoint and we should use this method if too many allies had already died. In order to earn the platinum Saviour badge, we should ensure that all nine encounters survive at least 350 Mudokons.
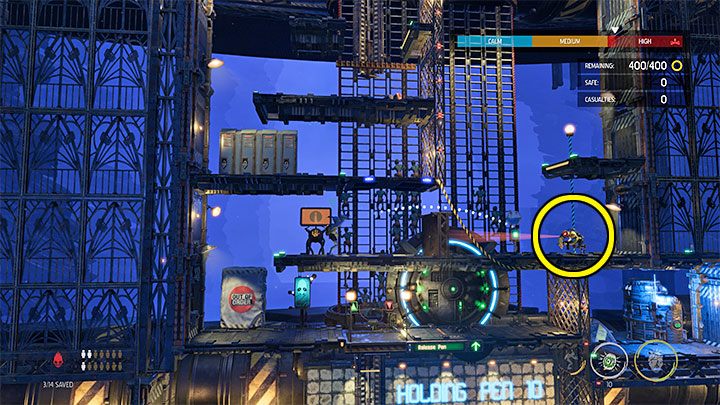
Let's unlock the checkpoint and then pull the lever to begin protecting the Mudokons from the Sligs. We set up to the left of the closed passage, which has a small hole. To neutralize the Sligs we will use thrown gadgets. We use Fizzy pop (cans) or Pizza Pow (exploding large cans) to stun the Slig that will appear at the bottom (image above).
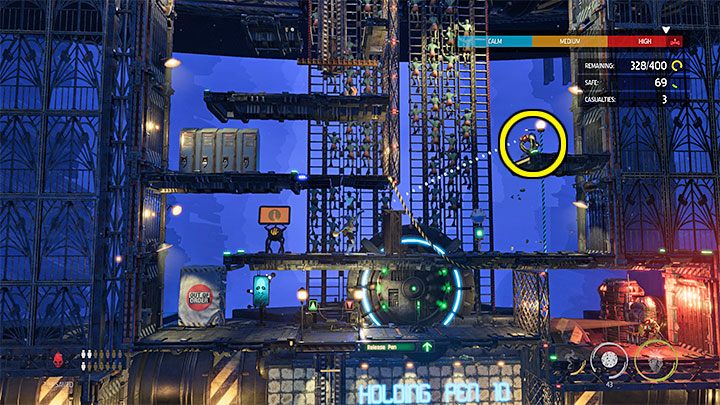
We use Rock Candy to stun the Slig that appears at the top (image above).
From now on, all we have to do is repeat these steps. Let's throw another can when the opponent downstairs wakes up and another candy when the opponent upstairs wakes up.
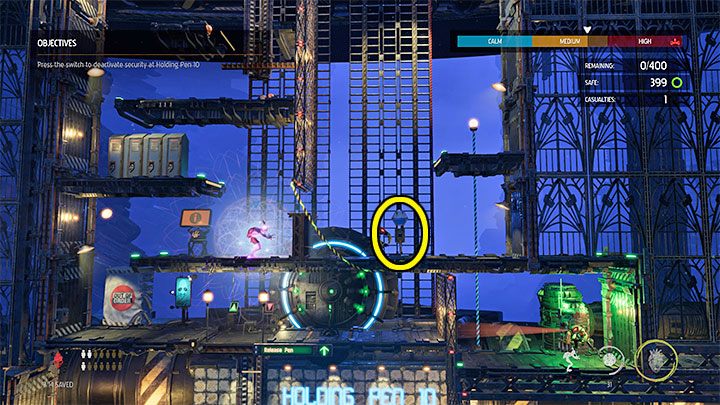
After the Mudokons escape, we use possession on any of the Sligs. In the central part of this area there is a button. After Slig pushes it in, it unlocks another passageway for Abe. We can end the possession now.
We're moving toward Holding Pen 9. Along the way, we can plunder lockers (if we have the Silver Triangle key) and recruit 2 Mudokons. We use the elevator.
Holding Pen 9
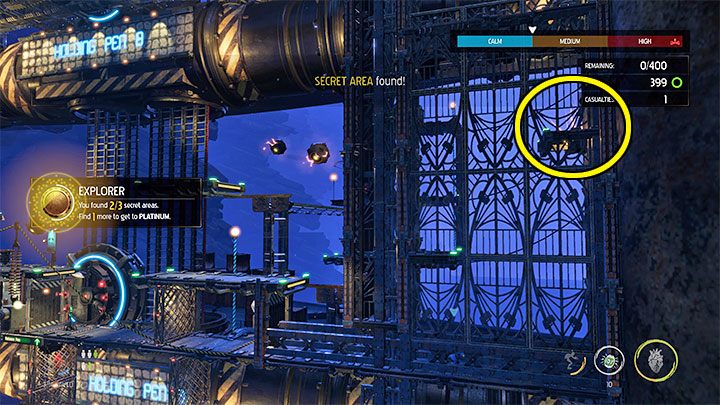
Before we pull the lever, it would be a good idea to take a quick look around the area. In addition to discovering the Guard posts from which Sligs can come, it is worth looting all the containers and taking an interest in the local vending machines - we can receive Rock candy for free, as well as buy Fizzy pop. If we want the Mudokons to help us, then we can give them some of the items and gadgets from our inventory. However, the next battle can be safely survived by acting alone.
On the right side we will discover a secret area, which leads to a small lower entrance hole. Here we can take a simple climb and reach the shelf with the secret of Royal jelly.
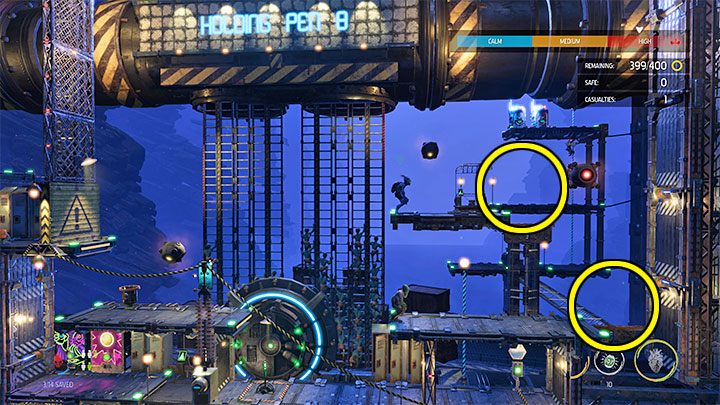
After pulling the lever, we will focus on the two areas on the right side, which we marked in the attached image:
- We prepare Fizzy pop / Fizzy pow or Rock candy / Bouncing candy and wait for the arrival of the first Slig. Enemies will reach the platforms from the second plan.
- We stun the enemy and leave him alone. We quickly reach the next level and behave identically in the case of a second Slig.
- We continue to stun the Sligs after they wake up. We repeat this until all the Mudokons have escaped.
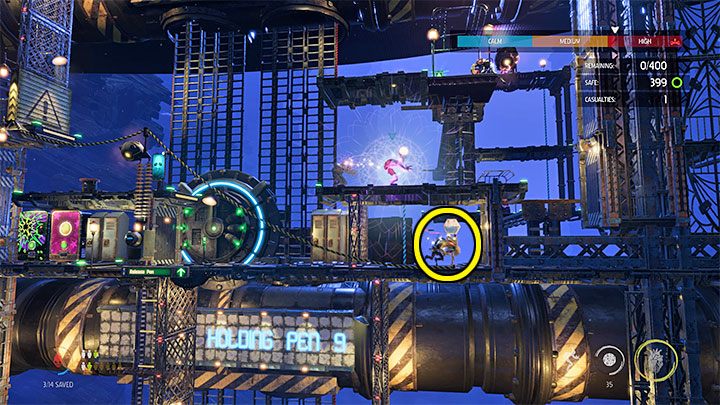
We hide with the helpers below and use possession on the lower Slig. We send it to the bottom button (it must go down the post pole). Slig must press a button to unlock the exit from this arena. We're going there in a group.
On the way to Holding Pen 8, we can search the lockers and recruit 1 Mudokon. We use the elevator.
Holding Pen 8
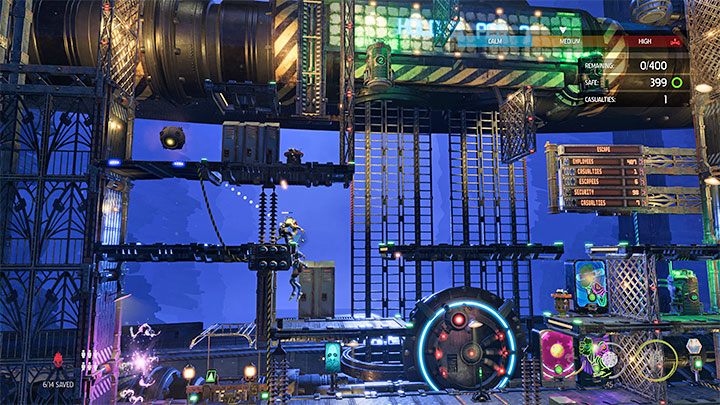
After reaching the Holding Pen 8 stage, we can start by activating the bird portal to send back 3 commanded Mudokons. Doing this will unlock the Special Power of Shrykull, although it will be optional to use it in this or subsequent battles. It is also a good idea to get rid of 2 Sligs before the start of fights - it is best to knock them out with candy and then tie them with tape (we can also search them).
We also recommend exploring the entire arena. We can look in the bins and cupboards and use the vending machines. They allow you to pick up free Rock candy, as well as buy Fizzy pop and Blastos.
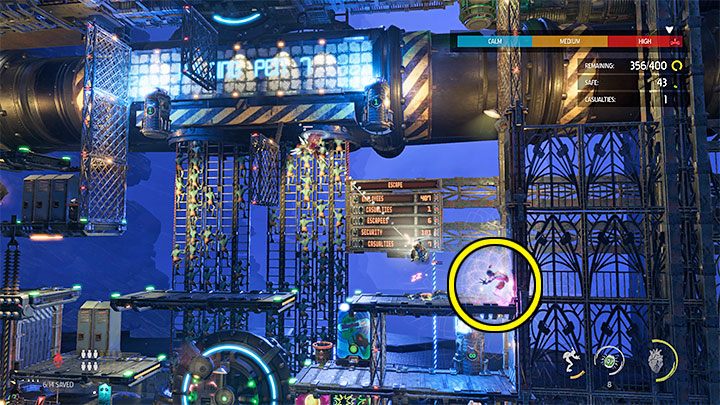
After pulling the lever, we recommend that you line up at the right wall of this arena and quickly use possession to take control of one of the flying Sligs.
Let's use the flying slug weapon to attack enemies threatening Abe and the fleeing Mudokons. It is important to reload weapons in between killing other enemies, otherwise, the possessed Slig can be easily destroyed.
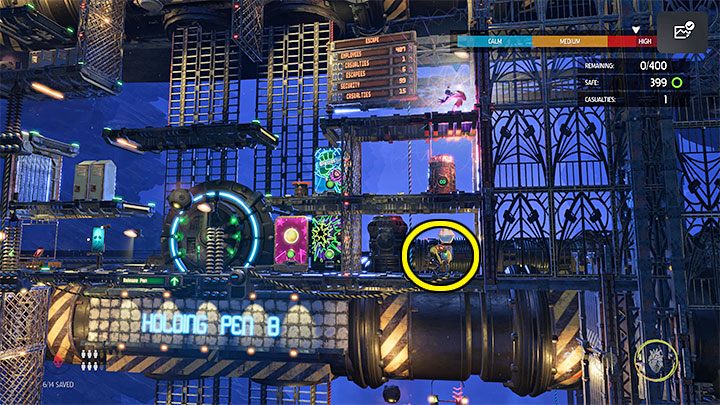
We continue to manouver the Slig until all the Mudokons have escaped. We hide with Abe in some safe place, use possession on an ordinary Slig, and take the enemy to the bottom button marked on the picture (you need to go down two columns).
We can already use the left-hand passageway to Holding Pen 7. On the way, we open the lockers and use the elevator.
Holding Pen 7
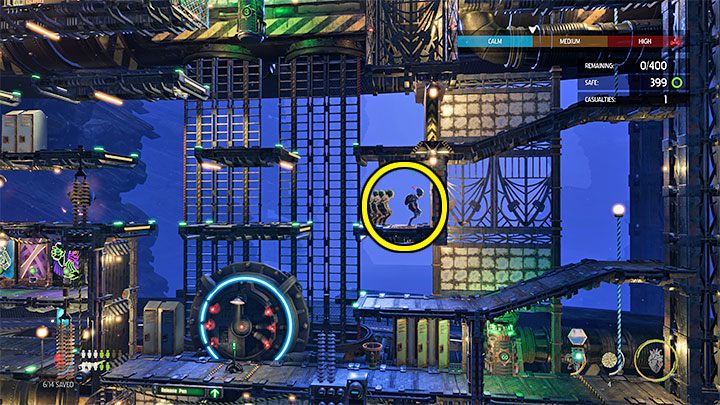
After reaching Level 7, let's start by getting rid of the local Sligs - we can use any candy and tie the Sligs or kill them. There are a total of 4 Mudokons in the area to recruit. Let's instruct our followers to set up and stay on the pressure plate marked on the image. This action will cause the lock to move out at the upper passageway. We will appreciate this after the fighting starts - some Sligs will not be able to reach the central area and the battle will be easier because of this.
Let's finish exploring the area. Here you will find containers, lockers and vending machines. We can return empty bottles at the recycling station, pick up Rock candy for free, and also buy Rubberbands, Fizzy pop, and Battery (rare material - we can build stun mines and the battery can later be used to construct a flamethrower).
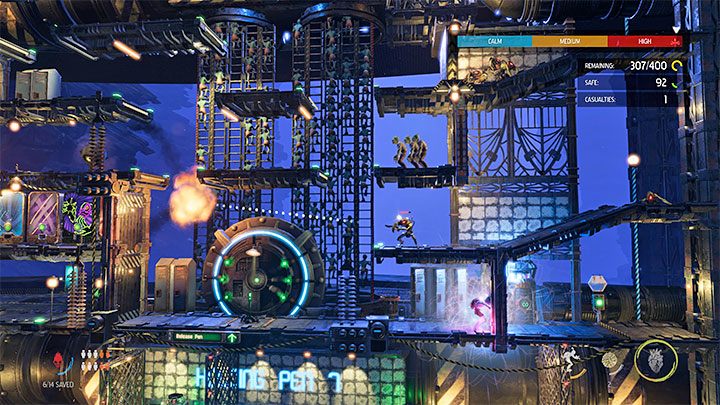
After the fighting begins, we suggest using candy to stun the first flying slug and then use possession on the right "ordinary" Slig. We can begin to use the weapon of this Slig to eliminate flying enemies and subsequent Sligs coming from the side of the lower guard. Let's keep in mind that after each kill, the magazine needs to be fully exhausted in order to start the next attacks with a full supply of ammunition.
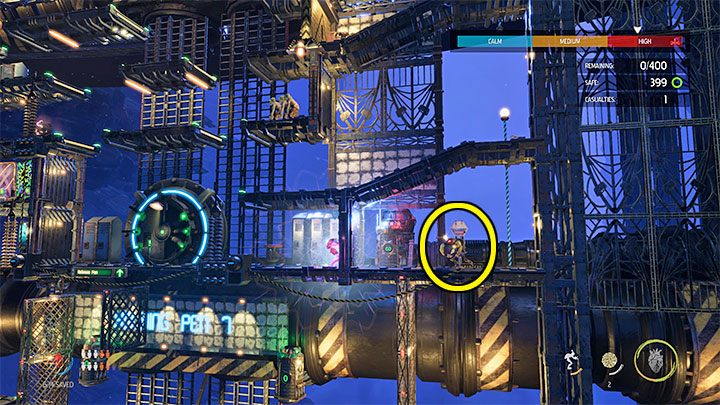
We fight until the Mudokons escape from this location. Let's use the possessed Slig to reach the button in the lower right corner of the arena (we need to slide down the pole).
Carefully bring the commanded Mudokons (at the upper right corridor could gather Sligs) and after eliminating or confusing enemies, we will go to the upper left exit. On the way to Holding Pen 6, we'll find new lockers to search.
Holding Pen 6
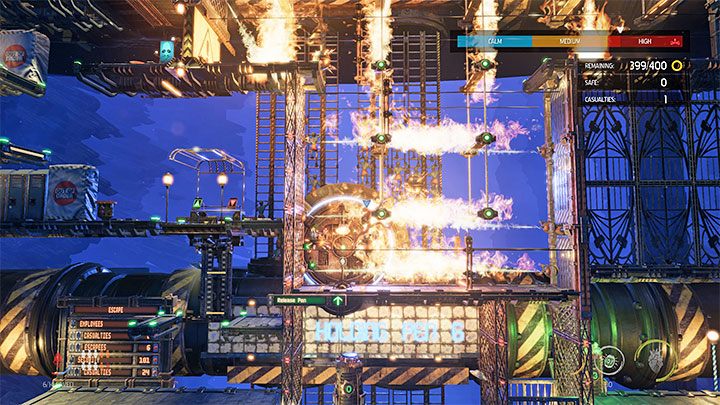
Let's leave the Mudokons behind on the road from holding pen 7 to holding pen 6. The new location is unique, because instead of attacking Sligs, we must avoid activating traps. The traps are:
- Flying mines - contact with them means instant death. Fortunately, they fly slowly and along a fixed route.
- Red barriers- as with the barriers from the previous stages of the game, they react to movement and if an alarm is triggered, the entire area will be set on fire. We can bypass the barriers or stop before contact with them (also in a hanging position) and let them "scan" and bypass Abe.
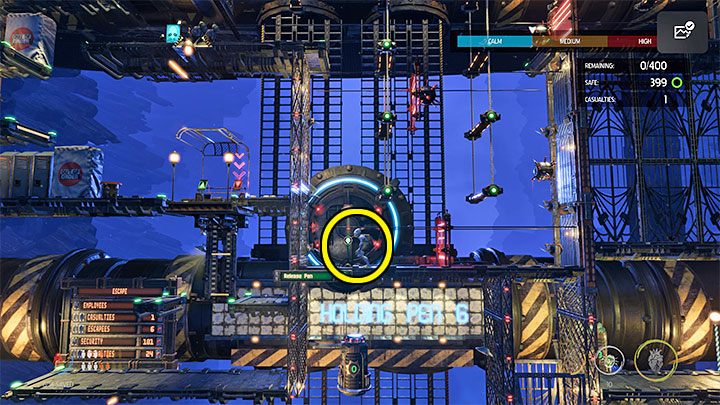
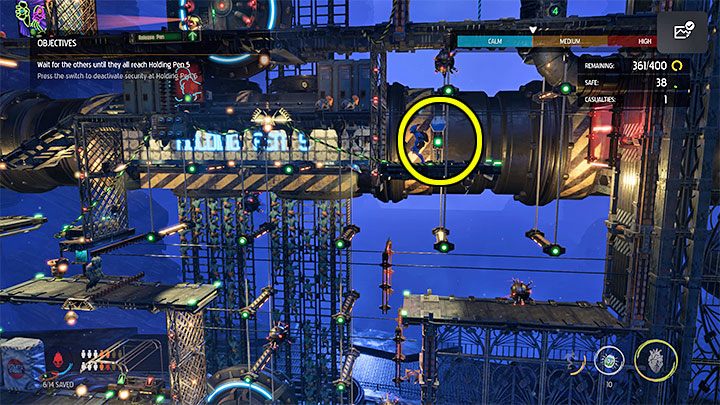
Abe needs to reach two places: first, the bottom lever (picture 1) and then, the top button (picture 2).
Descending is very easy, but climbing can cause us some problems. Let's rely on double jumps. In addition, it is very helpful to rotate and control Abe in mid-air, so that we can more accurately determine where we want to reach.
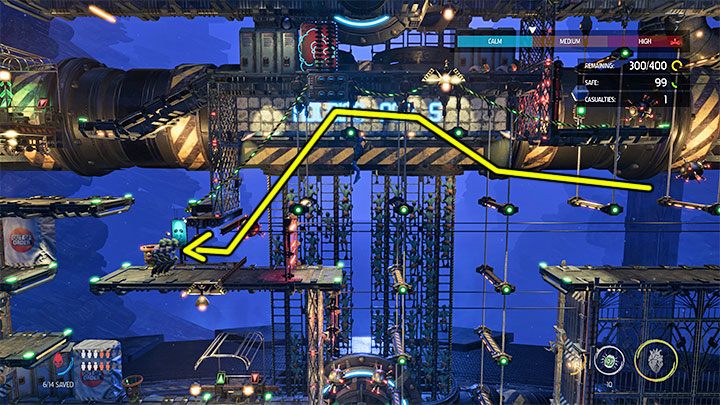
This is not all, because after pressing the button, we must return to the left shelf, that is, to the place from which we came. This means the need to continue avoiding traps and performing double jumps.
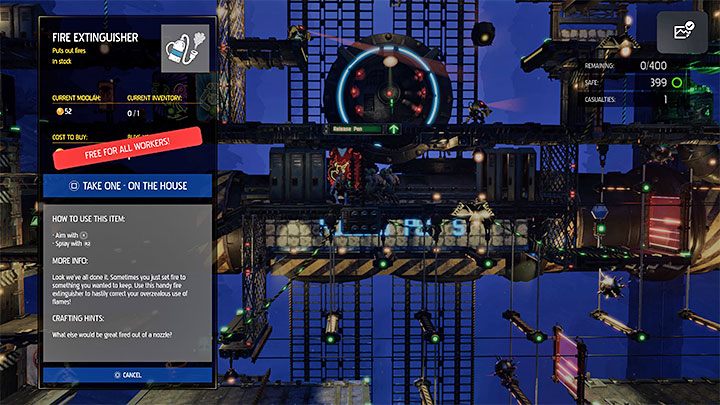
We summon the Mudokons, wait for our second - plan allies to flee this place, and resume our journey. Above the trap area, we will find a new row of lockers and a vending machine with a free fire extinguisher. If we correctly collected the components for crafting and did not use up all the batteries, then optionally we can now build a Flamethrower.
We can already use the elevator going to Holding Pen 5.
You are not permitted to copy any image, text or info from this page. This site is not associated with and/or endorsed by the developers and the publishers. All logos and images are copyrighted by their respective owners.
Copyright © 2000 - 2025 Webedia Polska SA for gamepressure.com, unofficial game guides, walkthroughs, secrets, game tips, maps & strategies for top games.
