Oddworld Soulstorm: Opening the 1st and the 2nd gate, Brewery
This page of the Oddworld Soulstorm guide contains the first part of the walkthrough of Mission 16 - Brewery. Our walkthrough explains how to open the first and the second gate, where to find Mudokons and how to properly escort them, as well as how to get rid of Sligs in open confrontations.
Additional note: The green color in this walkthrough stands for secrets and unique locations/activities associated with the badges (challenges) in the game. Mission 16 badges have been described on a separate page of the guide.
Open the first train gate
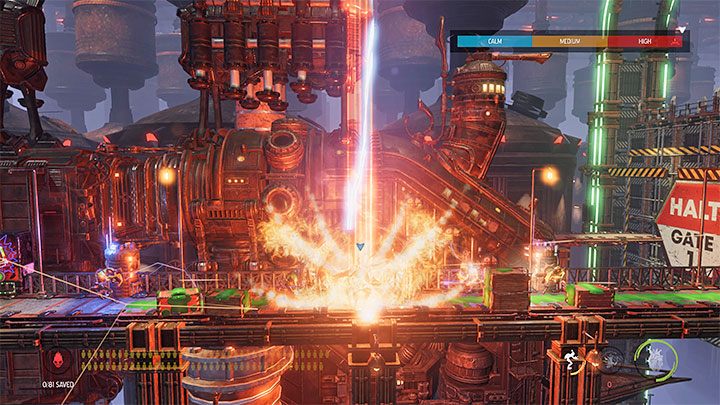
Abe will begin this mission in rather unusual circumstances: on a platform, surrounded by enemies on both sides. To get out, activate the Special Power of Shrykull which has already appeared in previous missions - we need to select it from the drop-down menu. Abe can activate 1 Shrykull charge by pressing R2 (on PS4 and PS5) and this will be enough to eliminate the Sligs.
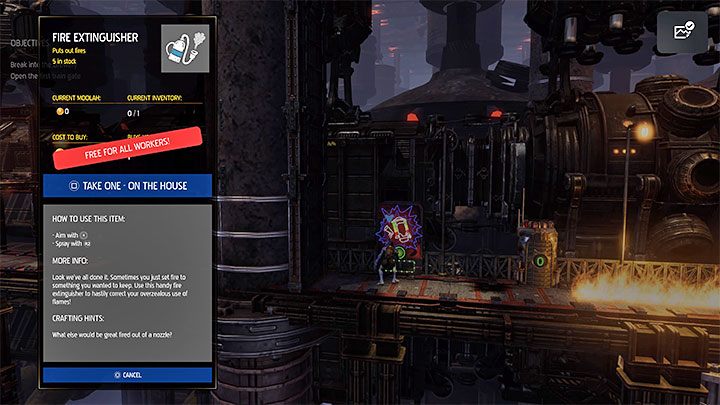
A couple of fires broke out in the area, but the problem can be easily solved. There is a vending machine at the left end of the platform, thanks to which we can pick up a fire extinguisher for free. Get rid of the flames and then head to the right. After reaching the barricaded passage, hold down the interaction button to use the work wheel.
Additional tip - throughout the mission, try to collect the ingredients for a flamethrower and do not spend them until the very end (i.e. have at least 1 piece of each). This will allow us to craft a flamethrower in the final part of the stage and it will make some fight significantly easier.
Cut through the Sour Tear X-Traktor
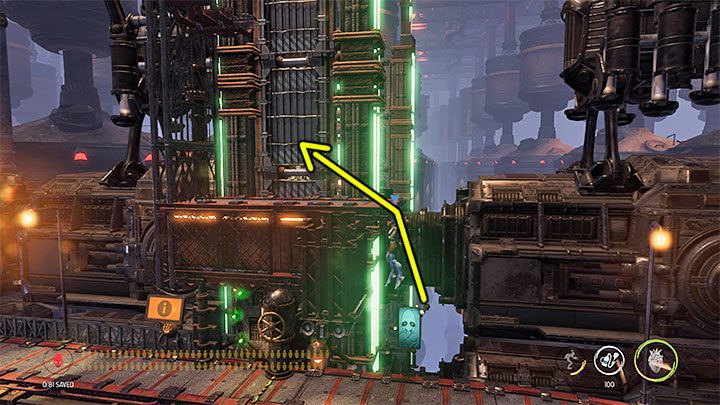
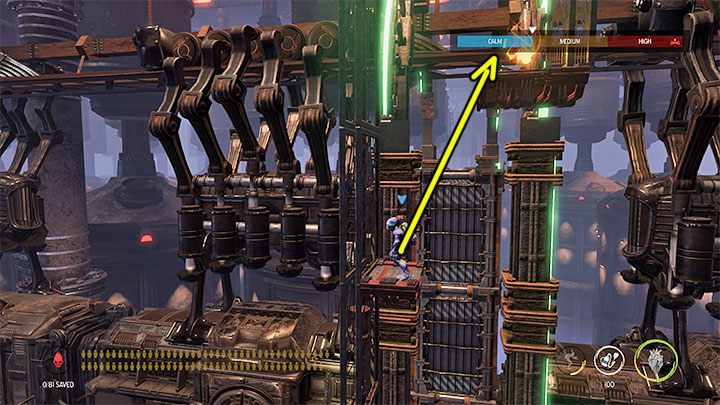
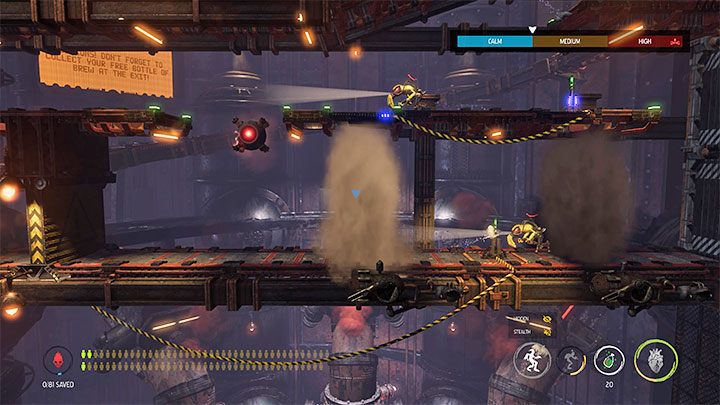
Right after the gate opens, stay at the checkpoint. Abe can jump to the higher shelf shown in image 1. Keep climbing. The top shelf is a secret area with a Royal Jelly secret.
Note - if you have a problem with reaching the higher shelves, turn Abe in the opposite direction while in the air. It may help you jump a little higher.
We go back down and then head to the right. We'll reach the entrance to Sour Tear X-Traction. We will learn about the tortured Mudokons who need to be rescued. Fortunately, we don't have to hurry to get to them in time.
You can pick up free brew bottles in the vending machine. Follow a linear path and recruit the first three Mudokons. There are 2 Sligs in the area and due to the lack of gadgets, just avoid the enemies. We go to the right on our own, squeezing through by the ceiling. We jump down and avoid detection by hiding in steam zones.
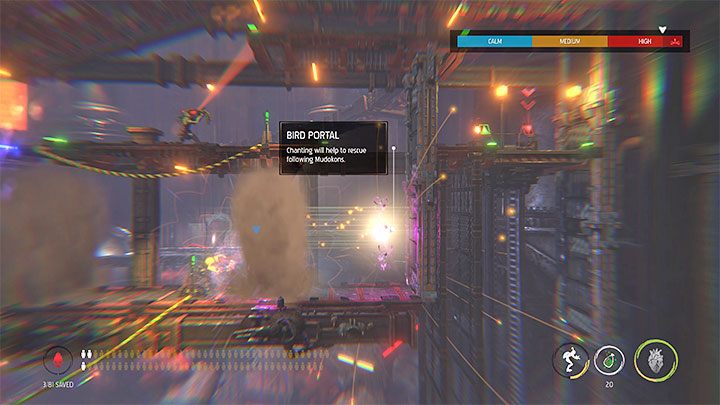
Pulling the lower lever unlocks the left passageway. We go there, going past a Slig along the way. We join the Mudokons and go with them to the right, hiding in a steam zone again. Stay in the right part of the steam zone and activate chanting to open the bird portal. It will allow the Mudokons to escape.
We wait until it's safe to climb to the top shelf. We pull the lever when the upper Slig find itself on a trapdoor and so, it will fall to the lower level.
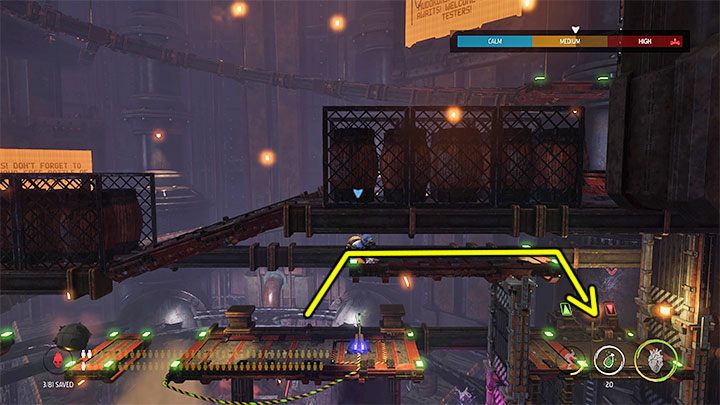
We stay on the upper balcony. In the place marked on the picture, we can squeeze through a small hole near the ceiling. We reach the elevator and go down.
In a large room, recruit 3 Mudokons first and then press the button. This will release the 3 tortured Mudokons and they will join Abe.
We must hurry, because once you release the Mudokons, an alarm will be triggered and an elite Slig will be heading here in the left elevator. We hide on the higher shelves on the left together with the Mudokons. We can knock out the elite enemy e.g. with the help of Bouncy Candy. Then we reach the left elevator together with the Mudokons and go down.
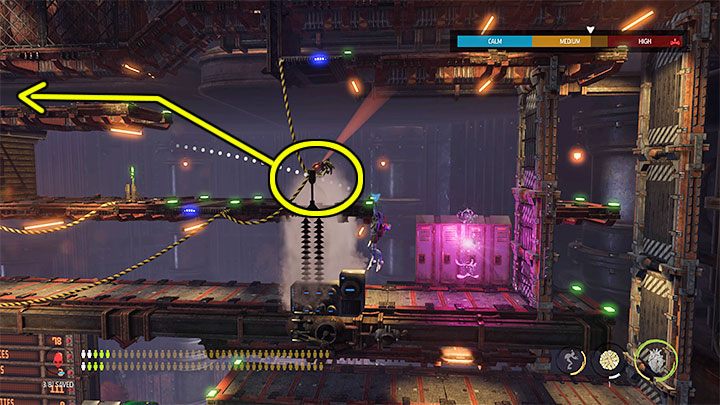
We go to the right and roll under the partially raised gate when it is safe to do so. We can immediately attack the Slig patrolling this level or reach the steam zone and hide in it.
The upper balconies are guarded by 2 additional Sligs. The first can be easily attacked from a hanging position. We can sneak to the other one by squeezing through by the ceiling. We recruit 1 Mudokon, pull the lever and bring all Mudokons to the bird portal.
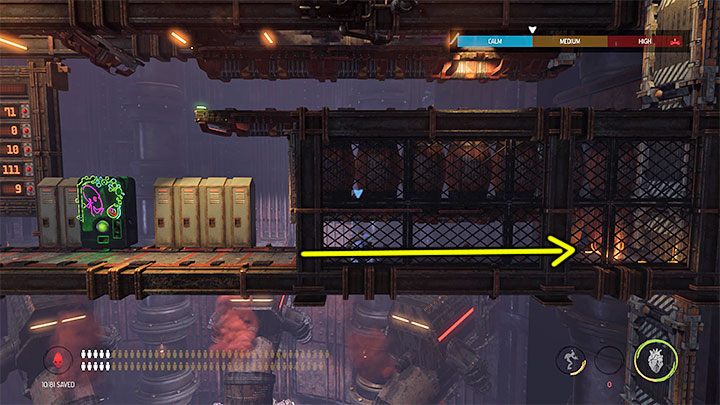
As in one of the previous locations, the next area can be accessed via narrow passage by the ceiling. We arrive at the location with crates, lockers and a vending machine with Brew Bottles.
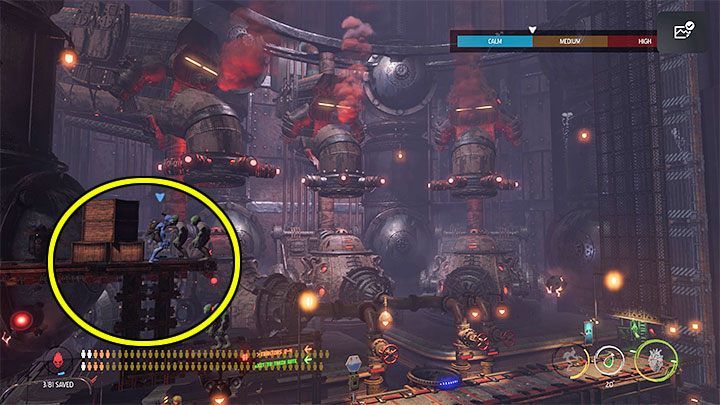
We can roll over on the right side, in the place that was covered by the crates, as shown in the attached image. This will bring us to a secret area with a Royal Jelly secret.
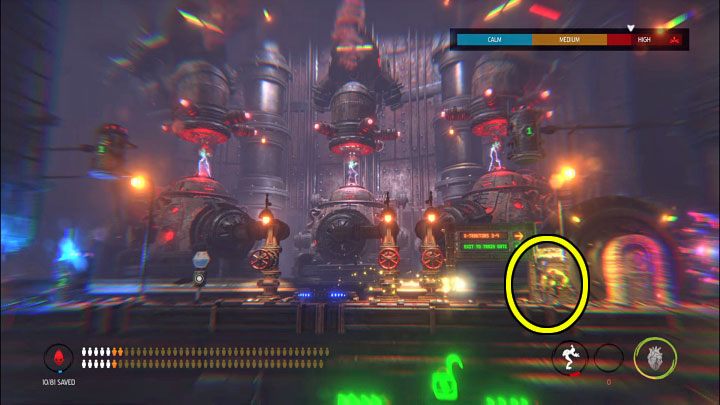
We leave the secret area, go left and take the elevator to the lower level. Recruit the 3 Mudokons there. Next, go to the elevator. We can't use it for a while, but it'll be a good place to hide from the Sligs. An alarm will be triggered and enemies will start to emerge from the guard houses.
Prepare to use possession on the first Slig that comes out of the guard room across the hall.
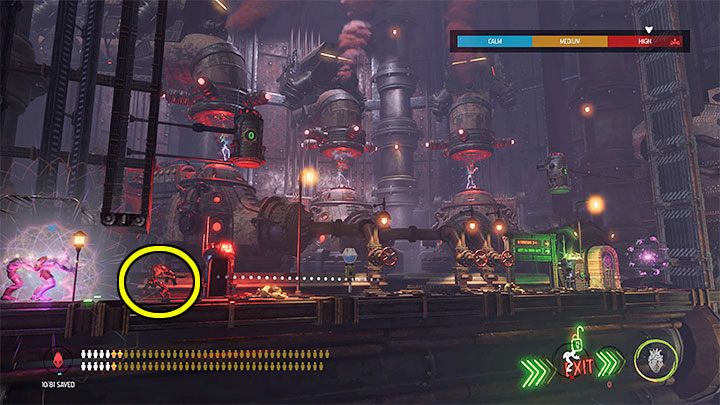
Using the possessed Slig, move quickly to the left, heading towards Abe and the other Mudokons. Along the way, track and kill the flying Slig from the left guard house.
Position yourself between the Mudokons and the bottom guard house - the attached image presents a recommended place for defence. We can shoot from here without the risk of missiles hitting one of the Mudokons.
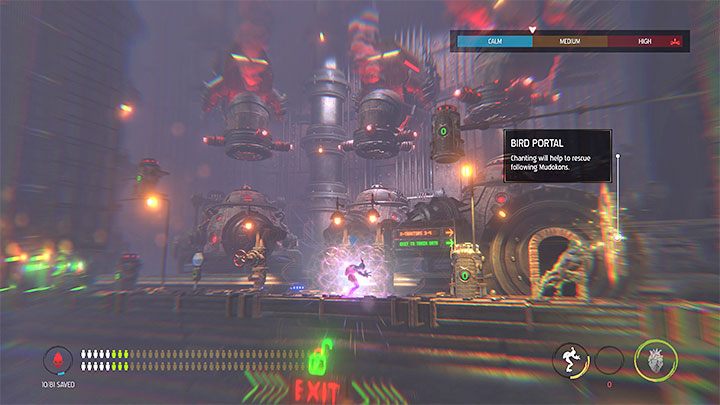
Here we defend ourselves against the Sligs coming out of the lower outposts as well as another flying Slig. Once the fighting is over, we can dispose of the possessed Slig any way you want.
We press the button to free 3 tortured Mudokons. On the right side, there is a bird portal with the help of which we can save all our allies. Then, use the passage next to one of the guard houses.
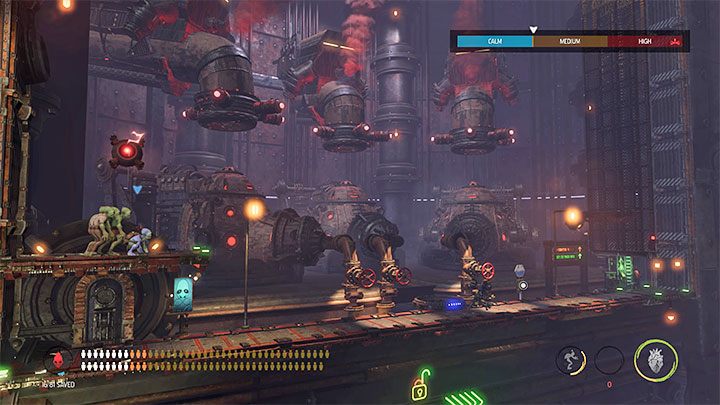
Soon we will reach another location with tortured Mudokons. We recruit 3 Mudokons working downstairs and press the button to free the 3 tortured Mudokons.
Hide on the left shelf with everyone. You'll also find some loot over there. An elite slug will soon arrive by elevator and we can stun and/or kill him any way we want. After securing the area, reach the right elevator together with Mudokons.
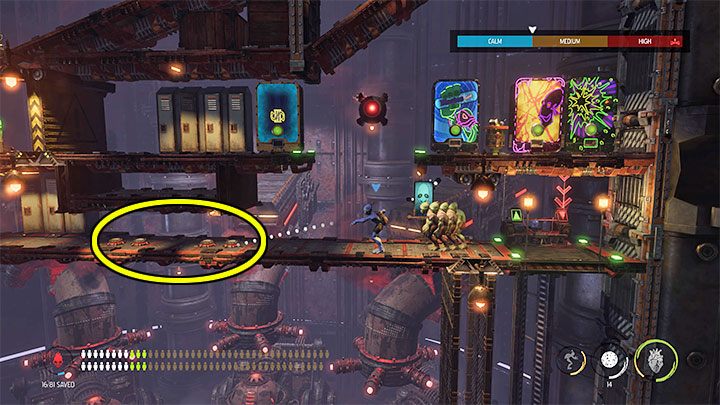
After reaching the higher level, leave the Mudokons behind. In the surrounding area, you'll find a recycling station and vending machines with free Blastos, Fizzy Pop and full-pay gums. The ingredients obtained will allow you to produce maximum supply of Fizzy Pow.
There are mines in the narrow passage leading to the left part of the location. To destroy them, we can use any throwable object, e.g. standard Rock Candy. We have to be careful, because there is also a Slig in the left area. It is recommended to stun him from a safe distance and tie him up or kill him.
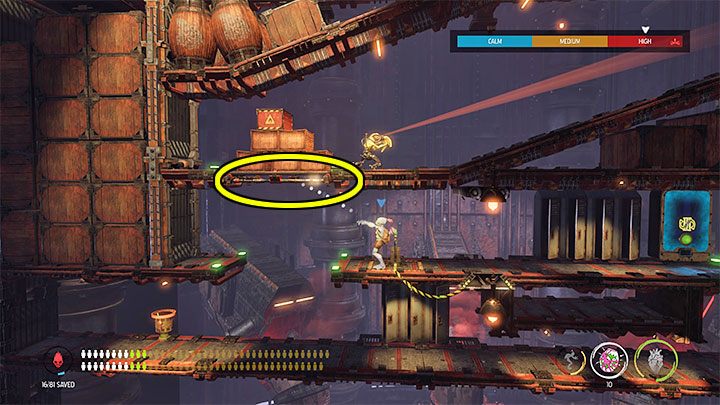
We'll find a lever here that can be used to unlock the passage on the right. Use a Fizzy Pow to destroy the metal fragment of the ceiling. Eliminate the Slig there any way you want and only then summon the Mudokons.
While travelling to the upper levels, you'll have to use Fizzy Pow once again to blow up the passage. Upstairs, you will find lockers and a vending machine with brew bottles (for purchase). We destroy the boxes and get to the next elevator.
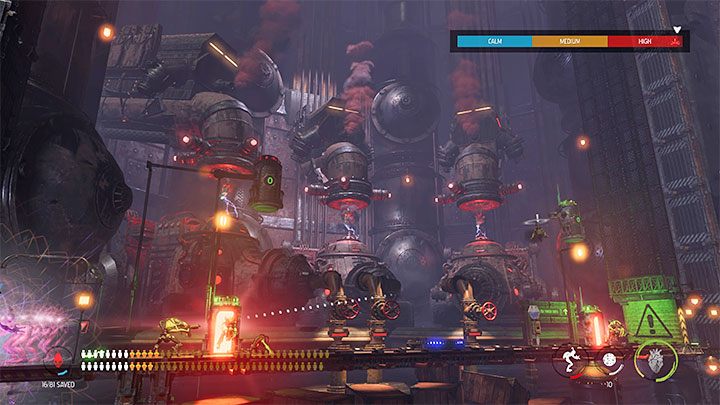
We get to a location similar to one of the previous areas. You complete it in a similar fashion as well - recruit 3 Mudokons, position yourself on the left side, use possession on the Slig from the right outpost, use the Slig to position yourself to the right of the Mudokons and defend them.
After winning the defense mission, get rid of the possessed Slig and release the 3 tortured Mudokons. Along with the entire group, we arrive at the right elevator.
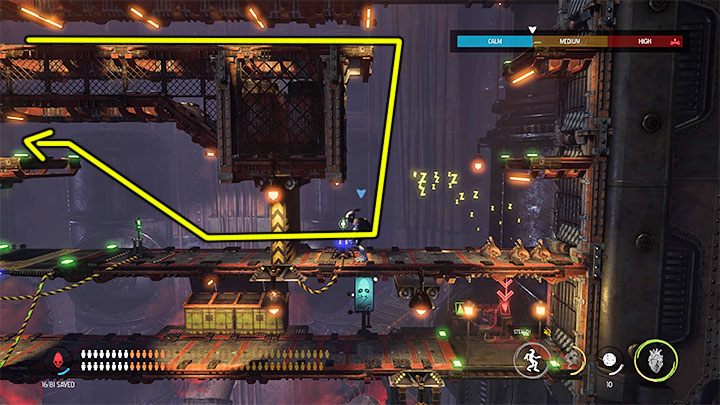
On the new floor, leave the Mudokons next to the elevator and sneak to the left. We pull two levers along the way. We reach a narrow passage near the ceiling and head to the right.
We will find ourselves above sleeping Slogs. We open the left passageway and begin our escape. Hide from the Slogs in the upper area. Now we have two options: you can get rid of the Slogs by throwing Brewnade or Fizzy Pow at them or you can use the lever at the bottom after getting Mudokons out of this area earlier.
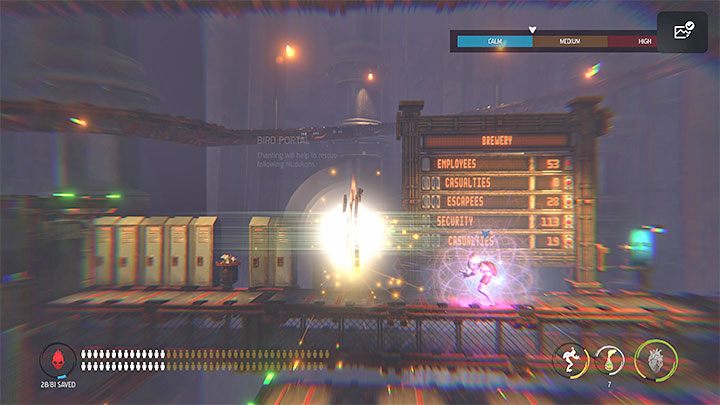
No matter how you deal with this, Abe and the Mudokons will have to climb over the place where the monsters slept. We will reach the bird portal and if we send away at least 3 Mudokons here, we will get a free load of Special Shrykull power.
We explore the surrounding lockers and complete the lineal journey towards the Sour Tear X-Traktor exit.
Open the second train gate
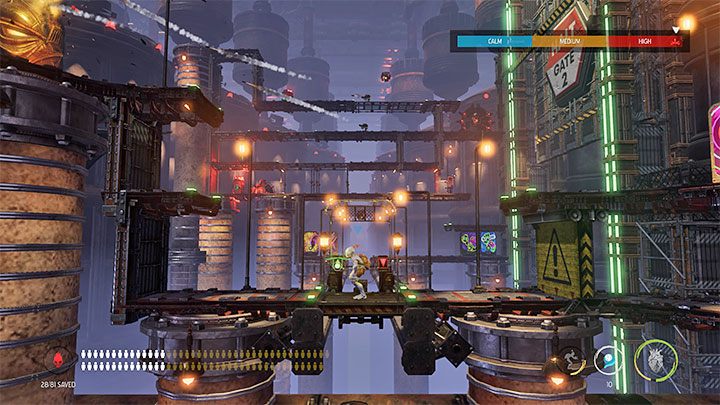
Keep going right. After reaching the blocked passage, we can explore the top shelf, pick up loot and free Rock Candy from the vending machine.
Use the mobile platform to go deeper into the location. Here you will find vending machines with free Fizzy Pops and Blastos, as well as full-pay Gum and Rubberbands. If we have the required ingredients, then consider stocking up on Bouncy Candy, Bouncy Binding Candy, Fizzy Pow and Sticky Fizzy Pow.
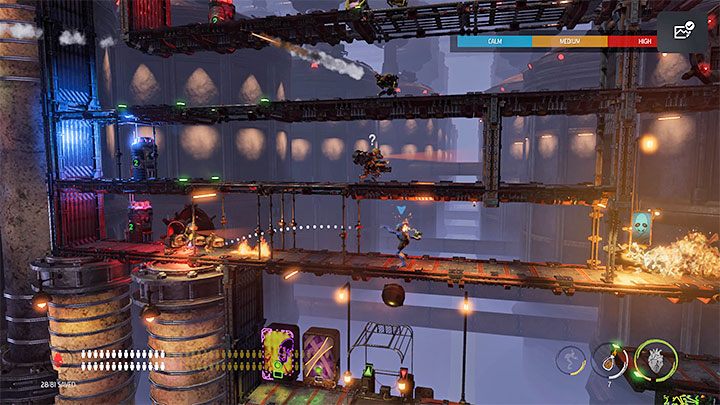
The fight will begin after you cross the red barrier. Abe will not be able to return to the lower level, but we can slightly retreat if necessary.
It's a good idea to start by using Brewnade cocktails to set fire to the surrounding dog kennels and stop the Slogs that will want to move towards the main character. We can throw more cocktails to set the monsters on fire, too.
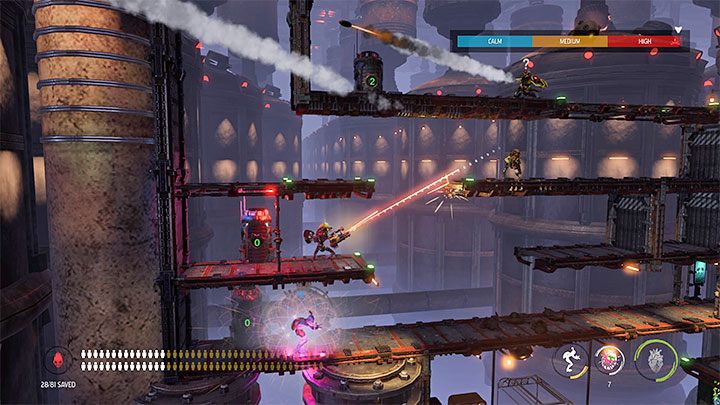
We have to be careful, because Slogs will be accompanied by Sligs. Bouncy Bidding Candy is the best gadget to deal with enemies quickly, but we can also rely on other gadgets. Possession is also available here.
The higher level is patrolled by a Slig with a minigun. We have to watch out for him, because he can fall down if we destroy a part of the metal balcony in the heat of the battle. You can try to possess this Slig, which will come in handy while dealing with the surrounding enemies.
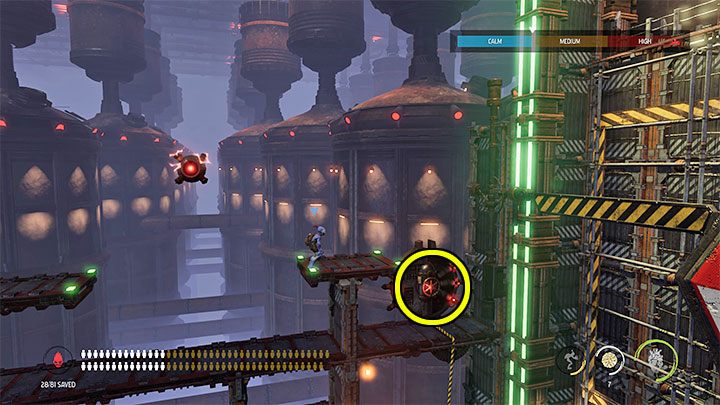
We need to head towards the higher shelves and use Fizzy Pow to destroy passages and unlock the path. You're free to use any gadget you want to eliminate or stun enemies. Getting rid of all the Sligs isn't mandatory, but it'll make it easier for us to get back here later on.
Your objective is to get to the work wheel, as shown on the picture. Interacting with it will unlock the second gate. We can go back down and use the mobile platform again.
You are not permitted to copy any image, text or info from this page. This site is not associated with and/or endorsed by the developers and the publishers. All logos and images are copyrighted by their respective owners.
Copyright © 2000 - 2026 Webedia Polska SA for gamepressure.com, unofficial game guides, walkthroughs, secrets, game tips, maps & strategies for top games.
