Oddworld Soulstorm: Freeing pinned-down Mudokons, The Ruins
This page of the Oddworld Soulstorm guide contains the second part of the walkthrough of The Ruins mission (second level). Our walkthrough informs how to reach Mudokons attacked by Sligs and how to help them, how to get through the mine and how to use stun mines.
Additional note: The green color in this walkthrough stands for secrets and unique locations/activities associated with the badges (challenges) in the game. Mission 2 badges were described on a separate page of the guide.
Free the pinned-down Mudokons
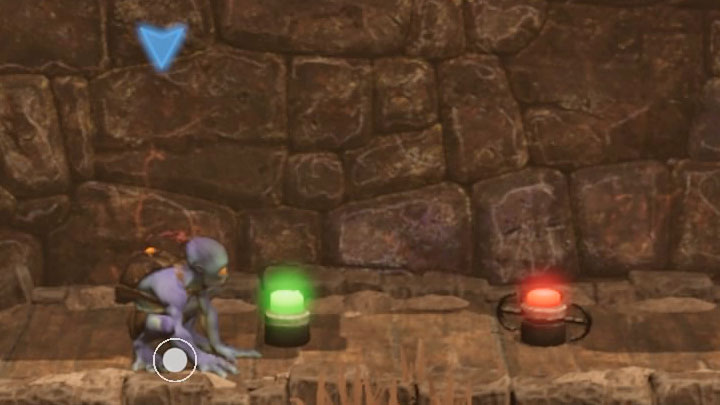
After we have dealt with a group of Sligs and reached the top shelf, a cutscene will play. Head to the right all the time until the mission objective is updated. In the new location you'll come across slap mines for the first time, which react to movement. We can deal with them in several ways:
- Disarming the mines - we must slowly approach each mine in a crouching position and press the interaction button when the green lamp lights up for a longer time.
- Detonating the traps- we can do this by using possession on Sligs and leading them to the traps.
Note - the game may have problems recognizing the action if several mines are placed next to each other. We need to position ourselves at a proper distance from the trap to avoid reactivating one of the previous traps instead of deactivating the next one.
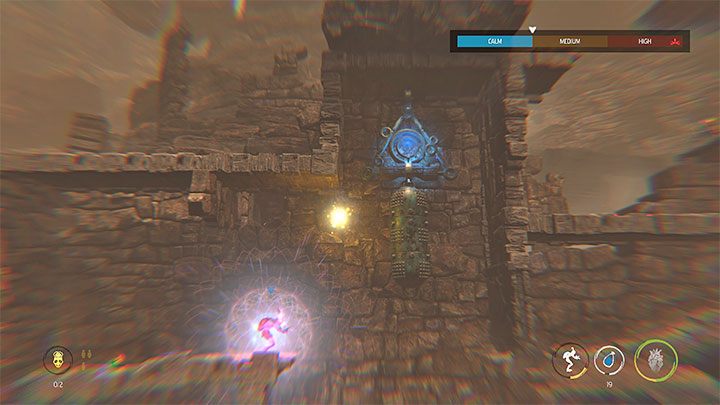
Head for the higher shelves. Two new enemies can be now possessed and stunned / killed. Use singing to attach the upper bell, and then take a run-up and jump above the row of mines.
In the next section, different Sligs will occupy different shelves. The best solution is to use possession to take control of the Sligs from the left shelves. We can use them to jump on the mines located at the bottom.
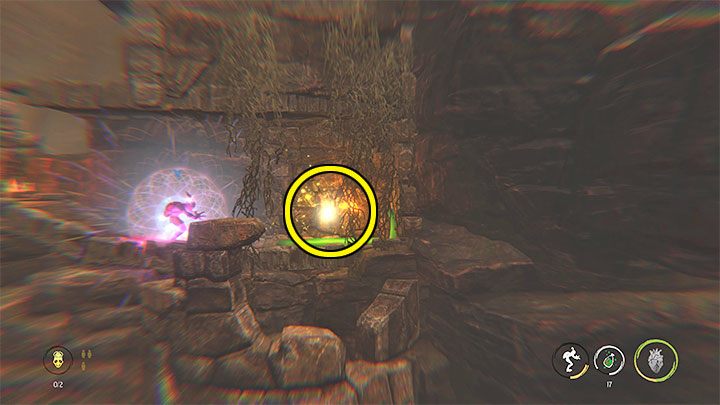
Go to the right. Since you can't use possession here, set fire to the Slig by throwing a bottle into the fire. The second Slig located on the right side is more problematic. We wait until it goes to the right, we quickly approach it from behind and use possession on him (being already far enough from the Chant Suppressor).
The area with the second Slig is simultaneously a secret area and there is a secret royal jelly.
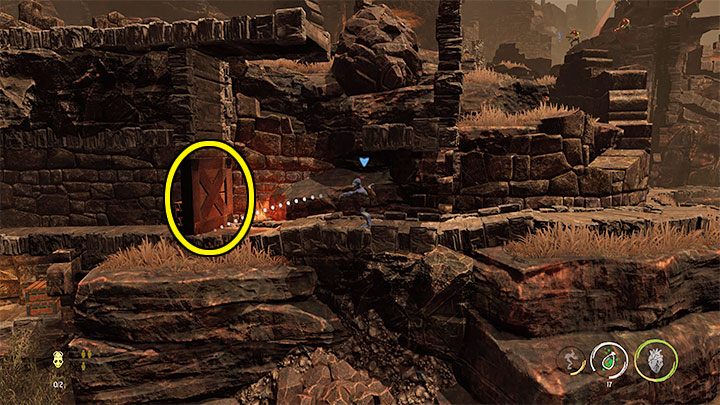
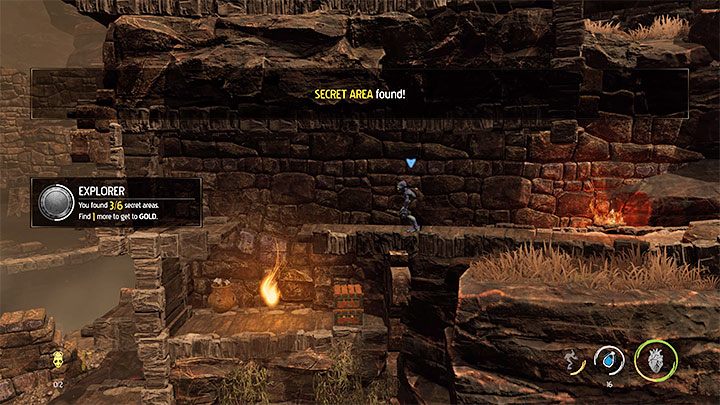
Go back a little bit to the left and start climbing. After going to the right, a cut-scene will play.
After jumping down to the bottom shelf, there's no need to hurry to head right. First, have a look at the left barricade from image 1. We can throw a brew bottle into a nearby fire and cause an explosion that will destroy the barricade. This will allow us to go to the left. We will reach the secret area with the secret royal jelly.
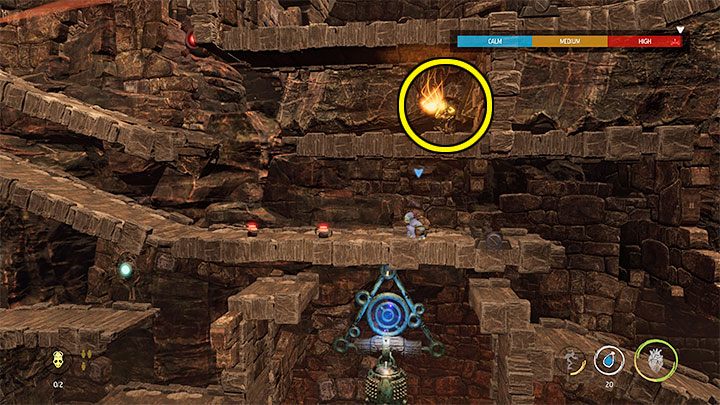
We can now resume our journey to the right. Let's use singing and bell activation to unlock the passage, and possession to deal with a Slig.
After reaching the new slap mines from the image above, we have to disarm them on our own. We can't use possession here, but it can prove useful to the left of this spot. After taking control of the Slig, let's take it to the right and kill the Slig guarding the secret of the Royal Jelly. This will allow us to reach it in person.
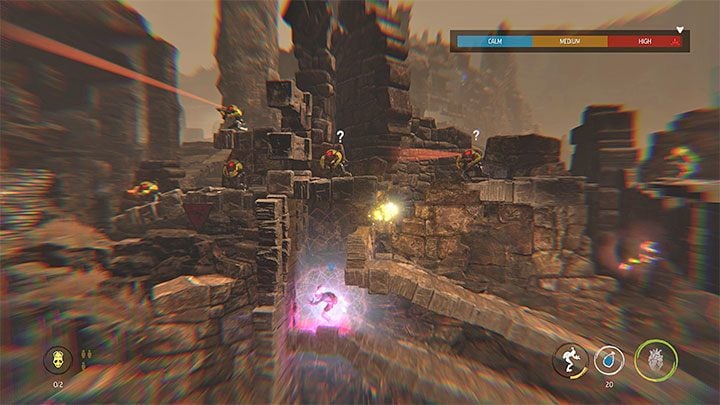
The Mudokons are being shot at by the Sligs. We can start dealing with them one by one. If we stand in the spot as in the attached image, Abe will be far enough from the object blocking the singing. This will allow us to possess all the Sligs without any problems. We can eliminate them one at a time, but stun those that are on the right and then reach them to tie them up.
Once the threat is neutralized, we can go further. We use singing to fly through the Chi Orb to the bell and unlock the passage.
Catch up with the others
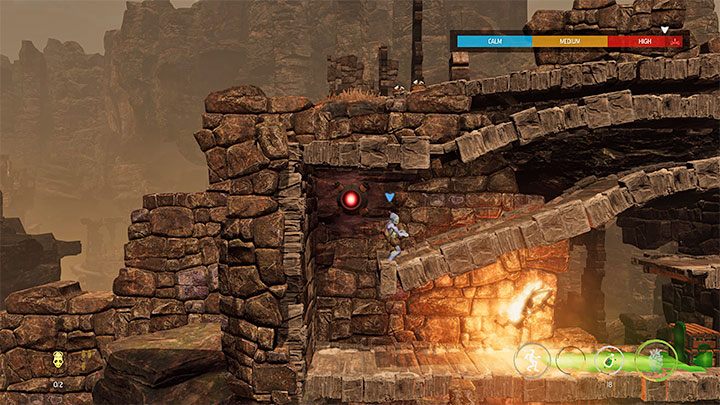
Abe will eventually zoom in on the new Sligs in the attached image. The most problematic is the first Slig, at which we throw a brew bottle once it turns in the opposite direction.
Two more Sligs can be possessed. You can get rid of the Slig from the lowest shelf by throwing a brew bottle towards the fire.
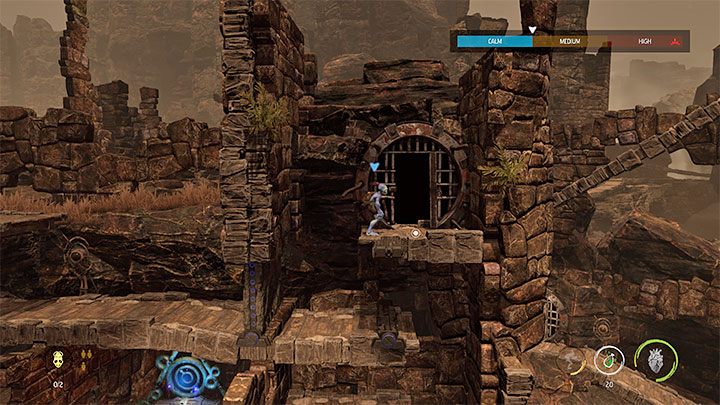
Once you reach the bell, send the Chi Orb towards it to unlock the passage. Make a double jump to reach the high shelf.
We continue going up. It will lead us to the mine entrance shown in the picture. We need to investigate this location.
Stun Mines
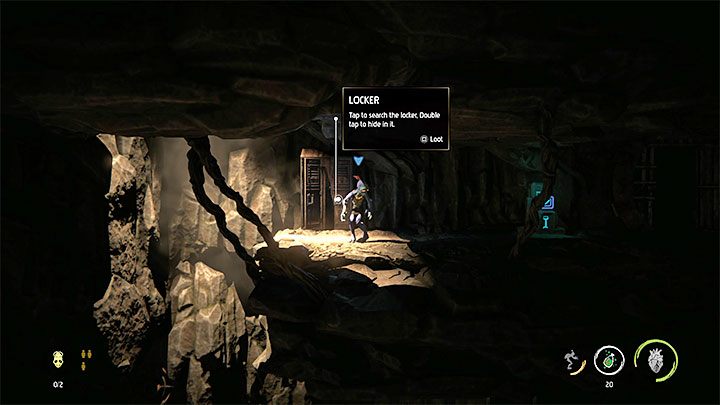
Once you enter the mine, you can start searching all the lockers for IED stun mines. This is a completely new gadget, which is used the same way as bottles: you need to select it from the inventory menu (hold Triangle).
The game also unlocked the Crafting menu (press Triangle), but at the moment we do not have the ingredients needed to produce mines. Fortunately, thanks to exploration, we can find them as we go.
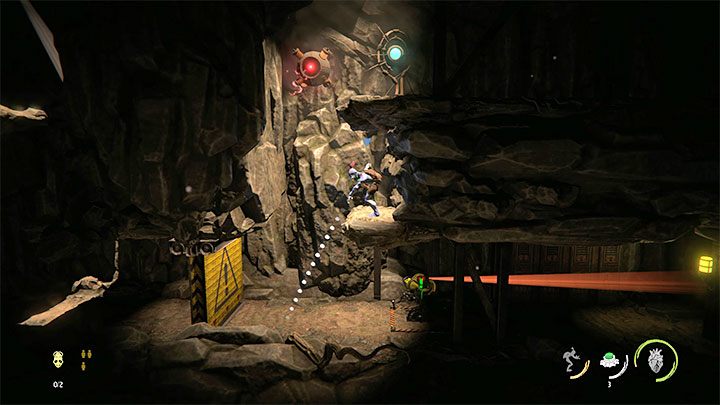
Head to the lower levels of the mine while having a look at all the lockers along the way. Slig is guarding the levers, and this is where we can test the use of stun mines. We aim where we want to throw (right analog stick) and confirm the throw (R2).
Stun mines don't draw the enemy's attention by themselves. This problem can be solved by putting Sligs in an alert state, and in the case of mines, it is easiest to achieve this by trying to sing. Activating the Chant Suppressor will always alert the surrounding enemies, who will start patrolling the area. After a Slig enters the mine, he will be stunned. The best thing to do is to get to it quickly and tie it up and search its body. If we don't have tape, let's move away quickly from the enemy before they regain consciousness.
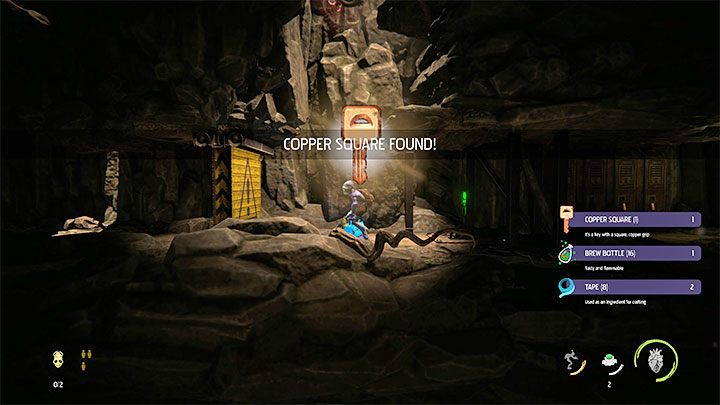
The important information is that the defeated slig will leave behind a copper key - copper Square key. Abe can now use this key to open all copper-lock containers - the first lockers with this type of security measure are on the right side.
The key will stay with us forever and will also be in the inventory of the hero in the next stages. This will allow us to unlock all copper padlocks. Unfortunately, the Copper Key will not match the padlocks of a different color.
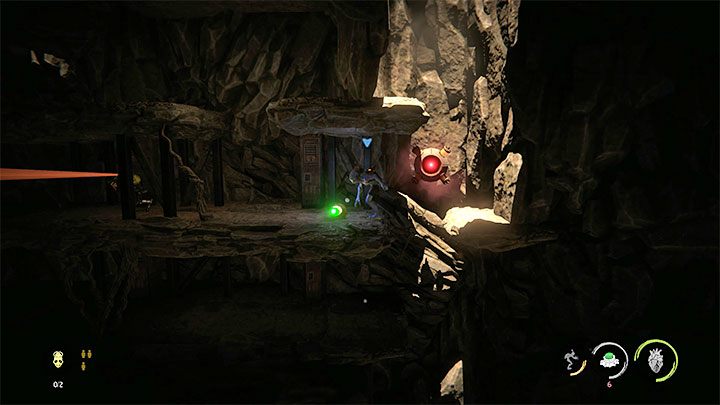
Scout the area and pull the lever so you can go left. In this part of the mine, there are other enemies, but you can deal with them the same way:
- Set a mine near the enemy (a valuable note: you can throw it even while hanging).
- We're trying to use singing to get the Chant Suppressor going and get the neighborhood alerted.
- Wait for the Slig patrolling the area to step on the mine and then tie or bypass it.
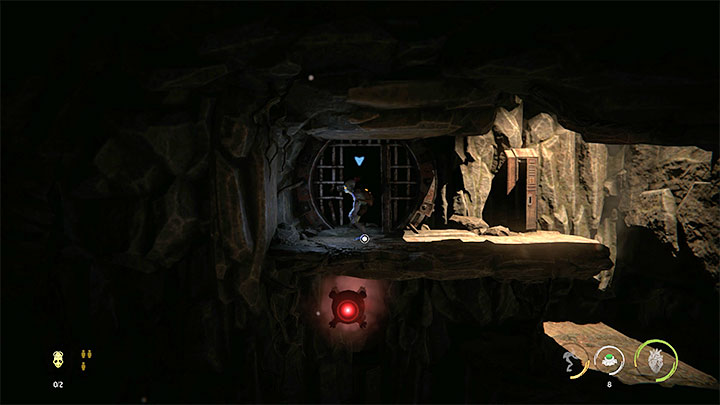
The exit from the mine is at the top left. There are two Sligs in the area, but we can stun them by throwing two mines.
After going outside, reach the ladders and use them to reach the higher shelf. We can use possession on all nearby enemies. This will allow us to reach the lever and pull it. Go back to the left and sing so that the Chi Orb reaches the bell and unlocks the passage.
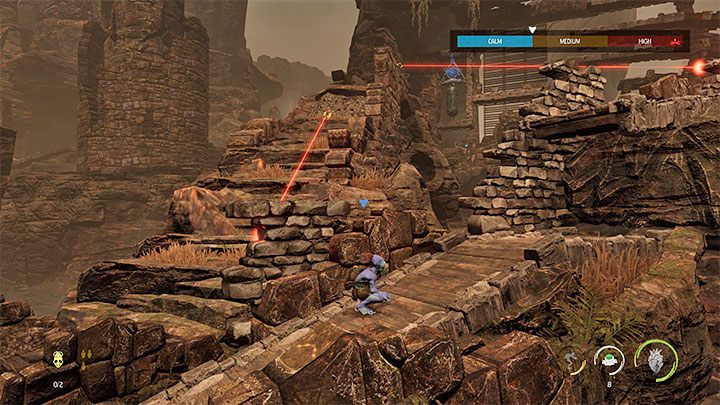
Go right. While following this path, avoid snipers (to be more precise: red laser beams). Along the way, hide behind obstacles and continue to run once it is safe. If necessary, you can crouch behind the curtain.
Ultimately, you must reach a gate that will take us to a new place. Go to the right and reach the checkpoint.
You are not permitted to copy any image, text or info from this page. This site is not associated with and/or endorsed by the developers and the publishers. All logos and images are copyrighted by their respective owners.
Copyright © 2000 - 2026 Webedia Polska SA for gamepressure.com, unofficial game guides, walkthroughs, secrets, game tips, maps & strategies for top games.
