Oddworld Soulstorm: Protecting other Mudokons, The Ruins
This page of the Oddworld Soulstorm guide contains the third part of the walkthrough of The Ruins mission (second level). Our walkthrough informs how to save the fleeing Mudokons during two confrontations with the Sligs. We explain how to use Abe's power to save, if possible, 100% of the Mudokons.
Additional note: the green color in this walkthrough stands for secrets and unique locations / activities associated with the badges (challenges) in the game. Mission 2 badges were described on a separate page of the guide.
Protecting the Mudokons - Part 1
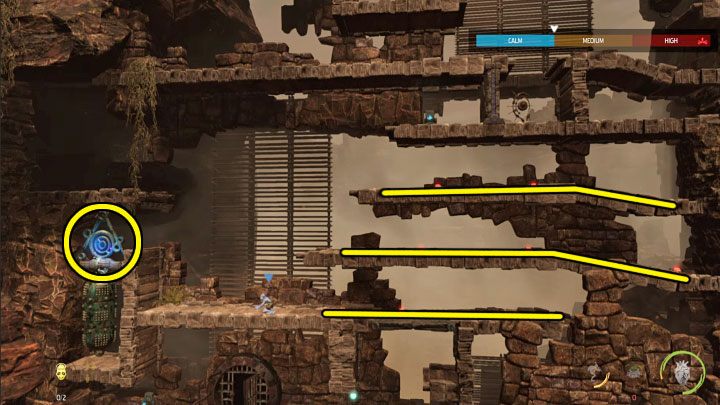
In the final part of The Ruins mission, there are two clashes to get through, which consist in protecting the escaping Mudokons. You have to get rid of the Sligs that can shoot at Mudokons seen in the background.
The first clash will not start until we use chanting on the left bell- we marked it in the picture. Before doing this, it is recommended to place as many stun mines as possible on the right paths. The more mines we have in the inventory, the easier it will be to survive the battle.
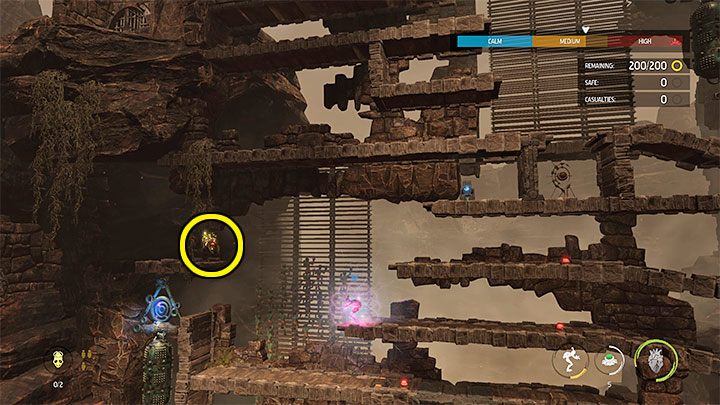
After the clash starts, let's focus on posessing the Slig from the upper left shelf marked in the picture. Let's use this Slig to attack other enemies, even if they are stunned by the previously placed mines.
If we don't see any targets at the moment, let's make the possessed Slig explode and wait for the next one to arrive so we can possess him as well. When fighting, remember to protect the singing Abe, because he is as defenseless as all the other Mudokons. We can reduce the risk of death of our hero by placing him as close as possible to the left bell.
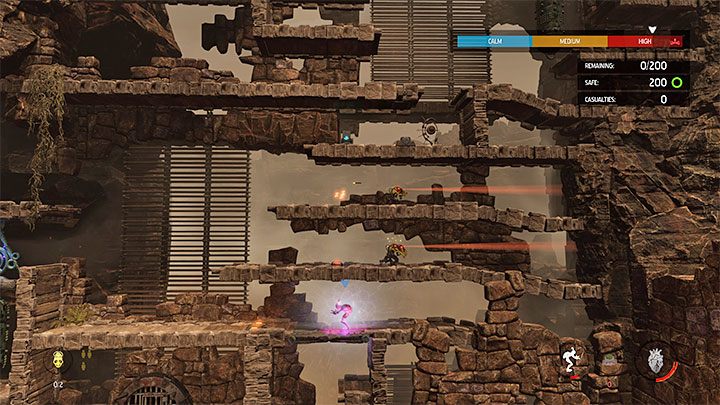
After the Mudokons escaped from this area, let's hide in the lowest level of the arena. This will allow us to quietly possess and stun / kill any enemies that may still be on the higher shelves.
After clearing the area, let's get to the upper checkpoint. Shortly after its activation, face the second battle.
Protecting the Mudokons - Part 2
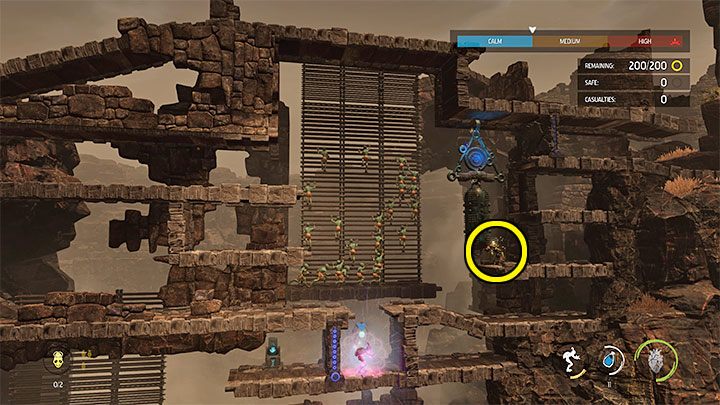
As before, the confrontation will not begin until we use chanting on the upper bell. In this case, we do not need to prepare for the clash, because possession will be enough for us to win.
When the battle begins, the absolute priority is to possess the first Slig that appears on the top right shelf - we marked it in the picture.
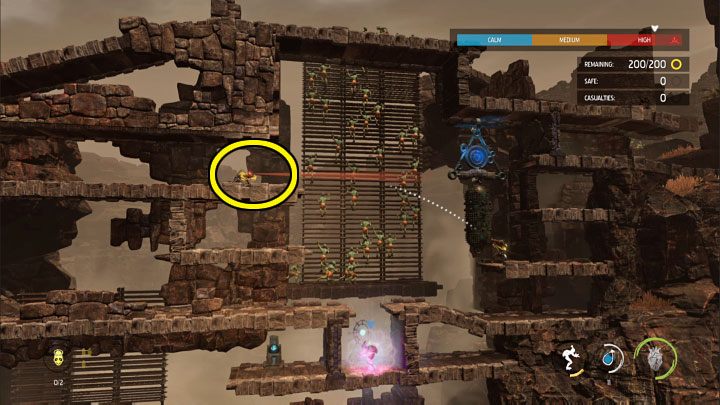
The possessed Slig is equipped with a grenade launcher, which is perfect for eliminating other enemies. However, remember that grenades do not fly in a straight line. We must be aware of this especially in the case of Sligs from the upper left shelf (see the picture above), because it is easy to miss and, consequently, contribute to the death of some of the escaping Mudokons.
Other Sligs will appear on the lower shelves and they are definitely easier to hit with a grenade launcher. Don't stop the possession until all the allies have escaped.
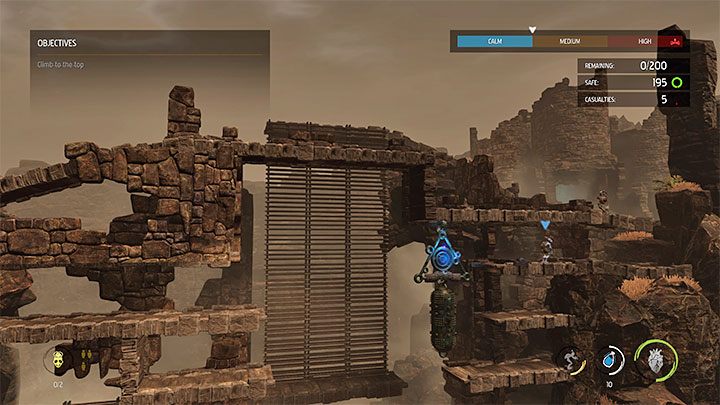
All that's left to do is to leave the location. After the Mudokons escape, the exit will be unlocked in the upper right corner of the arena.
Soon after you activate the checkpoint and turn left, the level will be complete.
You are not permitted to copy any image, text or info from this page. This site is not associated with and/or endorsed by the developers and the publishers. All logos and images are copyrighted by their respective owners.
Copyright © 2000 - 2026 Webedia Polska SA for gamepressure.com, unofficial game guides, walkthroughs, secrets, game tips, maps & strategies for top games.
