Oddworld Soulstorm: Climbing the Loading Crane, The Yards
This page of the Oddworld Soulstorm guide contains the third part of the walkthrough of Mission 15 - the Yards. Our walkthrough explains how to save the last group of Mudokons, how to complete the sequence of climbing the big crane and how to protect Abe during the fight with the Sligs on the hanging platform.
Additional note: The green color in this walkthrough stands for secrets and unique locations/activities associated with the badges (challenges) in the game. Mission 15 badges have been described on a separate page of the guide.
Climb the Loading Crane
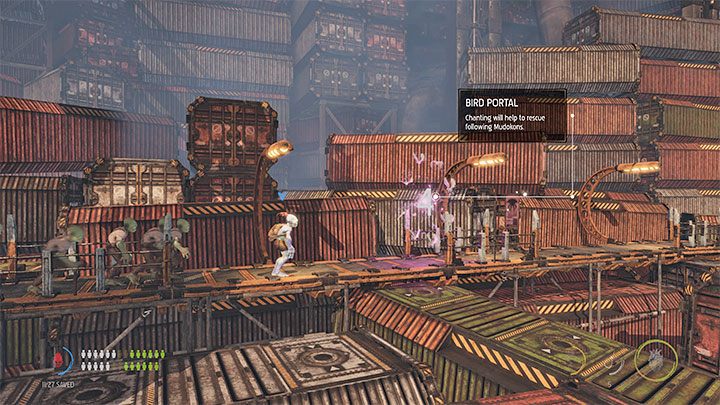
The last part of the mission will begin shortly after we solve the containers puzzle and reach the lever that unlocks the passage for the escorted Mudokons. Make sure that all the Mudokons follow Abe and then go right.
Shortly thereafter, you will come across a bird portal. Activating it will allow us to save the Mudokons and you will play the rest of the mission on your own.
Additional note - if at least 4 Mudokons have gone through the bird portal, you will unlock 1 load of Shrykull power. It will help us survive the final clash of this stage.
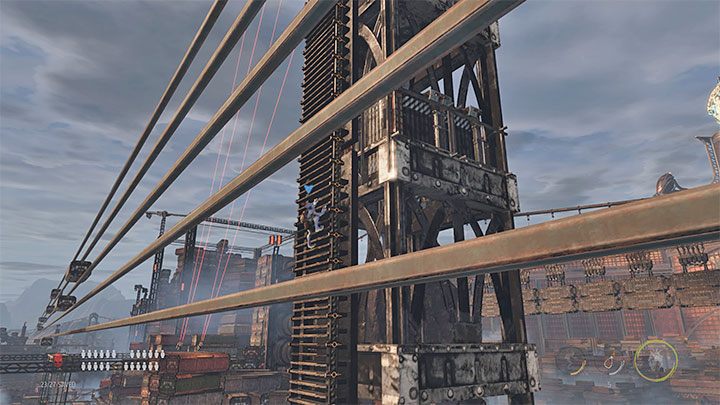
Keep going to the right and remember to check out the lockers along the way. Soon we will reach the spot where Abe will start climbing the big crane. First, you'll need to jump to the higher shelves and then start using the ladder.
When climbing, be wary of moving containers. We can see them from a greater distance, but we need to be aware that they are moving at different speeds. We can stay longer in spots which the containers approach rather slowly, but move away from places which the container might reach much quicker. We'll find a checkpoint upstairs.
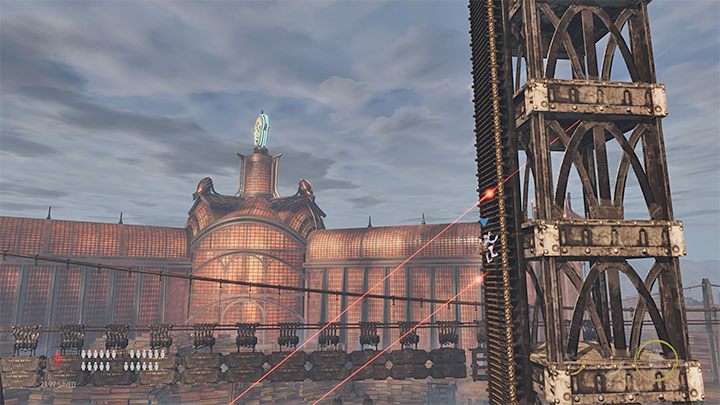
Go over the scaffolding and jump to the next ladder. While climbing, watch out for snipers. Fortunately, it is easier than avoiding containers. At some point, Abe may be forced to climb between the two beams (see picture above) and it is crucial not to stop too soon.
After reaching the top, we turn 180 degrees, jump to the first Monkey Bar and then jump towards the next bars.
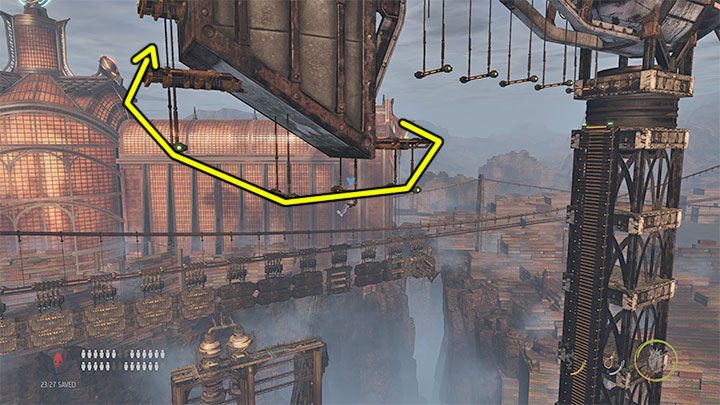
After reaching the shelf with the checkpoint, we carefully lower ourselves at the right edge, jump to the nearest bar and continue climbing. The final part is more difficult since it involves performing two double jumps: the first jump towards the outlying bar and then to the top shelf (we must "turn" Abe in flight before pressing the jump button for the second time).
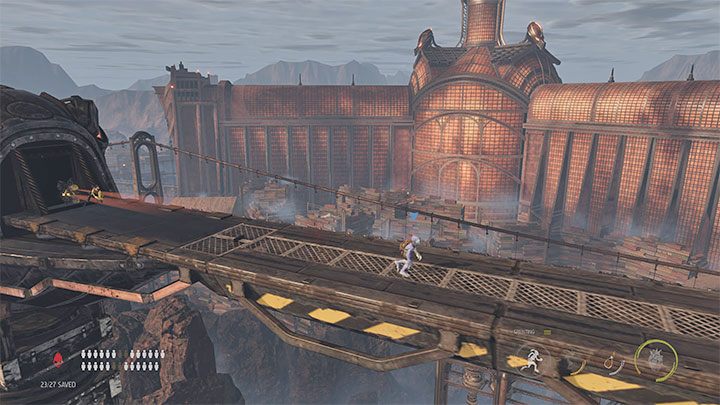
We climb to the higher shelves and go to the right. We need to start sprinting because Sligs will start to spawn behind Abe. Fighting them would be doomed to failure, because Abe would have nowhere to hide. We continue running until Abe reaches the end of the boom and jumps onto a hanging platform with containers.
Protecting Abe on the hanging platform
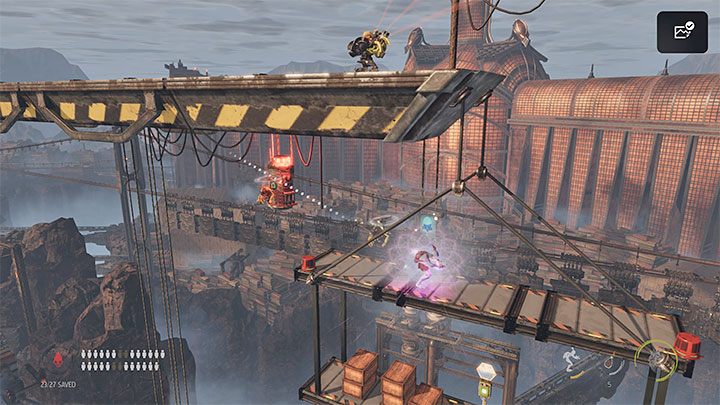
There's a difficult confrontation ahead of us, in which we must protect Abe from flying Sligs. Note that if you have the special Shrykull power in stock, which you could have obtained thanks to rescuing Mudokons, then you will be able to activate it at any time to get rid of the Sligs. Its activation should be considered as a last resort. It's possible to survive the battle without it as well.
We remain at the starting point and prepare to use possession. Use it on the first flying Slig that will fly out of the guard post. Use his weapon to destroy the other flying Slig, and then only stun him, because we'll need him in a few moments.
Enemies occupying the upper boom can be ignored - they are no threat to Abe.
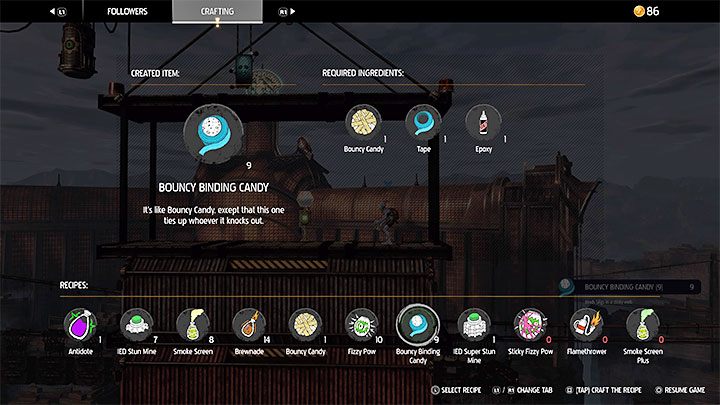
We jump quickly to the lower level and destroy crates with crafting ingredients. Try to produce as many Bouncy Binding Candy and Bouncy Candy gadgets as possible.
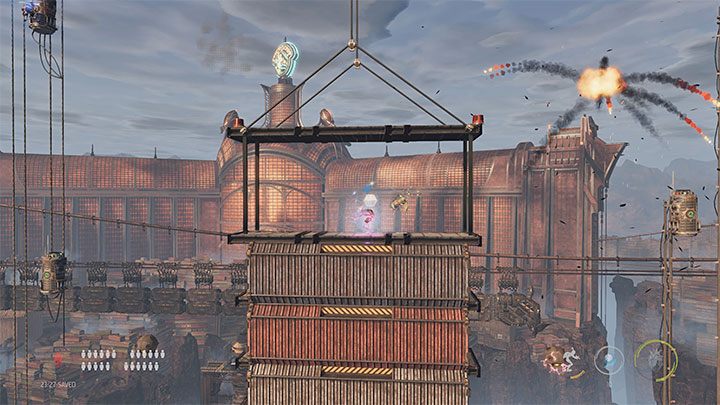
Use possession on the same flying Slig once again - it will protect Abe in the first part of the battle.
We're firing at all the other Sligs that come out of the guard posts. Don't let enemies get close to Abe, because if he gets hit, it will break the possession and significantly reduce the chances of re-possessing another Slig.
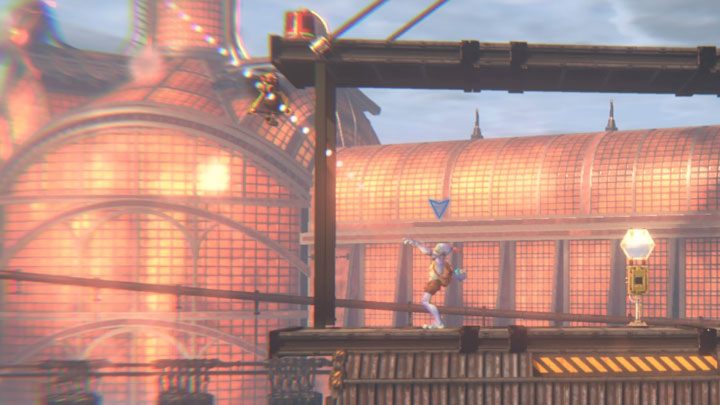
Unfortunately, we can't keep using the possessed Slig the whole time because soon we will get close to the Chant Suppressors and the possession will stop working. From now on, rely on Bouncy Binding Candy and Bouncy Candy to quickly neutralize the hit Sligs. We have to use the candy at the right moments - don't throw it too early so as not to miss. If you throw it too late, you'll be attacked.
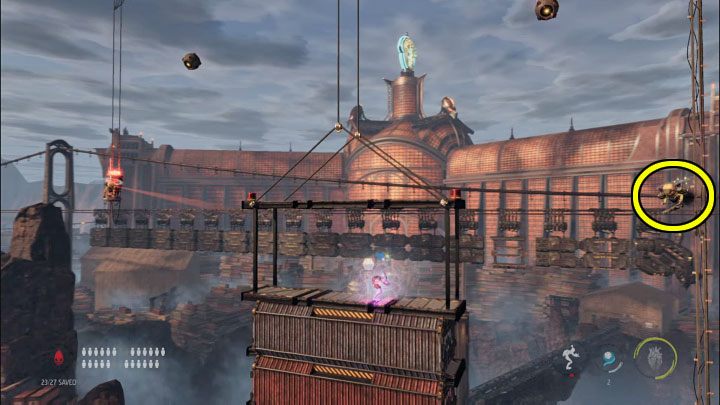
Soon the mobile platform will move away from Chant Suppressors and possession will become available once again. It is important to possess the "best" enemy - wait until the Slig with a minigun appears on the right side. If possible, get him as soon as he reaches the edge of the screen, because he might start shooting at Abe early. We use the possessed Slig to get close to the protagonist and protect him. Fortunately, it's almost the end of the battle.
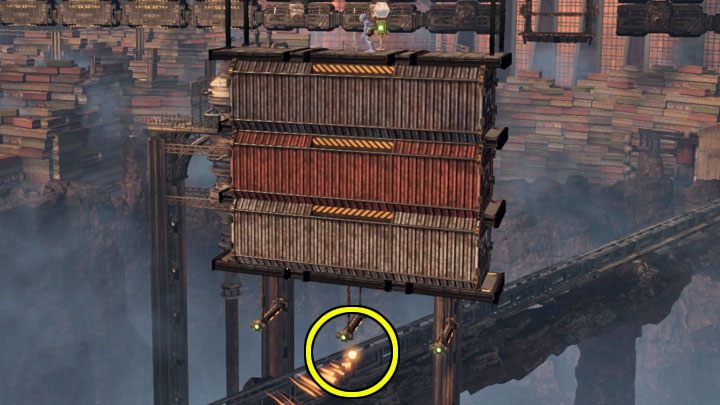
After you have defeated all the Sligs and the hanging platform stops, position yourself at the left or right end of the platform and start descending. There are monkey bars under the hanging containers and we can use them to reach the Royal Jelly secret, as marked on the picture.
Return to the top and press the button to start the cut-scenes and complete the mission.
Bad ending or continuation
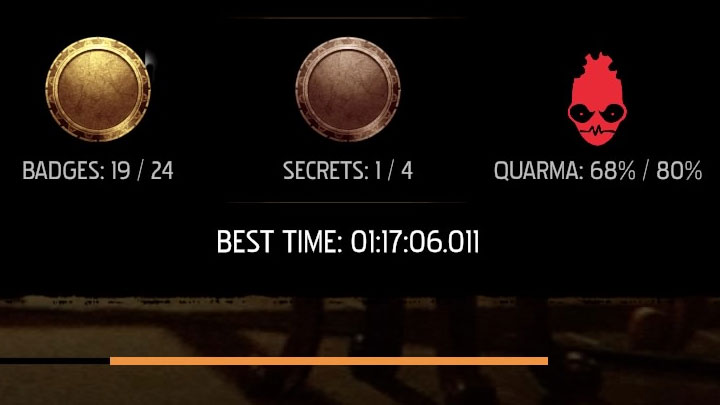
The following things can happen now:
- Finishing the campaign with the bad ending - It will happen if we have caused the death of over 1,000 Mudokons or if we have not completed at least 12 stages with a positive Quarma, i.e. saving at least 80% of Mudokons in a given location. As a reminder, the game displays the current status in the pause menu, on the mission summary screen, and in the completed stages list in the main menu (the picture presents a situation in which we could not get a positive Quarma).
- Unlocking two additional stages - This will happen if less than 1,000 Mudokons died and if we completed 13, 14, or all 15 missions with a positive Quarma. Missions 16 (Brewery) and 17 (Eye of the Storm) will be unlocked along with a good ending.
Important note - if you've completed more than 3 levels with a negative Quarma, you don't have to start the campaign again. The levels where we didn't get positive Quarma can be repeated and we can try again to save at least 80% of Mudokons.
You are not permitted to copy any image, text or info from this page. This site is not associated with and/or endorsed by the developers and the publishers. All logos and images are copyrighted by their respective owners.
Copyright © 2000 - 2025 Webedia Polska SA for gamepressure.com, unofficial game guides, walkthroughs, secrets, game tips, maps & strategies for top games.
