Kena Bridge of Spirits: Warrior Path - walkthrough
On this page of Kena Bridge of Spirits guide, you will learn how to complete the main mission, which is called Warrior Path.
On this page of the guide to Kena Bridge of Spirits, you'll learn how to get through the next main mission, Warrior Path. You can complete it with two other tasks, Mask Maker Path and Hunter Path, at the same time.
Heading west, near the Storehouse, another Spirit Gate is leading to a new mission, namely the Warrior Path.
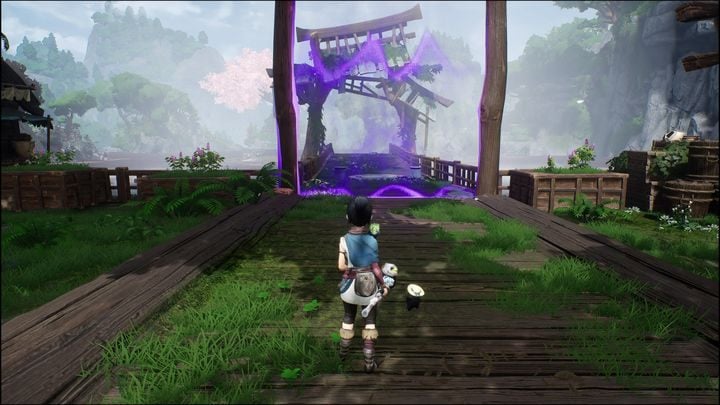
Go to the place indicated on the map. The gate will lead to the bridge. Use a dash to get to the other side.
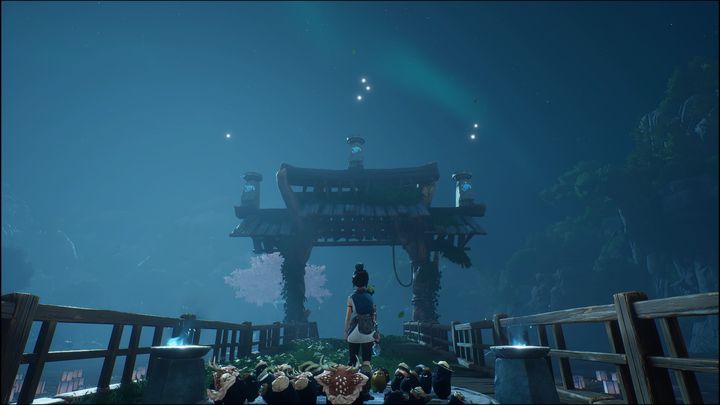
Stand on the platform in the middle of the bridge. Look up, you will see three crystals. The order is very important and is indicated by the number of stars above them.
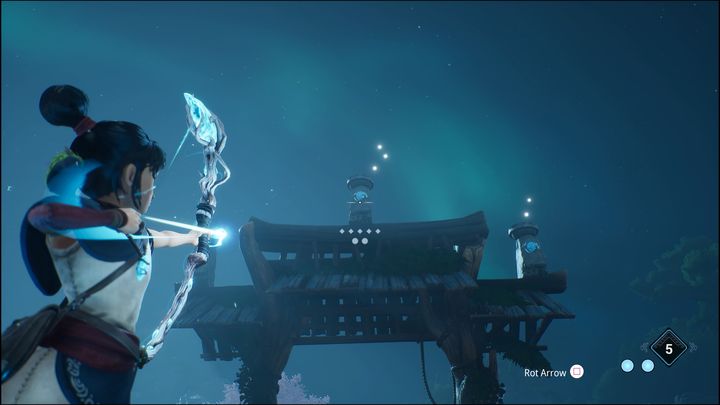
Therefore, you will have to shoot the left crystal first, then one on the right, and finally the middle one. This will make the bell toll, opening the passage before you. Use a dash to get to the other side.
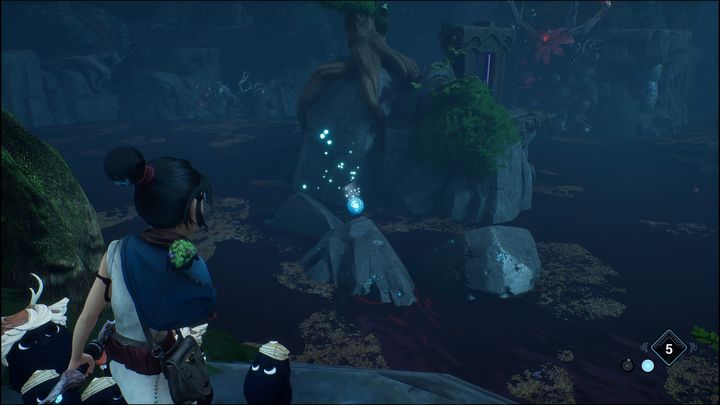
Then throw the bomb towards the highlighted rocks. After the detonation, jump on them and continue on your way.
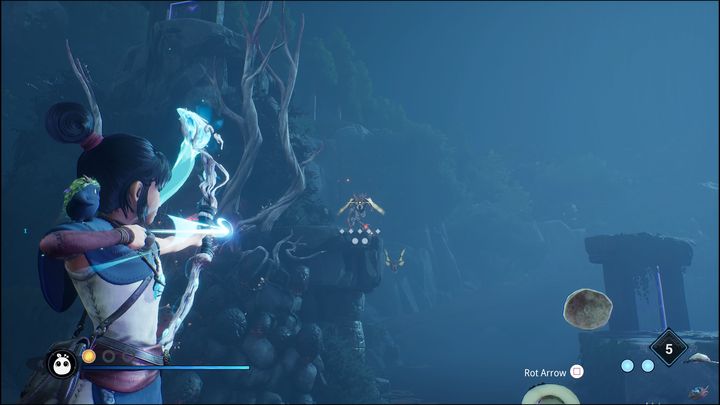
When you are on the final platform, near the corrupted flower, flying enemies will appear. Shoot them down with a bow and then purify the flower. When you do, you will see Spirit Gate on the right. Go through the gate.
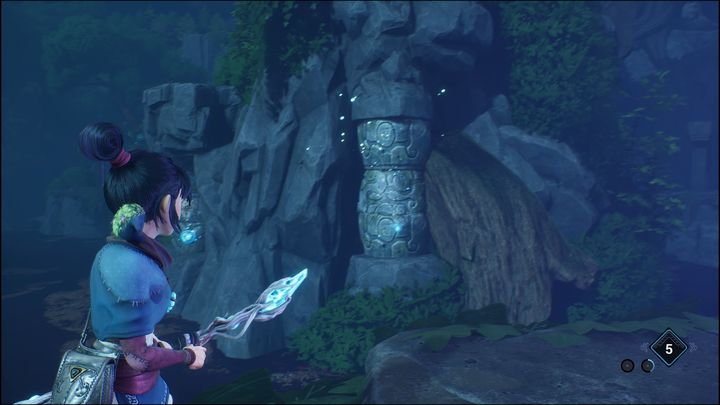
After each passing, there is a column glowing blue. It is important to stick a bomb to each one without detonating them right away since you want them to last as long as possible. After each time you get through Spirit Gate, throw a bomb at the column. Do it as quickly as possible.
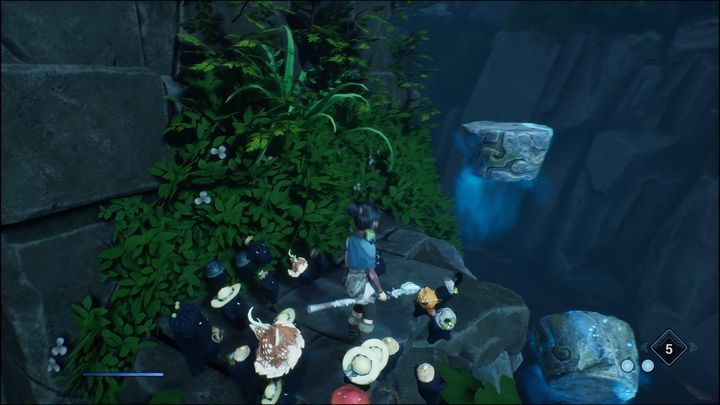
At the last gate, you will return to the very beginning. Next, you have to shoot the flower and then head upwards. Now with bomb-activated passages, this will be possible.
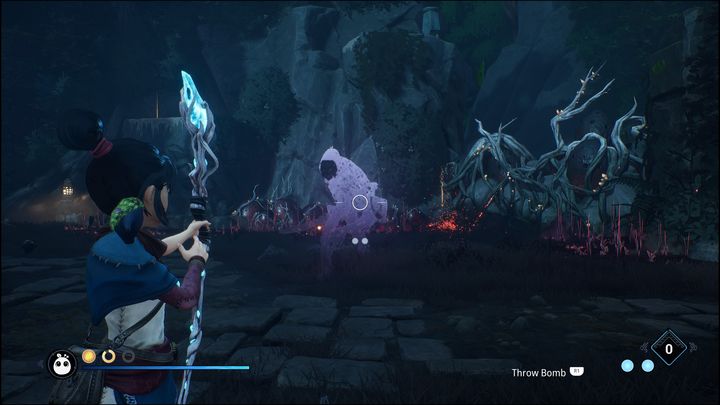
While on the top, go through the Spirit Gate. Right after you pass it, you will be attacked by enemies. In the beginning, there will be standard enemies, including archers, and at the end, there will be ghost enemies.
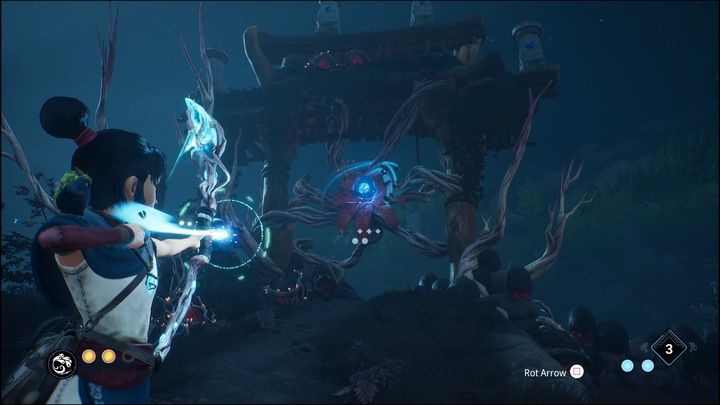
Next, you have to purify the flower. Once you do that, there will be a cutscene that will show you the platforms with hearths. You need them to figure out in which order to shoot the crystals on top.
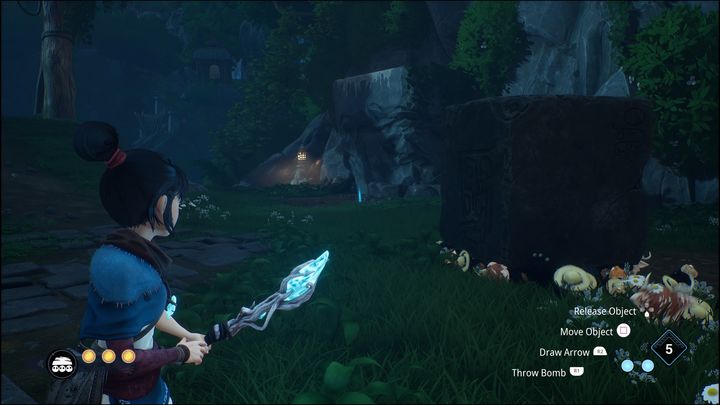
If you want to find it out on your own, first move the large block in the cave to the location shown on the screen. This will allow you to jump to a higher level and get to the platforms. As you stand on them, you will see the number of stars, which will indicate the order in which you should shoot crystals.
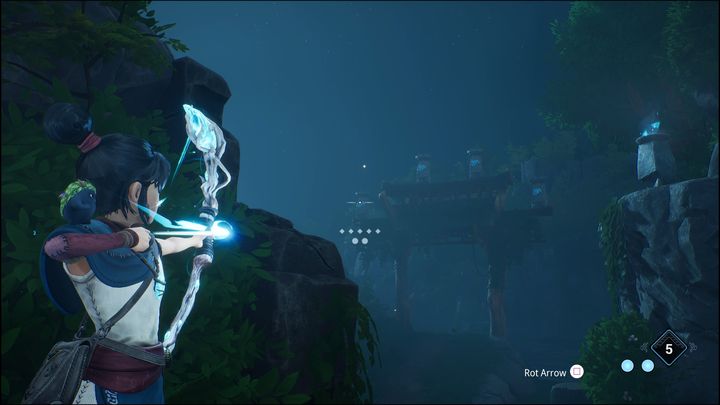
The combination needed to activate the gate is: Far left, far right, center left, center right. Thanks to that, the Spirit Gate will appear.
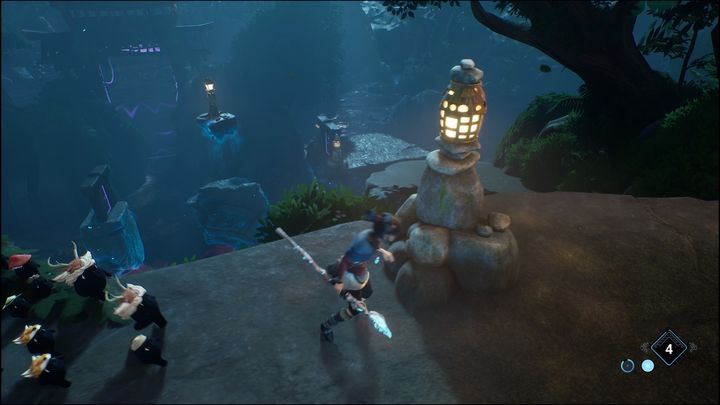
After getting to the other side using a dash, throw a bomb at the highlighted rocks in the distance and then slide down. Thanks to the bomb, more platforms will appear. You have to jump onto them. After that, all you have to do is pass through the gates using dash.
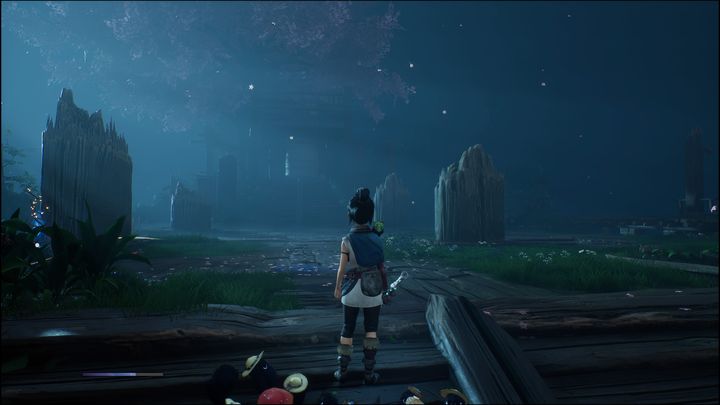
You will get in the arena now. To fight the next boss, you have to approach the big bell and use Rot to hit it.
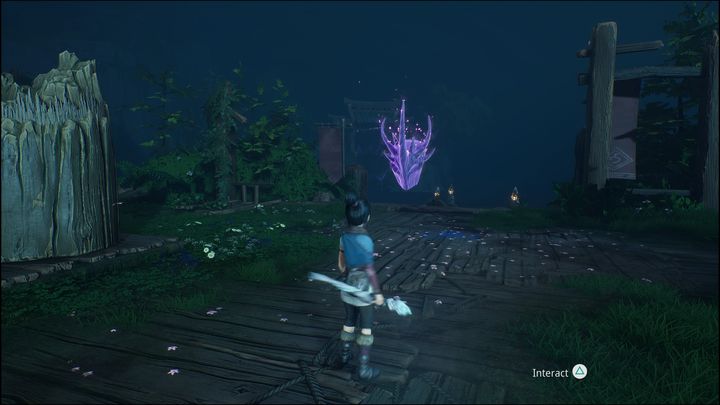
After hitting the bell, go back to approach the Warrior Mask. Interacting with the mask will start a duel with the next boss called Warrior. The description of the boss fight is on a separate page of this guide.
- Kena Bridge of Spirits Guide
- Kena Bridge of Spirits: Game Guide
- Kena Bridge of Spirits: Walkthrough
- Kena: Bridge of Spirits: All missions - list
- Kena Bridge of Spirits: Tutorial - walkthrough
- Kena Bridge of Spirits: Help Taro - walkthrough
- Kena Bridge of Spirits: Find Rusu - walkthrough
- Kena Bridge of Spirits: Taro's Fear - walkthrough
- Kena Bridge of Spirits: Taro's Love - walkthrough
- Kena Bridge of Spirits: Taro's Regret - walkthrough
- Kena Bridge of Spirits: Free Taro - walkthrough
- Kena Bridge of Spirits: Help the Woodsmith - walkthrough
- Kena Bridge of Spirits: Adira's Love - walkthrough
- Kena Bridge of Spirits: Adira's Fear - walkthrough
- Kena Bridge of Spirits: Adira's Regret - walkthrough
- Kena Bridge of Spirits: Free Adira - walkthrough
- Kena Bridge of Spirits: Honor Adira - walkthrough
- Kena Bridge of Spirits: Help Toshi - walkthrough
- Kena Bridge of Spirits: Mask Maker Path - walkthrough
- Kena Bridge of Spirits: Warrior Path - walkthrough
- Kena Bridge of Spirits: Hunter Path - walkthrough
- Kena Bridge of Spirits: Free Toshi - walkthrough
- Kena Bridge of Spirits: The Sacred Mountain Shrine - walkthrough
- Kena Bridge of Spirits: Walkthrough
- Kena Bridge of Spirits: Game Guide
You are not permitted to copy any image, text or info from this page. This site is not associated with and/or endorsed by the developers and the publishers. All logos and images are copyrighted by their respective owners.
Copyright © 2000 - 2026 Webedia Polska SA for gamepressure.com, unofficial game guides, walkthroughs, secrets, game tips, maps & strategies for top games.
