Kena Bridge of Spirits: Free Taro - walkthrough
On this page of Kena Bridge of Spirits tutorial, you will learn how to complete the main mission, which is called Free Taro. You will start it after defeating the Shrine Guardian.
On this page of the guide to Kena Bridge of Spirits you'll learn how to get through the next main mission, Free Taro. This mission begins immediately after defeating the Shrine Guardian.
Once you beat the boss, use everything you'll find in the arena. One of the things you'll get is the Lantern, a new relic.
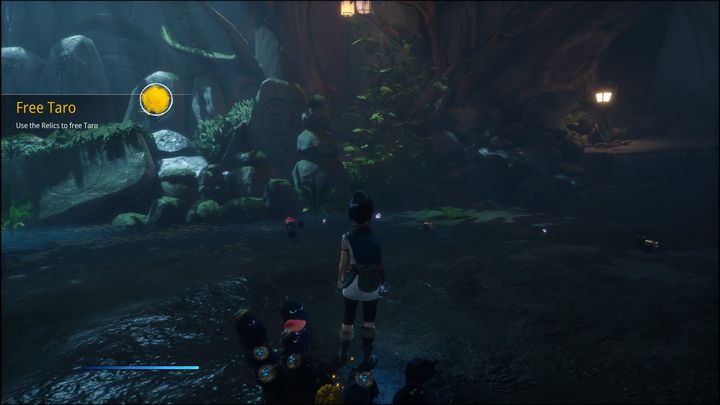
Leave the cave by climbing the rocks. Once you reach the surface, you'll see how seriously the weather changed.
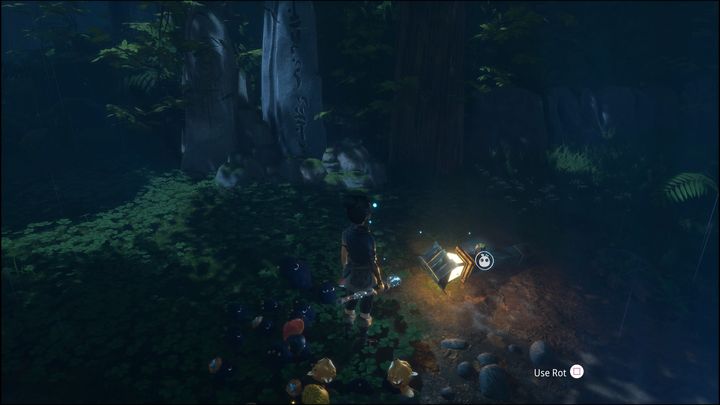
After walking for a while, you'll meet a yellow spirit who'll enter the lantern. Your task is to move the lantern next to the other one.
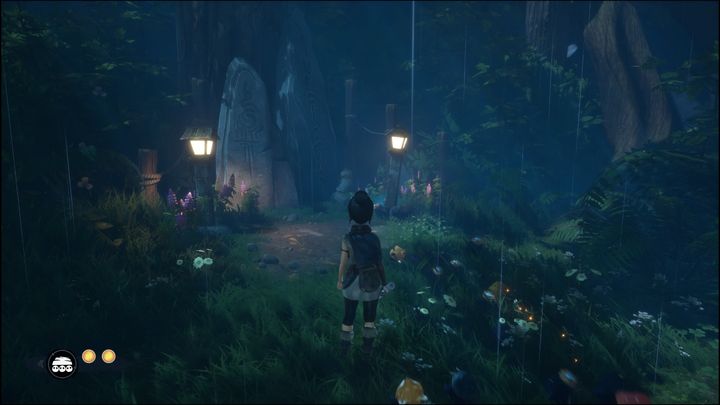
By doing so you'll light up the first crystal, on the upper part of the tree trunk.
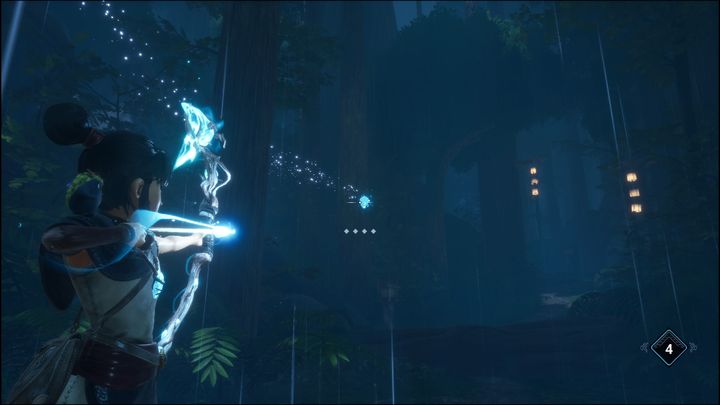
Each time you shoot a crystal, a path leading you to the next one will appear. Follow the path, shooting every crystal you see along the way.
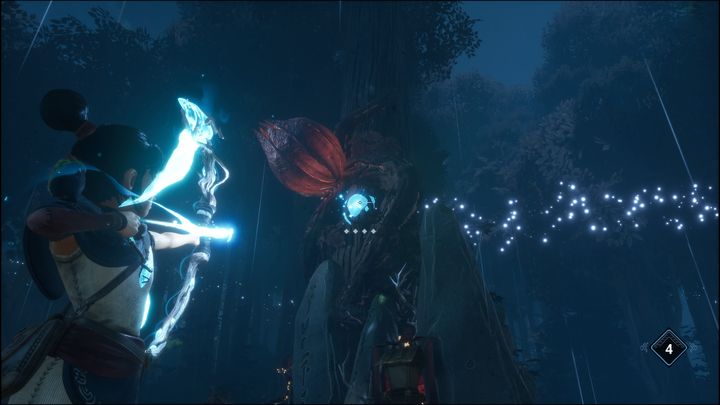
At the end of the path there's a huge flower you need to purify. Do so with Rot and Pulse. This will cleanse the area and improve the weather.
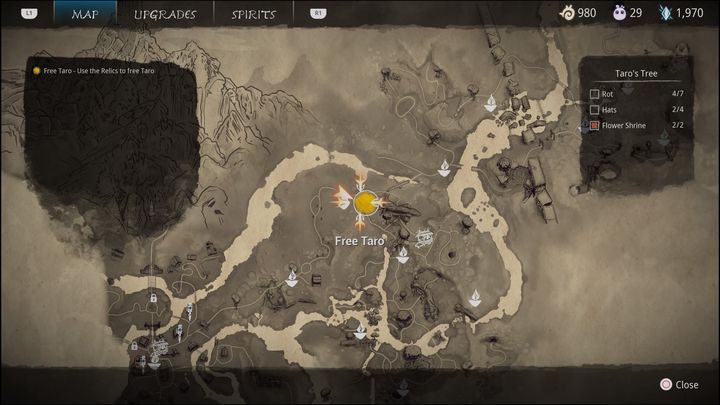
After a brief conversation with Rusu, you'll learn that the Lantern relic you obtained after beating the Shrine Guardian has to be brought to the place where it all began. Head to the nearest Warp Stone and use fast travel to reach the location indicated on the map.
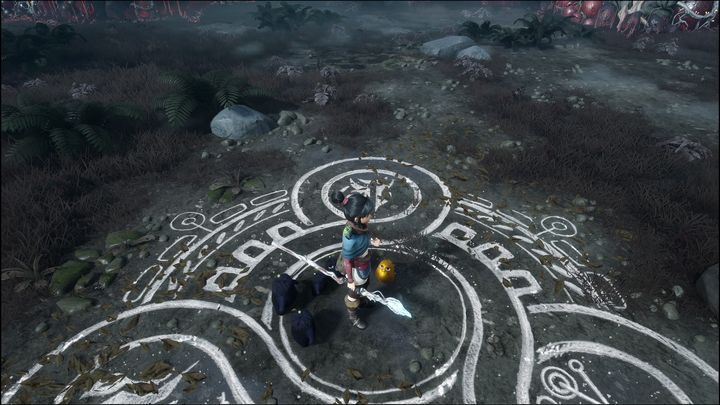
Simply walk onto the painting shown on the picture to start the next part of this quest, freeing Taro. A cutscene will start - once it ends, you'll need to defeat Corrupt Taro in a boss fight. The description of the boss fight is on a separate page of this guide.
- Kena Bridge of Spirits Guide
- Kena Bridge of Spirits: Game Guide
- Kena Bridge of Spirits: Walkthrough
- Kena: Bridge of Spirits: All missions - list
- Kena Bridge of Spirits: Tutorial - walkthrough
- Kena Bridge of Spirits: Help Taro - walkthrough
- Kena Bridge of Spirits: Find Rusu - walkthrough
- Kena Bridge of Spirits: Taro's Fear - walkthrough
- Kena Bridge of Spirits: Taro's Love - walkthrough
- Kena Bridge of Spirits: Taro's Regret - walkthrough
- Kena Bridge of Spirits: Free Taro - walkthrough
- Kena Bridge of Spirits: Help the Woodsmith - walkthrough
- Kena Bridge of Spirits: Adira's Love - walkthrough
- Kena Bridge of Spirits: Adira's Fear - walkthrough
- Kena Bridge of Spirits: Adira's Regret - walkthrough
- Kena Bridge of Spirits: Free Adira - walkthrough
- Kena Bridge of Spirits: Honor Adira - walkthrough
- Kena Bridge of Spirits: Help Toshi - walkthrough
- Kena Bridge of Spirits: Mask Maker Path - walkthrough
- Kena Bridge of Spirits: Warrior Path - walkthrough
- Kena Bridge of Spirits: Hunter Path - walkthrough
- Kena Bridge of Spirits: Free Toshi - walkthrough
- Kena Bridge of Spirits: The Sacred Mountain Shrine - walkthrough
- Kena Bridge of Spirits: Walkthrough
- Kena Bridge of Spirits: Game Guide
You are not permitted to copy any image, text or info from this page. This site is not associated with and/or endorsed by the developers and the publishers. All logos and images are copyrighted by their respective owners.
Copyright © 2000 - 2026 Webedia Polska SA for gamepressure.com, unofficial game guides, walkthroughs, secrets, game tips, maps & strategies for top games.
