Kena Bridge of Spirits: Adira's Regret - walkthrough
On this page of Kena Bridge of Spirits guide, you will learn how to complete the main mission, which is called Adira's Regret.
On this page of the guide to Kena Bridge of Spirits you'll learn how to get through the next main mission, Adira's Regret. The mission starts immediately after finishing the previous one, called Adira's Fear.
Adira's Regret begins after you defeat the Stone Guardian. This mission tasks you with cleansing the corrupt caves.
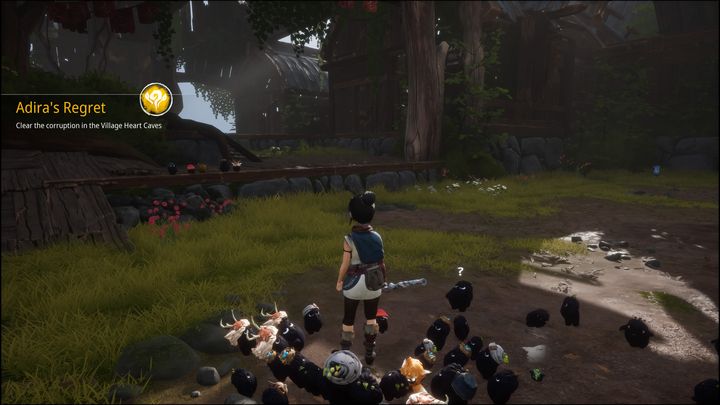
You should visit the nearby houses before heading to the next marker on your map, as you can find some good loot inside.
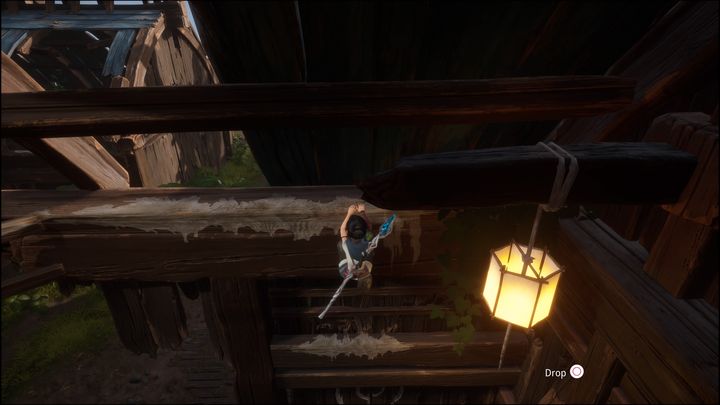
Walking a bit further to the right you'll notice an elevator which will take you to the lower level. Don't use it, instead turn right towards a house - you'll recognise it thanks to the axe and hammers hanging off it. Enter the house and turn around, there's a climbable area by the entrance.
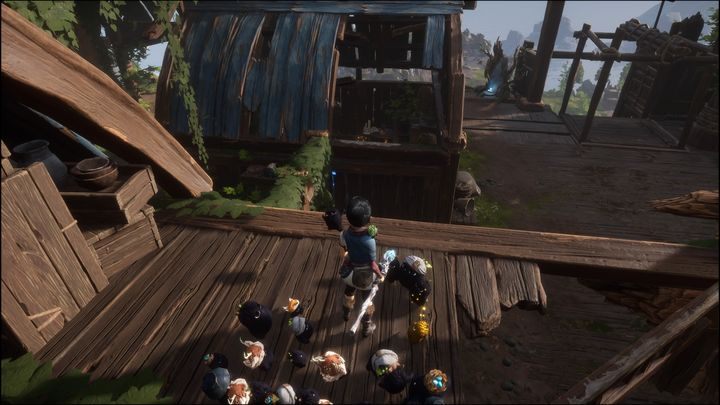
Climb up, then head left. Opposite you is another house you can enter through a hole in the roof. Get inside with a double jump - you'll find a Meditation Spot, which will increase your maximum health.
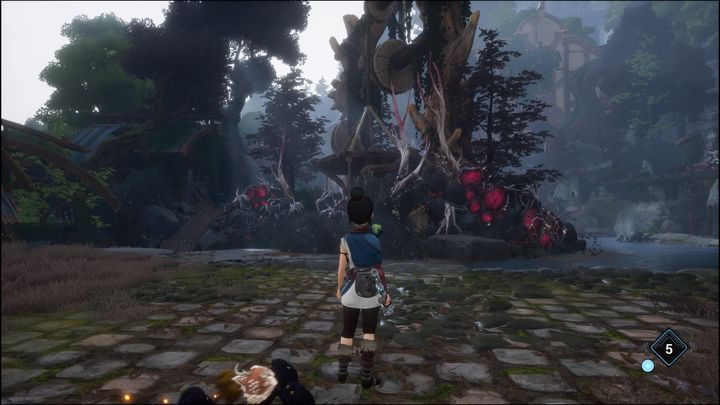
Then use the elevator or a Warp Stone to reach the new marker on the map. You'll see a corrupted structure in the middle. Head left from it to find an open passage.
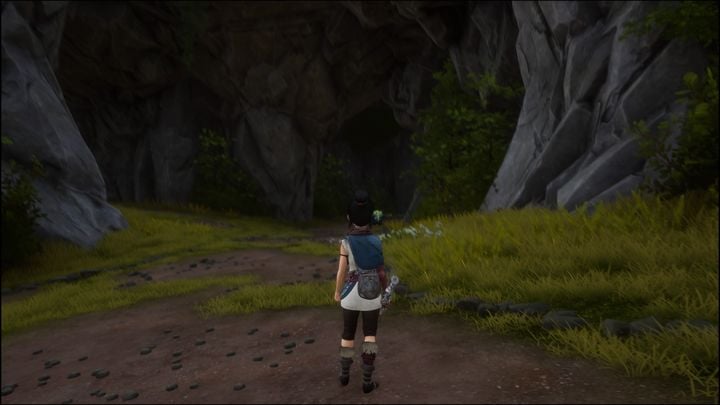
Going this way you'll eventually find a large cave you need to enter to continue the quest. There's an NPC on the bottom, who'll help you open the door.
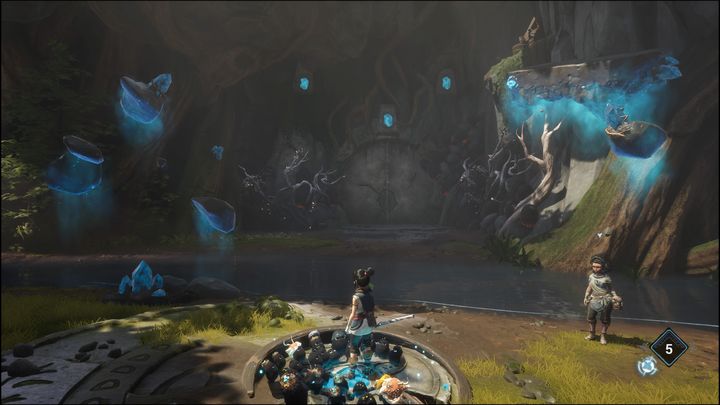
To open the way forward you must first activate the platforms on the left and on the right with your bombs. Once the platforms are in the air, shoot the right platform with a crystal on it. This will rotate the platform and move the crystal closer to the second one, letting Pulse reach the gate.
You can also jump up the platforms on the right to reach a chest located high-up.
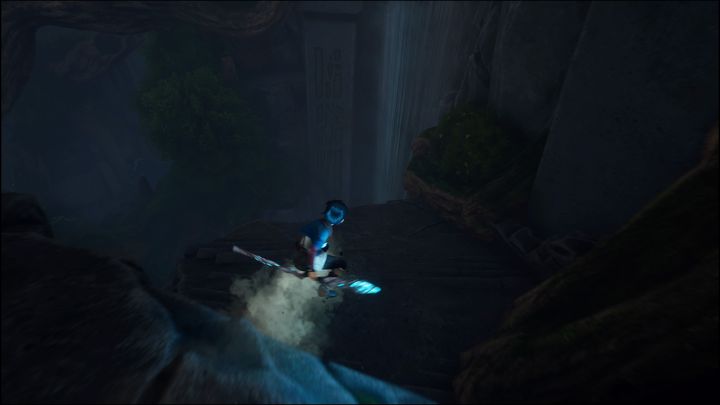
Go through the gate to trigger a short cutscene. Once it ends, go right and then slide down. Don't worry about dying, you'll be fine after hitting the water at the bottom. Two smaller Rot Eaters will attack you immediately when you leave the water. Defeat them and keep swimming.
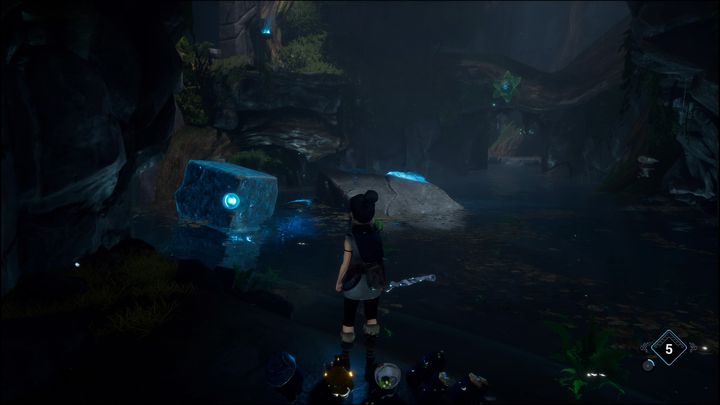
You'll be able to spot some shining rocks in the center of the cave once you reach the land on the left. First, however, you should use the flower on the right. Shoot it to attract yourself to the first flower. Start aiming as you fall, as there's a second flower behind the first one.
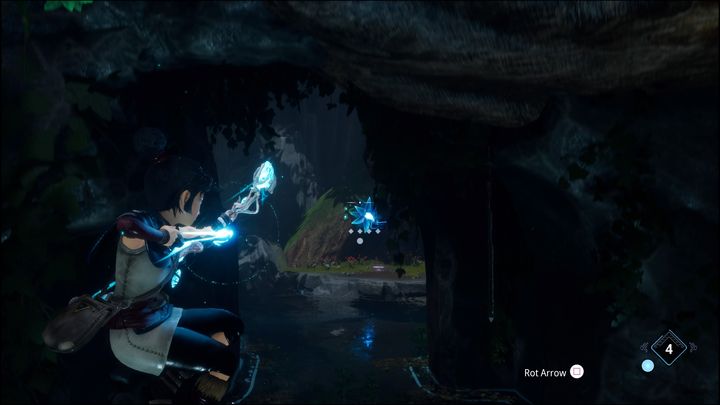
Shoot it to get on land again and gain another Rot. Then get back on land closer to the cave's center, where shining rocks can be seen from.
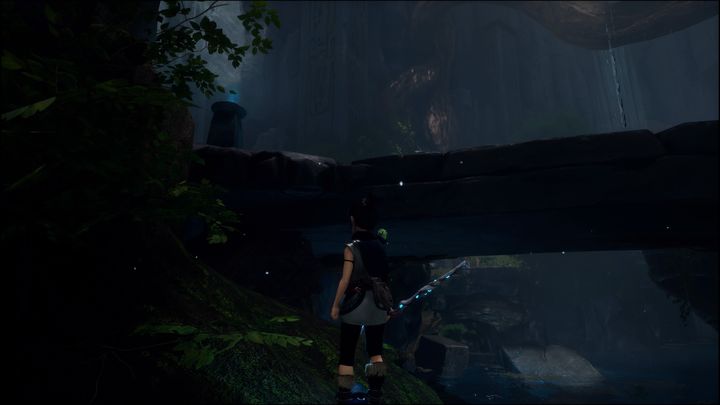
There's a tree trunk on the left of this land. Get on it, then double jump to get up.
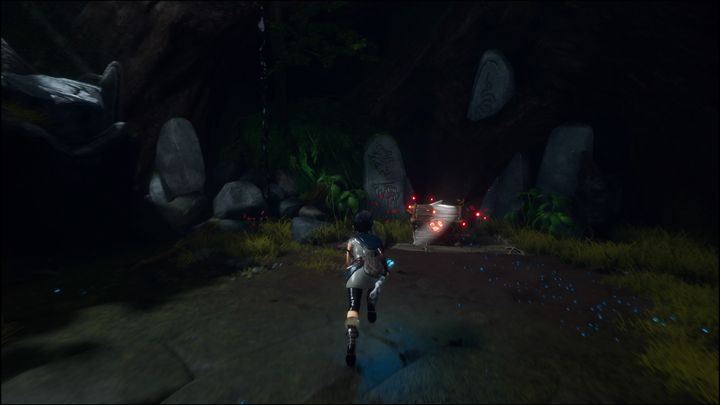
You can try to open a Cursed Chest when you get there. You'll need to defeat a Wood Knight to do so, but he shouldn't pose you too much trouble at this point. You'll receive Hana's Mask for completing the challenge.
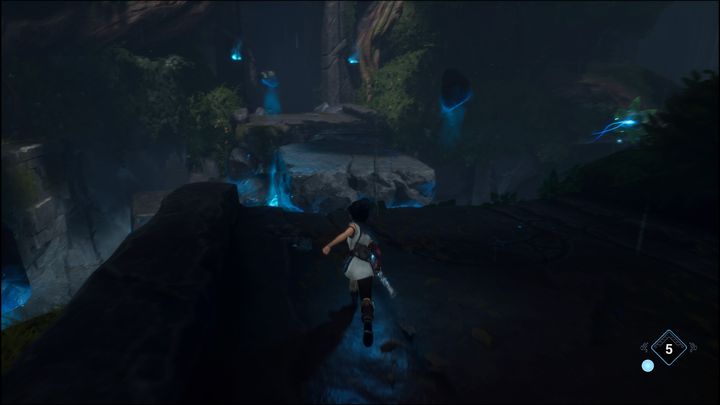
If you decided to complete the challenge, walk up to the edge above a nearby pit and throw a bomb at the shining rocks, creating a platform. The platform in the middle has a crystal on its left side. You need to shoot it twice to correctly position the platform, letting you go across to the other side.
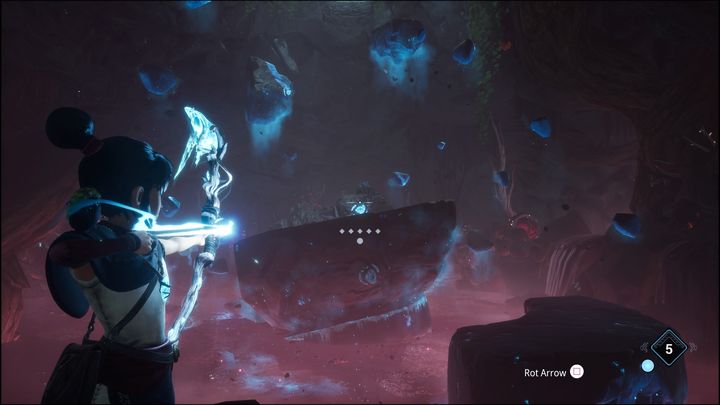
Keep going until you see a corrupted lake with many shining rocks inside. First, throw a bomb at them. After it blows up, the rocks should be positioned the same way as on the picture. Now shoot the glowing crystal. You'll raise the rock in front of the first crystal. This will make the crystal that's closer to you glow. You must shoot it to rotate the platform.
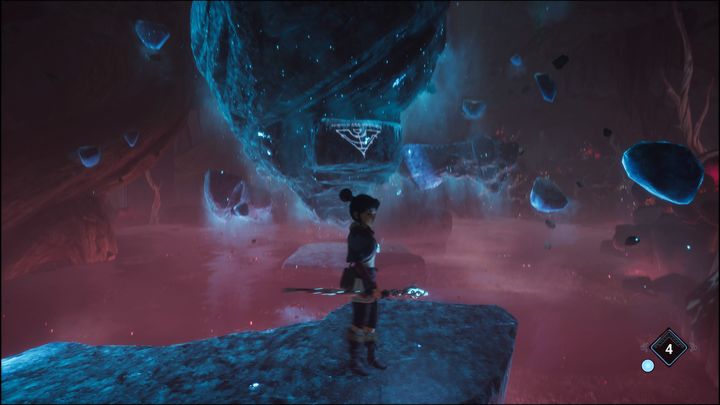
Jump onto the platform on the right, then grab the ledge as shown on the picture. Start moving to the right, after reaching the edge drop down and get onto the land where you'll find two chests. Open them and throw a bomb at the glowing rocks once again.
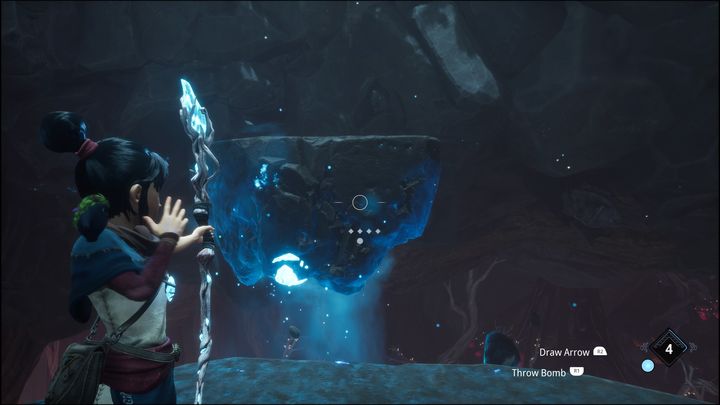
Now you must jump onto the platform on the right, then go to the closest one. There's a crystal on it. Shoot it, and raise the platform. The next platform, the one in front of you, also has a crystal on it. Shoot it and jump to the next platform.
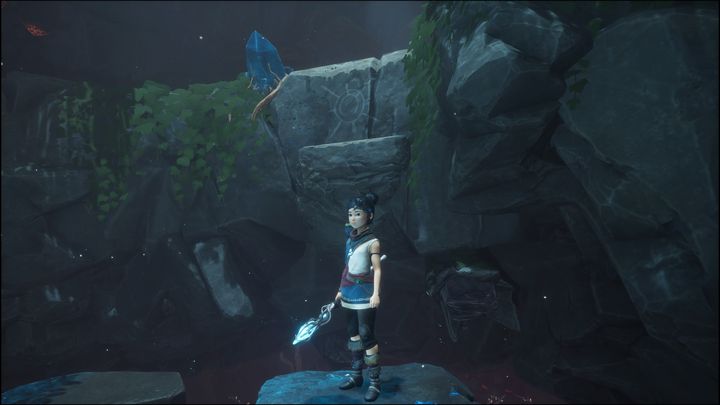
Once you get on the final platform there'll be a climbable wall behind you. Jump in its direction and grab the ledge. You'll find Rot on your left as you're climbing up. Now keep going forward.
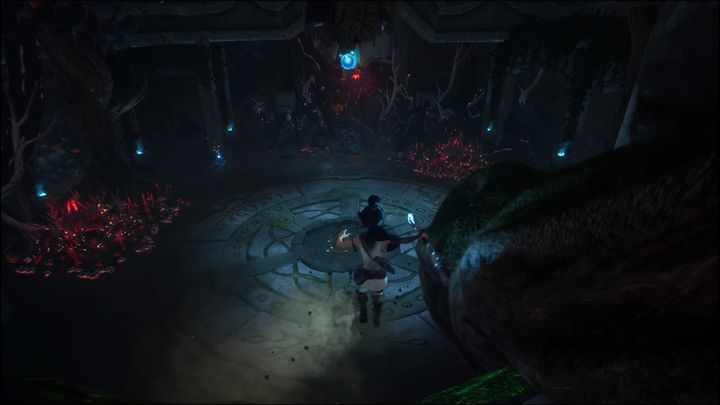
You must slide down - doing so will take you to an arena where you'll face the next boss, Rot Eater. We've described the fight in detail on a separate page.
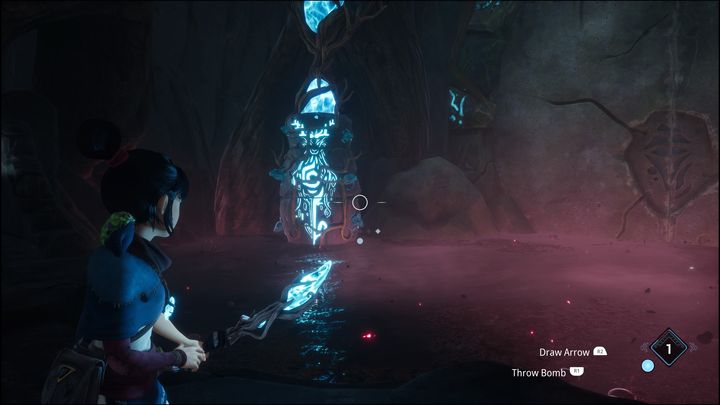
After the fight keep going deeper into the cave. On the left and on the right there are more columns that need to be arranged properly. Stand in the middle and throw a bomb at the visible object.
The combination you need to activate the crystal on the left is: two shots to the bottom, one to the middle, two to the top part.
The column on the right requires the same combination, two to the bottom, one to the middle, two to the top. This will open the way forward. Stand in the middle and use Pulse to trigger a platform which will take you through corrupted water.
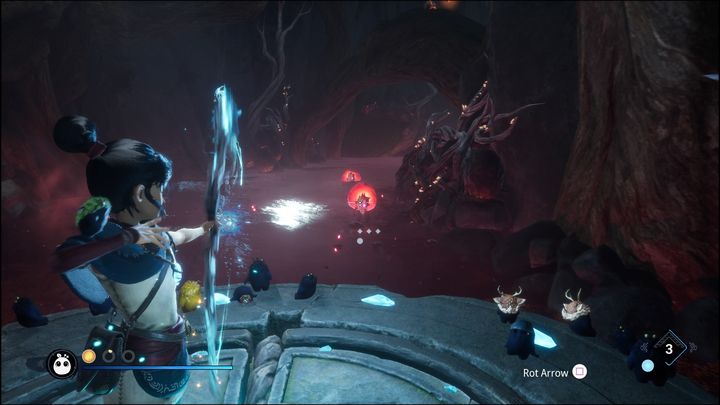
After the platform starts moving on its own, you'll be forced to eliminate the enemies spawning nearby. These are mainly walking bombs and ranged enemies. Use your bow to kill them. You'll be attacked by more enemies once you reach the land on the other side.
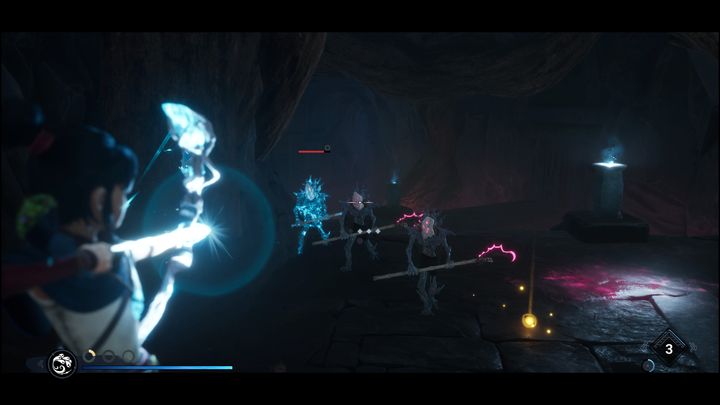
This time you'll face melee enemies and walking bombs. Defeat them all, then head right and cleanse the flower to get to the other side. Go down the starts and throw a bomb at the glowing rocks blocking your path.
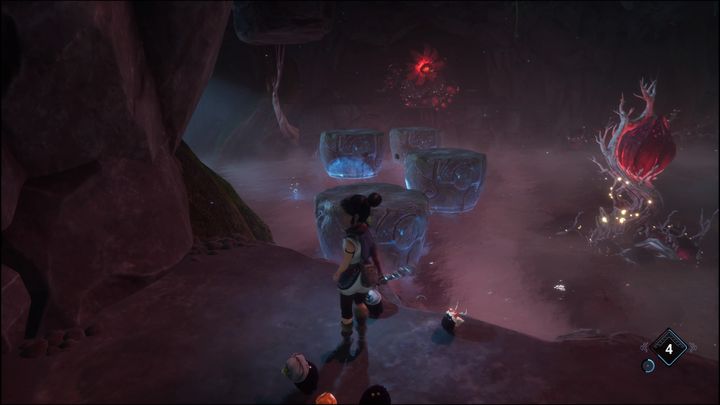
Now you need to throw a bomb at the objects to your left and to your right, jump across them to reach the two deadzones, cleanse them and jump down to the lower level once the fog and the corruption fades. This will start a huge enemy encounter.
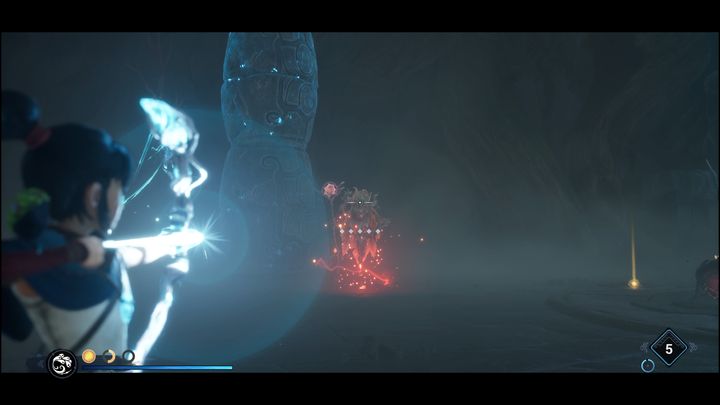
The first wave of enemies consists of two ranged foes and two golems. Kill the ranged enemies first, then throw bombs at the golems and shoot their weak spots. The second wave starts after you kill them all.
It consists of two Witches. They both serve as a mini-boss. The main difference is that they summon walking bombs. It's important to eliminate one of them as soon as possible.
Remember to save up some Courage to interrupt their healing if you need to. After one Witch falls, the other one should be easy to deal with.
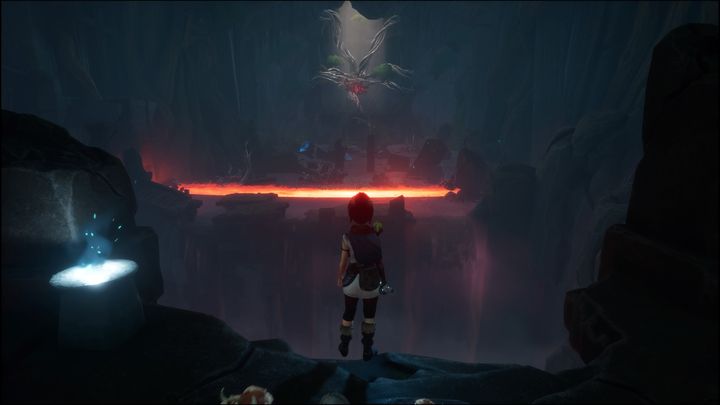
Once the encounter ends, cleanse the flower in the center of the area and go further down the cave. You'll see something resembling a heart, spewing out waves of fire. You must avoid them and reach the heart. First, head left. Jump over the rocks to proceed.
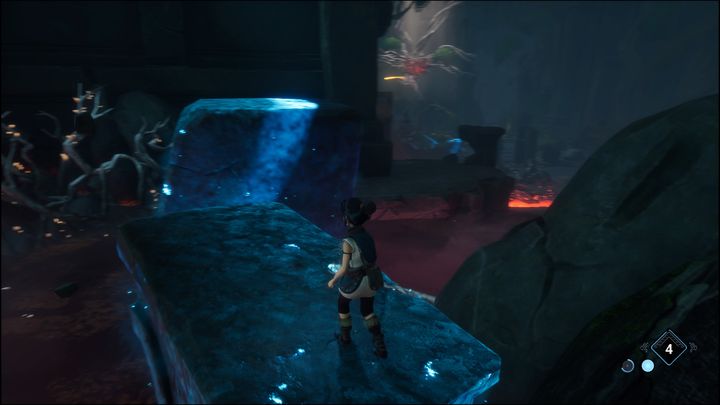
There's an interaction available on one of the initial rocks. By entering the interaction, Kena will make a yellow soul depart. Throw a bomb at the shining rocks to proceed.
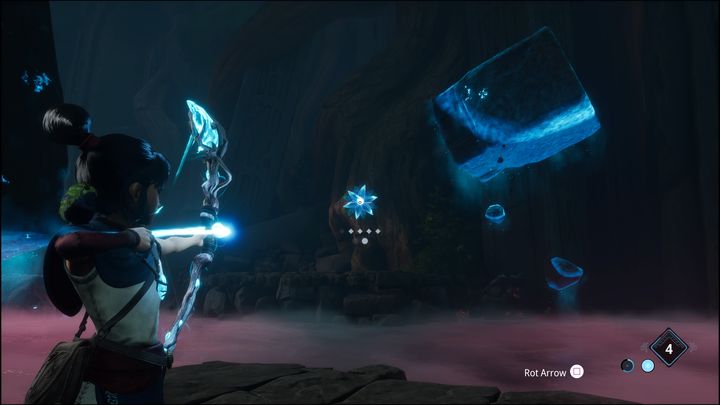
Watch out for the waves of fire which will appear once in a while. Avoid them by jumping over them. Then throw a bomb at some more shiny rocks. You'll see a flower behind them. Shoot it to attract yourself to it. There's another rock on the right, in the corrupted river. Throw a bomb, detonate it, then jump onto the rock to reach the other side.
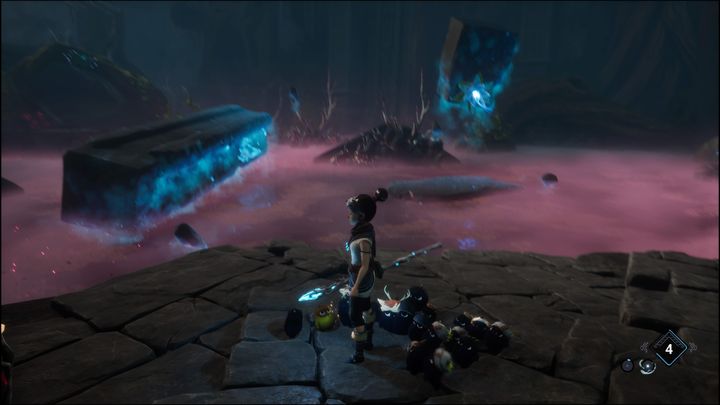
After reaching the left side of the cave, you must throw a bomb at the rocks again. Wait for them to form and shoot the crystal on the left platform, then shoot the flower immediately after. From the spot the flower grows in jump onto the platform on the left, go up and shoot another flower in front of you.
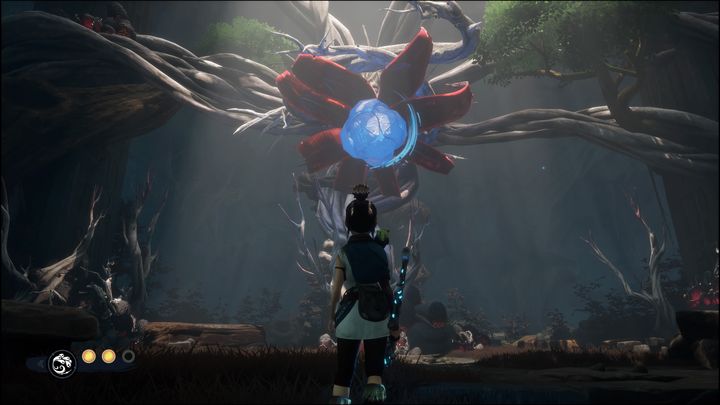
All that's left is cleansing the heart of the cave. Use Rot and Pulse or an arrow to complete the quest.
- Kena Bridge of Spirits Guide
- Kena Bridge of Spirits: Game Guide
- Kena Bridge of Spirits: Walkthrough
- Kena: Bridge of Spirits: All missions - list
- Kena Bridge of Spirits: Tutorial - walkthrough
- Kena Bridge of Spirits: Help Taro - walkthrough
- Kena Bridge of Spirits: Find Rusu - walkthrough
- Kena Bridge of Spirits: Taro's Fear - walkthrough
- Kena Bridge of Spirits: Taro's Love - walkthrough
- Kena Bridge of Spirits: Taro's Regret - walkthrough
- Kena Bridge of Spirits: Free Taro - walkthrough
- Kena Bridge of Spirits: Help the Woodsmith - walkthrough
- Kena Bridge of Spirits: Adira's Love - walkthrough
- Kena Bridge of Spirits: Adira's Fear - walkthrough
- Kena Bridge of Spirits: Adira's Regret - walkthrough
- Kena Bridge of Spirits: Free Adira - walkthrough
- Kena Bridge of Spirits: Honor Adira - walkthrough
- Kena Bridge of Spirits: Help Toshi - walkthrough
- Kena Bridge of Spirits: Mask Maker Path - walkthrough
- Kena Bridge of Spirits: Warrior Path - walkthrough
- Kena Bridge of Spirits: Hunter Path - walkthrough
- Kena Bridge of Spirits: Free Toshi - walkthrough
- Kena Bridge of Spirits: The Sacred Mountain Shrine - walkthrough
- Kena Bridge of Spirits: Walkthrough
- Kena Bridge of Spirits: Game Guide
You are not permitted to copy any image, text or info from this page. This site is not associated with and/or endorsed by the developers and the publishers. All logos and images are copyrighted by their respective owners.
Copyright © 2000 - 2026 Webedia Polska SA for gamepressure.com, unofficial game guides, walkthroughs, secrets, game tips, maps & strategies for top games.
